Page:3/14
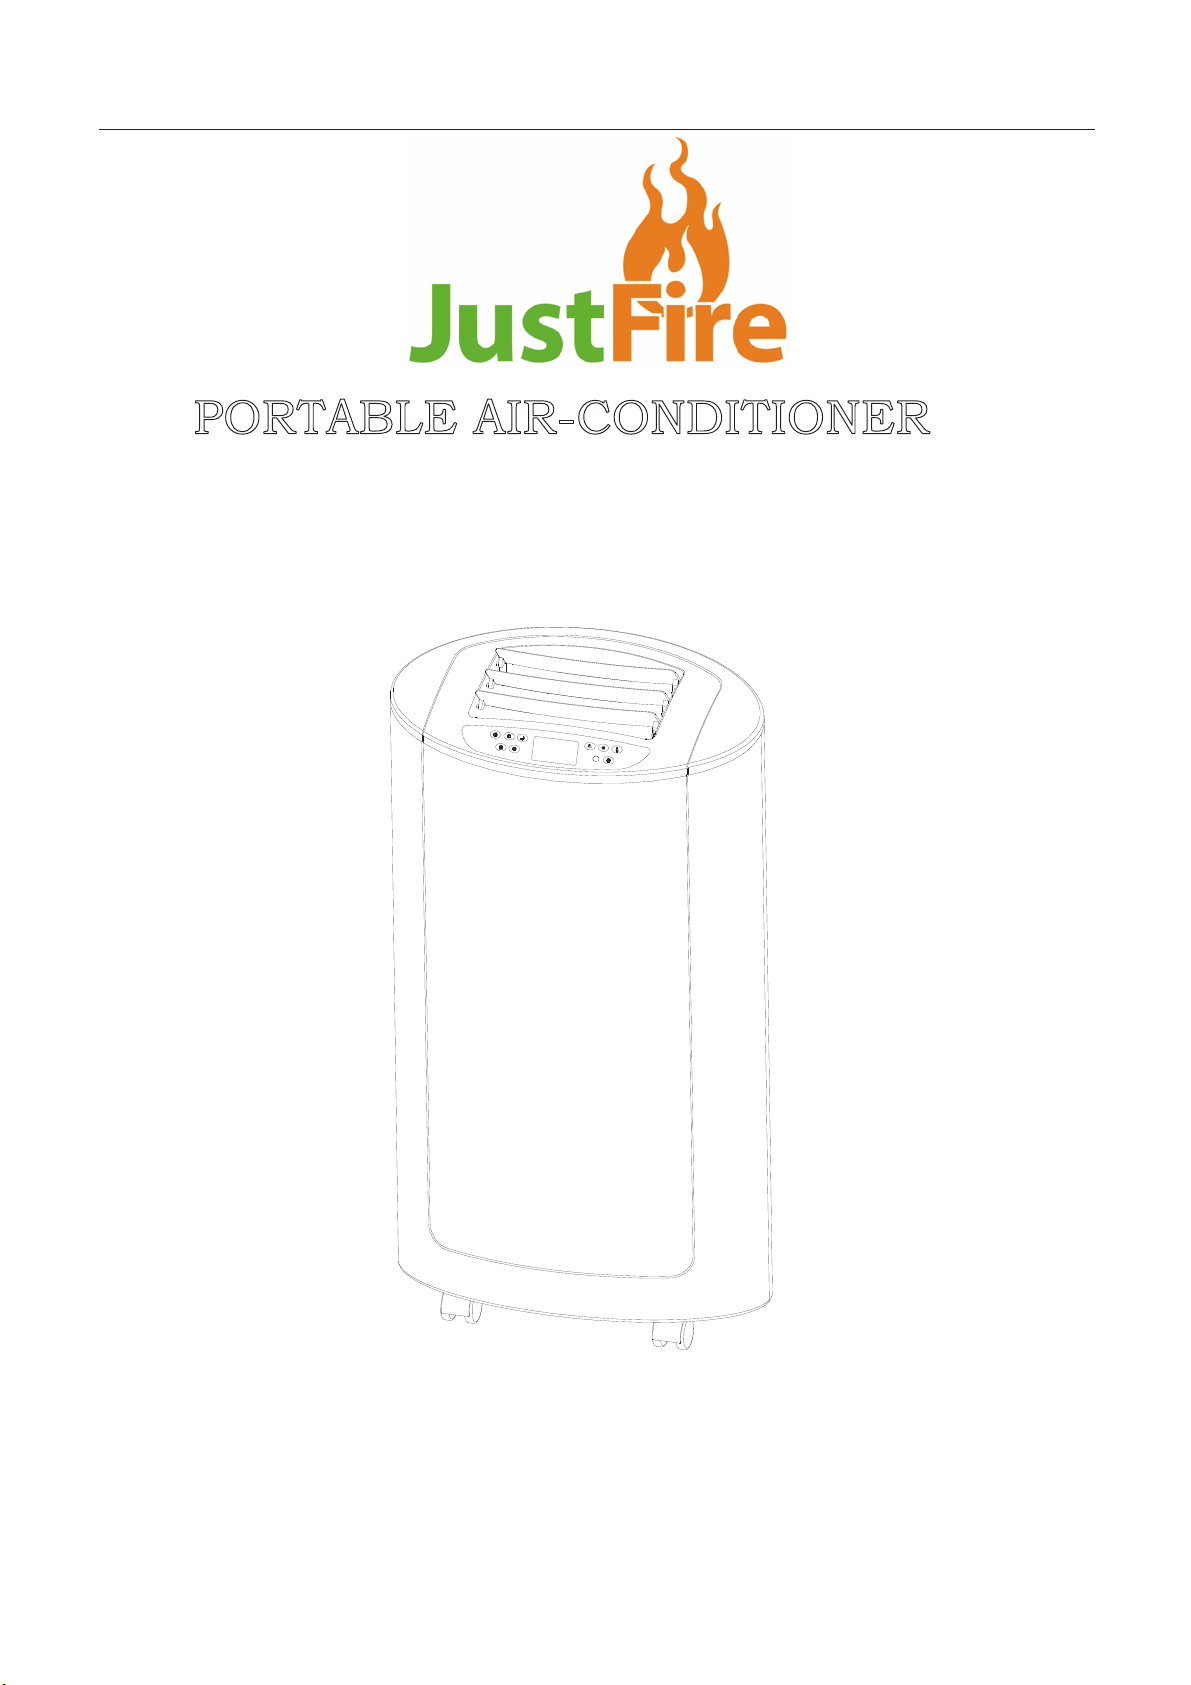
Thank you for selecting this new model portable air conditioner. Please safely keep this user
manual for you later reading, and be sure to read this manual carefully before using the unit.
IMPORTANT SAFEGUARDS
Important Safeguards.
·The appliance is for indoor use only.
·Read all instructions, Rated Power Supply: Please connect the unit with Grounded Power
Sources: 220-240VAC, 50HZ.
·Disconnect the power plug before dismantling, assembling or before cleaning.
·Avoid touching mobile parts of the appliance.
·Never insert fingers, pencils or any other objects though the guard whenever the power plug is
connected, especially while running.
·The appliance is not intended for use by young children or infirm persons unless they have been
adequately supervised by a responsible person to ensure that they can use the unit safely.
·Young children should be supervised to ensure that they do not play with the appliance.
·Do not use the appliance for any other purposes than its intended use.
·The appliance is must not be used if the guards are not fasten according to the instructions.
·When the power cord is damaged, it must be replaced by the manufacturer or its service agent
or a similar qualified person in order to avoid hazard
·Do not use your appliance with an extension cord unless it has been checked and tested by a
qualified electrician or electrical supplier
·Return to authorized service agent.
·The air conditioner unit must always be stored and transported upright, otherwise you
may cause irreparable damage to the compressor; in case of doubt we suggest to wait
for at least 24 hours before you start air-conditioning unit.
·Avoid restarting the air conditioning unit unless 3 minutes have passed since being turned off, or
the compressor may get damaged.
·Never use the mains plug as a switch to start and turn off the air conditioning unit. Use the
provided ON/OFF switch located on the control panel.
··Always place the portable air conditioner on a dry stable place.
•The appliance shall not be installed in the laundry.
•The appliance must be positioned so that the plug is accessible. And it shall be installed in
accordance with national wiring regulations.
Energy Saving Tips
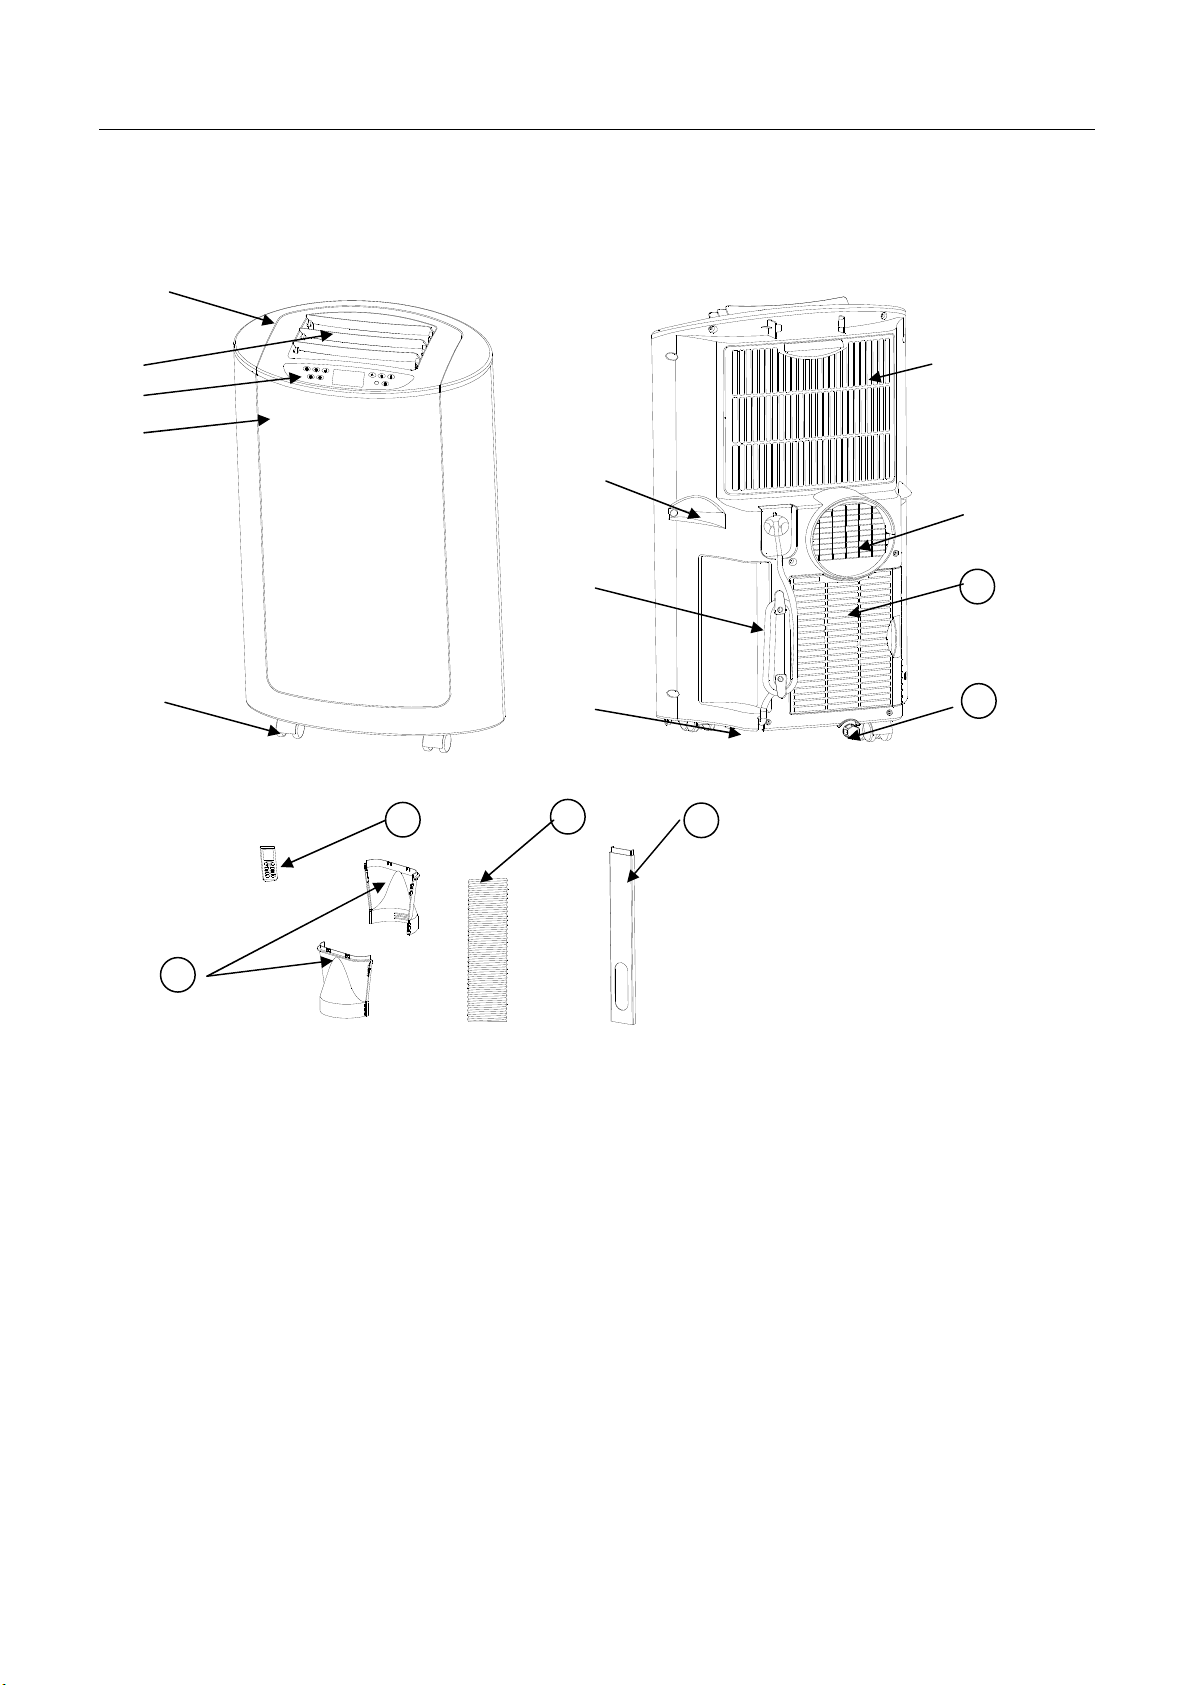
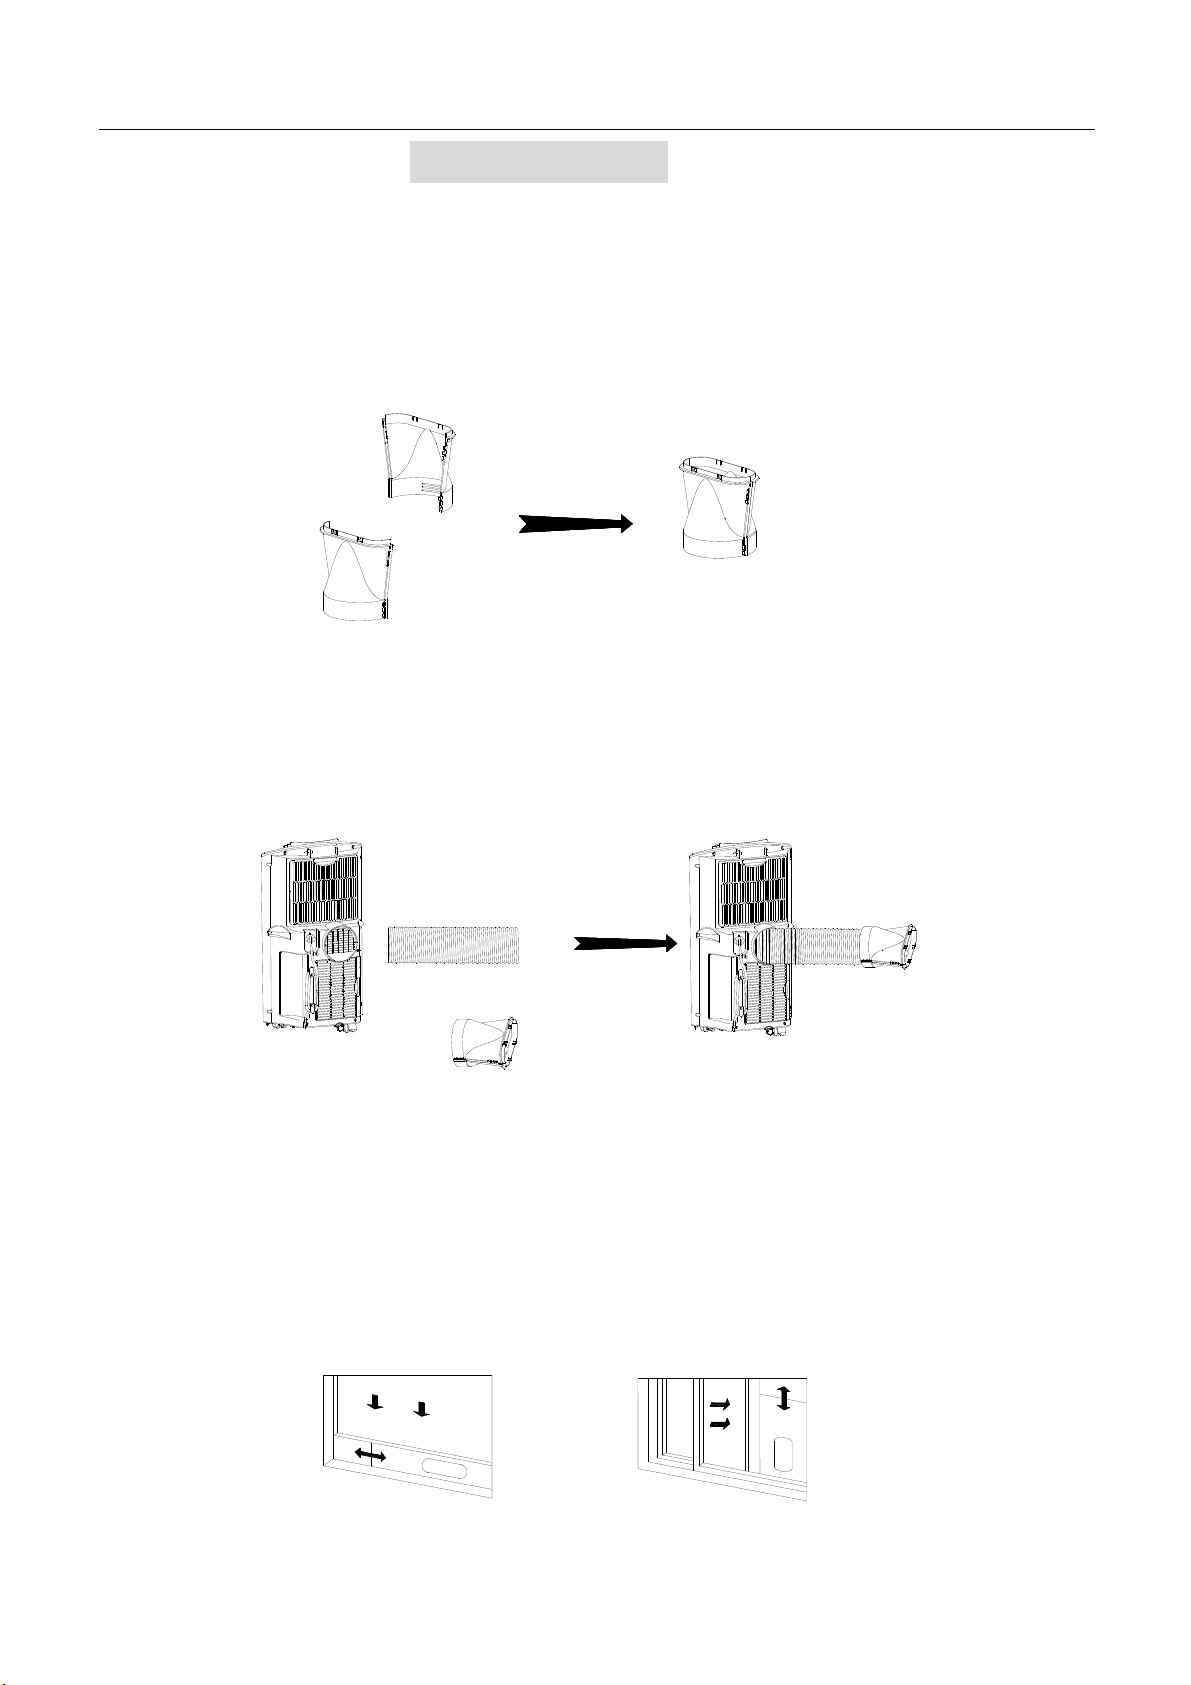
·Do not cover or restrict the airflow from the Outlet or Inlet grills.
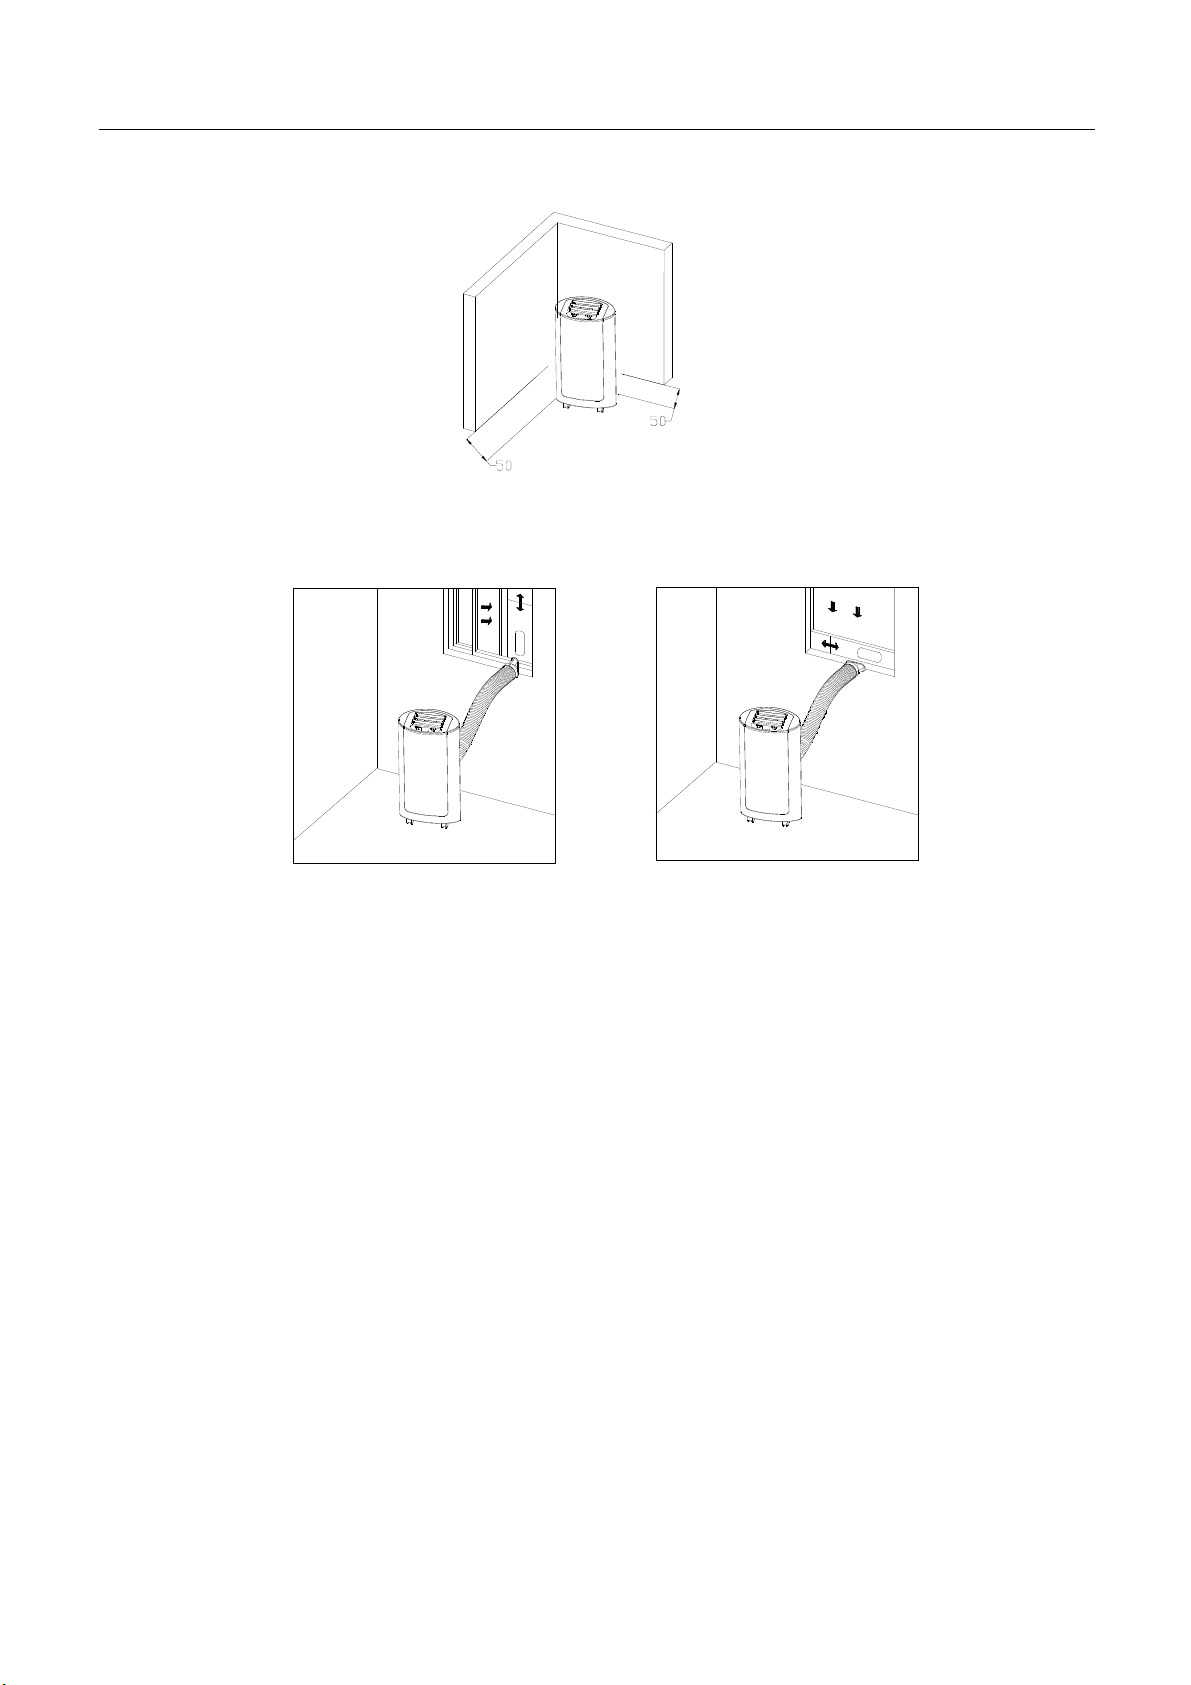
·The minimum distance from furniture and wall should be 50CM.
·Keep the filters clean. Under normal conditions, the filters should be cleaned approximately
every 30 days. Since the filters remove airborne particles, more frequent cleaning maybe
necessary, depending on the indoor air quality.
·Set the fan speed switch to high cool and the thermostat to the coolest position for the initial
start-up, then set the fan switch to Low cool and lower the thermostat to a comfortable setting.
Suggestions:
If you want to get better effect, we suggest you not to use cooling function when ambient
environment is higher than 35℃or heating function when the ambient environment is lower
than 7℃.