manuals.online logo
Brands
  1. Home
  2. •
  3. Brands
  4. •
  5. JVC
  6. •
  7. Camcorder
  8. •
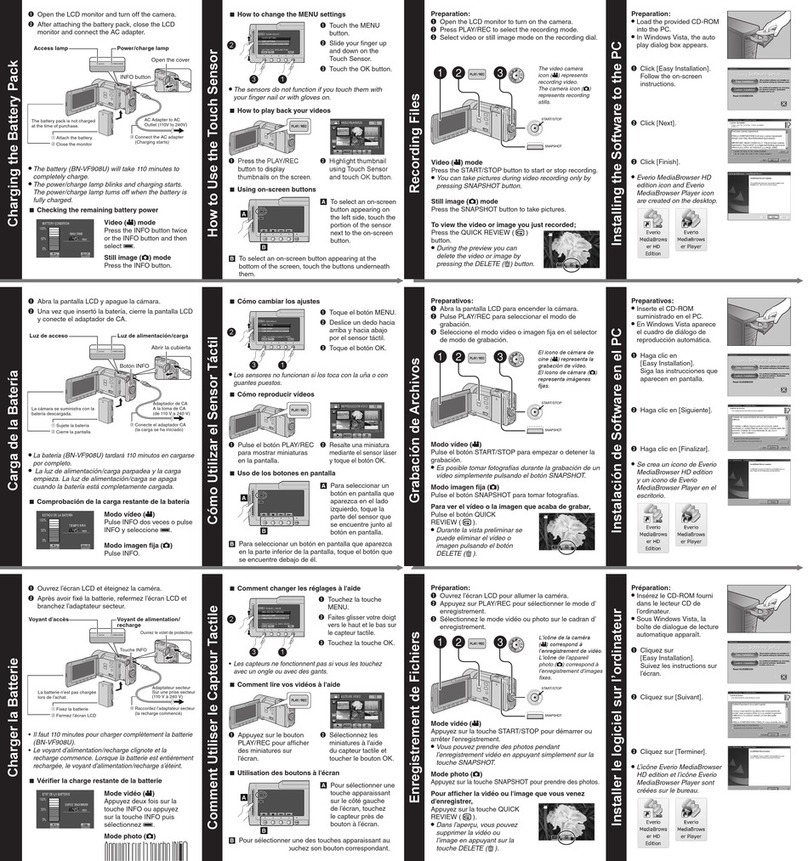
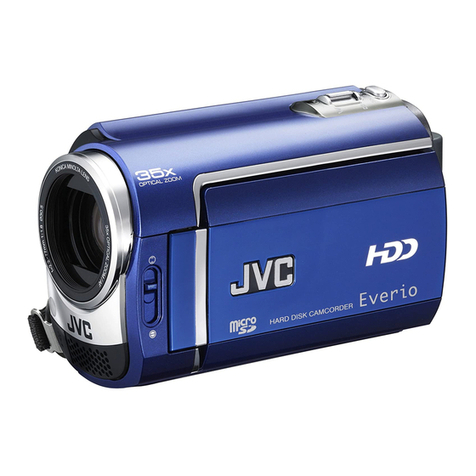
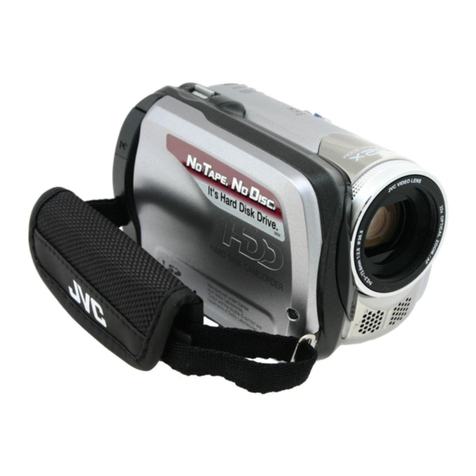
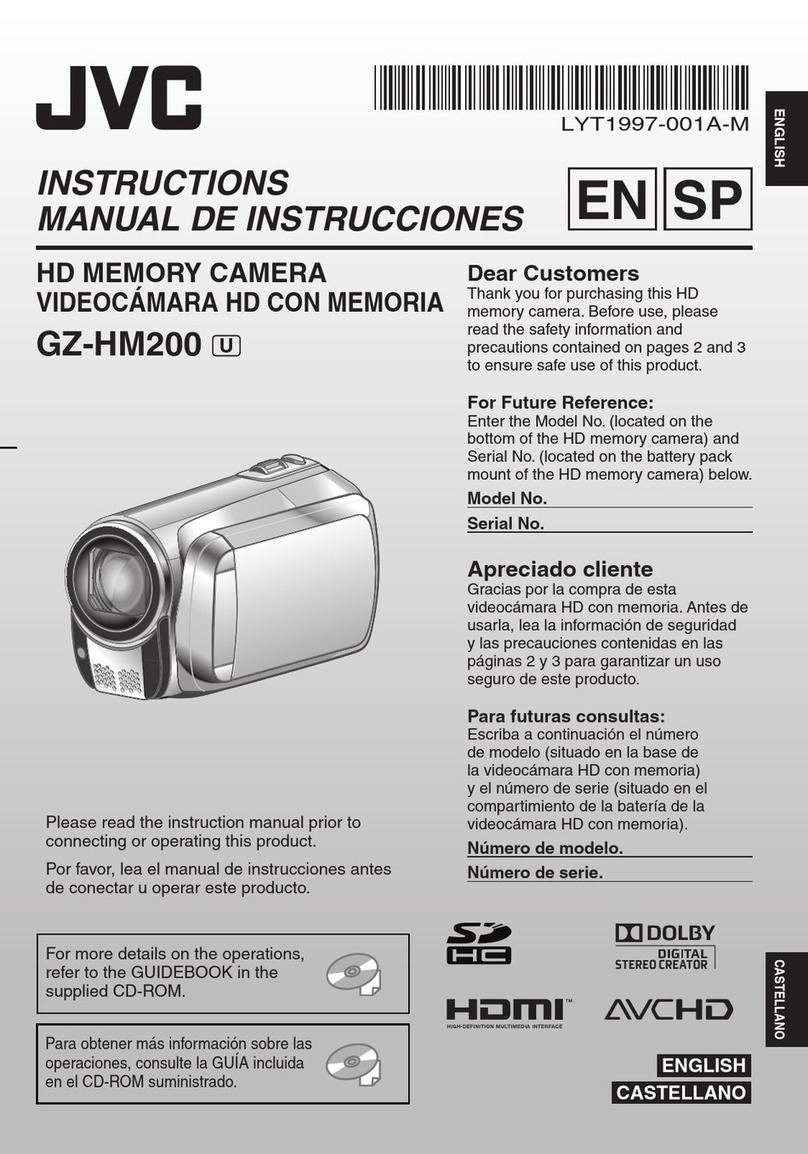
  9. JVC Everio GZ-MG750 User manual

JVC Everio GZ-MG750 User manual

Other manuals for Everio GZ-MG750

5

Other JVC Camcorder manuals

JVC GY-DV301 User manual

JVC

JVC GY-DV301 User manual

JVC Everio GZ-MG630 Manual

JVC

JVC Everio GZ-MG630 Manual

JVC GR-D750U User manual

JVC

JVC GR-D750U User manual

JVC GY-HD250CHU User manual

JVC

JVC GY-HD250CHU User manual

JVC GZ-MS100AA User manual

JVC

JVC GZ-MS100AA User manual

JVC GY-HM700 User manual

JVC

JVC GY-HM700 User manual

JVC GY-HM200 User manual

JVC

JVC GY-HM200 User manual

JVC Everio GZ-HM30 User manual

JVC

JVC Everio GZ-HM30 User manual

JVC GV-LS1 U User manual

JVC

JVC GV-LS1 U User manual

JVC GZ-HD510 User manual

JVC

JVC GZ-HD510 User manual

JVC GY-HD100 User manual

JVC

JVC GY-HD100 User manual

JVC GZ-MG155U User manual

JVC

JVC GZ-MG155U User manual

JVC Everio Controller Instructions for use

JVC

JVC Everio Controller Instructions for use

JVC GZ HD5 - Everio Camcorder - 1080i Instruction Manual

JVC

JVC GZ HD5 - Everio Camcorder - 1080i Instruction Manual

JVC GZ HD5 - Everio Camcorder - 1080i User manual

JVC

JVC GZ HD5 - Everio Camcorder - 1080i User manual

JVC GR-D271 User manual

JVC

JVC GR-D271 User manual

JVC GZ-R445 Operating and maintenance manual

JVC

JVC GZ-R445 Operating and maintenance manual

JVC GR-DV3000A User manual

JVC

JVC GR-DV3000A User manual

JVC GR-AX660 User manual

JVC

JVC GR-AX660 User manual

JVC Everio GZ-MG130 User manual

JVC

JVC Everio GZ-MG130 User manual

JVC GZ HD5 - Everio Camcorder - 1080i User manual

JVC

JVC GZ HD5 - Everio Camcorder - 1080i User manual

JVC Everio GZ-HM340U Operating and maintenance manual

JVC

JVC Everio GZ-HM340U Operating and maintenance manual

JVC GR-SXM77EA User manual

JVC

JVC GR-SXM77EA User manual

JVC Everio GZ-R320U Operating and maintenance manual

JVC

JVC Everio GZ-R320U Operating and maintenance manual

Popular Camcorder manuals by other brands

Vivitar DVR 830XHD owner's manual

Vivitar

Vivitar DVR 830XHD owner's manual

Panasonic HX-WA20PP Service manual

Panasonic

Panasonic HX-WA20PP Service manual

Sony HDR-AS10 operating guide

Sony

Sony HDR-AS10 operating guide

Canon FS1 instruction manual

Canon

Canon FS1 instruction manual

Sharp VL-H400S Operation manual

Sharp

Sharp VL-H400S Operation manual

Panasonic AJ-D900WAP operating instructions

Panasonic

Panasonic AJ-D900WAP operating instructions

Samsung VP-D6550 Owner's instruction book

Samsung

Samsung VP-D6550 Owner's instruction book

Sony Handycam HDR-FX1E operating instructions

Sony

Sony Handycam HDR-FX1E operating instructions

Sony Handycam HDR-FX1000 Specifications

Sony

Sony Handycam HDR-FX1000 Specifications

Naxa NDC-402 instruction manual

Naxa

Naxa NDC-402 instruction manual

LG L320-BN owner's manual

LG

LG L320-BN owner's manual

Vivitar DVR 865HD user manual

Vivitar

Vivitar DVR 865HD user manual

Toshiba CAMILEO Z100 user guide

Toshiba

Toshiba CAMILEO Z100 user guide

Panasonic NV-VS40B operating instructions

Panasonic

Panasonic NV-VS40B operating instructions

Canon RC 260 instructions

Canon

Canon RC 260 instructions

Sony Handycam DCR-DVD7E operating guide

Sony

Sony Handycam DCR-DVD7E operating guide

Brinno TimeLapse TLC200 user manual

Brinno

Brinno TimeLapse TLC200 user manual

MYDLINK DCS-6100LH Quick installation guide

MYDLINK

MYDLINK DCS-6100LH Quick installation guide

manuals.online logo
manuals.online logoBrands
  • About & Mission
  • Contact us
  • Privacy Policy
  • Terms and Conditions

Copyright 2025 Manuals.Online. All Rights Reserved.

Taking Videos in Auto Mode
You can record without worrying about the setting details by using the au-
to mode.
1Open the lens cover.
.
2Open the LCD monitor and select the video mode.
.
●The video mode icon appears.
3Check if the recording mode is Auto.
.
●If the mode is Manual, touch the G/H button.
The mode changes between Auto and Manual with every touch.
4Start recording.
.
●Press again to stop.
Indications During Video Recording
.
Display Icon Description
Recording Mode Press the G/H button to switch the recording
mode between G (Auto) and H (Manual).
Video Quality Displays the icon of the “VIDEO QUALITY” set-
ting selected in the recording menu.
Remaining Time
(Recordable
Time)
Displays the remaining time for video recording.
Recording in Pro-
gress
Appears when video recording is in progress.
Record-Standby Appears when video recording is paused.
Scene Counter
(Recorded Time)
Displays the elapsed time of the video that is cur-
rently being recorded.
Recording Media Displays the icon of the media where videos are
recorded to.
The recording media can be changed.
Battery Indicator Displays the approximate remaining battery pow-
er.
Details of the battery power can be displayed by
pressing the INFO button.
Recording
1
Operation Buttons for Video Recording
.
Operation But-
ton
Description
T/W Zoom Allows the same functions as the zoom lever to be
performed.
Camera shake that often occurs when using the
zoom lever can be minimized.
DIS Sets whether to reduce camera shake.
Recording
Start/Stop
Functions as the START/STOP button.
Quick Review Enables the most recently captured video to be
viewed.
Auto/Manual Switches the recording mode between Auto and
Manual.
NOTE:
●The slider operation button cannot be used when the LCD monitor is
flipped.
●The zoom appears when the slider is touched.
Useful Settings for Recording
●The aspect ratio for recording can be switched between 16:9 and 4:3.
●Videos can be found easily during playback by categorizing them when
recording.
●When “QUICK RESTART” is set to “ON”, this unit turns on immediately
if you open the LCD monitor within 5 minutes after the power is turned
off by closing the monitor.
●When “AUTO POWER OFF” is set to “ON”, this unit turns itself off au-
tomatically to conserve power when it is not operated for 5 minutes.
(only when using the battery pack)
CAUTION:
●Do not expose the lens to direct sunlight.
●Do not use this unit in the rain, snow, or places with high humidity like
the bathroom.
●Do not use this unit in places subject to excessive humidity or dust, as
well as places exposed to steam or smoke directly.
●The access lamp lights up when video recording is in progress. Do not
remove the battery pack, AC adapter, or SD card when the lamp is
lighted.
●Make a backup of important recorded data
It is recommended to copy your important recorded data to a DVD or
other recording media for storage. JVC will not be responsible for any
lost data.
NOTE:
●Before recording an important scene, it is recommended to conduct a
trial recording.
●Check the remaining recording time in the media before you start
shooting. If there is not enough space, move (copy) the data to a PC or
disc.
●Do not forget to make copies after recording!
●Recording stops automatically as it cannot be performed for 12 or more
consecutive hours according to specifications.
(It may take some time to resume recording.)
●For long recordings, the file is split into two or more files if the size ex-
ceeds 4 GB.
●You can connect this unit to the AC adapter to record for long hours in-
doors.
Recording
2