Page 4
SELE
PREV
DOWN
POWER
KEY CONTROL
STANDBY
NORMAL
MIN MAX
DIGITAL ECHO
PHONES KEY CONTROL
PBC OFFKARAOKE
NORMAL UP
XL-MV558 VIDEO CD PLAYER
ON/STANDBY
MIN MAX
MIC 1
MIN MAX
MIC 2
MIN MAX
MIC 3
WIRELESS MIC
PlayBack Control
VIDEO
INTRO
RETURN
NTSC/PAL COMPATIBILITY
DISC
3
TRIPLE TRAY
VIDEO CD
BOOKMARK
SURROUND
REPLACE
VOCAL
2
3
45
6
89
10
12
13
14
15 16
17
21
23
22
1
7
11
18
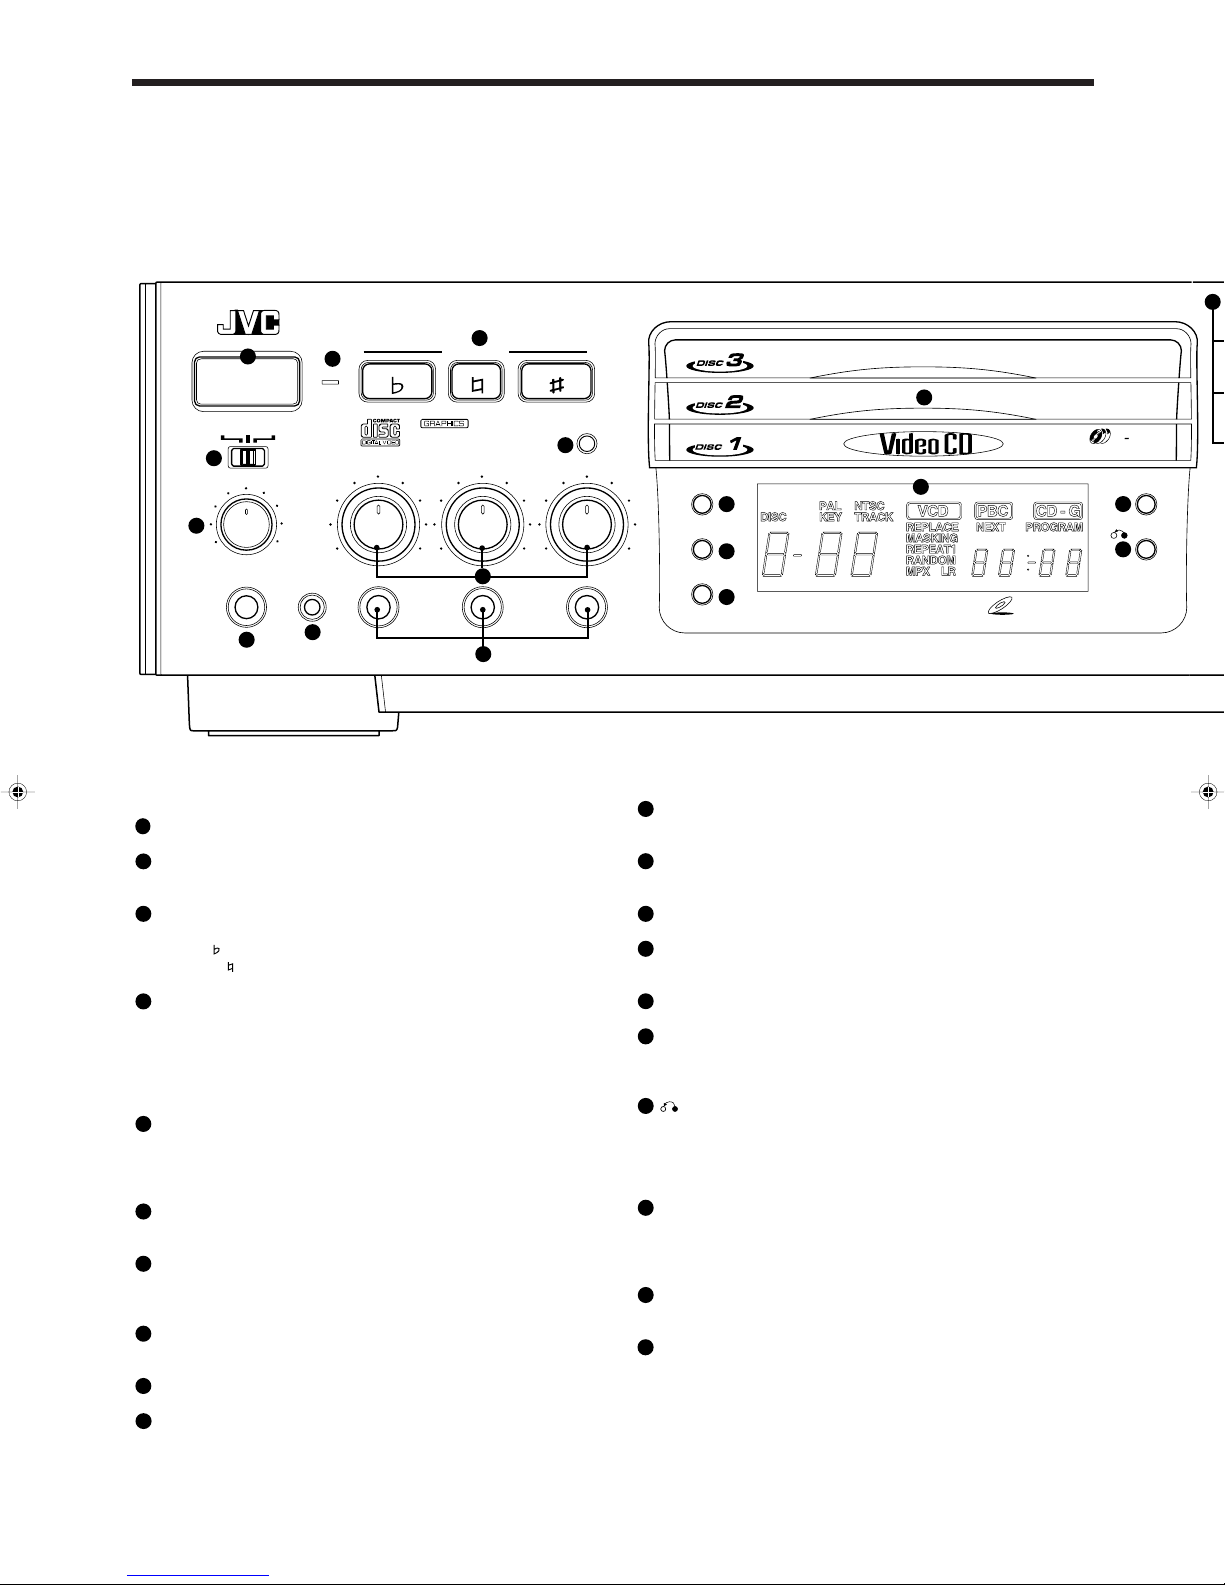
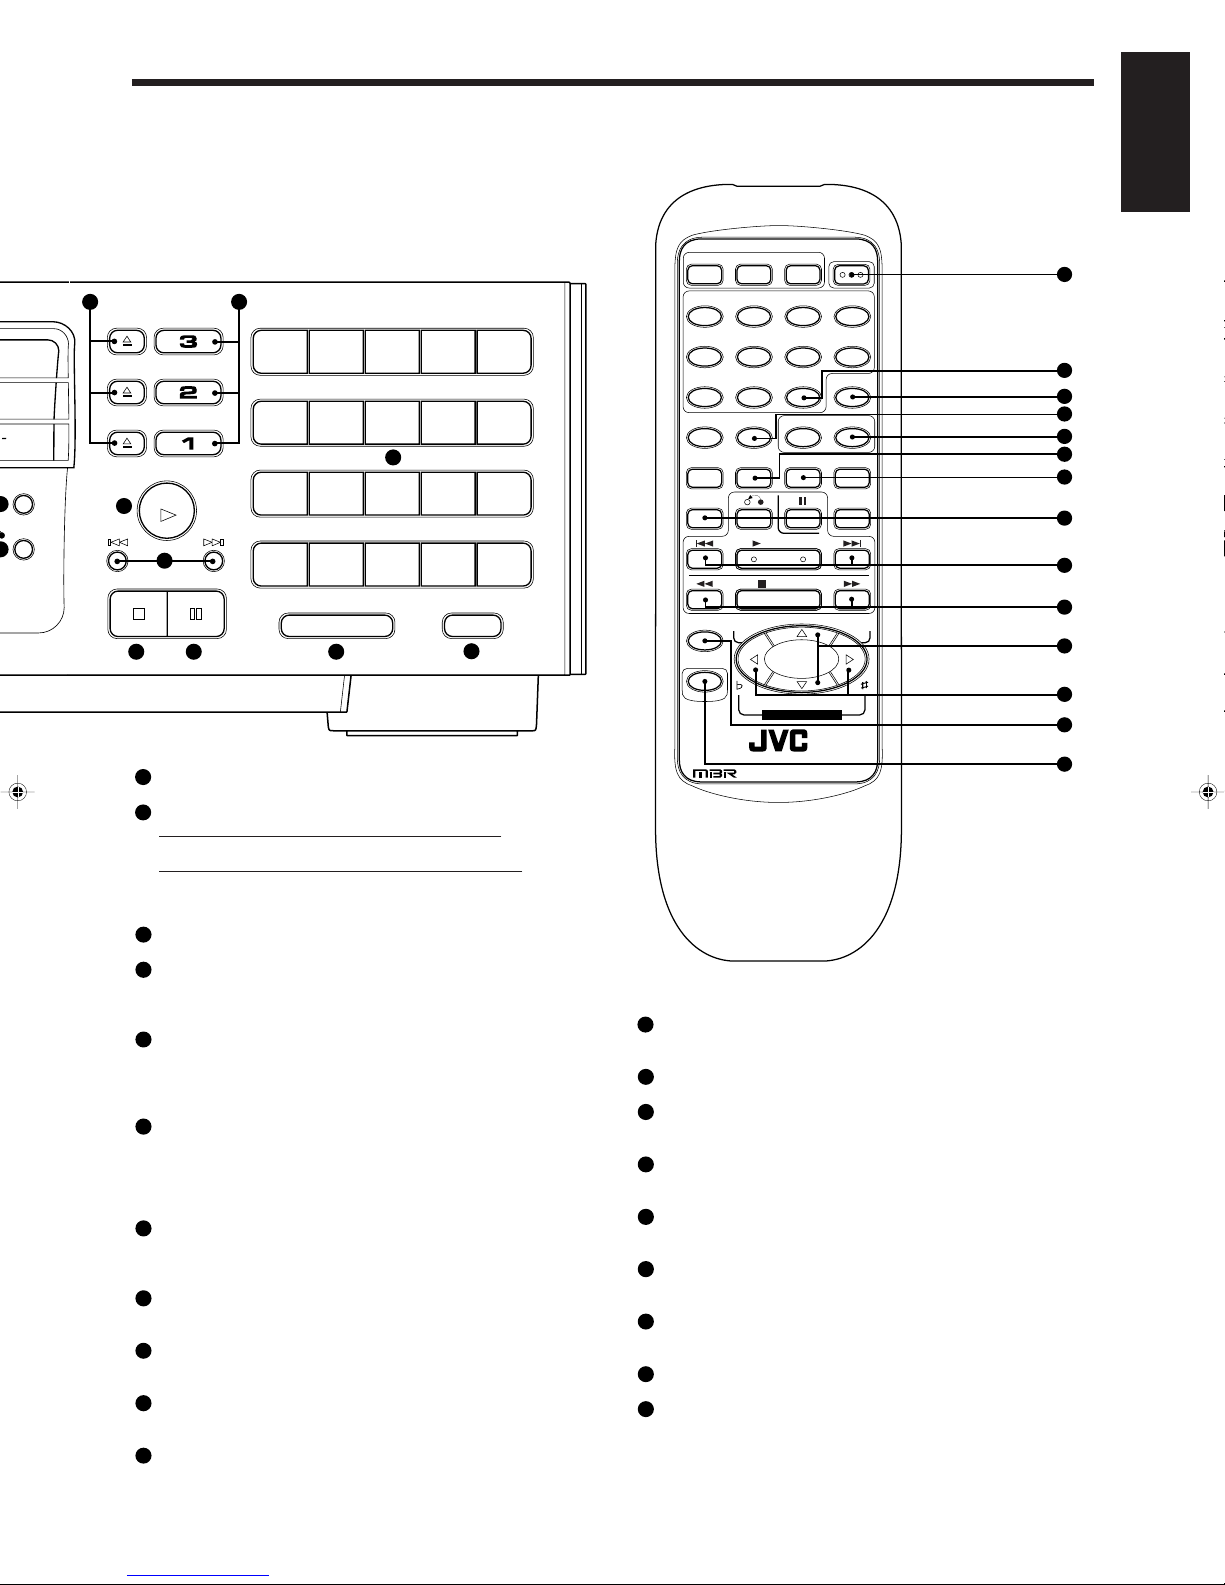
OVERVIEW OF CONTROLS
Herethebasicfunctionofcontrolsonthefrontpanelofthe Playerandthe
remote control are explained. The function of some controls may be
restrictedinactualusedependingontheon-goingoperations.Theremote
control has fourteen (14) unique function buttons in addition to those on
the player.
Left front panel of the Player
(controls marked (R) have equivalents on the remote control)
1
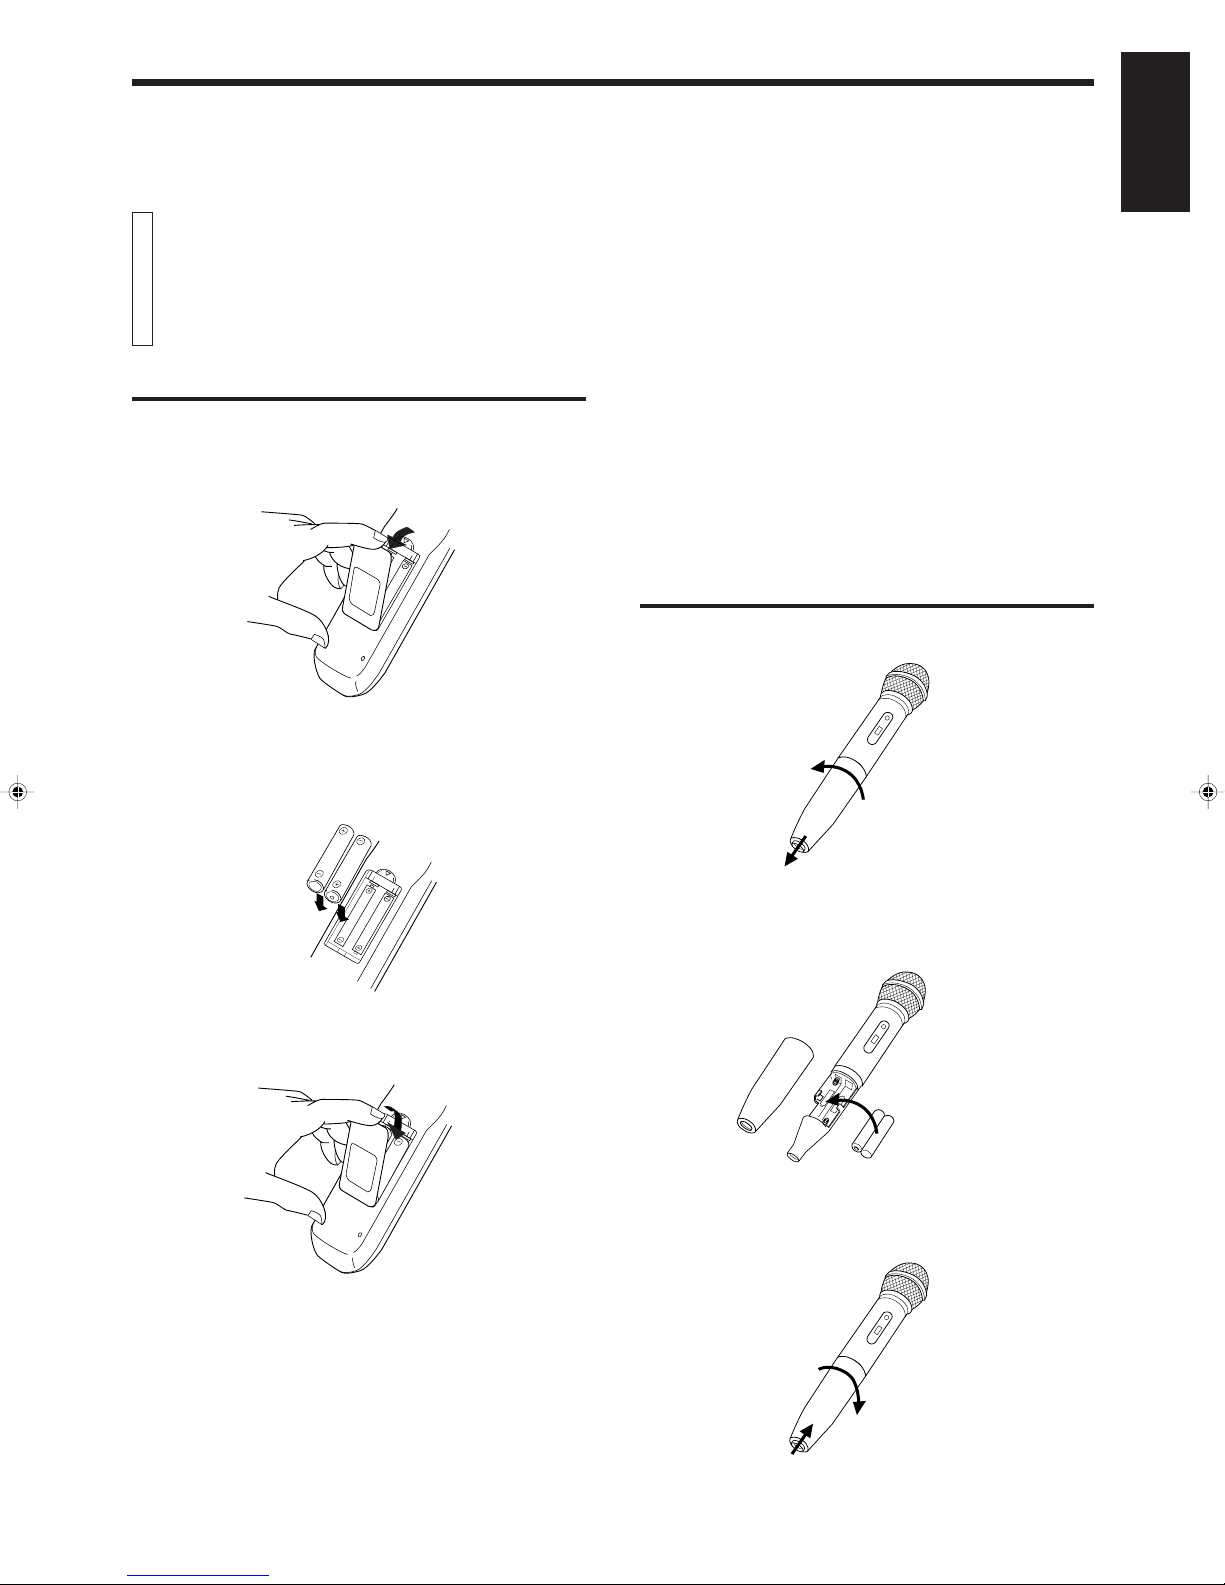
POWER button (R)
turns the power on and off.
2STANDBY indicator (Red)
lightswhenthepowercordisconnectedandthepoweristurnedoff.
The STANDBY indicator is not lit when the player is turned on.
3
KEY CONTROL button (R)
Transposes the music key.
DOWN button : used to flatten by a half tone.
NORMAL button: returns to original key tone.
UP # button : used to sharpen by a half tone.
4
MODE switch
Switches the KARAOKE/NORMAL/PBC OFF mode.
KARAOKE mode : one track playing mode.
NORMAL mode : continuous plural tracks playing mode. Required
also for the Playback Control (PBC) function.
PBC OFF mode : inhibitsthePlaybackControl(PBC)functionof
the video CD.
5
WIRELESS MIC button with indicator
activates/deactivates the wireless microphone. When the WIRE-
LESS MIC button is pressed, the indicator is lit as follows.
green: tuning accomplished.
red: not successful. For tuning, see page 16.
6
DIGITAL ECHO knob
adjuststhedegreeoftheecho effect forthemicrophone(1through
3) and the wireless microphone voice.
7
MIC1 to MIC3 knobs
adjusts volume of the microphone corresponding to MIC number.
Wireless microphone volume adjustment is performed using the
MIC 3 knob.
8
PHONE jack
used for connecting stereo headphones. The volume is set to a
predetermined level and is not adjustable.
9
KEY CONTROL jack
used for connecting a microphone with key control function.
10
MIC jacks (1 through 3)
used for connecting microphones (1 through 3). The jacks corre-
spond to MIC 1 to 3 volume knobs located above.
Center front panel of the Player
11
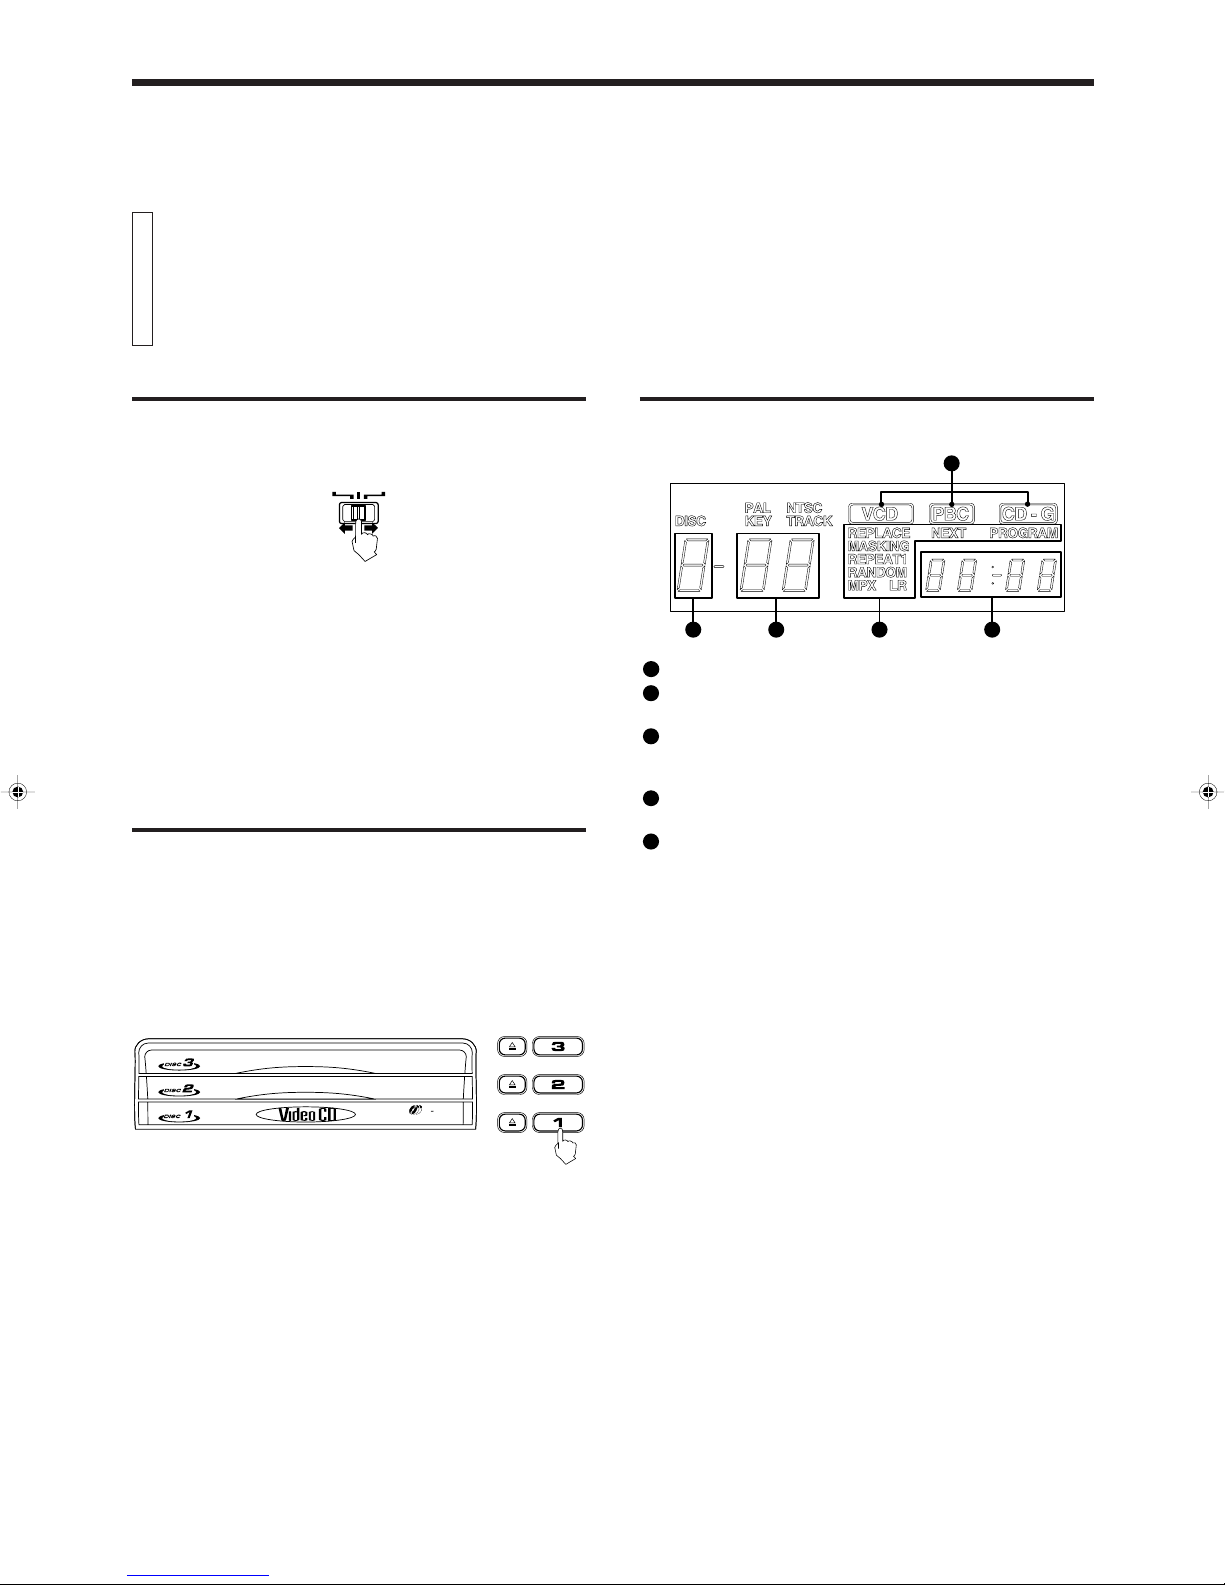
DISC1 to DISC3 trays
used to load discs. To insert/remove one or up to three (3) discs,
press the 0OPEN/CLOSE button located at the right of the tray.
12
BOOKMARK button (R)
Place a "bookmark" at a video segment you want to find later for
almost instant play. (See page 14.)
13
SURROUND button (R)
Changes the surround mode. (See page 14.)
14
VOCAL REPLACE button
activates the vocal replace function, which inserts your voice in
place of the vocals on the disc.
15 Display window
shows information about the status of operation.
16
VIDEO INTRO button (R)
applies to video CDs only. The introductory five (5) seconds of
tracksonavideoCDaredisplayedonthetelevisionscreeninorder
to present the contents of the video CD. (See page 13.)
17
RETURN button (R)
Utilized for operation with the PBC function. This button is used to
return to a menu screen during play. (See page 18.)
Right front panel of the Player
18
0(OPEN/CLOSE) buttons (Disc number 1 to 3)
Used to open and close disc trays 1 to 3 respectively. When, after
opening the DISC1 tray, another 0(OPEN/CLOSE) button is
pressed, the DISC1 tray is first closed, then the other DISC tray
selected is opened.
19
DISC1 through DISC3 buttons with indicators (Green) (R)
playsthediscofthenumberindicatedonthebutton.Assoonasthe
disc begins playing, the indicator blinks.
20
Number keys (1 to 20) (R:1 to 10)
used to specify a track number for playing, changing, or program-
ming.Tooperatenumbersabovetwenty(20),pressthe+20button
once. The number keys (1 to 20) are then assigned 21 to 40
numbersinsteadof1to20.Themaximum keynumberassignment
is 99. In PBC function operation, the number keys are additionally
utilizedfortheselectionofmenuitems.Seepage18“Operation of
Playback Control function”.
XL-MV558GD 97.8.4, 9:384