INSTRUCCIONES PREVIAS
ALIMENTACIÓN
Este sistema portátil con reproductor de CDs funciona con pilas
o con alimentación de CA.
FUNCIONAMIENTO CON PILAS
Introduzca 6 pilas tipo R20 (SUM-1)/D (13D) (no suministradas) y
podrá utilizar su sistema casi en cualquier lugar. Abra el
compartimento de las pilas situado en la parte posterior de la
unidad presionando sobre las dos pestañas y abriendo la cubierta.
Introduzca las pilas tal como verá marcado en la parte.
Información importante sobre las pilas
•En caso de que no vaya a usar el sistema durante un mes o
más, extraiga las pilas porque pueden producirse fugas y
provocar daños.
•Tire las pilas correctamente, de acuerdo con la normativa federal, estatal y local.
•Tire inmediatamente las pilas con fugas. Las pilas con fugas pueden causar quemaduras en la piel u otras
lesiones.
ALIMENTACIÓN DE CA
Conecte el cable de alimentación en la toma ÓAC IN situada en la parte posterior de la unidad y en una toma de
CA.
PRECAUCIONES:
1. UTICE ÚNICAMENTE EL CABLE DE ALIMENTACIÓN JVC SUMINISTRADO CON ESTA UNIDAD PARA
EVITAR UN MAL FUNCIONAMIENTO O DAÑOS EN LA UNIDAD. QUITE LAS PILAS CUANDO ESTÉ
USANDO EL CABLE DE ALIMENTACIÓN.
2. COMPRUEBE QUE HA DESENCHUFADO EL CABLE DE ALIMENTACIÓN DE LA TOMA SI SE VA O SI
LA UNIDAD NO VA A UTILIZARSE DURANTE UN PERÍODO PROLONGADO DE TIEMPO.
USO DE LOS AURICULARES
Conecte unos auriculares disponibles en comercios en la toma PHONES de la parte posterior de la unidad
principal. Mientras los auriculares están conectados, los altavoces no emitirán ningún sonido. Antes de conectar
los auriculares, asegúrese de bajar el volumen del sonido.
ANTENAS
La antena de AM está integrada, por lo que modificar la posición de la unidad puede ayudar a mejorar la
recepción de AM. La antena telescópica de FM situada en la parte posterior de la unidad puede desplegarse y
girar para mejorar la recepción de FM.
CONTROLES GENERALES
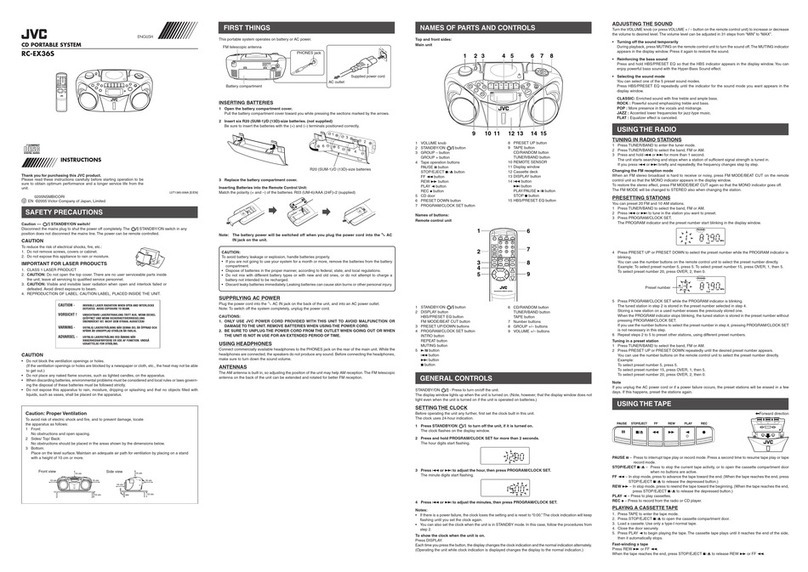
Interruptor FUNCTION – Desplace el interruptor para seleccionar la función del sistema que desee utilizar –
TUNER, TAPE o CD.
VOLUME – Gire el selector de volumen para subir o bajar el volumen hasta conseguir el nivel deseado.
HBS – Pulse para que se ilumine el indicador HBS. Puede disfrutar de un potente sonido de graves con el
efecto de sonido hipergrave.
POWER OFF –Para apagar la unidad, desplace FUNCTION a OFF/TAPE sin pulsar ningún botón del
portacasetes.
USO DE LA RADIO
SINTONIZACIÓN DE EMISORAS DE RADIO
Desplace FUNCTION a TUNER para encender la radio.
•Ajuste BAND a AM o FM.
•Sintonice la emisora deseada girando el selector TUNING.
•Para apagar la radio, desplace FUNCTION a OFF/TAPE.
INTERRUPTOR BEAT CUT/FM MODE
•Cuando se graba una emisión de AM
Cuando se graba una emisión de AM, pueden producirse ruidos. Si esto sucede,
ajuste el interruptor a “1” ó “2”.
•Cambio del modo de recepción de FM
Cuando no pueda recibir bien una emisión de FM estéreo o haya mucho ruido,
ajuste el interruptor a “MONO”.
La recepción mejora.
Para recuperar el efecto estéreo, cambie a “STEREO”.
USO DE LAS CINTAS
PAUSE – Pulse para interrumpir la reproducción de la cinta o la grabación. Pulse de nuevo para reanudar la
reproducción de la cinta o la grabación.
STOP/EJECT – Pulse para detener la cinta o para abrir el portacasetes cuando no haya ningún botón
pulsado.
FF – En modo de parada, pulse para avanzar la cinta hasta el final (cuando la cinta llegue al final, pulse
STOP/EJECT para liberar el botón pulsado).
REW – En modo de parada, pulse para rebobinar la cinta hasta el principio (cuando la cinta llegue al final,
pulse STOP/EJECT para liberar el botón pulsado).
PLAY – Pulse para reproducir cintas.
REC – Pulse para grabar de la radio o del reproductor de CDs.
REPRODUCCIÓN DE UNA CINTA
1. Desplace FUNCTION a OFF/TAPE.
2. Pulse STOP/EJECT para abrir la tapa del portacasetes.
3. Introduzca la cinta en el portacasetes con la parte expuesta hacia arriba y con la cara que desee reproducir
hacia fuera.
4. Cierre la tapa correctamente.
5. Pulse REW o FF para situar la cinta en el punto de inicio deseado.
6. Pulse PLAY para iniciar la reproducción de la cinta. La cinta se reproduce hasta llegar al final de la cara
y, a continuación, se detiene automáticamente.
GRABACIÓN DE CINTAS
Puede grabar de la radio o del reproductor de CDs.
Para mejorar la grabación, utilice cintas polarizadas normales.
Debe tenerse en cuenta que puede estar prohibida la regrabación de cintas, grabaciones o discos
pregrabados sin el consentimiento del propietario de los derechos de autor de la grabación, emisión o
programas por cable de sonido o vídeo y en cualquier trabajo literario,dramático, musical o artístico allí
plasmado.
PROTECCIÓN CONTRA BORRADO
Cuado graba un material nuevo, la pletina graba encima de la
información anteriormente grabada. Para proteger una cinta de un
borrado accidental, quite una o ambas pestañas de plástico (una
para cada lado de la cinta) situadas en la parte superior de la cinta.
Si decide posteriormente que desea grabar encima de la cinta, selle
el hueco con un trozo de cinta adhesiva.
AVISO
Si la cinta está ligeramente suelta, ésta puede rayarse o incluso romperse. Si advierte que
la cinta está suelta, utilice un lápiz para tensarla antes de introducirla.
CUIDADOS Y MANTENIMIENTO
LIMPIEZA DEL EXTERIOR
•Desconecte el sistema de la toma de CA antes de limpiar el exterior de la unidad con un paño suave.
MANEJO DE CDs
• No toque la superficie grabada. Sujete el disco por los bordes o por un borde y el centro.
•No fije etiquetas ni cinta adhesiva en la superficie de la etiqueta. Tampoco rasque ni dañe la etiqueta.
•El CD gira a elevada velocidad dentro del reproductor. No utilice CDs dañados (agrietados o combados).
LIMPIEZA DE CDs
•Los CDs sucios pueden producir una calidad de sonido defectuosa. Mantenga limpios los CDs frotándolos
con cuidado con un paño suave desde la parte interior hacia el perímetro exterior.
•Si un CD se ensucia, humedezca un paño suave con agua, escúrralo bien, elimine la suciedad con cuidado
y seque la humedad restante con un paño seco.
•No utilice pulverizadores de limpieza de discos de vinilo o agentes antiestáticos en los CDs. Tampoco los
limpie con bencina, disolvente o cualquier otro disolvente volátil que pueda dañar la superficie del CD.
CUIDADO DE LAS CINTAS
•No exponga las cintas a la luz directa del sol ni las almacene en lugares calientes. Las temperaturas elevadas
pueden combar el soporte o dañar la propia cinta.
•Guarde las cintas en sus cajas cuando no las utilice.
•Las cintas pueden borrarse por efecto de campos magnéticos producidos por imanes, motores eléctricos,
transformadores eléctricos y otros dispositivos. Mantenga las cintas alejadas de imanes y campos magnéticos.
LIMPIEZA DE LOS CABEZALES
Se pueden acumular partículas de óxido de hierro procedentes de la cinta magnética en piezas que estén en
contacto con la cinta. Estos depósitos pueden provocar un borrado parcial, un sonido de reproducción amortiguado
e incluso pueden impedir la parada automática.
Para limpiar una pletina, abra el portacasetes, pulse PLAY y limpie con cuidado los cabezales, cabrestantes
y rodillos con un limpiador de cabezales.
Desconecte siempre el cable de alimentación antes de limpiar y deje que se seque durante 30 minutos después
de haber utilizado un limpiador líquido.
Limpie los cabezales cada 25 horas de uso.
•Desmagnetice el cabezal de vez en cuando utilizando una cinta desmagnetizadora de cabezales (disponible
en la mayoría de tiendas de equipos audio).
•No utilice nunca objetos metálicos sobre o cerca de los cabezales de cinta.
•No permita que se introduzca ningún producto de limpieza en el interior de la pletina.
FUNCIONES DEL MANDO A DISTANCIA (SÓLO PARA CD)
STOP
PROGRAM REPEAT
SEARCH-UP
SEARCH-DOWN
PAUSE
PLAY
SKIP
SKIP
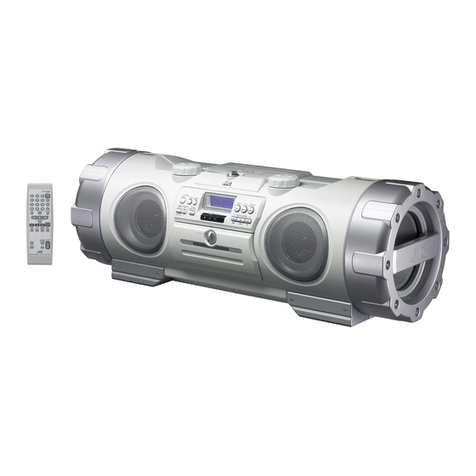
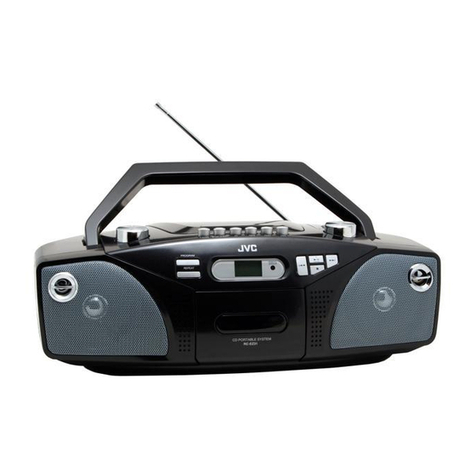
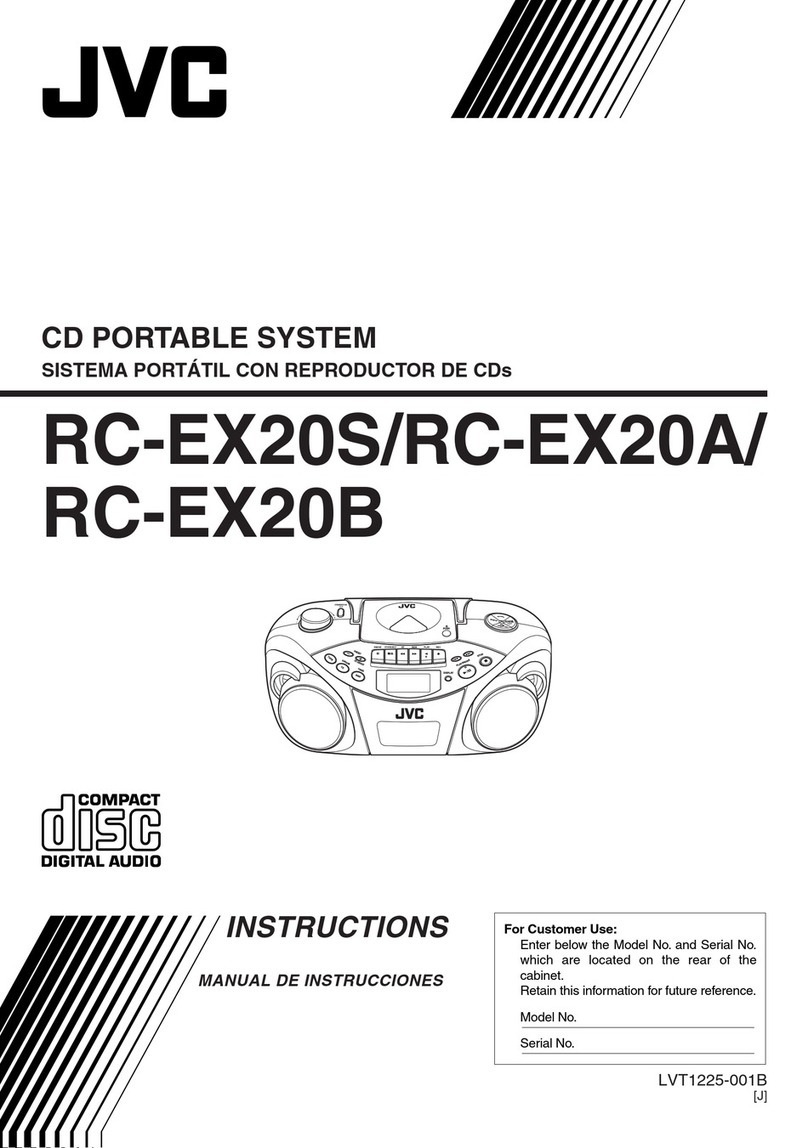
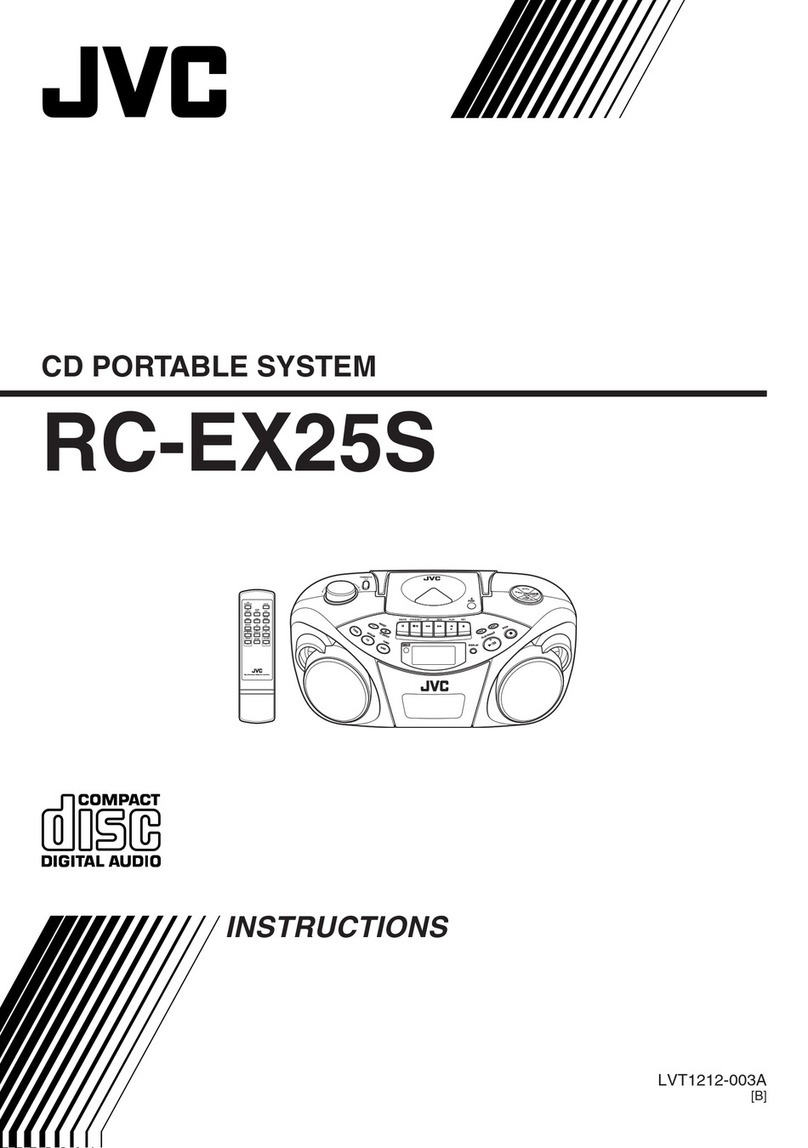
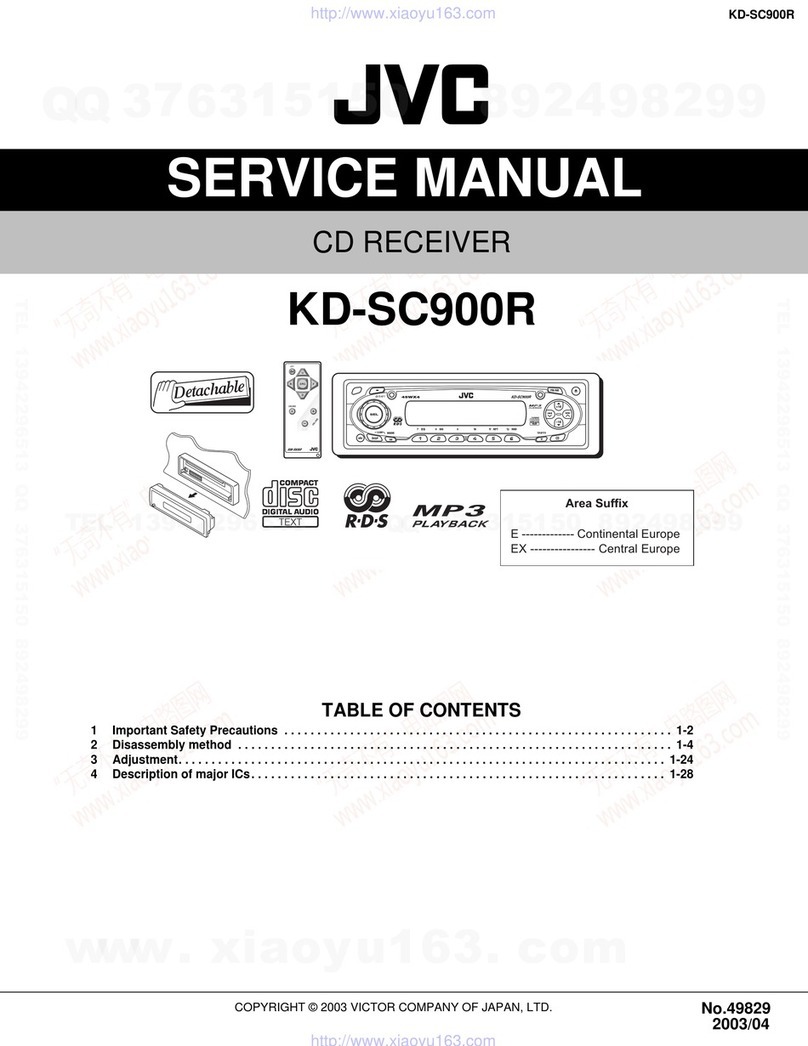
SISTEMA PORTÁTIL CON REPRODUCTOR DE CDs
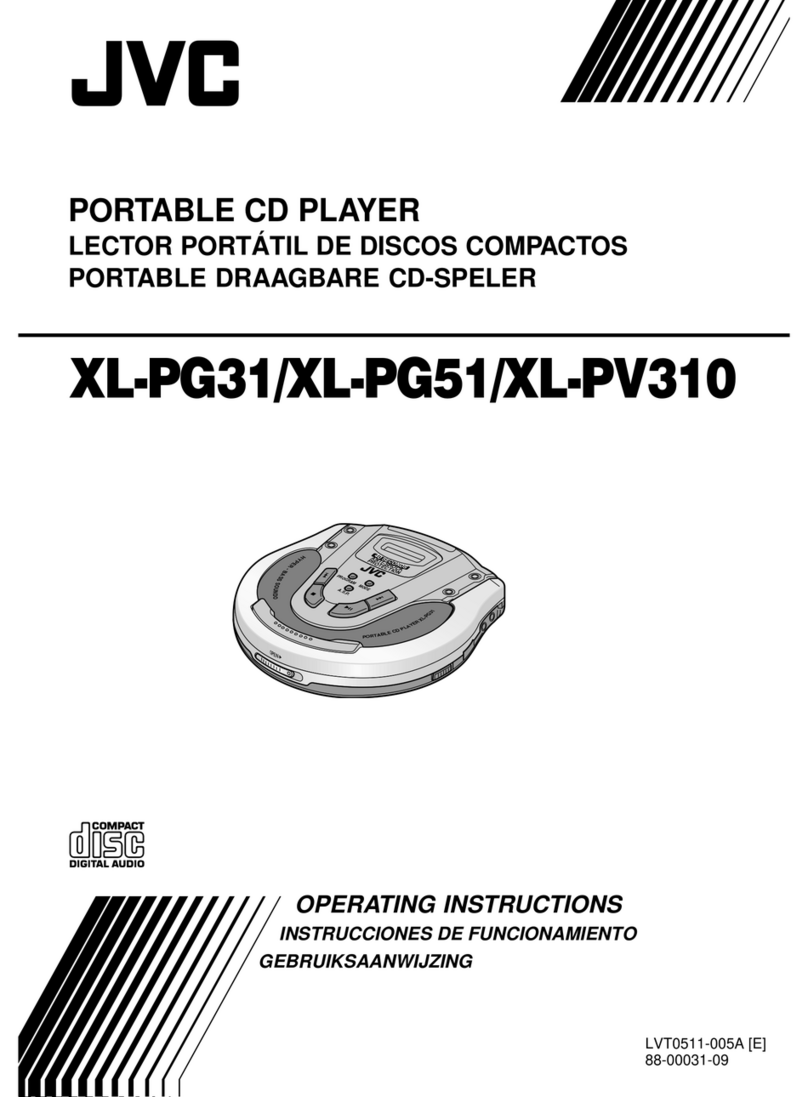
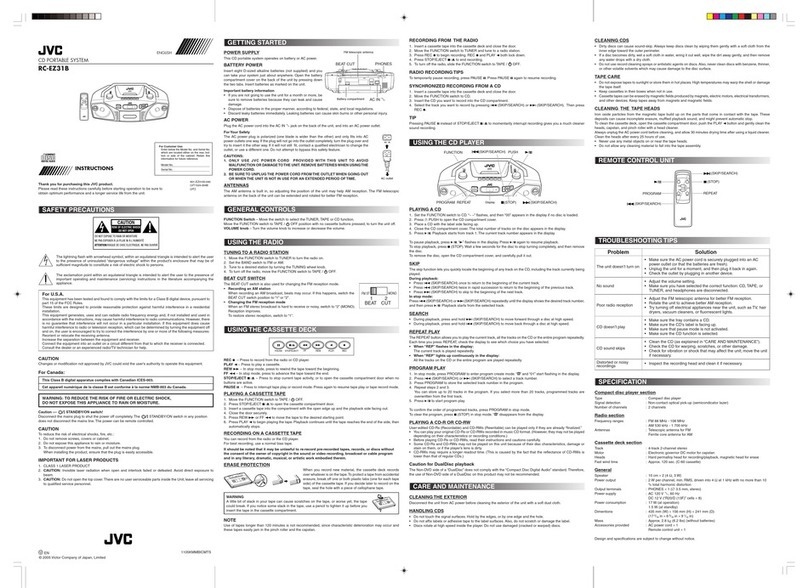
RC-EX16B
INSTRUCCIONES
ESPAÑOL
Gracias por haber adquirido este producto JVC.
Antes de utilizar esta unidad, lea atentamente estas instrucciones para obtener
el mejor rendimiento posible de su unidad y prolongar su duración.
LVT1374-001A [J]
0205NSMBICORI
SP ©2005 Victor Company of Japan, Limited
PRECAUCIONES DE SEGURIDAD
DO NOT EXPOSE TO RAIN OR MOISTURE
NE PAS EXPOSER À LA PLUIE NI À L'HUMIDITÉ
ATTENTION:RISQUE DE CHOC ELECTRIQUE, NE PAS OUVRIR
CAUTION
RISK OF ELECTRIC SHOCK
DO NOT OPEN
The lightning flash with arrowhead symbol, within
an equilateral triangle is intended to alert the user
to the presence of uninsulated “dangerous voltage”
within the product’s enclosure that may be of
sufficient magnitude to constitute a risk of electric
shock to persons.
The exclamation point within an equilateral triangle
is intended to alert the user to the presence of
important operating and maintenance (servicing)
instructions in the literature accompanying the
appliance.
CONSEJO
No se recomienda el uso de cintas de más de 120 minutos de duración, ya que pueden deteriorarse y la cinta
puede enredarse fácilmente en el rodillo y en el cabrestante.
GRABACIÓN DE LA RADIO
1. Introduzca una cinta en la pletina y cierre la tapa.
2. Desplace FUNCTION a TUNER y seleccione una emisora de radio.
3. Pulse REC para iniciar la grabación. REC y PLAY se bloquean.
4. Pulse STOP/EJECT para finalizar la grabación.
5. Para apagar la radio, desplace FUNCTION a OFF/TAPE.
CONSEJO PARA LA GRABACIÓN DE LA RADIO
•Para hacer una pausa momentánea en la grabación, pulse PAUSE en la pletina. Pulse de nuevo
PAUSE para reanudar la grabación.
GRABACIÓN SINCRONIZADA DE UN CD
1. Introduzca una cinta en la pletina y cierre la tapa.
2. Desplace FUNCTION a CD.
3. Introduzca el CD que desee grabar en la bandeja del CD.
4. Seleccione la pista que desee grabar pulsando (salto/búsqueda) o (salto/búsqueda).
5. Pulse REC para iniciar la grabación.
Tenga en cuenta que la cinta sigue funcionando cuando el CD termina la reproducción, o que el CD sigue
reproduciéndose cuando la cinta llega al final.
CONSEJO
Si utiliza el botón PAUSE de la pletina en vez del botón STOP/EJECT para interrumpir momentáneamente
la grabación, obtendrá un sonido de grabación mejor.
UUSO DEL CD
PUSH
PLAY/PAUSE STOP
HBS
HBS
REPEAT
RANDOM
PROGRAM
CDPLAYMODE
REMOTE
SENSOR
CARGA DE UN CD
1. Desplace FUNCTION a CD; “– –” parpadea y, a continuación, aparece “no” en la pantalla si no hay cargado
ningún CD.
2. Pulse )PUSH para abrir la bandeja del CD.
3. Introduzca un CD en la bandeja con la etiqueta mirando hacia arriba.
4. Cierre la bandeja del CD. Aparecerá el número total de pistas.
5. Para sacar el CD, pulse )PUSH, sujete el CD por los bordes y extráigalo con cuidado.
REPRODUCCIÓN DE UN CD
Pulse PLAY/PAUSE para reproducir todas las pistas en orden empezando por la pista 1. El número de
pista actual aparece en la pantalla.
Nota: Pulse PLAY/PAUSE para detener momentáneamente la reproducción del CD. El indicador y el
número de pista parpadean en la pantalla. Pulse de nuevo PLAY/PAUSE para reanudar la reproducción
del CD.
•Ajuste VOLUME hasta encontrar el nivel deseado.
•Pulse STOP 7para detener la reproducción del CD. Espere unos segundos para que el CD deje de girar y,
a continuación, pulse )PUSH para abrir la bandeja del CD y saque el CD.
BÚSQUEDA AUTOMÁTICA
La búsqueda automática le permite situarse rápidamente al principio de cualquier pista del CD, incluso de la
pista que está siendo reproducida. Si el CD se está reproduciendo:
• Pulse (salto/búsqueda) una vez para volver al principio de la pista actual y pulse dos veces para volver
al principio de la pista anterior.
• Pulse (salto/búsqueda) para saltar al principio de la siguiente pista.
Si el CD está parado, pulse repetidamente (salto/búsqueda) o (salto/búsqueda) hasta que la pantalla
muestre el número de pista que desee reproducir y, a continuación, pulse PLAY/PAUSE . El reproductor de
CDs empieza reproducir la pista seleccionada.
BÚSQUEDA DE PISTAS
•En modo de reproducción, mantenga pulsado (salto/búsqueda) para avanzar rápidamente una pista.
•En modo de reproducción, mantenga pulsado (salto/búsqueda) para rebobinar rápidamente una pista.
REPRODUCCIÓN REPETIDA
El botón REPEAT le permite repetir una pista (REP 1) o todas las pistas (REP ALL). Para desplazarse por las
diferentes opciones, pulse y suelte continuamente REPEAT, y compruebe en la pantalla la opción seleccionada.
La siguiente tabla muestra cómo funciona REPEAT en los diferentes modos.
NORMAL REP 1 REP ALL
REPRODUCCIÓN ALEATORIA
Pulse RANDOM hasta que “RAND” aparezca en la pantalla. Inicie la reproducción pulsando PLAY/PAUSE
y las pistas se reproducirán en orden aleatorio.
Para salir de la reproducción aleatoria, pulse de nuevo RANDOM.
REPRODUCCIÓN PROGRAMADA
Pulse PROGRAM para acceder al modo de edición del programa.
“00” y “PROG” parpadearán en la pantalla. Pulse (salto/búsqueda) o (salto/búsqueda) para seleccionar
el número de pista y pulse PROGRAM para memorizar el número en el lugar del programa. Puede repetir estos
pasos para programar hasta 20 pistas.Tenga en cuenta que si programa más de 20 pistas, se sobrescribirán las
pistas ya programadas. Durante la reproducción programada, “PROG” parpadea continuamente.
Para confirmar el orden del programa, pulse PROGRAM en modo de parada. Cada vez que pulse PROGRAM,
aparecerá el número del programa, y a continuación el número de pista correspondiente parpadeará en orden
desde la primera pista programada.
Para borrar todo el programa de la memoria apague la unidad o abra la bandeja del CD.
Esta unidad ha sido diseñada para reproducir únicamente los siguientes CDs.
•CD de audio digital
•CD de audio digital grabable (CD-R)
•CD de audio digital regrabable CD (CD-RW)
Al reproducir un CD-R o CD-RW
Puede reproducir discos CD-R o CD-RW grabados en formato de CD de música (si un CD-RW se ha grabado
en un formato diferente, borre completamente todos los datos del CD-RW antes de grabar en él).
•Puede reproducir discos CD-R o CD-RW como un CD de audio.
•Algunos CD-R o CD-RW no pueden reproducirse en la unidad debido a las características, daños o manchas
en el disco, o si la lente del reproductor está sucia.
•El factor de reflexión de un CD-RW es más bajo que el de otros CDs, y es posible que tarde más tiempo en
leer un CD-RW.
•Los discos CD-R y CD-RW de formato MP3 no pueden reproducirse.
Precaución sobre la reproducción de DualDisc
El lado no DVD de un “DualDisc” no es compatible con la norma “Compact Disc Digital Audio”. Por consiguiente,
no se recomienda usar el lado no DVD de un DualDisc en este producto.
Antenna BEAT CUT/FM MODE switch
AC IN jack
Battery compartment
PHONES jack
BEAT CUT
FM MODE
12
STEREO MONO
Bandeja del CD )PUSH
REPEAT
RANDOM
salto/búsqueda
hacia atrás
PLAY/PAUSE
STOP 7
PROGRAM
salto/búsqueda
hacia adelante
FUNCTION
SKIP/SEARCH-DOWN
(hacia atrás)
PROGRAM
STOP
SKIP/SEARCH-UP
(hacia adelante)
REPEAT
PLAY/PAUSE
For Customer Use:
Enter below the Model No. and Serial No.
which are located either on the rear, bot-
tom or side of the cabinet. Retain this
information for future reference.
Model No.
Serial No.
For U.S.A.
This equipment has been tested and found to comply with the limits for a Class B digital device, pursuant to
part 15 of the FCC Rules.
These limits are designed to provide reasonable protection against harmful interference in a residential
installation.
This equipment generates, uses and can radiate radio frequency energy and, if not installed and used in
accordance with the instructions, may cause harmful interference to radio communications. However, there
is no guarantee that interference will not occur in a particular installation. If this equipment does cause
harmful interference to radio or television reception, which can be determined by turning the equipment off
and on, the user is encouraged to try to correct the interference by one or more of the following measures:
Reorient or relocate the receiving antenna.
Increase the separation between the equipment and receiver.
Connect the equipment into an outlet on a circuit different from that to which the receiver is connected.
Consult the dealer or an experienced radio/TV technician for help.
For Canada
CAUTION: TO PREVENT ELECTRIC SHOCK, MATCH WIDE BLADE OF PLUG TO WIDE SLOT, FULLY INSERT.
THIS DIGITAL APPARATUS DOES NOT EXCEEDTHE CLASS B LIMITS FOR RADIO NOISE EMISSIONS FROM
DIGITAL APPARATUS AS SET OUT IN THE INTERFERENCE-CAUSING EQUIPMENT STANDARD ENTITLED
“DIGITAL APPARATUS,” ICES-003 OF THE DEPARTMENT OF COMMUNICATIONS.
WARNING: TO REDUCE THE RISK OF FIRE OR ELECTRIC SHOCK,
DO NOT EXPOSE THIS APPLIANCE TO RAIN OR MOISTURE.
Precaución –– Interruptor OFF!
Desconecte la clavija de red para cortar completamente la alimentación. Ninguna de las posiciones del interruptor
desconecta la línea de red. La alimentación no puede controlarse con el mando a distancia.
PRECAUCIÓN
Para reducir el riesgo de descargas eléctricas, fuego, etc.:
1. No quite los tornillos, las cubiertas ni la carcasa.
2. No exponga este aparato a la lluvia ni a la humedad.
IMPORTANTE PARA PRODUCTOS LÁSER
1. PRODUCTO LÁSER CLASE 1
2. PRECAUCIÓN: No abra la tapa superior. En el interior de la unidad no hay piezas
que pueda reparar el usuario; encargue el servicio a personal técnico cualificado.
3. PRECAUCIÓN: Radiación láser visible e invisible en caso de apertura o con
interbloqueo averiado o defectuoso. Evite la exposición directa a los haces.
4. REPRODUCCIÓN DE LA ETIQUETA: ETIQUETA DE PRECAUCIÓN, COLOCADA
EN EL INTERIOR DE LA UNIDAD.
Interruptor BEAT
CUT/FM MODE
Antena
Compartiment de las pilas ÓToma AC IN
Al introducir las pilas R03 (UM-4) / AAA (24F)
(no suministradas)
Haga corresponder la polaridad (+ y –) de las pilas
con las marcas + y – en el compartimento de las pilas
en la parte posterior de la unidad.
CONSEJOS PARA LA SOLUCIÓN DE PROBLEMAS
ESPECIFICACIONES
Problema Solución
•Compruebe que el cable de alimentación esté enchufado correctamente
a la toma de CA (o que las pilas son nuevas).
•Desenchufe la unidad y enchúfela de nuevo.
•Compruebe el funcionamiento de la toma enchufando otro aparato.
•Ajuste el volumen.
•Compruebe que ha seleccionado la función correcta: CD, TAPE o TUNER
y que los auriculares estén desconectados.
•Ajuste la antena telescópica de FM para mejorar la recepción de FM.
•Gire la unidad para mejorar la recepción de AM.
•Desconecte los aparatos eléctricos, como un televisor, secadores de
pelo, aspiradoras o luces fluorescentes, situados cerca de la unidad.
•Compruebe que ha introducido un CD en la bandeja.
• Compruebe que la etiqueta del disco esté mirando hacia arriba.
•Compruebe que el modo de pausa esté desactivado.
•Compruebe que ha seleccionado la función CD.
•Limpie el CD (tal como se explica en “CUIDADOS Y MANTENIMIENTO”).
•Compruebe que el CD no esté combado, rayado, ni dañado.
• Compruebe si existen vibraciones o golpes que puedan afectar a la
unidad; desplácela en caso necesario.
•Inspeccione el cabezal de grabación y límpielo en caso necesario.
•Desmagnetice el cabezal de grabación (tal como se explica en
“CUIDADOS Y MANTENIMIENTO”).
El sistema no se enciende.
Ausencia de sonido.
Mala recepción de radio.
El reproductor de CDs no
reproduce.
El sonido del reproductor
de CDs es se entrecorta.
Grabaciones
distorsionadas o con ruido.
Reproductor de CDs
Capacidad de CDs : 1 CD
Gama dinámica : 60 dB
Relación señal-ruido : 75 dB
Sintonizador
Gamas de frecuencia : FM 88 - 108 MHz
:AM 540 - 1 700 kHz
Antena : Antena telescópica para FM
Antena de núcleo de ferrita
para AM
Pletina
Frecuencia de respuesta
:60 Hz - 10 000 Hz
Fluctuación y trémolo : 0,15% (WRMS)
General
Altavoz : Cono 9 cm ×2 (4 Ω)
Salida de potencia : 2 W por canal, mín. RMS,
activada en 4Ωa 1 kHz con
una distorsión armónica que
no supere 10 %
Ter minales de salida : PHONES ×1
(∅3,5 mm, estéreo)
Suministro eléctrico : 120 V CA Ó, 60 Hz
9 V CC (“R20 (SUM-1)/D
(13D)” ×6)
Consumo : 12 W (en funcionamiento),
3 W (en modo de espera)
Dimensiones : 420 mm (An) ×178 mm (Al)
×249 mm (Prf)
(16 9/16 pulgadas x 7 1/16
pulgadas x 9 13/16 pulgadas )
Peso : Aprox. 3,2 kg (7.1 lbs) (sin
pilas)
Accesorios suministrados
:Cable de alimentación de
CA ×1
Mando a distancia ×1
El diseño y las especificaciones están sujetos a
cambios sin previo aviso.
CAUTION - INVISIBLE LASER RADIATION WHEN OPEN AND INTERLOCKS
DEFEATED. AVOID EXPOSURE TO BEAM.
VORSICHT ! UNSICHTBARE LASERSTRAHLUNG TRITT AUS, WENN DECKEL
GEÖFFNET UND WENN SICHERHEITSVERRIEGELUNG
ÜBERBRÜCKT IST. NICHT DEM STRAHL AUSSETZEN!
VARNING - OSYNLIG LASERSTRÅLNING NÄR DENNA DEL ÄR ÖPPNAD OCH
SPÄRR ÄR URKOPPLAD STRÅLEN ÄR FARLIG.
ADVARSEL - USYNLIG LASERSTRÅLING VED ÅBNING NÅR
SIKKERHEDSAFBRYDERE ER UDE AF FUNKTION. UNDGÅ
UDSÆTTELSE FOR STRÅLING.
Toma PHONES
001_RCEX16B_J_Es_A2 2/28/05, 3:29 PM1
