9 10
ENGLISH
CH 28
>> AUTO PROGRAM
14%
> LANGUAGE
> COUNTRY
>EDIT
01
AV
PR
02
03
04
05
06
07
08
09
ID CH/CC
BBC1 CH 21
CH 22
CH 23
CH 24
CH 25
CC 02
CC 03
CC 04
CC 05
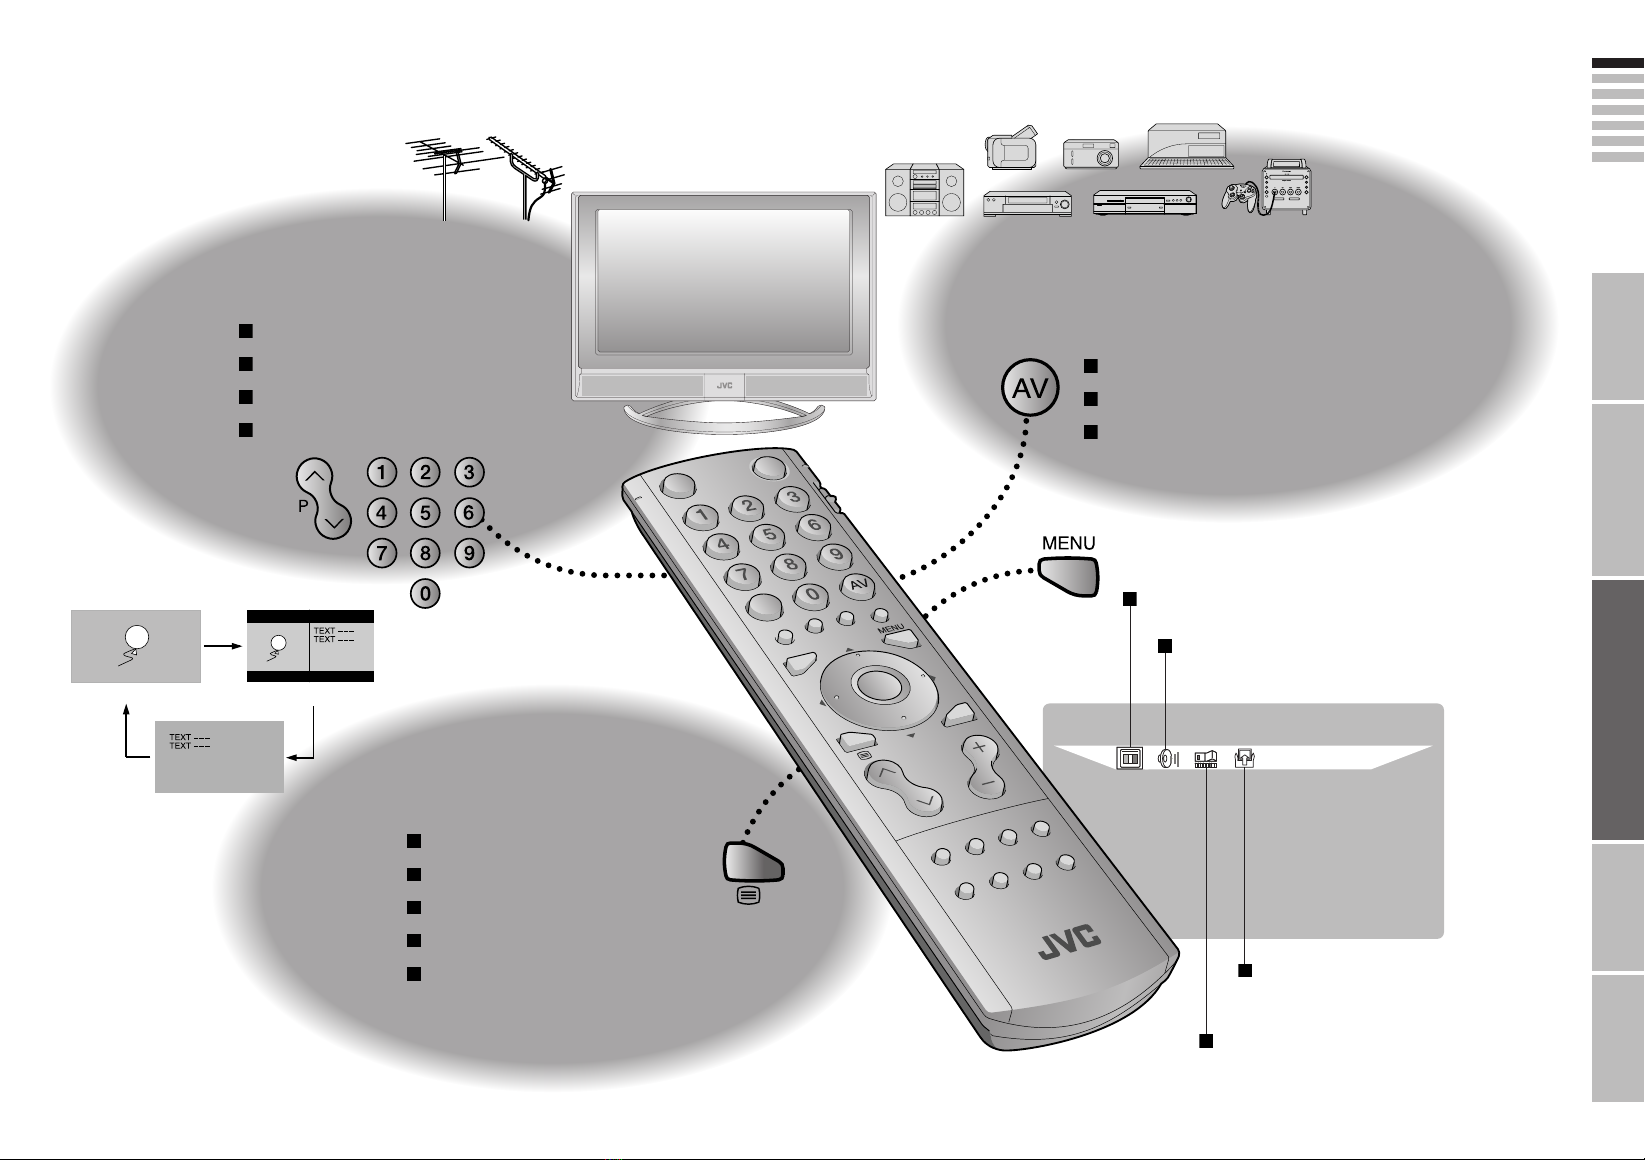
DOWNLOAD TV RECORDING DEVICE
T-V LINK
IMPORTANT! PREPARE USE
SETTINGS
TROUBLE?
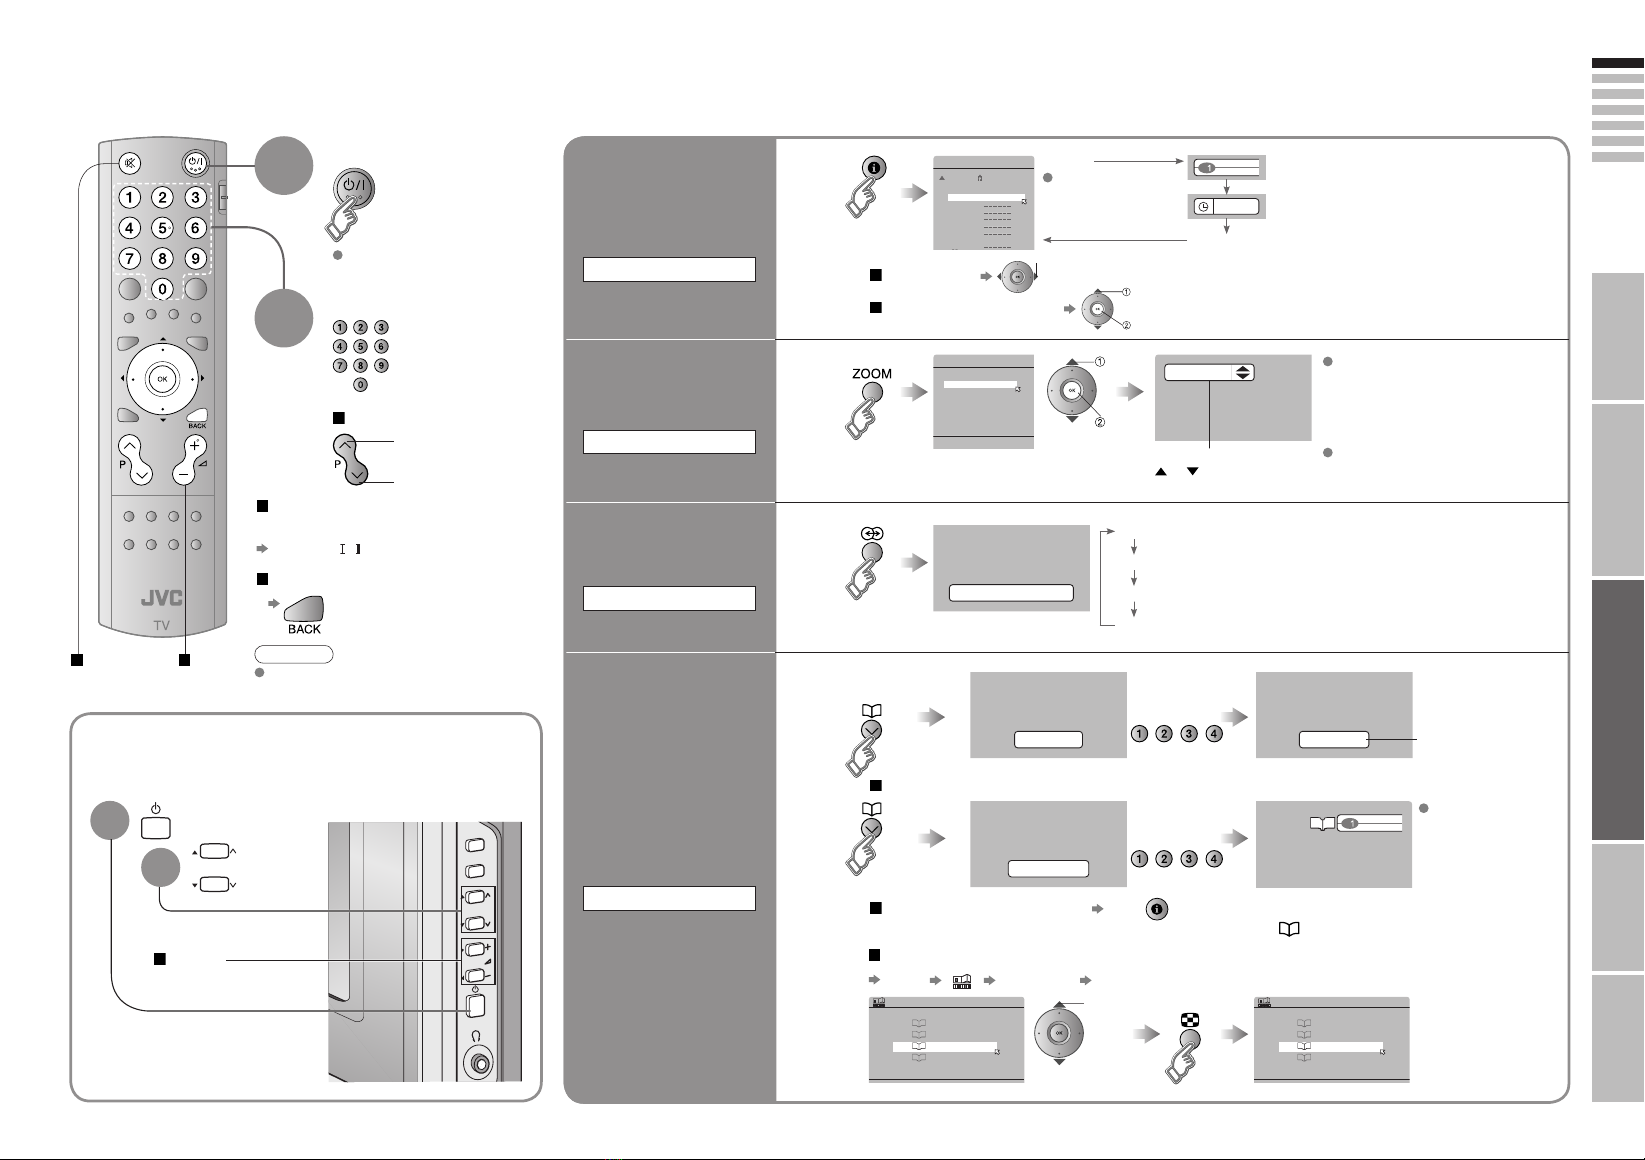
Initial settings
Set the menu language, installation location and automatically register the TV channels.
These channels can be edited later in "Editing channels" (P. 11).
(Channel data on the TV can be sent to a connected recording device that is compatible with T-V LINK.)
To the previous screen
If the "JVC" logo does not appear or
if you wish to make changes later
"LANGUAGE" and "AUTO PROGRAM"
(P. 26)
Exit
MENU
BACK
TV
What is "T-V LINK"?
Connecting the TV to a T-V LINK
compatible device allows :
“T-V LINK” (JVC) “Q-LINK” (Panasonic)
“Megalogic” (Grundig) “Data Logic” (Metz)
“SMARTLINK” (Sony) “Easy Link” (Philips)
T-V LINK variations
Channels on the TV to be instantly
registered on the device.
The "DIRECT REC" function to
be used.
"Technical information" (P. 32)
Begin
Select a language
Select the country of installation
Automatically register channels
Check what was registered
select
select
For the next page (Yellow)
Shown only when
powering on for the first time.
The power on the remote control can also be used.
Edit channels
When not using T-V LINKWhen using T-V LINK
If "FEATURE NOT
AVAILABLE" appears :
Is the T-V LINK compatible
device connected to EXT-2?
Is the device turned on?
If "ACI START" appears, select
and start settings. (This will set up
cable television channels.)
"What is ACI (Automatic
Channel Installation)?" (P. 32)
Finish
1
3
2
4
5
6
set
Confirm
in "Editing channels"
(P. 11)
LT-37&32&26S60_Eng.indd 9-10LT-37&32&26S60_Eng.indd 9-10 8/23/2005 11:49:29 AM8/23/2005 11:49:29 AM