7
Remote control buttons and functions
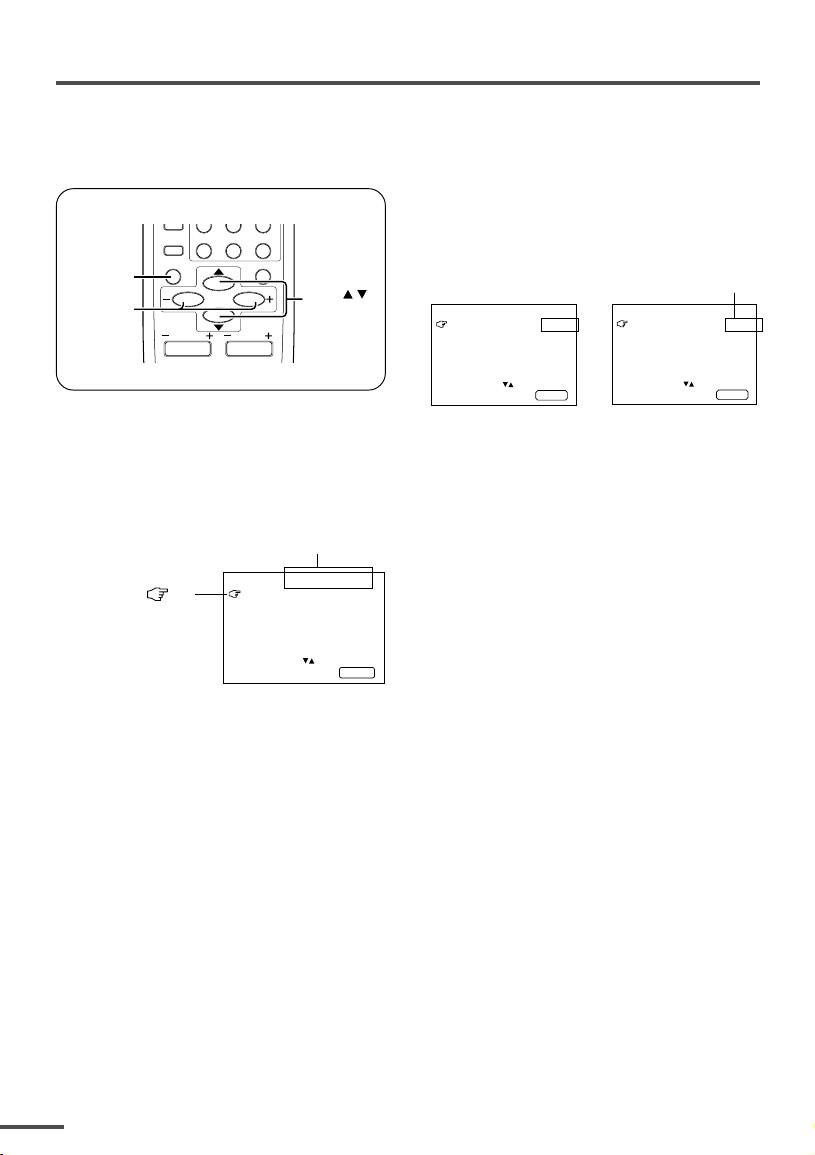
ECO SENSOR button
You can adjust this TV so that the screen
automatically adjusts to the optimum
contrast according to the brightness of
your room. This function reduces eye
strain and the power consumption of this
TV.
Press this button to select the desired
mode.
AI ECO SENSOR 1:
The AI ECO SENSOR function switches
on.
Usually, it is recommended to watch the
TV in this mode.
AI ECO SENSOR 2:
The AI ECO SENSOR function switches
on.
If you feel the screen in the “AI ECO
SENSOR 1” mode is too dark, select this
mode.
AI ECO SENSOR OFF:
The AI ECO SENSOR function switches
off.
• You can display on the screen the effect of the
AI ECO SENSOR function.
For details, see “AI ECO DISPLAY”on page 13.
PICTURE MODE button
You can select one of three picture
adjustment settings as you like.
Press this button to select a mode.
BRIGHT:
Heightens contrast and sharpness.
STANDARD:
Standardizes picture adjustments.
SOFT:
Softens contrast and sharpness.
•Pressing this button returns all the picture
settings in the “MENU 4” to their default
settings.
COLOUR SYSTEM button
If the picture is not clear or no colour
appears, change the current colour system
to another colour system.
Press this button to select the colour
system.
AUTO PAL SECAM
NTSC3.58
NTSC4.43
AUTO:
Automatic colour system selection.
•For the colour systems in each country or
region, see the table“Broadcasting systems”
on page 20.
•If the picture is not normal in the AUTO
mode, change the AUTO mode to another
colour system.
SOUND SYSTEM button
If the sound is not clear even when the
picture appears normal, change the
current sound system to another sound
system.
Press this button to select the sound
system.
B/G D/K M
I
•For the sound systems in each country or
region, see the table “Broadcasting systems”
on page 20.
•You cannot select any sound system when in
a VIDEO mode.


 User manual")