ARIZA BULMA / TROUBLE SHOOTING
Problem /
Problem
Gösterge / Indicator Sebep / Cause Çözüm / Solution
Armatürden
su akmıyor
No water
coming out of
the tap
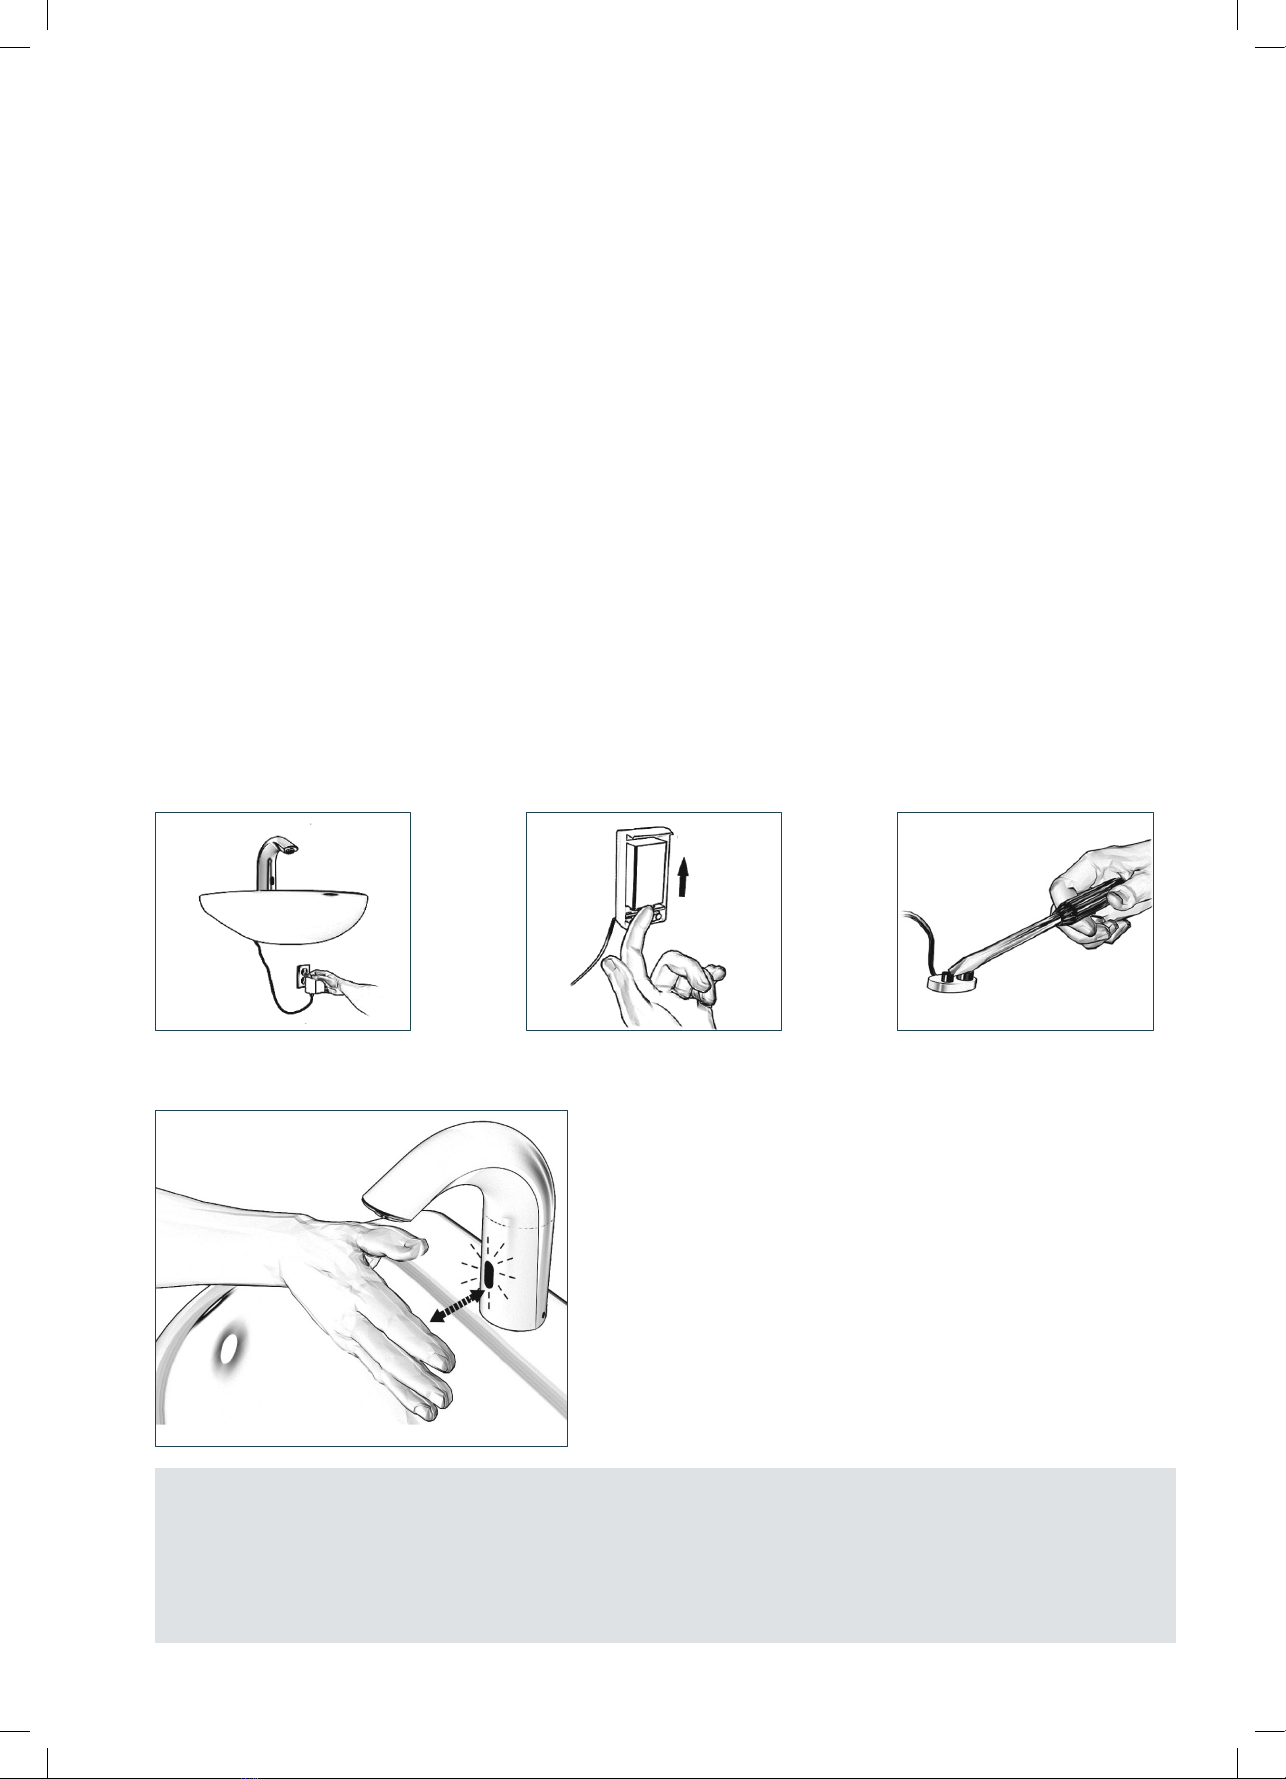
1. Kullanıcının elleri sensörün
menziline girdiğinde sürekli
yanıp sönmektedir.
1.Sensor flashes continuously
when user’s hands are within.
Zayıflamış pil
Low battery
Pili değiştirin
Replace battery
2. Sensörün üzerindeki kırmızı
ışık kullanıcının elleri sensörün
menziline girdiğinde yanıp
sönmüyor.
2. Red light in the sensor
does not flash when user’s
handsare within the sensor’s.
1. Menzil çok kısa
2. Menzil çok uzun
3. Pil tamamen boşalmış
1. Range is too short
2. Range is too long
3. Battery is completely used up
Menzili artırın
Menzili azaltın
Pilin değiştirilmesi gerekir
Increase the range
Decrease the range
The battery must be replaced.
4. Ünite “Güvenlik Modunda”*.
4. Unit is in “Security Mode”*
5. Sensor aynadan veya diğer objelerden yansımaları alıyor.
5. Sensor is picking up reflections from mirror or other
object.
Yansımanın sebebini ortadan kaldırın.
Eliminate cause of reflection.
3. Sensörün üzerindeki kırmızı
ışık kullanıcının elleri sensörün
menziline girdiğinde yanıp
sönüyor.
3. Red light in the sensor
flashes when user’s hands are
within the sensor’s range.
1. Elektronik ünite ile solenoid arasındaki konektörlerin
bağlantısı kopmuş.
1. Connectors between the electronic unit and solenoid are
disconnected.
Elektronik ünitenin konektörleri solenoide bağlayın.
Connect the electronic unit connectors to the solenoid.
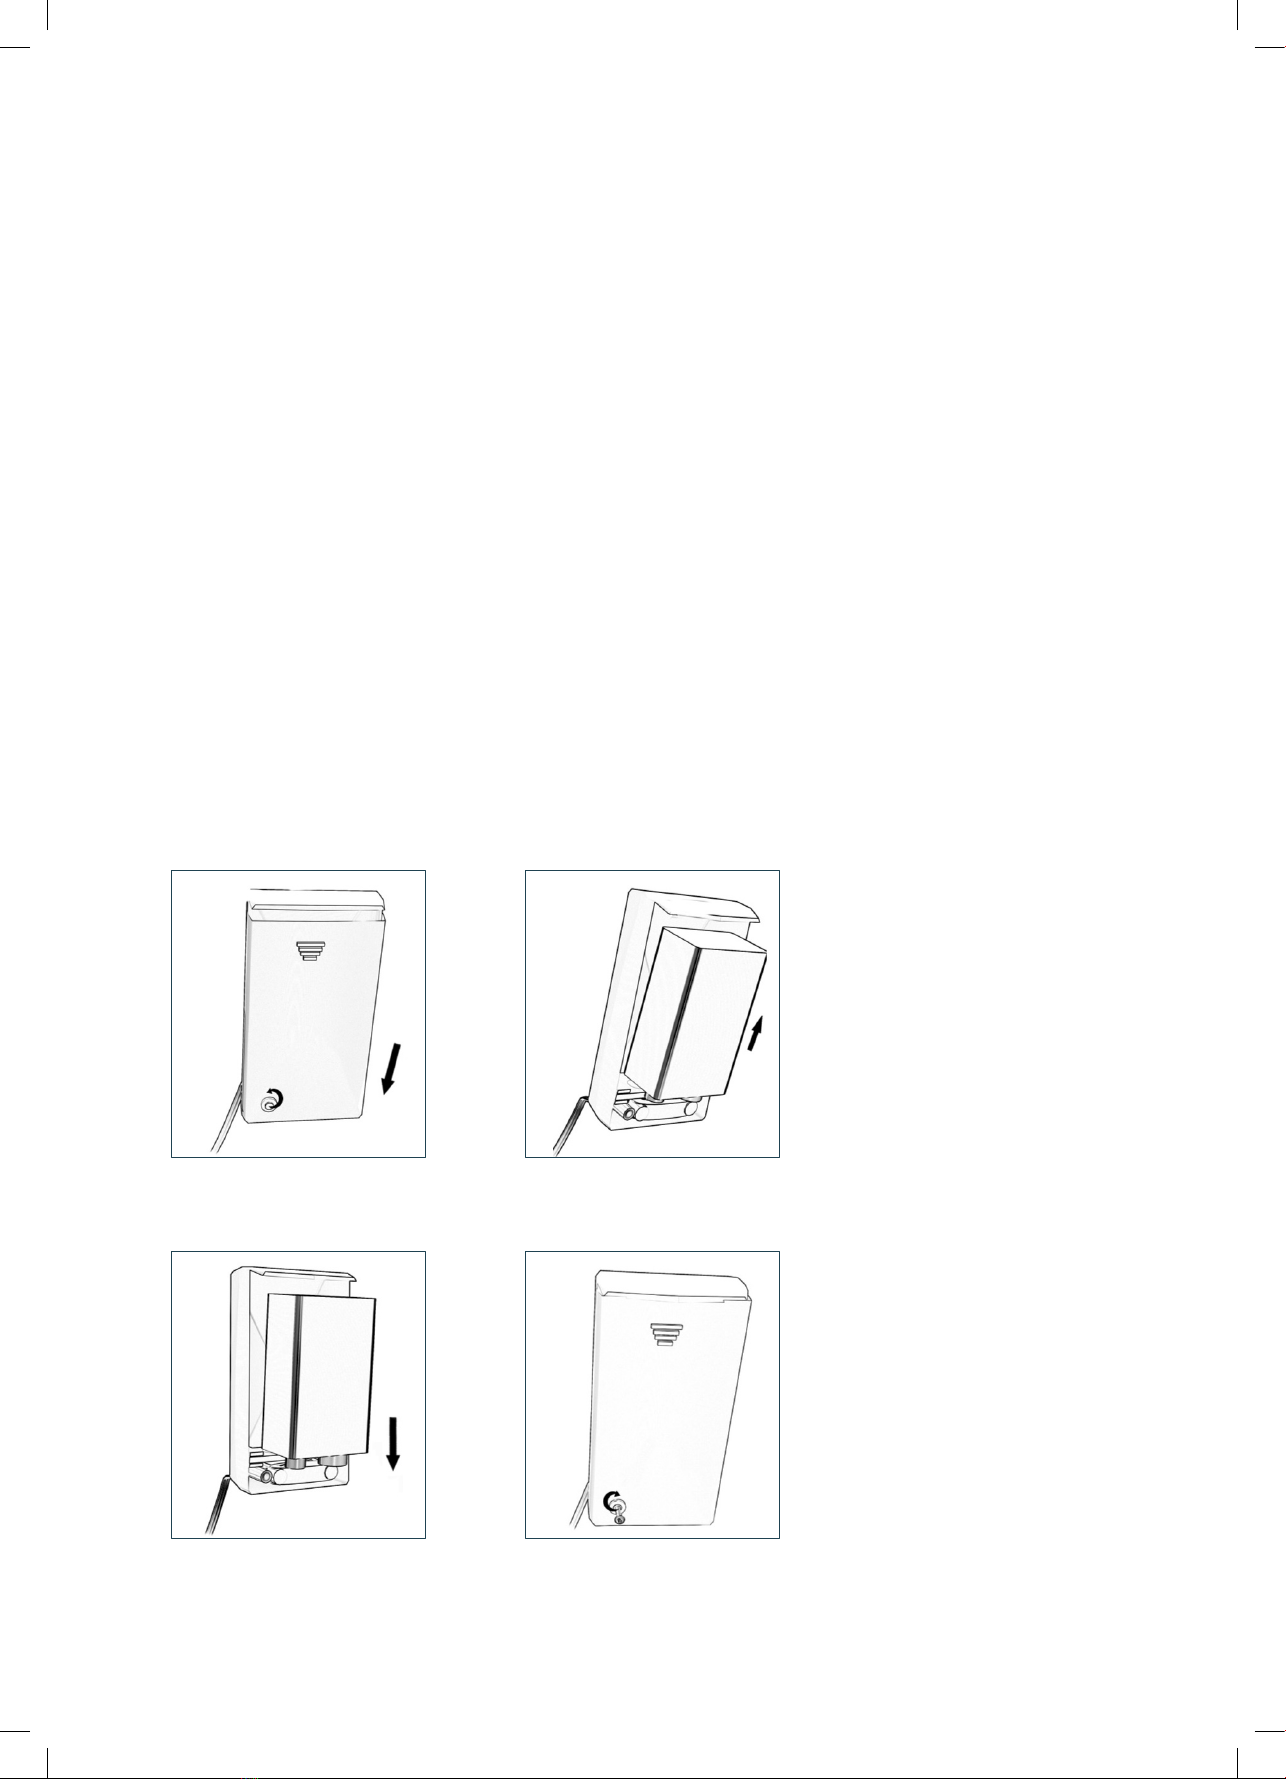
2. Solenoidde biriken kir veya boru kireci.
2. Debris or scale in solenoid.
Solenoidi sökün, pistonu ve yayı solenoidden çıkartın. Bu
parçaları basınçla veya kireç sökücü kullanarak temizleyin.
Pistonu yerine takarken yayın dikey konumda olduğundan
emin olunuz.
Unscrew solenoid, pull out the plunger and the spring from
solenoid and clean them. Use scale remover material if
needed. When replacing the plunger,please make sure that
the springis in vertical position.
3. Diyaframın ortasındaki delik tıkanmış veya diyafram
aşınmış.
3. The central orifice in the diaphragm is plugged or the
diaphragm is torn.
Deliği temizleyin veya diyaframı değiştirin.
Clean the orifice or replace diaphragm.
4. Su kaynağının basıncı 8 bar’dan daha yüksek
4. The water supply pressure is higher than 8 bar.
Su kaynağının basıncını düşürün.
Reduce the water supply pressure.
5. Su kaynağının basıncı 8 bar’dan daha düşük olmasına
rağmen musluğun gövdesindeki basınç daha yüksek. Bu
duruma su kaynağının basıncındaki ani artışın su kaynağı
basıncı 8 bar’ın altına düşse dahi frenlemenin basıncın
düşüşünü engellemesi yol açar.
5. The water supply pressure is under 8 bars and yet the
pressure in the faucet’s body is higher. This situation could
be caused by a sudden increase in the water supply pressure
that the back-check prevents from dropping, even after
water supply pressuredrops under 8 bars.
Su kaynağını kapatın ve ürünü bloke eden basıncı düşürmek
için esnek borulardan birisini sökün. / Shut off water supply
and unscrew one of the flexible pipesin order to reduce the
pressure that blocks the product.
Armatürden
akan su
durmuyor
Water flow
from spout
does not stop
1. Kullanıcının elleri sensörün
menziline girdiğinde yanıp
sönmektedir. 1. Sensor
flashes when user’s hands are
within the sensor’s range.
Diyaframın ortasındaki delik tıkanmış veya diyafram aşınmış.
Debris or scale in diaphragm or the diaphragm is torn.
Deliği temizleyin veya diyaframı değiştirin.
Clean the orifice or replace diaphragm.
2. Sensörün üzerindeki kırmızı
ışık kullanıcının elleri sensörün
menziline girdiğinde yanıp
sönmüyor. 2. Red light in the
sensor does not flash when
user’s hands are within the
sensor’s range.
1. Sensör kirli veya üstü kapanmış**
1. Sensor is dirty or covered**
Temizleyin veya engelleyen durumu ortadan kaldırın.
Clean or eliminate case of interference.
2. Sensor aynadan veya diğer objelerden yansımaları alıyor.
2. Sensor is picking up reflections from mirror or another
object.
Menzili azaltın veya yansımanın sebebini ortadan kaldırın
Decrease the range or eliminate cause of reflection.
Su akışı
azalıyor
Water flow
diminished
Filtre veya havalandırıcı tıkalı.
Filter or aerator is clogged.
Çıkarın, temizleyin ve yeniden takın.
Remove, clean and reinstall.