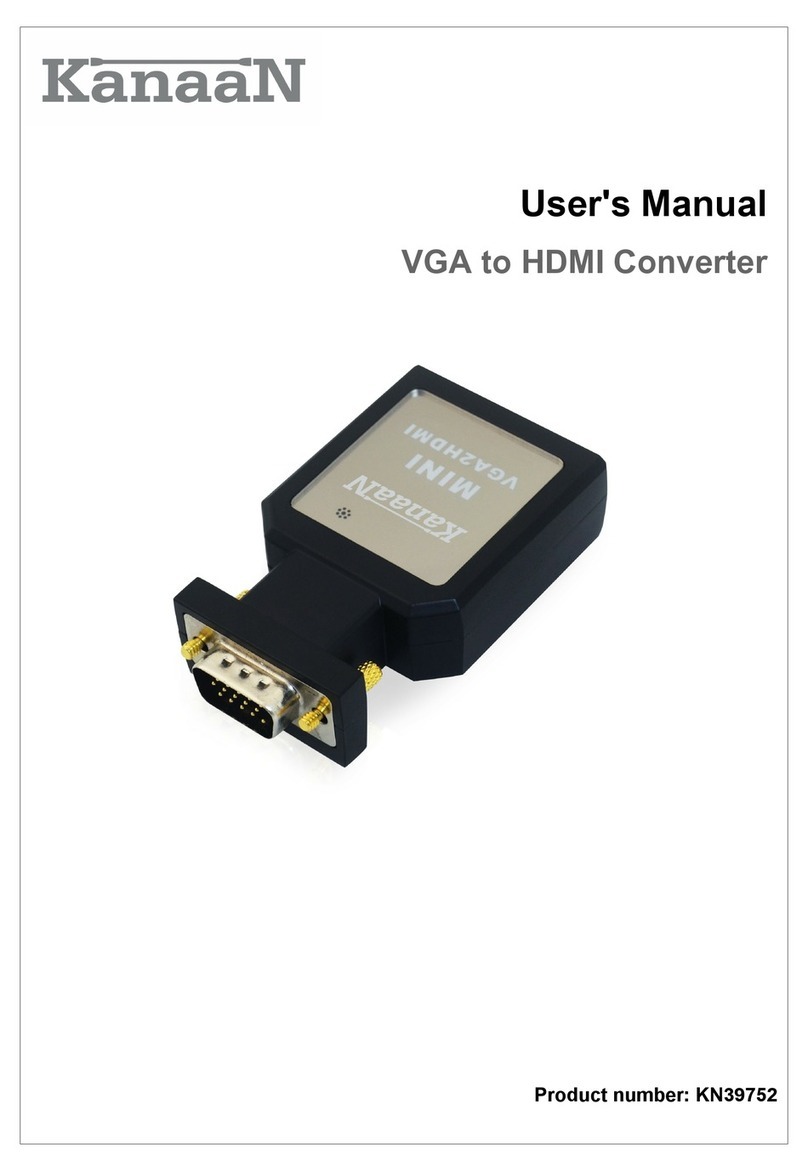
Kanaan KN39753 User manual

User's Manual
Video Converter
Product number: KN39753

Thank you for purchasing the converter from KanaaN.
We hold several brands to produce and distribute our products: EICKE (power adapters,
batteries), KanaaN (adapters/converters, charging cables etc.), Sharon (iPad cases with
keyboard, fans etc.), Hebron (protective cases, docking stations, screen protectors etc.),
Manna (notebook cases).
We continuously work on the further development of our products, our customer support and
innovations. ur products have a long service life, are eco-friendly and high performing.
Furthermore, every day we do our very best to satisfy you as our customer. That is why you,
no matter if private or business customer, are in the focus of our company‘s efforts. We take
your reviews and proposals seriously and evaluate them continuously. That way, we get to
know you and your demands on our products and services better and thus allow for positive
enhancements.
To discover more about LEICKE products, or if you have any questions about this product,
visit our website www.leicke.com (production & wholesale) or www.leicke-distributor.de
(distribution) and feel free to contact us.
2

Dear customer,
if you have to convert VGA signals into video/S-video signals, e.g. to show movies from your
PC on a large-screen V, then this converter is just the right thing for you.
For optimum performance, please read these instructions carefully before operating this
product. Please keep this manual for further reference.
Your LEICKE eam!
PACKAGE CONTENTS
Before attempting to use this device, please check the packaging and make sure the
following items are contained in the package:
Name Number of Pieces Note
Video Converter 1 -
SCART adapter 1 Switch on "In" when using it
S-video cable 1 1.2 m
Composite video cable 1 1.4 m
VGA cable 1 1.3 m
Stereo audio cable 1 3.5 mm jack to 2x Cinch, 1.3 m
USB charging cable 1 Device supplied with power via USB
User's Manual 1 -
3

TECHNICAL DETAILS
Signal Input/Output
Input VGA (looped) supports:
640x480@60/72/75/85Hz,
800x600@60/75Hz, 1024x768@60/75Hz
1280x1024 @60Hz
utput Composite video, S-video, VGA
Connectors
Input connector VGA, 15 pin SubD (w)
utput connector Composite cinch RCA, S-video, VGA
Bit Rate 24 bit depth (True Color)
Size and Weight
(L x W x H) 60 x 65 x 20 mm
Weight (net) 85 g
Environmental Specifications
perating Temperature 0°C~70°C
perating Humidity 10% to 60% RH
Storage Temperature -10°C~75°C
Storage Humidity 5% to 90% RH (no condensation)
Power Requirements
External Power Supply 5 V/500 mA via USB adapter
Power Consumption max. 2.5 W
Regulatory Approvals
Converter Unit CE, FCC, RoHS
Power Adapter CE, FCC, CCC
4

PANEL DESC IPTION
Please study the panel drawings below and become familiar with the signal input(s), output(s)
and power connector.
(1) DC 5 V > USB interface
(2) system adjuster > adjust PAL / NTSC system
(3) video-out > connect to TV or VCR devices
(4) S-video-out > connect to TV or VCR devices
(5) VGA-out > connect to display
(6) VGA-in > connect to PC
CONNECTION DIAG AM
5

KEYS
Name Explanation
(1), (2), (3), (4) arrow keys To adjust AV picture position use the four arrow keys
(up, down, left or right).
(5) Menu Press once and SD menu appears; press and hold for
3 sec. to reset.
(6) Zoom Press once to enlarge picture, press again to reset
picture size.
OSD menu
◄HSIZE ►
◄VSIZE ►
◄B IGHTNESS ►
◄CONT AST ►
◄HUEL ►
◄SATU ATION ►
◄SHA PNESS ►
◄OSD BACKG OUND ►
▲▼
6

CONNECTION AND OPE ATION
ATTENTION: To avoid damages to the video/audio system by inrush current, please
switch the amplifier/TV off before installing the converter!
Step 1: Connect the VGA-out with the corresponding interface at the converter (see
explanation at converter's bottom). Depending on the connecting possibilities
you may connect your TV via Composite (Cinch) or S-video. The converter has two
switches to adjust the video standard (PAL/NTSC). Please refer to the TV's manual
to inform about your TV's video standard. Please use the included SCART adapter
for TV devices with SCART interface. This adapter must be switched on "In"!
Step 2: Depending on application you may connect an audio signal via SCART
adapter to the TV or use an audio system with cinch input interface. For your own
safety and the safety of your sound system, the amplifier must be switched off
when connecting the cinch cable!
Step 3: Now the converter may be switched on. Therefore, please connect the
included USB charging cable to the converter and your PC and then switch on the
PC. Now the TV and if wanted an amplifier may be switched on.
Notes:
•o send a picture to the VGA-out, please use the Windows set ups. Refer to
producer's instructions or the windows user assistance for information on the Dual
Head operation (two displays, especially important for notebooks).
•If necessary, please switch the V/amplifier on the used input interfaces.
•Picture adjustments may be necessary. In this case, the converter offers a menu , which can
be used via the "menu" button. he adjustments may be changed by choosing a menu item
with the up/down arrow keys and then choosing the parameters with the left/right arrow keys.
(see "OSD menu" in this manual)
◦he size of the picture can be adjusted with "HSIZE" and "VSIZE".
◦o adjust brightness use "BRIGH NESS".
◦o adjust colour saturation, please use the menu item "Saturation".
◦If a fuzzy, unclear or noisy picture is displayed, this may be adjusted with "SHARPNESS"
or "FLICKR".
◦he "Zoom" button adjusts the picture size.
7

FAQ
In general, in case of technical troubles check the electrical signal connections and the power
supply (LED at converter glows) first. If this turns out to be not helpful, we arranged the
following questions and answers for you to find the cause and solve the problem.
Problem Description Possible Cause/Possible Solution
No picture is displayed •Is the converter properly connected to all devices and
interfaces (power, VGA cable etc.)?
•Is the PC correctly adjusted, so that the VGA-out gets a
signal? *
Just a test image is
displayed
•Is the resolution set up at the PC supported by the
converter?
The picture is distorted •Is a supported resolution used?
•Is the zoom function switched off?
•Has the TV device a wide screen function and is this
function used?
•Do adjustments at "Flickr" and "Sharpness" in the menu
help?
•Is the TV standard used by the TV device correctly adjusted
(switch PAL/NTSC)?
The picture is noisy
and/or shows the
wrong colours
•Is the correct TV standard set up?
The picture is unclear •Change adjustments via "Flickr" and "Sharpness" in
converter's menu. If necessary, choose different resolution
at PC.
The converter has
frozen
•Press the menu button for more than 3 seconds to reset the
converter.
* Please follow the corresponding instructions in the manual of the producer.
If the problems cannot be solved, please don't hesitate to contact us. Our customer's
support will be glad to help you under info@leicke-distributor.de.
8

SAFETY NOTES
For your own safety and for long enjoyment of our product, please follow the following safety
instructions:
•Please use device as described in the manual.
•To avoid damages to the video system by inrush current, please switch the
amplifier/TV off before installing the converter. Non-compliance may cause
damages to TV, amplifier system and your hearing! The amplifier is to be switched
on last, after signal source and converter are already switched on.
•If the converter does not work normally, please disconnect the power adapter from
the circuit and try to find the cause.
•Use original factory power adapter. Do not attempt to use the converter with other
power adapters. Despite of matching plug connectors it may still damage the
converter, the signal source and the sound system!
Warning: Power adapters with a higher voltage may damage the converter.
•Do not pull on power cord when taking off the wall socket.
•Turn off power when device is not in use for a longer time.
•Do not open cover and do not touch inner parts.
•Please keep power adapter and converter dry and just use in dry environment.
•Keep away from damp, high temperature, dusty, erosive and oxidative environment.
•Do not touch with wet hands.
•Keep safe from being hit or falling down.
•During operation the converter may become very warm. Therefore, it is necessary
that the converter is not covered and stands alone.
9

CONTACT
If you have any questions, please feel free to contact us.
P ODUCTION & WHOLESALE
LEICKE GmbH
Dohnanyistr. 28
04103 Leipzig
Germany
Web: www.leicke.com
Mail: info@leicke.com
DIST IBUTION
LEICKE Distributor (LEICKE GmbH)
Dohnanyistr. 28
04103 Leipzig
Germany
Web: www.leicke-distributor.de
Mail: [email protected]
10
Table of contents
Other Kanaan Media Converter manuals
Popular Media Converter manuals by other brands

Coltene
Coltene BioSonic S1 owner's guide

LevelOne
LevelOne IGC-0101 user manual

Anaheim Automation
Anaheim Automation ENC-AMT10 Series Assembly instruction guide

Transition Networks
Transition Networks E-100BTX-FX-05 user guide

M2TECH
M2TECH HiFace DAC user manual

Keysight Technologies
Keysight Technologies E5053A user guide

Crestron
Crestron DM NVX 4K60 product manual

KROHNE
KROHNE H250 M40 ESK4-Basic Supplementary instructions Supplementary instructions

AJA
AJA FS1 Installation and operation guide

Monacor
Monacor DTRA-2 quick start guide

Ratoc Systems
Ratoc Systems USB-Serial Converter REX-USB60F installation guide

Microchip Technology
Microchip Technology MCP1630 NiMH user guide