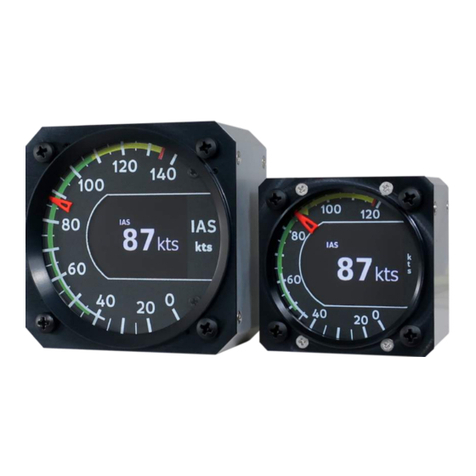
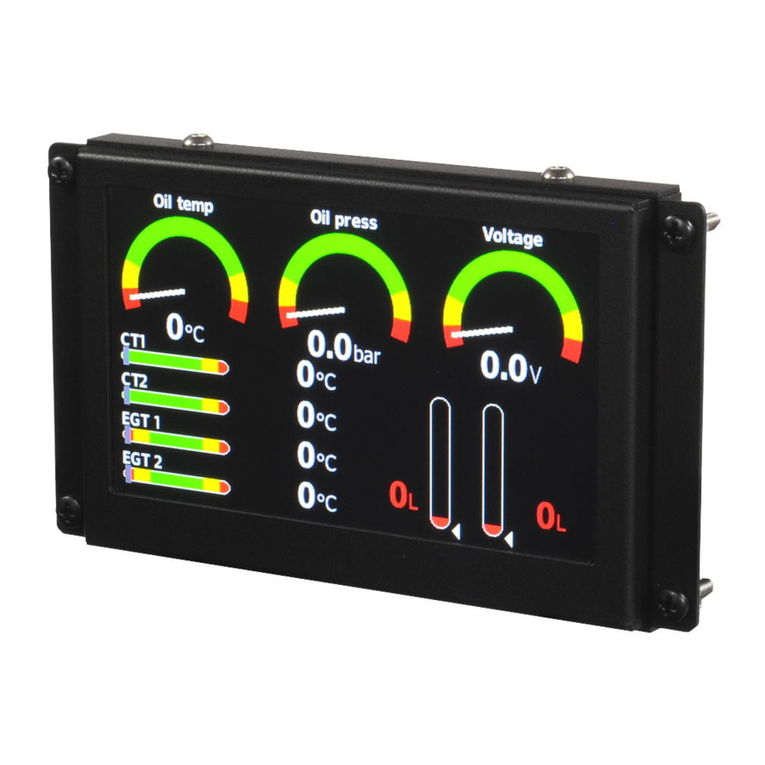
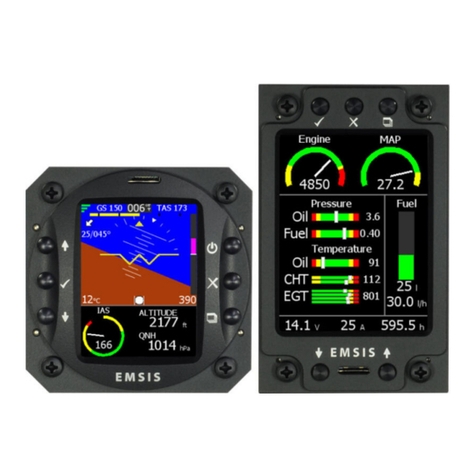
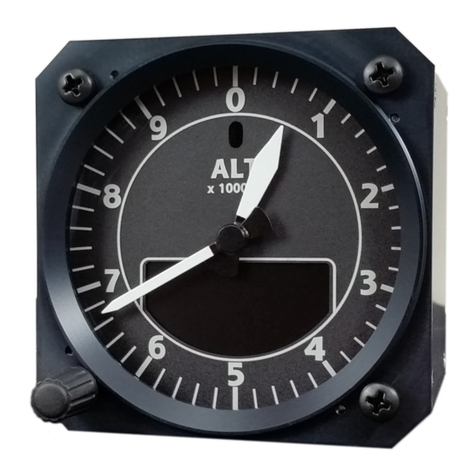
Kanardia Aetos User manual

AETOS User’s Manual
©
Kanardia d.o.o.
March 2020
Release for software version 3.6


Aetos User’s Manual
Contact Information
Publisher and producer:
Kanardia d.o.o.
Lopata 24a
SI-3000
Slovenia
Tel: +386 40 190 951
Email: info@kanardia.eu
A lot of useful and recent information can be also found on the Internet. See
http://www.kanardia.eu for more details.
Copyright
This document is published under the Creative Commons, Attribution-Share-
Alike 3.0 Unported licence. Full license is available on http://creativecommons.
org/licenses/by-sa/3.0/legalcode web page and a bit more human read-
able summary is given on
http://creativecommons.org/licenses/by-sa/3.0/. In short, the license
gives you right to copy, reproduce and modify this document if:
you cite Kanardia d.o.o. as the author of the original work,
you distribute the resulting work only under the same or similar license
to this one.
Credits
This document was written using TeX Live (L
A
T
E
X) based document creation
system using Kile running on Linux operating system. Most of the figures were
drawn using Open Office Draw, Inkscape and QCad applications. Photos and
scanned material was processed using Gimp. All document sources are freely
available on request under the licence mentioned above and can be obtained
by email. Please send requests to info@kanardia.eu.
3
©
Kanardia 2020

Aetos User’s Manual
Revision History
The following table shows the revision history of this document.
Date Description
Mar 2020 Initial release.
4
©
Kanardia 2020

Aetos User’s Manual CONTENTS
Contents
1 Introduction 9
1.1 Icons Used Trough the Manual . . . . . . . . . . . . . . . . . . 9
1.2 Warnings .............................. 9
1.3 Cautions............................... 10
2 System Overview 12
2.1 Components in the Aetos System . . . . . . . . . . . . . . . . . 12
2.1.1 Required CAN Bus Components . . . . . . . . . . . . . 12
2.1.2 Optional CAN Bus Components . . . . . . . . . . . . . 13
2.1.3 Optional CAN Bus Displays . . . . . . . . . . . . . . . . 15
3 Display Operation 16
3.1 DisplayOverview.......................... 16
3.2 TurningON/OFF ......................... 18
3.3 Start-up Sequence . . . . . . . . . . . . . . . . . . . . . . . . . 18
3.4 StatusBar.............................. 18
3.5 Screens ............................... 20
3.6 PFD/EMSScreen ......................... 21
3.6.1 Video ............................ 22
4 Flight Time Activities 22
4.1 MainMenu ............................. 23
4.2 QNH................................. 24
4.2.1 QFESetting ........................ 24
4.2.2 Initial QNH Setting . . . . . . . . . . . . . . . . . . . . 25
4.3 RadioStandby ........................... 25
4.4 Selecting a Waypoint . . . . . . . . . . . . . . . . . . . . . . . . 25
4.4.1 Creating a Marker . . . . . . . . . . . . . . . . . . . . . 27
4.4.2 Waypoint Details . . . . . . . . . . . . . . . . . . . . . . 27
4.5 Route ................................ 28
4.5.1 Activating a Route . . . . . . . . . . . . . . . . . . . . . 29
4.5.2 Creating a New Route . . . . . . . . . . . . . . . . . . . 29
4.5.3 Importing a Route . . . . . . . . . . . . . . . . . . . . . 31
5
©
Kanardia 2020

Aetos User’s Manual CONTENTS
4.5.4 Deleting a Route . . . . . . . . . . . . . . . . . . . . . . 32
4.5.5 Renaming a Route . . . . . . . . . . . . . . . . . . . . . 32
4.5.6 Reversing a Route . . . . . . . . . . . . . . . . . . . . . 32
4.5.7 Actions on an Active Route . . . . . . . . . . . . . . . . 32
4.6 Adjusting Fuel Level . . . . . . . . . . . . . . . . . . . . . . . . 33
4.7 Setting Pitch Correction . . . . . . . . . . . . . . . . . . . . . . 33
4.8 Pitch and Roll Trim . . . . . . . . . . . . . . . . . . . . . . . . 33
5 Logbook 34
5.1 ShowDetails ............................ 35
5.2 Copy Flight to USB . . . . . . . . . . . . . . . . . . . . . . . . 37
5.2.1 TheKmlFile........................ 37
5.2.2 TheTabFile ........................ 37
5.3 Copy Logbook to USB . . . . . . . . . . . . . . . . . . . . . . . 39
6 User Options 40
6.1 Logbook............................... 41
6.2 Routes................................ 41
6.3 Settings ............................... 41
6.3.1 User............................. 42
6.3.2 Units ............................ 44
6.3.3 Range&Fuel........................ 44
6.3.4 Screen............................ 45
6.3.5 Logger............................ 46
6.3.6 Maintenance ........................ 47
6.3.7 Engine Shut Down . . . . . . . . . . . . . . . . . . . . . 48
6.3.8 Glide ............................ 49
6.4 Pilots ................................ 49
6.5 Alarms................................ 50
6.5.1 Editing an Alarm . . . . . . . . . . . . . . . . . . . . . . 51
6.6 Brightness.............................. 52
6.7 Audio ................................ 52
6.8 Compass............................... 53
6.9 Waypoints.............................. 53
6
©
Kanardia 2020

Aetos User’s Manual CONTENTS
6.9.1 NewWaypoint ....................... 54
6.9.2 Import............................ 54
6.9.3 Transfer........................... 55
6.9.4 Deleteall .......................... 55
6.9.5 Delete unnamed . . . . . . . . . . . . . . . . . . . . . . 55
6.9.6 Waypoint Edit/Delete . . . . . . . . . . . . . . . . . . . 55
6.10Transfer ............................... 55
6.11Update ............................... 56
6.12Wireless............................... 56
6.13Info ................................. 57
6.14Service................................ 58
7 Service Options 58
8 Software Update 60
8.1 Updating with USB Stick . . . . . . . . . . . . . . . . . . . . . 60
8.1.1 Downloading Updates . . . . . . . . . . . . . . . . . . . 60
8.1.2 Copying Update File to the USB Stick . . . . . . . . . . 62
8.1.3 Performing the Update . . . . . . . . . . . . . . . . . . 63
8.2 Direct Update Mode (Emergency Mode) . . . . . . . . . . . . . 64
9 Database Update 64
9.1 Updating with USB Stick . . . . . . . . . . . . . . . . . . . . . 64
9.1.1 Downloading Updates . . . . . . . . . . . . . . . . . . . 65
9.1.2 Copying Update File to the USB Stick . . . . . . . . . . 65
9.1.3 Performing the Update . . . . . . . . . . . . . . . . . . 65
10 Autopilot 66
10.1 System Description . . . . . . . . . . . . . . . . . . . . . . . . . 66
10.1.1 Autopilot Status . . . . . . . . . . . . . . . . . . . . . . 67
10.2AutopilotSetup........................... 67
10.3 Setting User Button . . . . . . . . . . . . . . . . . . . . . . . . 67
10.4Safety ................................ 67
10.5Operation.............................. 68
10.5.1 Track ............................ 68
7
©
Kanardia 2020

Aetos User’s Manual CONTENTS
10.5.2 Altitude........................... 69
10.5.3 Flight Director (HNAV) . . . . . . . . . . . . . . . . . . 69
10.5.4 Disable ........................... 70
10.5.5 Level............................. 70
11 Third Party Software 70
11.1TheQtLibrary........................... 70
11.1.1 Modules and Linking . . . . . . . . . . . . . . . . . . . . 71
11.1.2 Source Code and Toolchain . . . . . . . . . . . . . . . . 71
11.1.3 Compiling The Library . . . . . . . . . . . . . . . . . . 71
11.1.4 Installing Modified Qt Library . . . . . . . . . . . . . . 72
11.1.5 Copy of Qt License Document . . . . . . . . . . . . . . 73
12 Limited Conditions 74
12.1Warranty .............................. 74
12.2TSOInformation.......................... 76
8
©
Kanardia 2020

Aetos User’s Manual 1. Introduction
1 Introduction
First of all we would like to thank you for purchasing our product. Aetos is a
complex instrument and we strongly recommend reading the manual before
using Aetos. The introduction chapter contains some general information
about the instrument and principles of the operation. Later chapters describe
Aetos use and reveal the details. You may be also interested in reading:
Aetos Installation Manual,
DAQU Installation Manual,
MAGU Manual,
our web page www.kanardia.eu.
1.1 Icons Used Trough the Manual
A few icons appear on the side of the manual, which have special meanings:
This icon denotes information that needs to be taken with special
attention.
This icon denotes background information about the subject.
This icon denotes a tip.
1.2 Warnings
The following warnings and limitations apply, when you use this instrument.
Failing to do so, may result in significant injuries or even death.
Before using the instrument, you shall carefully review and understand
the Aetos system and Operating Handbook of the aircraft.
Information from the Aircraft Operating Handbook always supersedes
Aetos information.
Use of any navigational data contained by Aetos is entirely at the pilot’s
risk.
9
©
Kanardia 2020

Aetos User’s Manual 1.3 Cautions
Carefully compare Aetos navigational information with other available
navigational sources. In the case of any discrepancies, resolve them
before proceeding with the navigation.
The navigational data used in Aetos comes from various public domain
and open data sources. Although the data was carefully crosschecked
(where this was possible), the data may contain serious errors. The pilot
is obliged to verify any navigational information provided by Aetos, with
the relevant official sources, AIPs, Notams, etc.
Databases in Aetos must be updated regularly in order to stay current.
Such databases are freely available from our web site.
Terrain elevation data shall not be used for terrain separation. Its use
is informative only. The pilot must always fly in VFR conditions and
he must maintain visual separation.
Do not use weather information for maneuvering in, near, or around
areas of hazardous weather. Weather information may not accurately
depict current weather conditions.
Never use Aetos to attempt to penetrate a thunderstorm. Always avoid
any thunderstorm at least 30 km.
The Global Positioning System is operated by the United States gov-
ernment, which solely responsible for its accuracy and maintenance. In
a similar way, Russian government is responsible for the GLONASS
system. The GNSS systems are subject to changes which could affect
the accuracy and performance of all GNSS equipment. Therefore, the
navigation information can be misused or misinterpreted and become
unsafe.
1.3 Cautions
The Aetos display uses special coating, which is sensitive to abrasive
cleaners or cleaners which are using strong chemicals like ammonia or
alike. Always use a lint-free soft cloth and mild cleaning solution or just
pure water.
Aetos does not have any serviceable parts. Repairs must be done only by
authorized service centers. An unauthorized repair could void warranty.
10
©
Kanardia 2020
Aetos User’s Manual 1.3 Cautions
Due to high complexity of the system, the pilot must accept that pro-
viding self-test capability for all possible system failures is not practical.
This means that an erroneous operation may occur without a fault in-
dication or warning. This makes the pilot responsible to detect such an
occurrence by means of cross-checking with all redundant or correlated
information available.
11
©
Kanardia 2020

Aetos User’s Manual 2. System Overview
2 System Overview
2.1 Components in the Aetos System
The Aetos System consists of several electronic components, which work
closely together to bring flight, engine and fuel information onto graphical
display. The system consists of various components, some of these are re-
quired and some are optional.
2.1.1 Required CAN Bus Components
Majority of these components communicate trough CAN bus. This section
list components and explains their interaction. Please note that photos are
not in scale.
Aetos master display is the major part of the sys-
tem. It acts as a primary multi-functional dis-
play. Internally it hosts an embedded computer and
an AD-AHRS-GPS module called AIRU. The em-
bedded computer reads information from the CAN
bus and translates it into graphics you see on the
screen. The AIRU module consists of multiple sen-
sors: absolute pressure sensor for altitude and ver-
tical speed, differential pressure sensor for airspeed,
3 axis angular rate and 3 axis accelerometer sensors
for artificial horizon, GPS sensor for position and
OAT probe for true airspeed. Sensor readings are
passed trough various mathematical models which
in turn put the information on the CAN bus. AIRU
is actually an independent device mounted inside
Aetos for convenience.
12
©
Kanardia 2020

Aetos User’s Manual 2.1 Components in the Aetos System
Engine monitoring (called DAQU) is required to
read the engine, fuel and aircraft related sensors
and to put the obtained information on the CAN
bus. It has three digital channels (Z1, Y1 and Y2),
twenty analog channels (A, B, C, D) and a spe-
cial manifold pressure connector (A13). DAQU also
hosts +5/+12 V power output and ground (GND).
Digital channels are typically used to read engine
or rotor RPM and fuel flow sensors. Analog chan-
nels are typically used to measure CHTs, EGTs,
coolant temperature, oil temperature, carburetor
temperature, airbox/gearbox temperature, fuel lev-
els, system voltage, electrical current, oil pressure,
fuel pressure, hydraulics pressure, pitch trim, flap
position and many others.
DAQU comes in three forms:
Standard Daqu is typically used with carbu-
retted engines like Rotax 912 UL, ULS, Rotax
914, Jabiru, Lycoming, Continental, etc.
Mini DAQU is typically used with an engine
that has its own ECU. Rotax iS, D-motor,
Geiger Wankel, MW, etc.
In some cases there is not enough channels
on mini DAQU. In this case, standard DAQU
modified for ECU engine can be also used.
2.1.2 Optional CAN Bus Components
Components listed below are all optional. This means they are not required
for normal Aetos operation.
13
©
Kanardia 2020

Aetos User’s Manual 2.1 Components in the Aetos System
Electronic Compass (called MAGU) is a stand alone
unit which measures magnetic field vector. It serves
as a gyro stabilized compass and provides true and
magnetic heading with high accuracy. It features
an intelligent calibration algorithm, where only one
known magnetic direction is needed to calibrate it.
MAGU provides heading information on the CAN
bus. With this information available, wind direc-
tion and wind speed is also derived by AIRU unit.
Tail install and nose install versions of MAGU exist.
When two servo units (called SERU) are added to
the CAN bus, the system also performs the autopi-
lot function. Two different SERU units are avail-
able. Stronger and heavier has 6 Nm (53 in lb)
torque, while the lighter and weaker has 3 Nm (27
in lb) torque.
Remote autopilot panel (called AMIGO) brings fur-
ther enhancements to the autopilot functionality.
It allows very simple and straightforward autopilot
operation.
One or two remote control handles (called JOYU)
can be added to the system. The handle allows al-
most complete control of the Aetos display with the
buttons on the top. Buttons are fully configurable
by Aetos. When BOXI unit is also present, it can
also drive roll and pitch trim, radio transmission
button (push-to-talk).
Trim and radio controller called (BOXI) must be
used together with a JOYU handle. You can con-
nect two trim motors to BOXI and then use JOYU
handle to drive them. In addition, radio push-to-
talk wiring can be made directly to BOXI.
14
©
Kanardia 2020

Aetos User’s Manual 2.1 Components in the Aetos System
Small WiFi plug is used to connect Aetos to the
WiFi network. This can be done with the help of
a network access point created on a mobile phone
and Aetos is connected to the Internet as long as
the mobile phone is also connected. Alternatively,
some public WiFi hot-spot can be also used, while
aircraft is on the ground. Such connection can be
used to make software updates, map and airspace
updates and to access weather information.
2.1.3 Optional CAN Bus Displays
The system can be extended with several displays. All these displays are
optional. They have no internal sensors. They get the information from the
CAN bus.
Slave Aetos Display can be added to the system.
It has the same functionality as the master Ae-
tos. The only difference is that it does not host the
AIRU unit and that some system tunning options
are not accessible.
A small slave display (called EMSIS) comes in two
forms. The first fits into 80 mm standard aviation
opening, the second is larger with 3.5 inch diagonal
and has more complex shape. They both can be
viewed as small EFIS displays. EMSIS can show
basic primary flight and engine monitor values.
A rectangular, very slim and very light LCD display
(called DIGI) is typically used to show engine val-
ues. The values can be shown in the form of arcs,
bars, boxes and values. Start of display is very fast.
You can read oil pressure almost immediately, while
Aetos primary display is still booting.
15
©
Kanardia 2020

Aetos User’s Manual 3. Display Operation
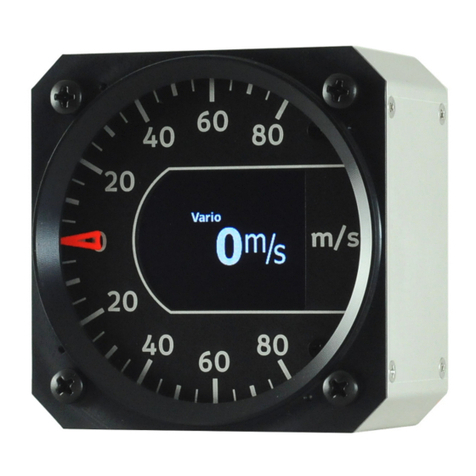
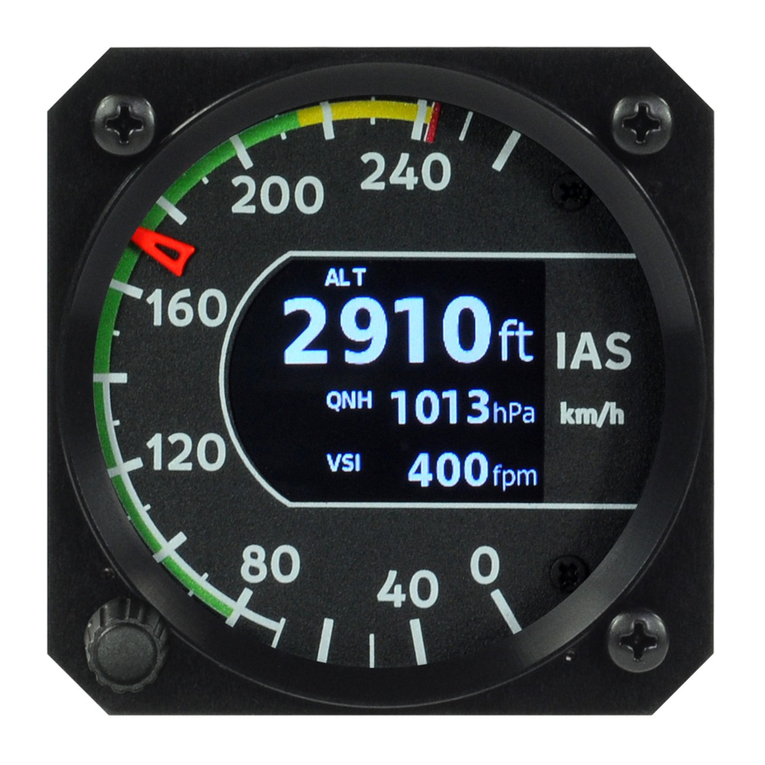
One or more slave round instruments can be added
to the bus. They can show almost any value, which
is available on the bus. The most typical are: air-
speed indicator, altimeter, vertical speed indicator,
engine RPM, rotor RPM, G-meter, etc. All indica-
tors consists of a needle pointing to a scale and a
LCD display. Pointer is driven by a stepper motor.
Needle shows one value, but LCD display may show
up to three different parameters.
HORIS slave primary flight display can comple-
ment the Aetos system, too. HORIS can show PDF
screen, DI screen or G-meter screen.
Last but not least, Nesis slave display can comple-
ment the Aetos system, too.
3 Display Operation
This section will familiarize you with basic procedures referring to PFD and
EMS operations.
3.1 Display Overview
The Aetos command panel is organized according to Figure 1. It uses three
push buttons and one push knob for manipulation. It has an USB port for
software, map and data updates.
Here is a brief description of individual items:
1
O
The Selector knob detects knob rotation, short push and long push. It
is mostly used to select things, confirm selection, change values, change
16
©
Kanardia 2020

Aetos User’s Manual 3.1 Display Overview
1
2
3
4
5
Figure 1: Organization of the Aetos display.
zoom levels, etc. Rotate the knob to select things and push the knob to
confirm. Long push action opens the options screen.
2
O
A short push on the button will perform Close/Back/Cancel commands.
It is mostly used to close opened windows, to go back or to cancel some
action. Long push action is user configurable.
3
O
The User button. Both, short and long push are user configurable.
By default it shows the list of nearest airports and when autopilot is
detected, it starts the autopilot actions.
4
O
A short push on the screen-switching button is used to switch to the
next screen. Long push action is user configurable.
5
O
The USB port is used for software, map and data updates, to copy the
flights and logbook, etc.
In most cases you only use the selector knob and the close button.
Short push is defined as a momentarily press and release of the button. An
associated action is activated on the release.
Long push is defined as a press-and-hold of the button. Button must be
pressed and keep pressed for about two seconds. An associated action will
be activated after two second period even if the button was not released yet.
Nothing happens on release.
17
©
Kanardia 2020

Aetos User’s Manual 3.2 Turning ON/OFF
3.2 Turning ON/OFF
Aetos is connected to an avionics power bus which has a mechanical switch
between the bus and the battery. Thus it is automatically turned ON and
therefore it does not have an ON/OFF button.
Aetos has a pretty low power consumption. So, you may try to activate Aetos
after main switch and once Aetos is running, you start cranking the engine.
This works well in vast majority of cases.
3.3 Start-up Sequence
When Aetos is powered ON and the program is ready, it opens the start-up
window sequence also illustrated by Figure 2:
1. Use the Selector knob to confirm the warning (push the knob),
2. select the pilot,
3. select the instructor,
4. select the QNH (rotate until correct QNH is shown and then push the
knob),
5. Set the fuel level (for software tanks only – not shown on the figure).
You are asked for the pilot only if more than one pilots are entered into the
pilot list and you are asked for the instructor only if at least one of the pilots
is also marked as an instructor. Please see the section 6.4 on page 49 to see
how to enter pilots and instructors.
3.4 Status Bar
Most of the screens show status bar on the top. This bar holds some valuable
information. It is illustrated on the Figure 3.
Status bar has the following elements:
1
O
Outside air temperature.
2
O
Flight time - time elapsed after takeoff was detected. In the case of
traffic patterns, time since the last takeoff (touch-and-go) is shown.
18
©
Kanardia 2020

Aetos User’s Manual 3.4 Status Bar
12
34
Figure 2: Typical start-up sequence.
1 2 3 4 5 6 7 8 9
Figure 3: Illustration of the Status bar.
3
O
Bearing and distance to the next navigation point. (Only when naviga-
tion is active.)
4
O
Estimated time of arrival to the next navigation point. Below is name
of the navigation point.
5
O
Steering indicator in the top and current course on the bottom. A yellow
line left of the center means that you should steer left and a yellow line
right of the center means you should steer left. Steering indicator is
pretty sensitive. A flashing yellow line indicates that course deviation
is too large to fit onto scale.
6
O
Estimated time of arrival to the destination. Below is the name of the
destination. (Only when route-navigation is active.)
7
O
Ground speed derived from GPS.
8
O
Current time.
19
©
Kanardia 2020

Aetos User’s Manual 3.5 Screens
9
O
Various status symbols. More details are given next.
Various symbols can appear on the symbol section of the status bar.
GPS Symbols
These symbols show health of the GPS receiver and reception of the GPS
satellites.
A flashing red satellite symbol indicates an error. It means that
communication with GPS receiver was lost.
A grey symbol indicates that GPS is working, but position is not
available.
A cyan/gray color symbol indicates that only 2D fix is available
– position is know, but its precision is limited.
A cyan color symbol indicates that full 3D fix is available.
This cyan color symbol indicates that precision of position is
further enhanced with some augmentation system (WAAS, EG-
NOS, etc.)
Radio and WiFi Symbols
A communication with COM radio device was established.
A WiFi module was detected and communication was estab-
lished. Note that this does not automatically mean that Aetos
is also connected to the Internet.
3.5 Screens
Aetos can show different screens. Typically two basic screens are shown, but
this number is not fixed. We work closely together with a customer and we
can prepare special screen layout for each customer/aircraft. Figure 4 shows
examples of these screens.
A generic solution will be shown next. Your solution may be slightly or even
significantly different. However, principles remain the same.
Use short press on the Screen switch button to switch between the screens.
More details about each screen are given in next sections.
20
©
Kanardia 2020
Other manuals for Aetos
2
Table of contents
Other Kanardia Avionic Display manuals

Kanardia
Kanardia Indu Variometer User manual

Kanardia
Kanardia Horis User manual

Kanardia
Kanardia INDU Airspee User manual

Kanardia
Kanardia INDU COMBO User manual

Kanardia
Kanardia Digi User manual

Kanardia
Kanardia INDU COMBO User manual

Kanardia
Kanardia EMSIS User manual

Kanardia
Kanardia INDU 80 User manual
Popular Avionic Display manuals by other brands

Garmin
Garmin GNC 250 installation manual

IFD-NET
IFD-NET EVO User guide and installation manual

L3 Aviation Products
L3 Aviation Products B787 Flight Simulator Instructor's manual

Whirlwind
Whirlwind GA-UL260-2B Installation and operation instructions

COBHAM
COBHAM Flexcomm I installation manual

Aircatglobal
Aircatglobal VirtualFly SOLO AIRLINER-RS user manual