2
1
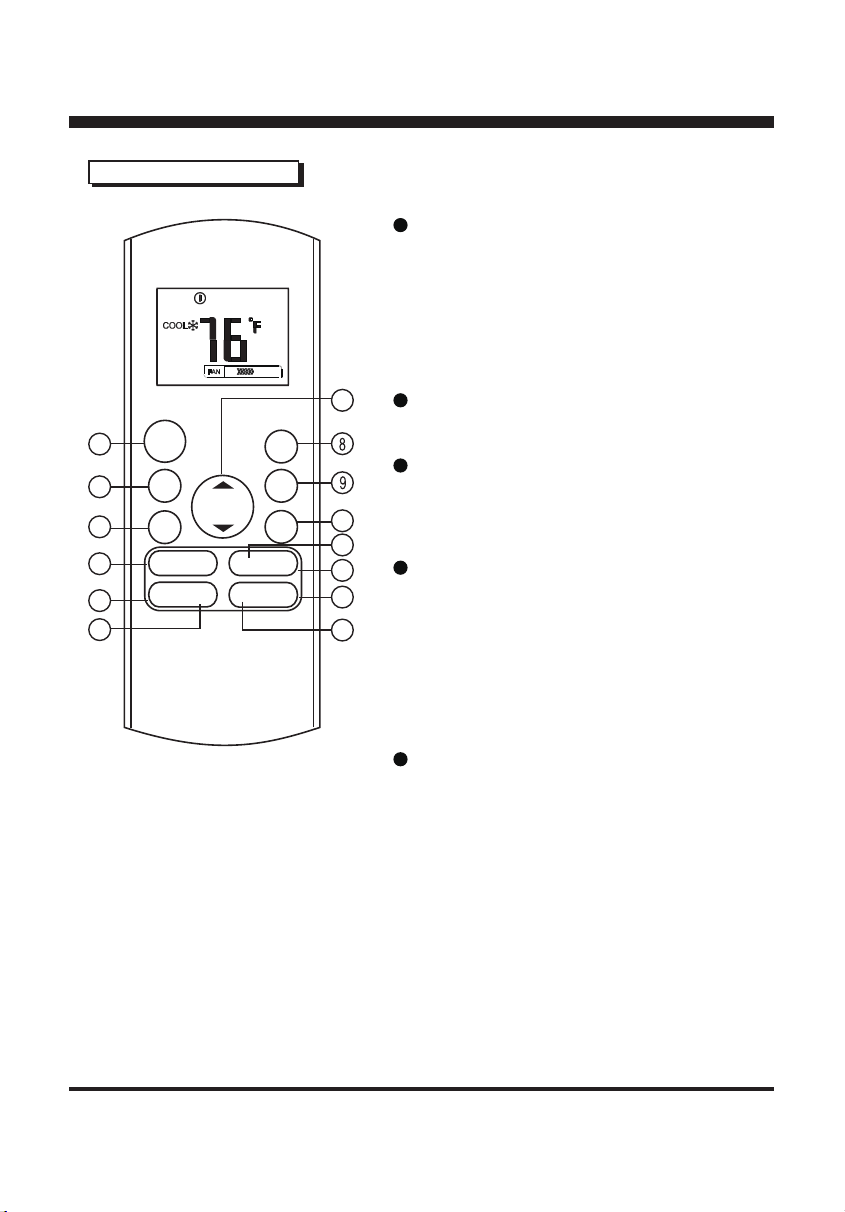
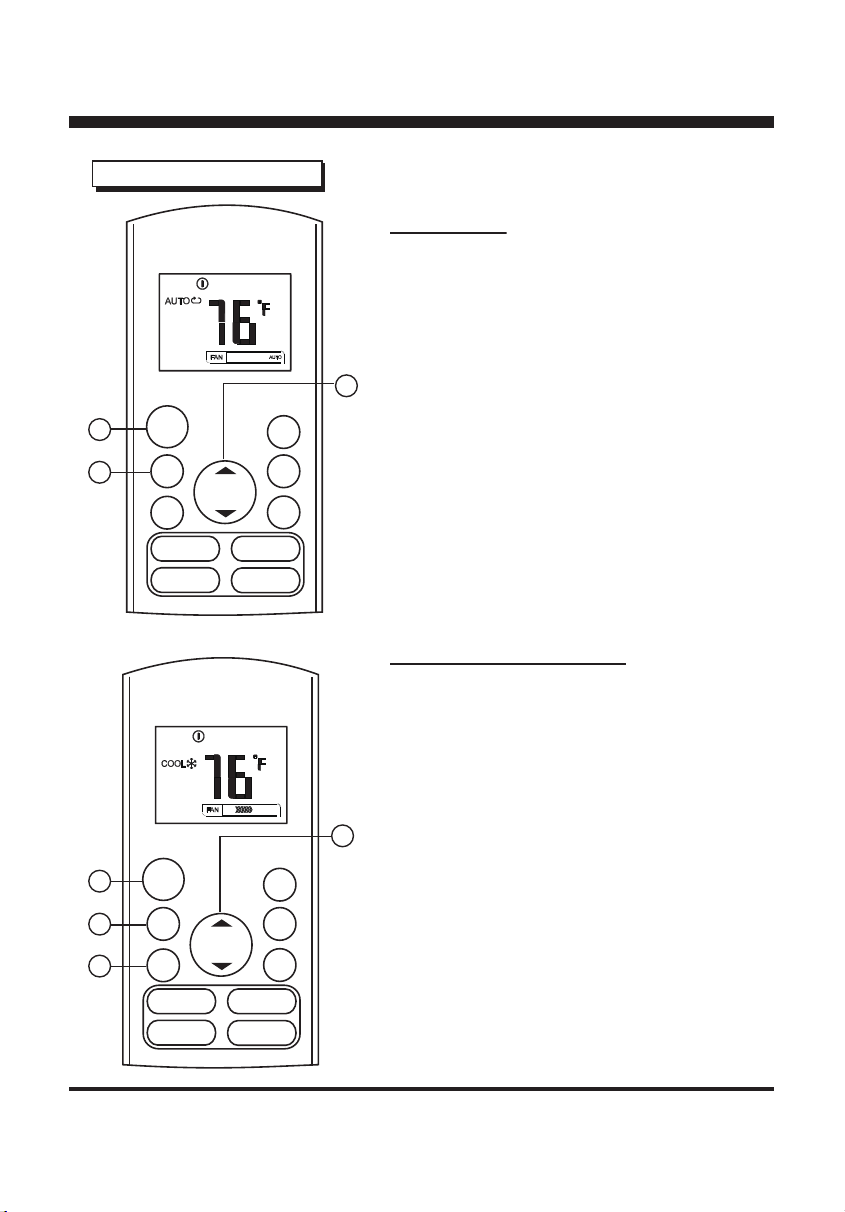
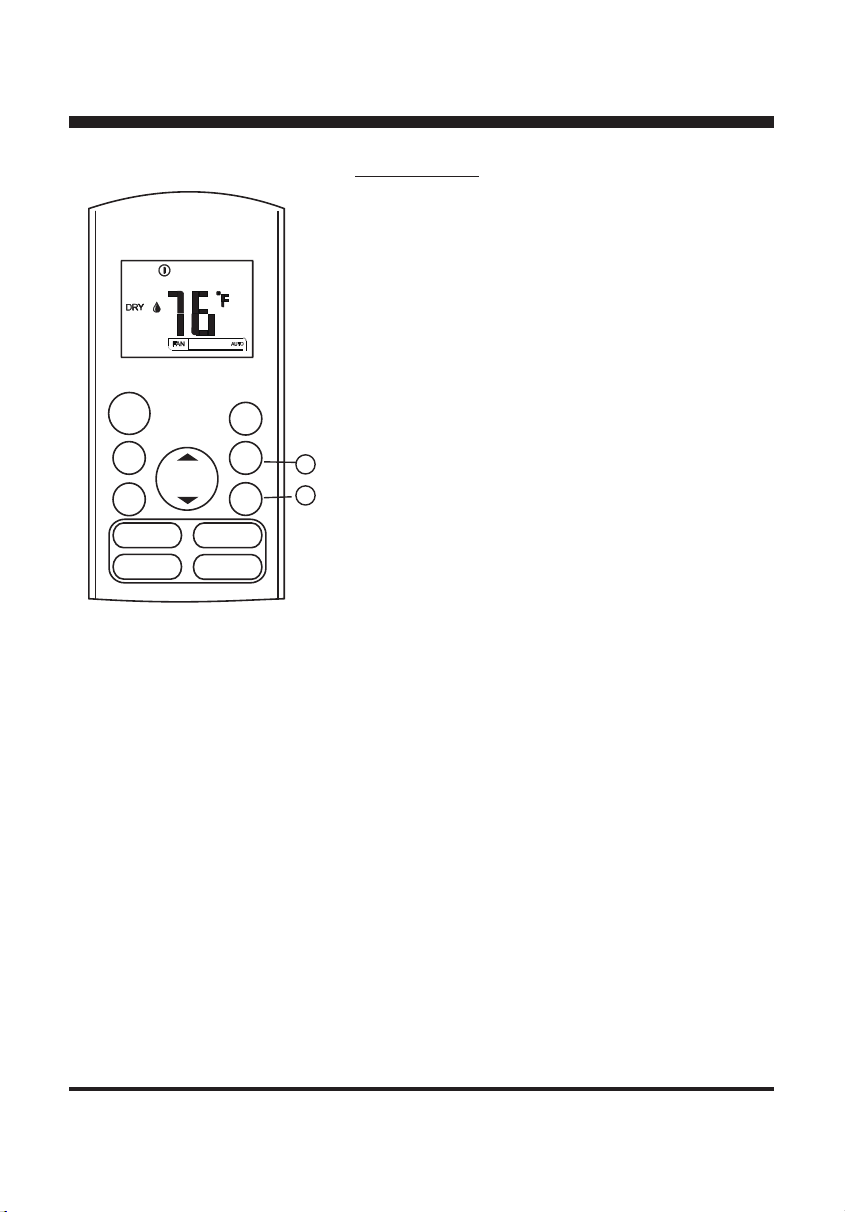
Timer Operation
Press the TIMER ON button to set the auto-on
time of the unit. Press the TIMER OFF button
to set the auto-off time of the unit.
1. Press the TIMER ON button. The remote
control shows TIMER ON, the last Auto-on
setting time and the signal "H" will be shown on
the LCD display area. The remote is now ready to
reset the Auto-on time to START the operation.
2. Press the TIMER ON button again to set desired
Auto-on time. Each time you press the button,
the time increases by half an hour between 0
and 10 hours and by one hour between 10 and
24 hours.
3. After setting the TIMER ON, there will be a one
second delay before the remote control
transmits the signal to the air conditioner. Then,
after approximately another 2 seconds, the
signal "h" will disappear and the set temperature
will re-appear on the LCD display window.
To set the Auto-on time.
To set the Auto-off time.
1. Press the TIMER OFF button. The remote
control shows TIMER OFF, the last Auto-off
setting time and the signal "H" will be shown on the
LCD display area. The remote is now ready to reset
the Auto-off time to stop the operation.
2. Push the TIMER OFF button again to set
desired Auto-off time. Each time you press the
button, the time increases by half an hour
between 0 and 10 hours and by one hour
between 10 and 24 hours.
3.
After setting the TIMER OFF, there will be a
one second delay before the remote control
transmits the signal to the air conditioner. Then,
after approximately another 2 seconds, the
signal "H " will disappear and the set temperature
will re-appear on the LCD display window.
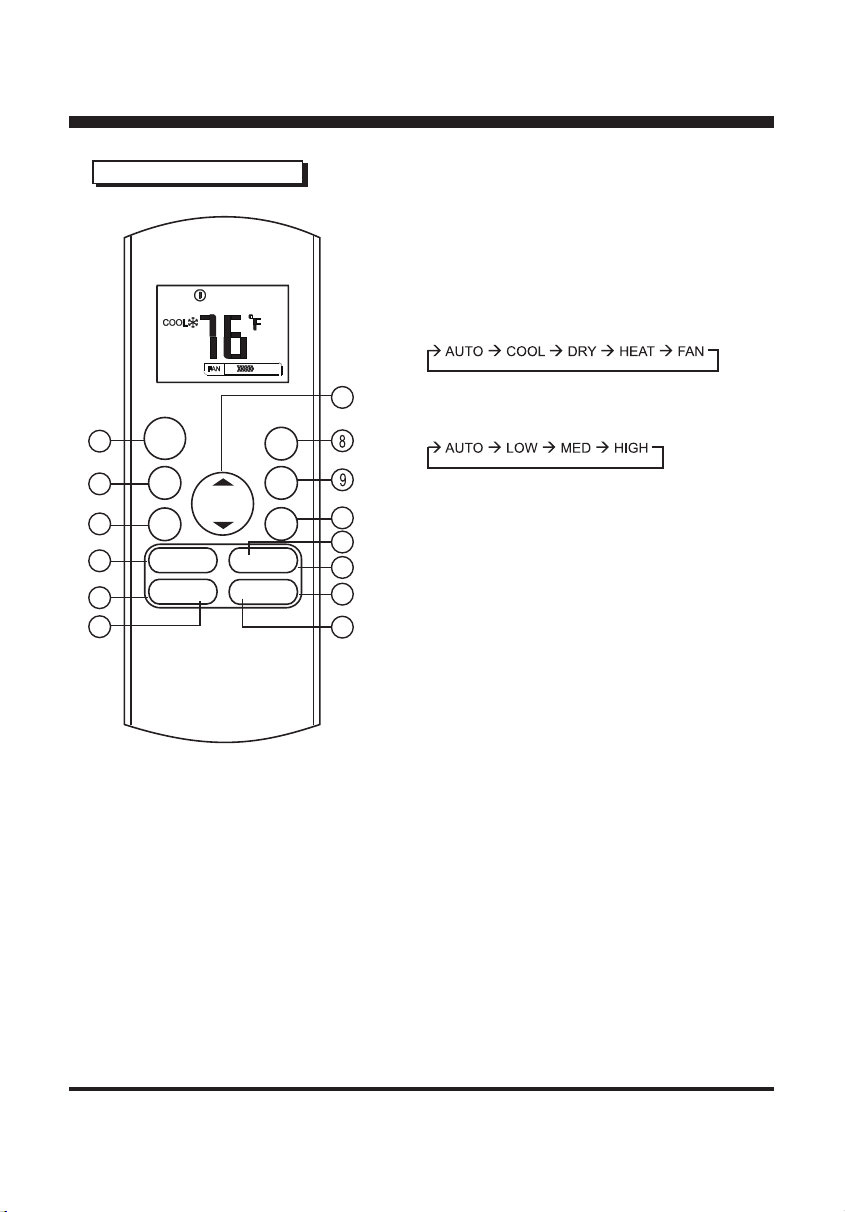
MODE
FAN
TEMP
ON/OFF
TIMER
ON
TIMER
OFF
SILENCE
FP
LED FOLLOW
ME
TURBO SELF
CLEAN
SWING DIRECT
SLEEP
9