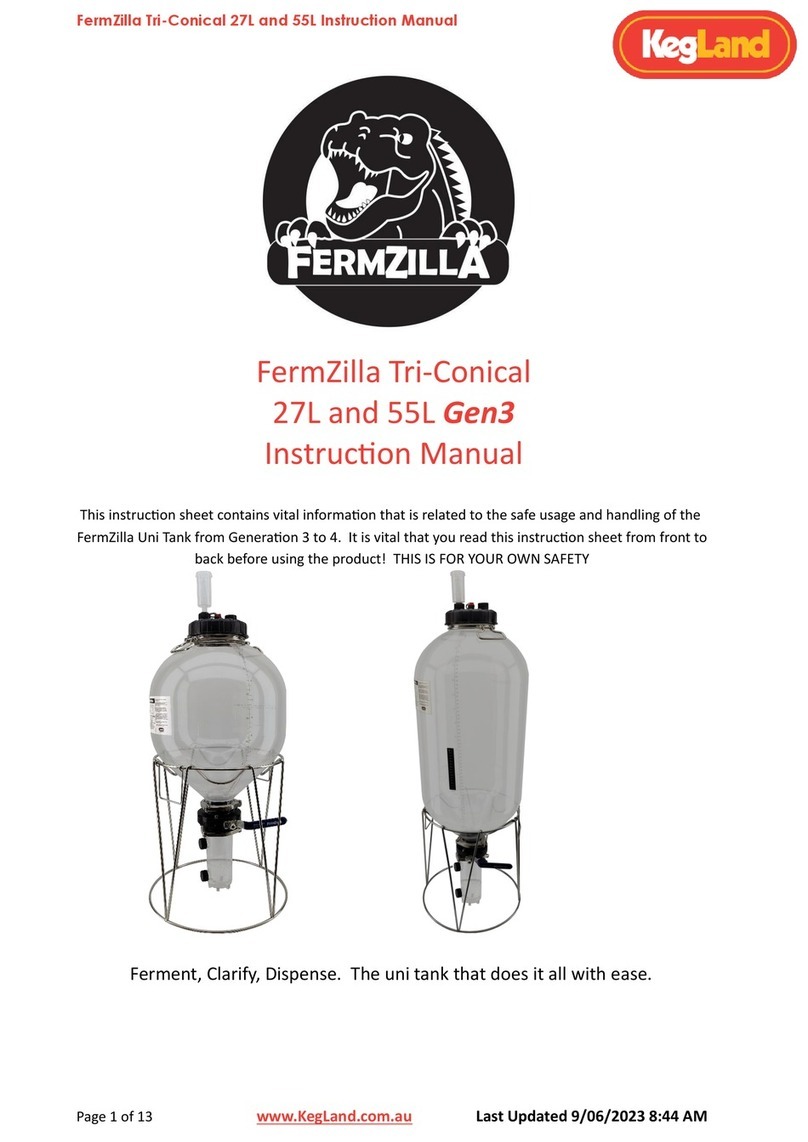
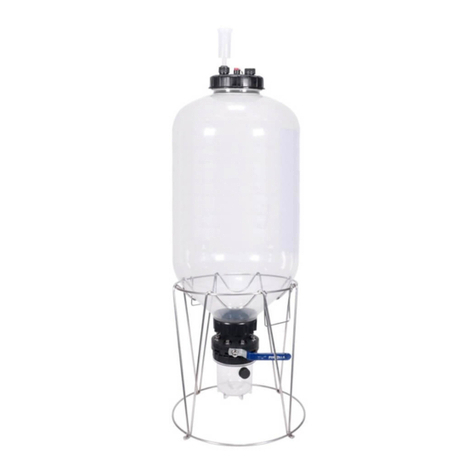
FermZilla Hydro Test Instruction Manual
Page 3of 6www.KegLand.com.au Last Updated 11/12/2020 4:39 PM
Hydro Testing Process
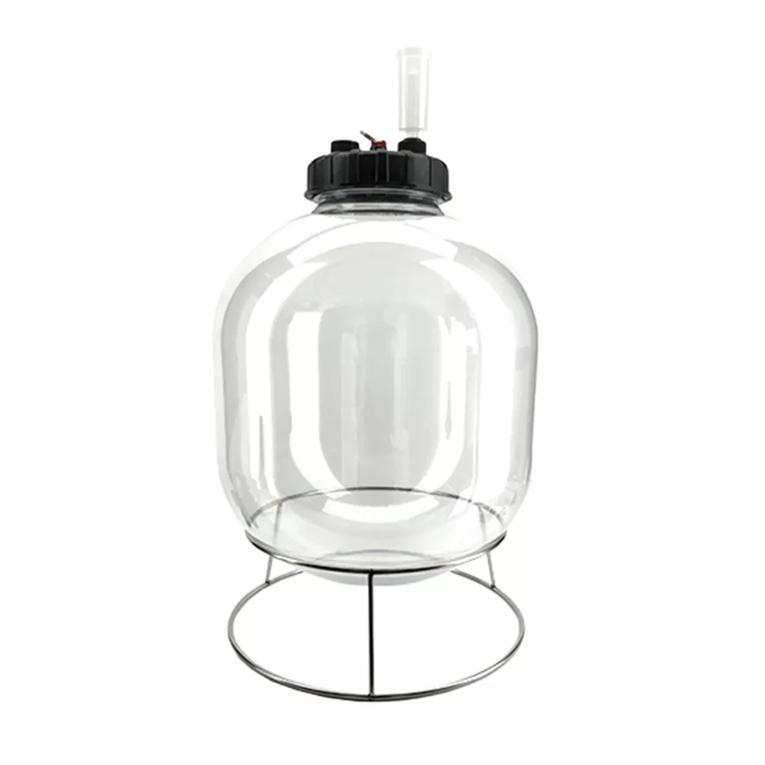
1. Fill the tank with water to the brim. Do not perform the hydro test with the tank empty.
The reason why it is so important to ensure the tank you are testing is filled to the brim with water is
because water is incompressible so the instance that the tank fails the rupture will be safe. If
significant compressed air is in the tank at the time of the rupture then the compressed air has much
more stored energy and could cause fragments to be ejected which adds risk that is simply not
necessary. Hence, it’s important to completely fill the tank with water.
Note: If you are hydrotesting the conical FermZilla tank it is also advised to attach the collection
container and keep the butterfly valve open during the hydro test to also hydro test the collection
container.
2. Remove the 2.5 Bar RED PRV from the lid of the FermZilla and replace this with a 6.9 Bar
GREY PRV (KL03070).
IMPORTANT NOTE: Never leave the GREY PRV in the lid of the tank. Immediately after the
hydrotest is completed replace the GREY PRV with the RED PRV.
3. Once you have confirmed the FermZilla is completely full of water then apply pressure to the
tank slowly. It’s important that pressure is applied to the tank in a controlled way. Some
methods of applying pressure to the tank include:
a) Mains water as the pressure source –water pressure controlled with an inline regulator
KL15035
Hook up EVABarrier tubing to your mains water using a ¾” BSP x 6.3mm duotight fitting
(KL13888) if connecting to a garden tap or a diverter valve (KL17756), if connecting directly to
mains water within the house for example. If choosing either of these options as your water
supply you will need to use a short length of 4mm ID x 6.3mm OD water line (KL11143) and then
you will need to step this up using a 6.5mm x 8mm reducer (KL07481) to 4mm ID EVABarrier
tubing.
It is not suggested to use EVABarrier tubing with a larger ID than 4mm between the mains water
source and the inline regulator as 5mm ID and 6.5mm ID may be prone to bursting as a resulting
of the very high mains water pressure.
Push the 4mm ID x 8mm OD EVABarrier tubing in to an inline regulator (KL15035) with a 0-10
Bar mini gauge (KL15011) which is initially set at 0PSI, then attach this EVABarrier tubing to a ball
lock disconnect attached to the carbonation cap on the pressure lid of the FermZilla.
Also ensure you have an accurate pressure gauge on the outlet of FermZilla to accurately
determine the pressure within the tank. It is advised to attach a 0-150 PSI push in pressure
gauge (KL11532) on the FermZilla to measure the pressure in the tank.
A diagram of this setup can be found towards the end of this manual.
Initially set your inline regulator to 0 PSI and then very slowly turn the dial on the inline regulator
to increase the pressure to 4.5 Bar. The pressure applied through the inline regulator should be
increased slowly in a controlled manner.
