4
TIPS
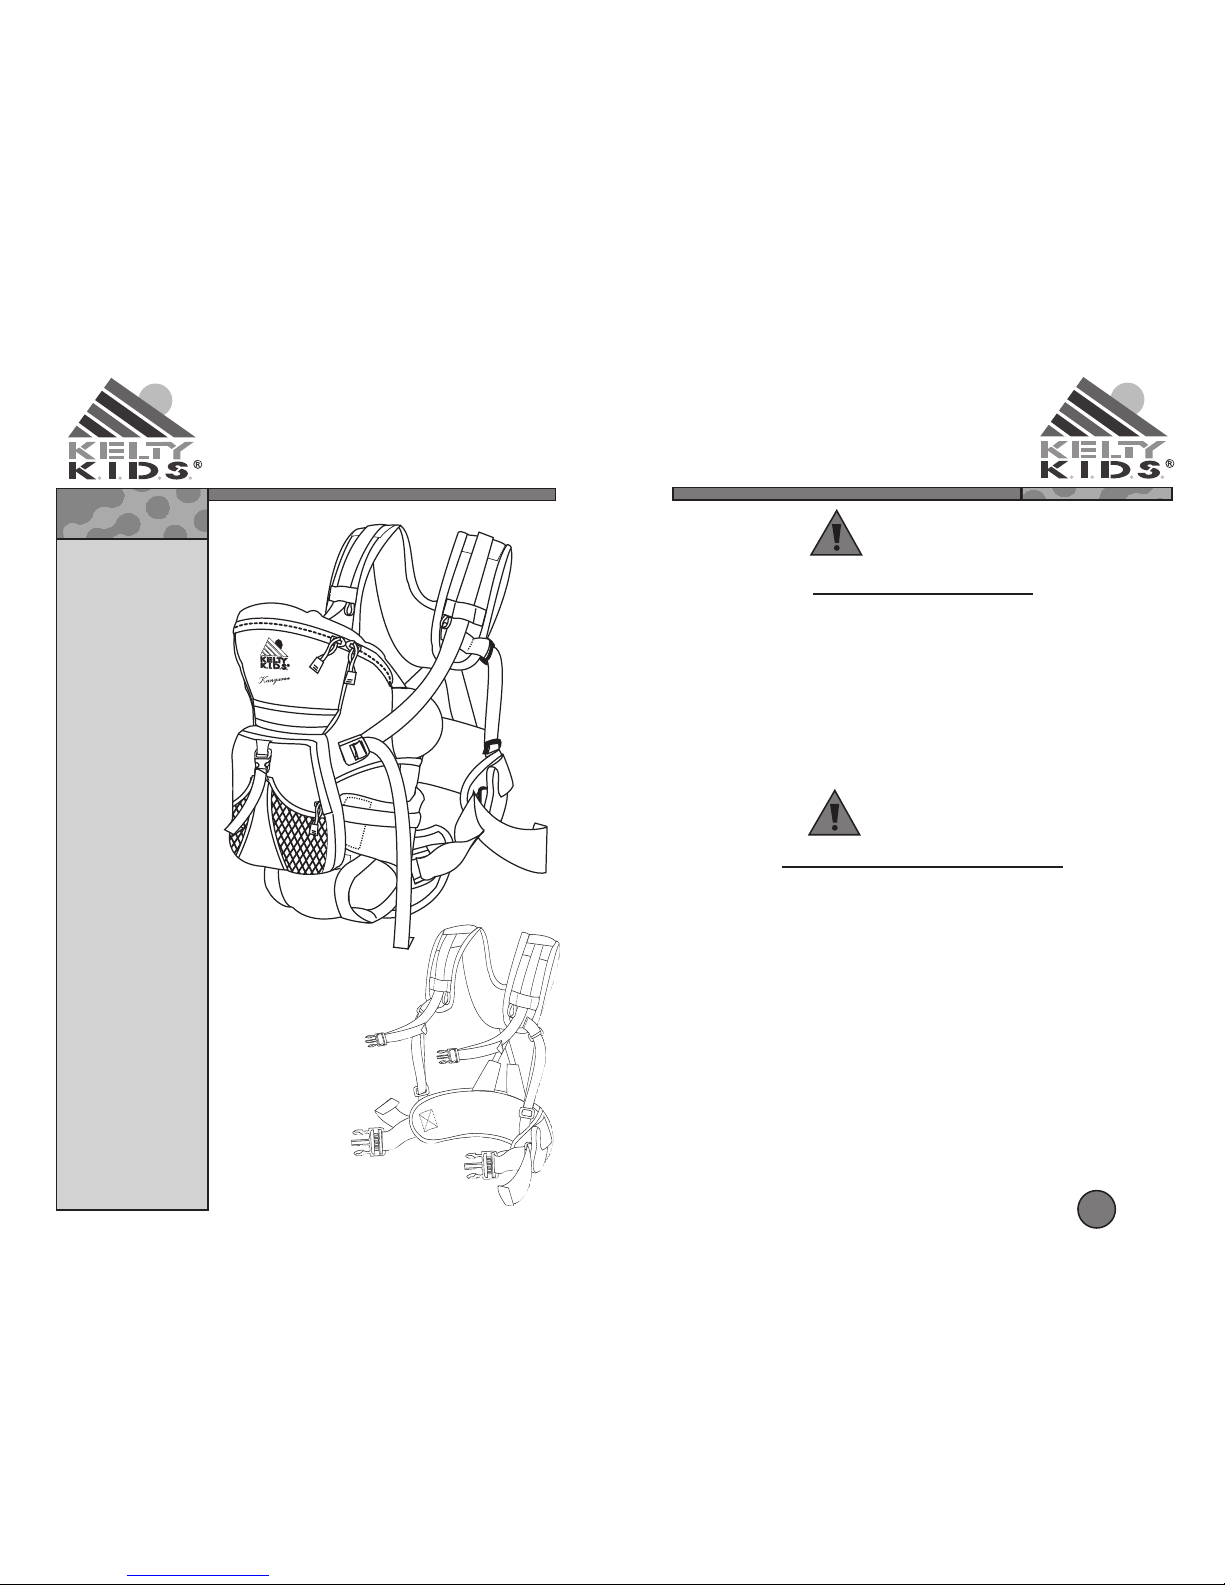
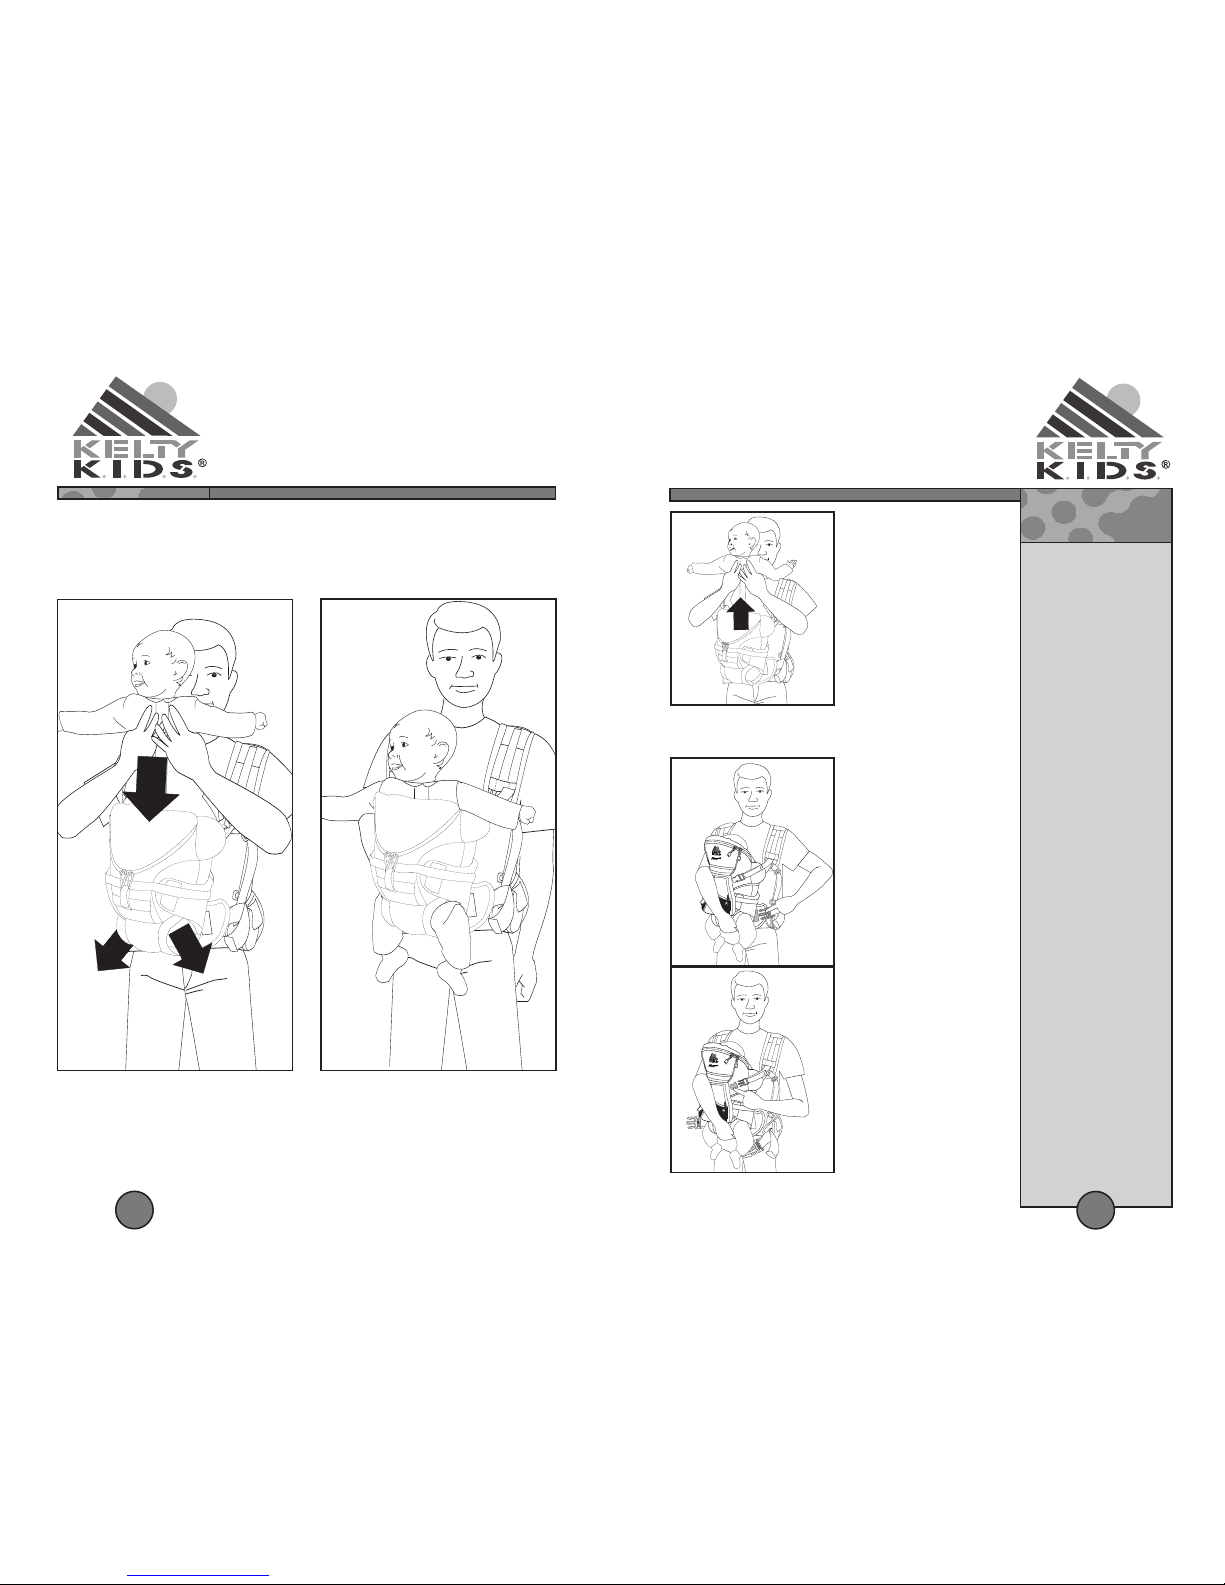
CHILD FACING IN
ADULT HARNESS
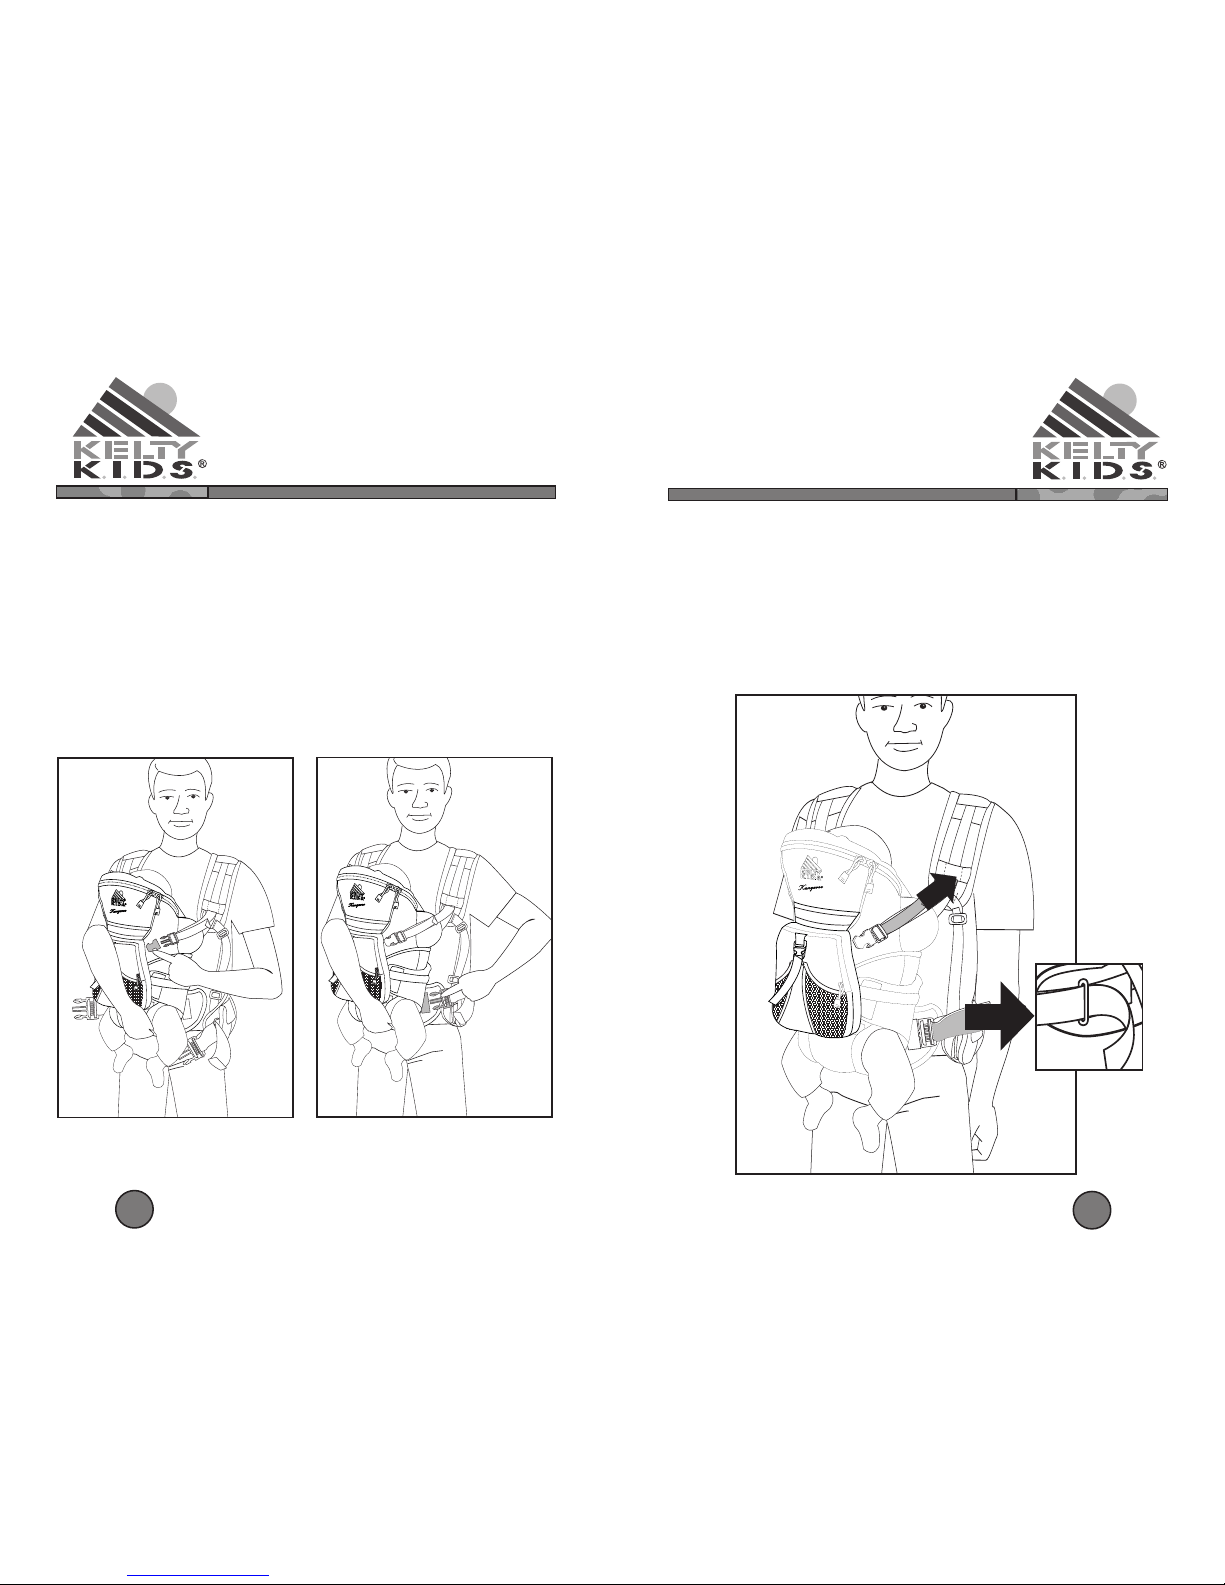
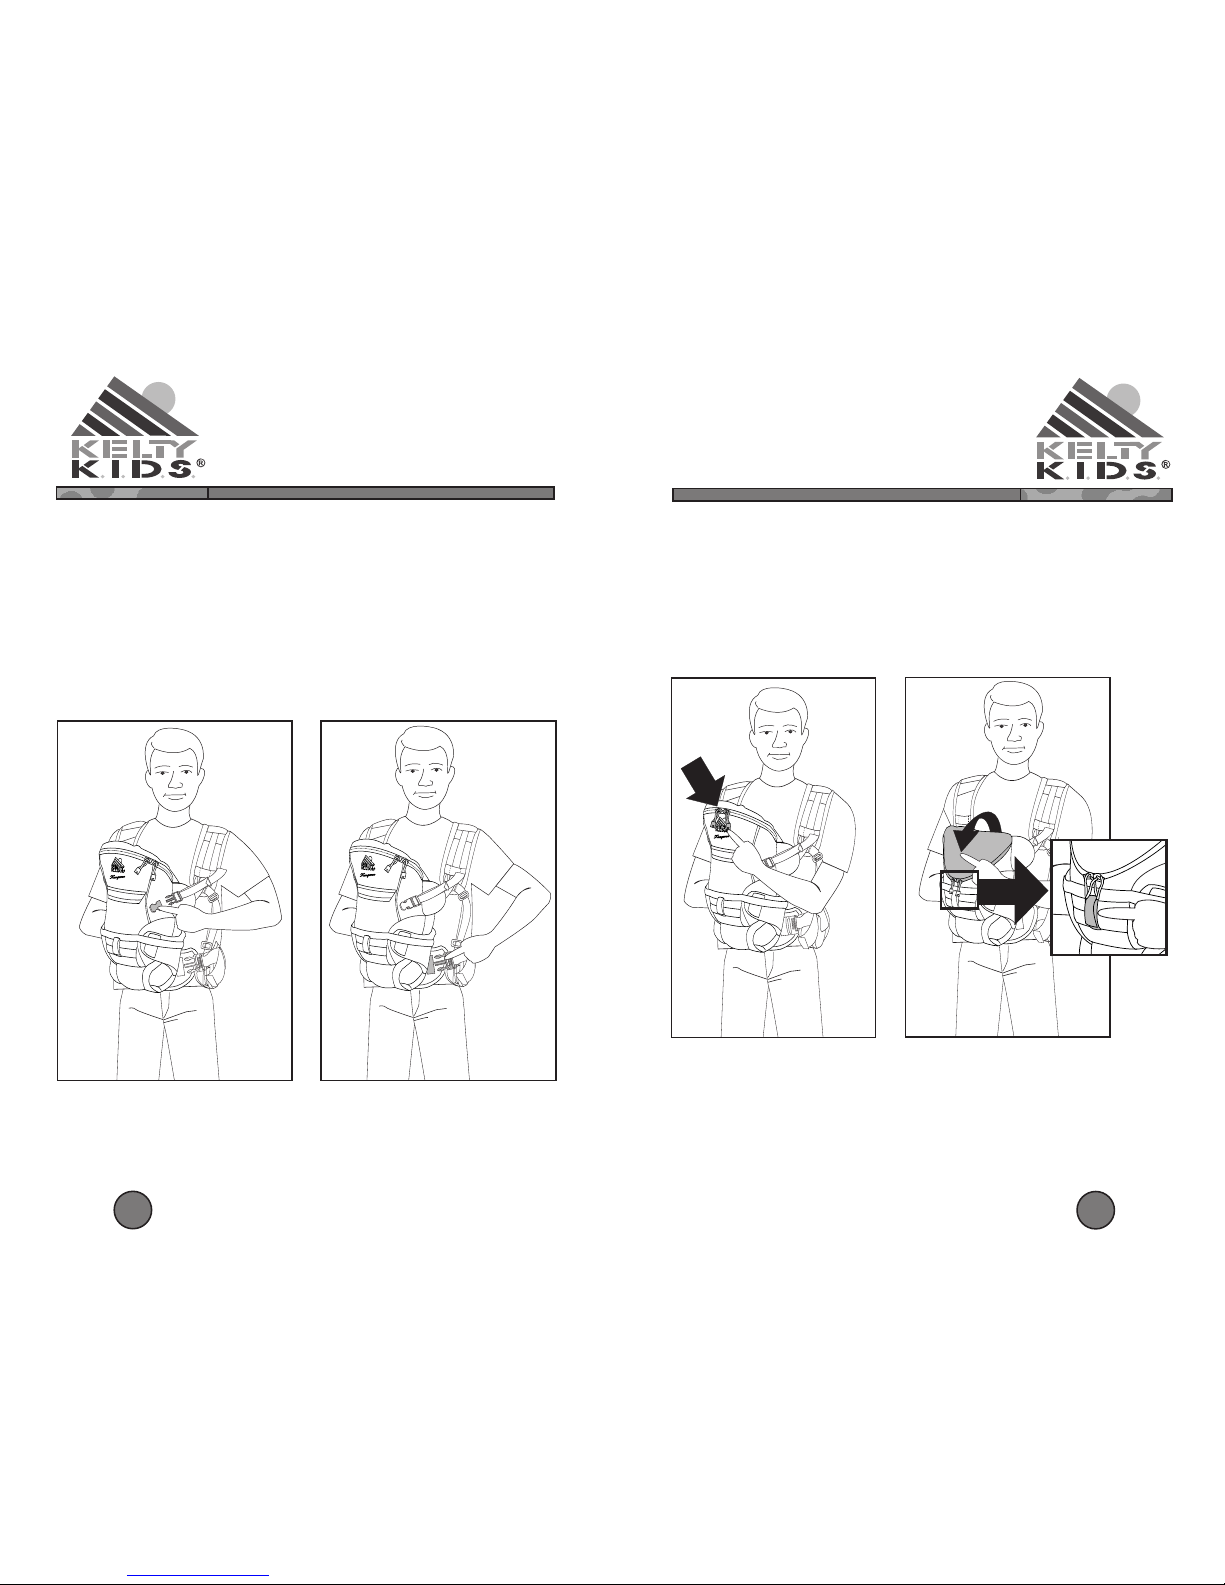
A. Put the harness on by slipping your arms
through the shoulder straps (Fig. 1). (Make
sure that the straps cross in the back and all
the buckles on the black webbing are facing
towards the front.)
NOTE: Double check that all webbing and straps
are lying flat and are NOT twisted.
To assure proper fit and to ensure comfort, take
time to fit the harness to the adult carrying the
infant.
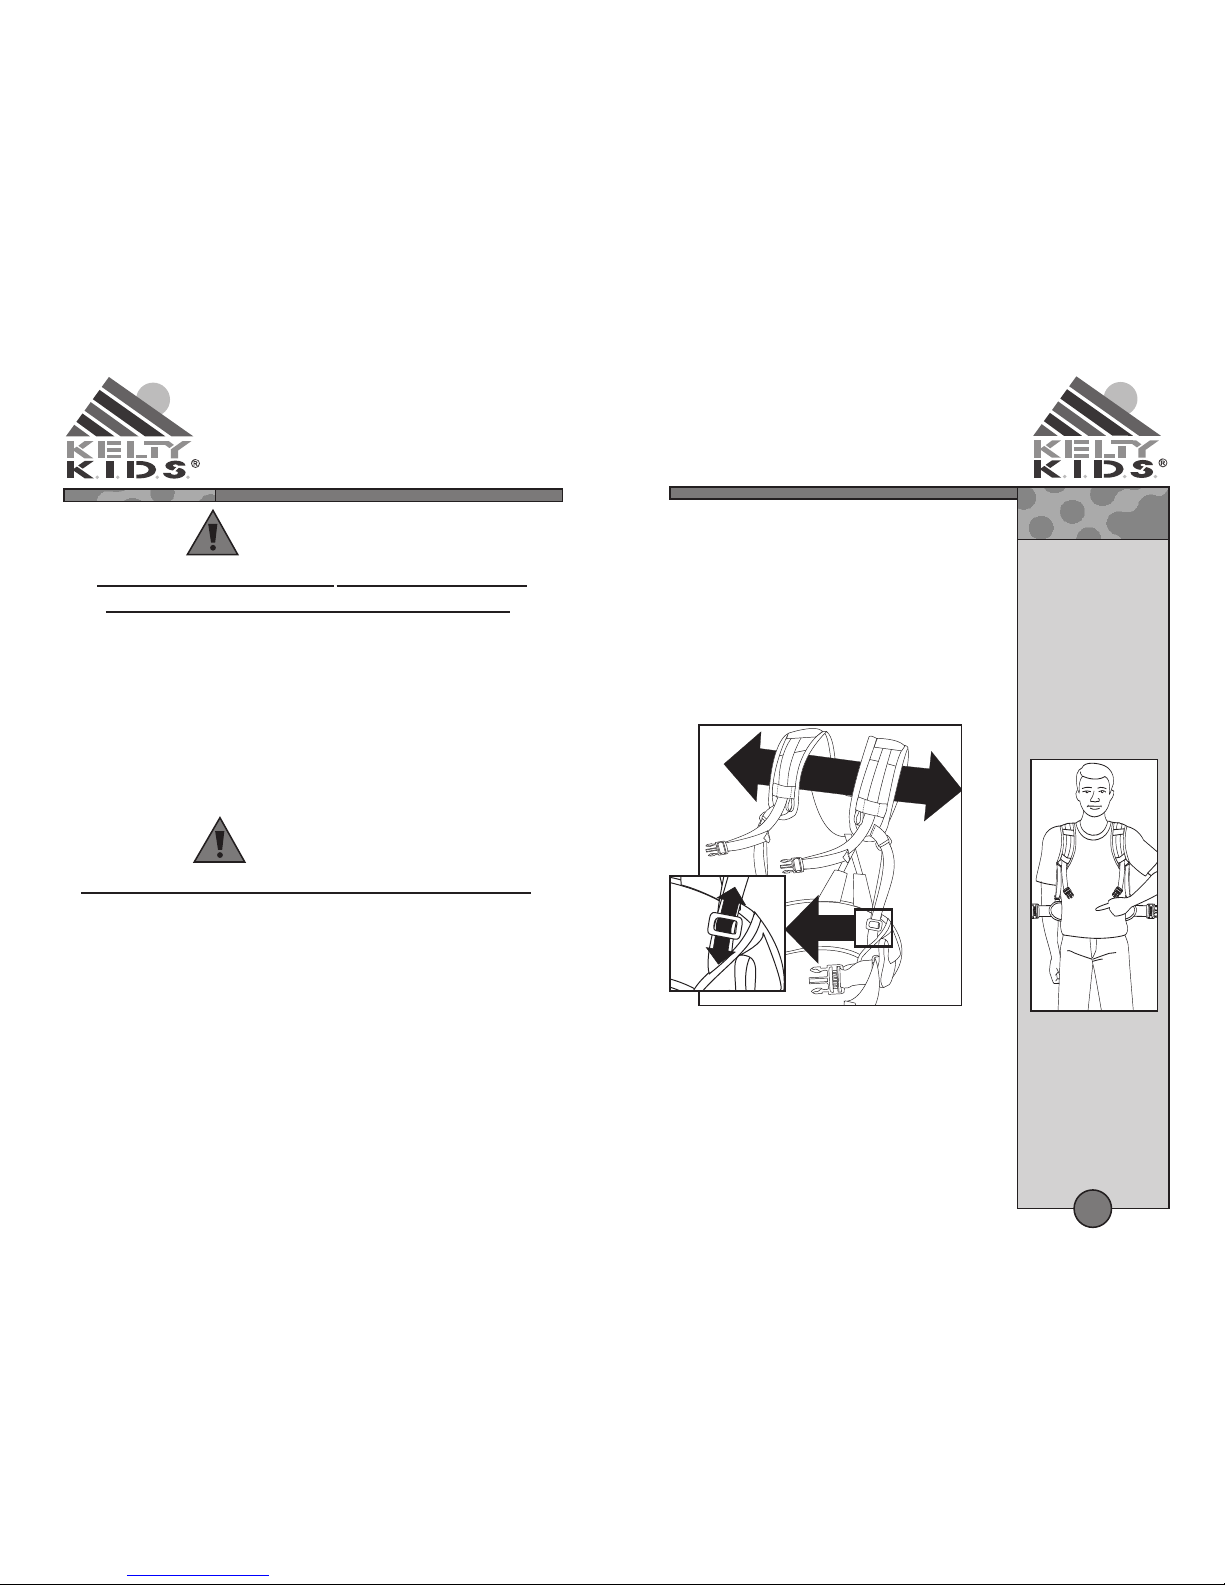
Figure 1
ADULTSUSPENSION
NOTE:
It is recommended
to wear the belt on
the hip bones, just
under the rib
cage, so that the
belt is roughly in
line with your belly
button.
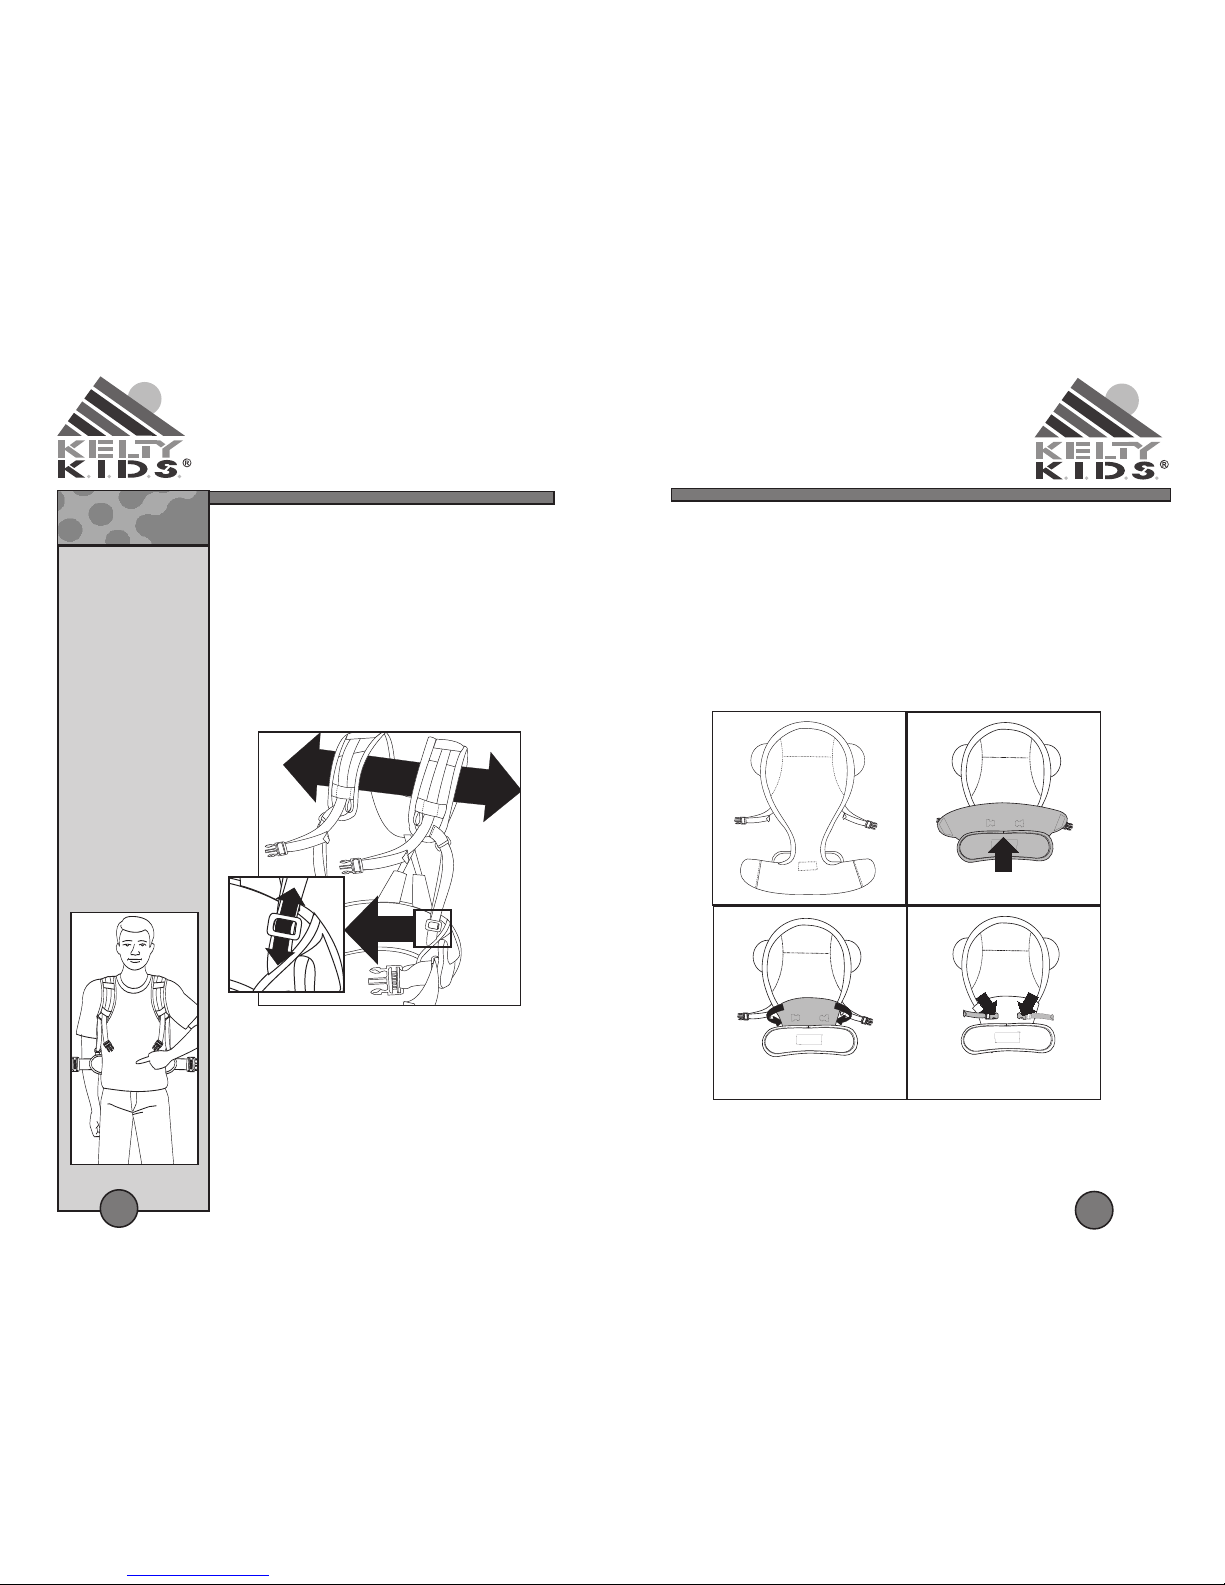
B. To adjust the height of the harness, find the
elastic webbing that runs from the shoulder
strap to the waistbelt. Slide the 3-bar slider
up or down (Fig. 1 Inset) to adjust to the
proper height.
NOTE: See tip box for “proper height” fit.
C. Repeat step B with the other shoulder strap.
SAFETY INFORMATION
-IMPORTANT-
Read, and follow, all instructions before
assembling and using this soft carrier!
CARE AND CLEANING
DO NOT USE ADAMAGED CARRIER
• DO check to assure all buckles, snaps, straps, and adjustments
are secure before each use.
• DO check the condition of carrier before each use.
• DO NOT use carrier if the fabric, straps or buckles are damaged.
• DO NOT use the carrier if the carrier is in any way damaged or
defective. Call Kelty Customer Support staff; toll free at
866-349-7225 (866-FIX-PACK).
• Keep instructions for future use.
Failure to follow this warning could cause death, serious injury or
permanent disability to your child.
THIS CARRIER MAYAFFECT YOUR
COORDINATION AND BALANCE
• Your balance may be adversely affected due to your movements
or the movements of child.
• DO NOT use the carrier while skating, biking or engaging in any
activity that will affect your balance.
• DO NOT bend at the waist when using the carrier. Bend at the
knees to avoid pitching the child forward.
• DO take special care when putting on or removing the carrier.
• Kelty frame carriers are to be used by adults only.
Failure to follow this warning could cause death, serious injury or
permanent disability to your child.
WARNING
WARNING
• Your carrier is machine washable.
• Machine wash separately in cold
water, on gentle cycle, using
mild detergent.
• Hang carrier to air dry.
• Do not use bleach or liquid
detergent.