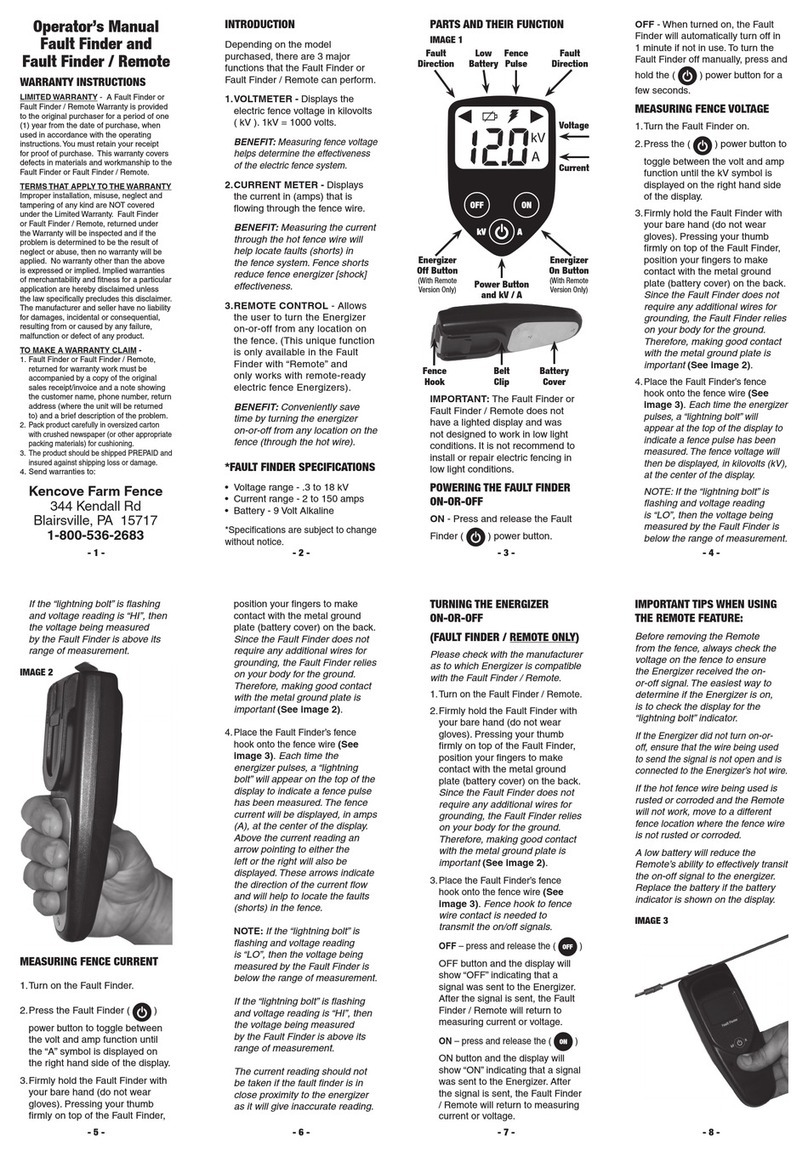
Kencove VPK User manual

Problems
The most common cause of problems with the VPK is a dead or poor-quality
battery. If your Fault Finder fails to operate, shows no readings, or shows strange
symbols on the display, check the battery. If you don't have a battery tester or
meter, use a new (heavy-duty or alkaline battery and see if the problem
disappears (also see "Checking and Replacing Battery").
Warranty
This Fault Finder is covered by a one-year warranty against defective parts
(excluding batteries and workmanship.
If you have any operational problems, difficulties, etc., call or email your questions
or comments to Kencove Farm Fence Supplies.
Phone: 1-800-KENCOVE
Fax: 888-908-5353
Email: [email protected]
Website: www.kencove.com
The Fault Finder and Voltmeter complies with AS/NZS 2064 Group 1 Class B, FCC
Part 15, EN55011, EN50082-1.
Important Notes
•Use for testing agricultural electric fences only. Attempting to measure
other high voltages could be extremely dangerous.
•The case is waterproof. Condensation can appear inside with large
changes in temperature or pressure. If so, open the case and allow it to
dry.
•To clean, simply wipe with a damp cloth.
•Do not open the unit or touch the battery while the VPK is connected to an
electric fence. You may damage the unit and receive a shock.
•DO NOT leave a dead battery in the VPK Fault Finder.
1. To check the battery, press the power button. A decimal place should
appear on the left hand side of the display. If no decimal place appears
or the battery symbol remains on the display, replace the battery.
2. To replace the battery, unscrew the four large screws from the back of
the Fault Finder. Lift the back carefully as the O-ring may stick. Remove
the old battery, and insert the new battery into position. Be sure to
match ’+’ to ’+’ and ’-’ to ’-’. The VPK uses a standard 9-volt
battery.
Kencove
VPK Fault Finder
& Voltmeter
Specifications
Voltage: 0.2 to 9.9KV (peak +/-10%
Current: 1-30 Amps (peak
User Manual
Introduction
The Kencove VPK Fault Finder and Voltmeter is the most
technologically advanced electric fence fault finder available. It
features microprocessor and surface mount technologies to make it the
easiest to use and most effective electric fence fault finding device ever
made.
This Fault Finder is able to show the current voltage, current
amperage, and direction to the fault in all electric fences, regardless of
energizer and faults. The VPK needs no second (ground connection
to read fence voltage, as it uses the capacitance of the user's hand
(nothing is felt .
Chec ing and Replacing Battery
The VPK comes with a 9-volt battery. To check or change
the battery, follow the instructions below.
Manufactured for Kencove Farm Fence Supplies by Pakton Technologies

Finding faults with
the VPK Fault Finder
& Voltmeter
2. At each intersection,
check readings in each
direction.
Voltage of 1.5 kV is lower than usual.
Current of 9 amps is higher than usual.
Types of Faults
There are two common types of faults on electric fences.
1. An OPEN CIRCUIT is where the live wire is broken. In the sections of fence after the break,
there will be NO voltage. These are relatively easy to find by testing the fence for voltage.
2. A SHORT CIRCUIT is where the live wire touches ground or a ground wire, or an insulator
breaks down. This leads to a reduced voltage throughout the system and little to no voltage
at and beyond the fault. When a SHORT CIRCUIT occurs, a large amount of current flows
through the live wires.
Checking Your Fence
VOLTAGE: Use the VPK to measure the voltage on the fence by placing the metal tip
over the live wire and pressing the POWER button. The reading is shown by the two digits on
the left side of the display. If it is lower than usual, you may have a short circuit. To be an
effective barrier, the fence should read higher than 2.5 kV.
AMPERAGE: The VPK will also measure current flow (amps) on the fence when the
POWER button is pressed. Amperage is shown on the right side of the display. A higher than
usual reading indicates that you may have a short circuit.
Take the time to play with the VPK Fault Finder and Voltmeter to get used to it. Place pretend
faults (short the live wire to grounded metal) on your fence and find them.
3. Keep following the direction arrow to the fault.
Arrow indicates the fault is in
this direction.
This experience will be invaluable when you come to find real faults. Get to know the
usual voltage on your fence. As a guide, usual amperage will be approximately 1 amp for
every 2 1/2 miles of live wire. This will also depend on seasonal conditions such as grass and
moisture.
Fault Finding Technique
Always start close to the energizer, but not within 12". A good place to start is where the
lead-out wire connects to the fence. This way you will always start on the energizer side of
a fault.
1. Place the metal tip over the lead-out wire and press the POWER button. If the
voltage is lower than usual and the amperage is higher than usual, you may
have a short circuit (see "Checking Your Fence". The fault direction
arrows will light when the VPK calculates that the leakage
(amperage is higher than an acceptable value.
2.
3.
Follow the directional arrows toward the fault. Check the fence at regular
intervals and at every side fence or intersection. Also check each of your
gates and cross fencing.
If the Fault Finder shows faults in more than one fence line or wire, ALWAYS
follow the direction with the highest current reading.
Note: For a multi-wire fence, the current flow will be seen on the feed wire, but not on
the blind (dead-end wires.
As easy as
1, 2, 3...
No amps and no arrows mean the fault is not in this direction.
1. Start at the beginning of the
fence. A fault is indicated.
Arrow indicates the fault is in this direction.
Other Kencove Measuring Instrument manuals