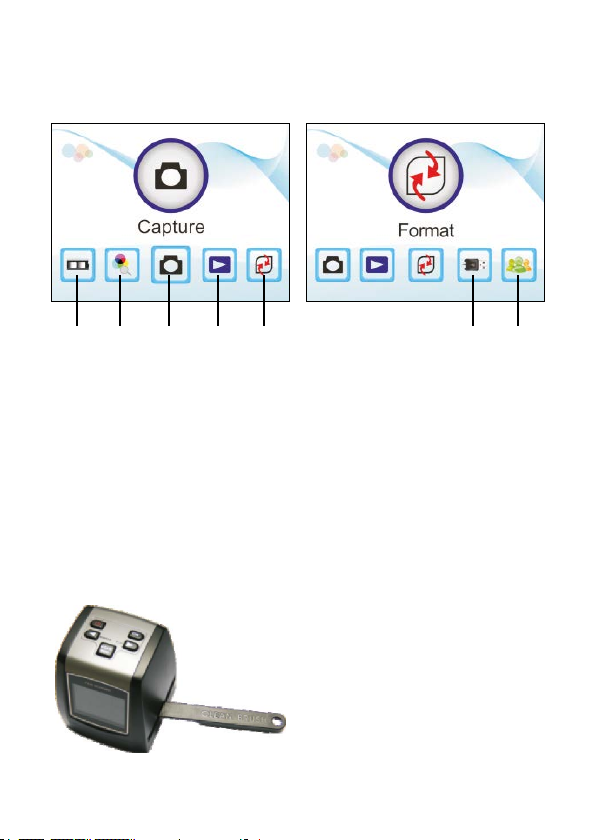
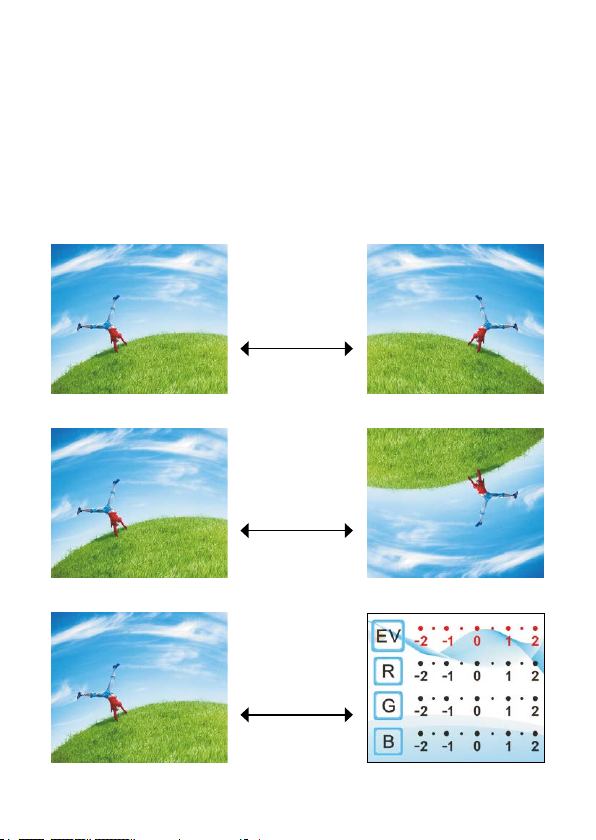
kenro KNSC201 User manual

FILM SCANNER KNSC201
INSTRUCTION MANUAL

2
Kenro Film Scanner Instruction Manual
Thank you for purchasing this lm scanner
Before using the lm scanner, please read this manual carefully for a
full understanding of how to use it safely and correctly.
Safety information
1. Do not take the unit apart.
2. If the scanner is dropped or damaged in some way, do not touch
the inner parts.
3. Stop using the scanner immediately if any problem is detected
whilst in use.
4. Do not clean the scanner with alcohol, gasoline, diluents or other
organic solvents.
5. Do not use in dusty or damp environments.
6. Do not overload your computer’s USB connections with multiple
accessories – this may cause the scanner to run poorly.
7. Use lms of standard size.
8. Ensure the scanner is clean before use in order to produce a
clean image.
9. If the unit is to be left unused for a long period of time, the USB
cord or power adapter should be unplugged.

3
Package contents
Please check that your scanner package contains all of the following
items. If any items are missing, please contact the retailer you
bought it from immediately.
1. Film scanner
2. USB cable
3. Power adapter
4. Cleaning brush*
5. Negative adapter
6. Slide adapter
7. Super8 insert
8. 110 insert
9. TV cable
10. Instruction manual
* When using the cleaning brush to clean the backlight, always insert the brush
from the correct side. This is the right-hand side as you look at the screen, as
shown below.

4
Slide and negative loading method
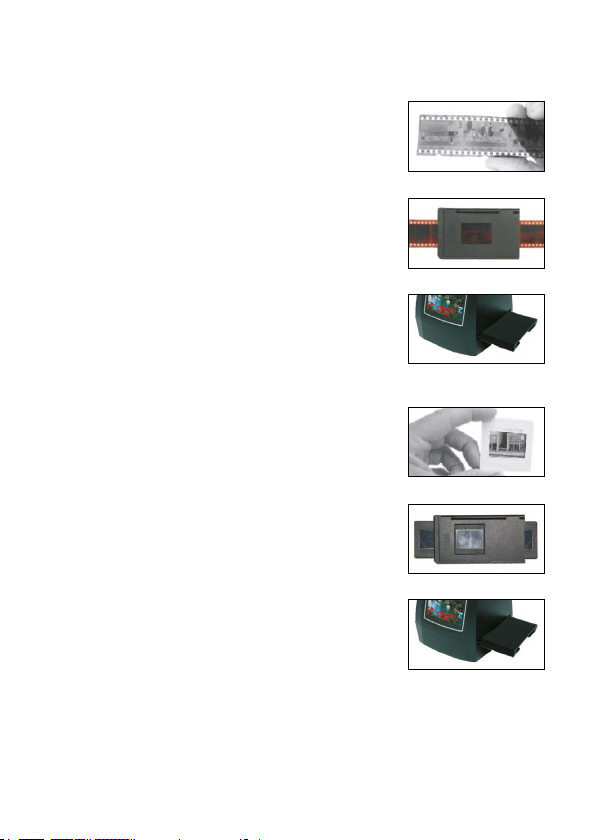
Loading negatives
Hold the negative towards the light. Face the
correct side of the negative towards yourself.
Open negative holder and place the negative
into the recessed area of the holder. Close the
negative holder and squeeze the edges so that
it locks into place.
Insert the negative holder face-up into the slot
on the right-hand side of the lm scanner.
Loading slides
Hold the slide towards the light. Face the correct
side of the slide towards yourself (small white
holder not provided).
Open slide holder and place the slide into the
recessed area of the holder (lms can also be
loaded as a strip, as pictured). Close the slide
holder and squeeze the edges so that it locks
into place.
Insert the slide holder face-up into the slot on
the right-hand side of the lm scanner.
Note: Handle lm with care to avoid scratches or ngerprints. For
best results, wear cotton gloves when handling lm. To remove any
dust on the lm, it is recommended that you use compressed cotton.

5
How to use
The menu
To return to the main menu from any function, press the
[Scan/Menu] button.
Capture picture
1 2 3 4 5 6 7
1. Film type
2. Resolution
3. Capture
4. Playback
5. Format
6. USB MSDC
7. Language
Before scanning, please make sure that the
inner backlight panel is clean. You can use
the provided brush to clean the screen.

6
In main menu mode, press [OK/Enter] to enter capture mode and
display the image.
To mirror the image, press the left button.
To rotate the image 180° (flip), press the right button.
To adjust the exposure compensation value, press the [OK/Enter]
button.
To capture the image, press the [Scan/Menu] button, then press [OK/
Enter] to save.
Mirror
(left button)
Flip
(right button)
Exposure
(OK/Enter)

7
View captured image
In the main menu, use the left and right buttons to highlight the
playback mode, then press [OK/Enter]. Captured images will begin to
play in a slideshow. To pause, press [OK/Enter] again, then use the
left and right arrows to scroll through images manually.
1
2
3
1. Exit the edit mode submenu and return to picture
2. Delete the current picture from the memory card
3. Exit the edit mode submenu and return to scan

8
Set the language
In the main menu, use the left and right buttons to highlight the
language function, then press [OK/Enter] to enter it.
Here, you can use the left and right buttons and the [OK/Enter] button
to select one of eight languages: English, French, German, Italian,
Spanish, Traditional Chinese, Simplied Chinese, and Japanese.
Set the lm type
In the main menu, use the left and right buttons to highlight the lm
type function, then press [OK/Enter] to enter it.
Here, you can select colour negative (110, 135, 126KPK), slide
positive (110, 135, 126KPK, Super8), or black and white negative
(110, 135, 126KPK).

9
Reformat the memory card
In the main menu, use the left and right buttons to highlight the
format function, then press [OK/Enter]. A warning will appear on
screen: ‘Data shall be eliminated’. This will then disappear and you
will be presented with the yes/no option to ‘Format the media’.
If you select yes, ALL information on the memory card will
be deleted.
Connect to computer
Connect the scanner to your computer via the USB cable.
In the scanner main menu, use the left and right buttons to highlight
the USB MSDC function, then press [OK/Enter] to connect to your
computer.
Set the resolution
In the main menu, use the left and right buttons to highlight the
resolution function, then press [OK/Enter]. Select 14M or 22M.

10
Product specication
Please note that product specications are subject to change
and improvement.
Function: Film scanner / USB MSDC
Interface: USB 2.0
Image sensor: 14.0 megapixels (4416x3312)
1/2.3” CMOS sensor
Display: Colour 2.4” TFT LCD
Exposure control: Automatic / manual (-2.0 EV ~ +2.0 EV)
White balance: Automatic
Resolution: 14.0 megapixels / 22 megapixels (interpolation)
Film type: 135 lm (36x24mm)
126KPK lm (27x27mm)
110 lm (17x13mm)
Super8 lm (4.01x5.79mm)
Monochrome
Slide
Picture effects: Black and white, slides, negatives
File format: JPEG
TV-OUT type: NTSC / PAL
Built-in memory: 128M
External memory card: SD card up to 32GB
Power supply: DC 5V adapter / USB port
Language: English, French, German, Italian, Spanish,
Traditional Chinese, Simplied Chinese, Japanese
Product size: 87 (L) x 86.5 (W) x 102.5 (H) mm
Weight: 250g
System compatibility: Windows XP, Vista, Windows 7, Windows 8,
Mac 10.7.3 and above

Kenro Ltd, Greenbridge Road, Swindon SN3 3LH, UK
+44 (0) 1793 615836 | www.kenro.co.uk | [email protected].uk
Table of contents
Other kenro Scanner manuals
Popular Scanner manuals by other brands

Bergstrom
Bergstrom H031 Instructions for use

Fujitsu
Fujitsu fi-4110CU Series Consumable replacement and cleaning instructions

Sirona
Sirona inEos Blue Operating instruction

Datalogic
Datalogic Magellan 9800i Product reference guide

GRUNDIUM
GRUNDIUM OCUS user guide

Colortrac
Colortrac SMARTLF SCAN User instructions