manuals.online logo
Brands
  1. Home
  2. •
  3. Brands
  4. •
  5. Kenwood
  6. •
  7. Receiver
  8. •
  9. Kenwood E303MD User manual

Kenwood E303MD User manual

E.
MD receiver3
server0ー3MD
operating instructions
Thank you for your purchase.
Please read this instruction manual carefully before use, and use the product correctly as described.
Also, keep this instruction manual in a safe place.
This machine is a model for Japan only and cannot be used outside of Japan.
source seleksi John
display control rule
MD/External Disc mode code
Good use!
Functional operation TUNER model code
audio control rule
Menu Sets
Just read this and you'll be fine!
Easy operation
H.elp
©B64-2944-00/00 (JW)
EZOperations FunctionalOperations
Translated from Japanese to English - www.onlinedoctranslator.com
You cannot operate without reading this!
There are rules for reading this instruction manual. Mastering! Functional Operation
How to read this manual ………………………………………4
source selection…………………………12
source selection
Safety Precautions ………………6
Precautions for use ………………8 display control……………………13
Dimmer control
Display switching
Just read this and you'll be fine!
Easy operation MD/External Discmode……………………14
track search
Group/disk search
manual search
Pause
scan play
repeat play
random play
magazine random play
group random play
group select
title scroll
How to listen to MD, FM/AM broadcasts, and traffic information ………10
When things don't work as expected
If you come across a term you don't understand...
Help page when you are in trouble!
TUNERmode………………18
band switching
tuning
preset tuning
auto memory
manual memory
MD Group ………………………………28 Help?
Operation …………………………………29 Help? …33 audio control……………………20
audio control
audio setup
dB equalizer
speaker matching
installation method etc. menu set……………………twenty four
Menu settings
time adjustment
AUX name select
Precautions when installing ………………36
Connections ……………………38
Mounting ……………………40
Warranty and after-sales service ………………41
Specification list ……………………42
2
source seleksi John
display control rule
MD/External Disc mode code
TUNER model code
audio control rule
Menu Sets
This product is licensed under US and foreign patents of Dolby
Laboratories Licensing Corporation. H.elp
3
EZOperations FunctionalOperations
This manual explains how to use this unit and the optional accessories, divided into the
following three blocks.
For those who want to use it immediately, the minimum necessary
I've tried to explain the functionality as simply as possible.
If you only read here, you can use it for the time being
increase.
Just read this and you'll be fine!
Easy operation
Go here after learning EZ Operation.
All functions explained step by step
doing. Read here to learn how to use it.
You can
Good use! Functional operation
Explains the search function for group-registered MDs, etc.
I'm here.
What caused it not to work as expected?
Explains countermeasures.
Terms displayed in the instruction manual and display
is explained.
In addition to these, there is an [Appendix] that describes how to install the machine.
The notation of the display part and panel described in the instruction manual is an example of display for smooth operation explanation. For this reason,
it may differ from the actual device or may contain display patterns that do not actually exist.
Marks in text short press
Represents pressing a button.
Common operations
Represents common operations regardless of source. press for more than 1 second
1 second or longer (2 seconds when writing to memory)
seconds or more) indicates an operation to press.
MD operation until the operation starts or the screen display
Indicates to keep pressing the button until it changes.
Normally, press for 1 second. Press for 2 seconds to write to memory. You
can use the display inside the arrow as a guide for the number of seconds to
press.
Indicates the operation to play MD.
Operation of the tuner
Indicates the operation to receive FM/AM broadcasts.
push in the direction of the arrow
pressing the button in the direction of the arrow
represents
Note
Indicates important precautions to prevent
injury.
turn
memo Turn the knob (or left or right
turn).
Indicates precautions to prevent damage to the unit. It
also indicates restrictions on functions and usage, and
advice on usage.
Four
Button ABC around here...
A. B. where is the button to operate
orC.…, to represent the position
is the mark.
source selection
Switch the source to play. source seleksi John
display display
scroll
each time you press the button
replacementthe law of natureRumovinegarmode or display
To do.
display control rule
Switches in the following order each time the button is pressed.circledevil ー.
MD/External Disc mode code
TUNER Receiving FM/AM broadcasts
Content description
MD play MD TUNER model code
STANDBY keep the power on
stop functioning audio control rule
dimmer controlto be
displayedLecharacter or content
Sets the brightness of the display. Menu Sets
DIMON
display display
Press for 2 seconds or more to turn the dimmer on/off.This divinegar.
centreofIslandthe spray is visible
The display will be dark when on.button until
represents a push.
track search
Select songs in order.
volume control
Set the volume.
small
Help
The mark notation example above is different from the actual operation.
Five Five
source selection FunctionalOperations
E.
ZEpa
OZ.er Otipoenration FunctionalOperations
Please read "Safety Precautions" carefully before
using the product for safe use.
To prevent traffic accidents, be sure to:
Please observe the following items.
About pictograms:
This instruction manual uses various pictograms to help you use
the product safely and correctly, and to prevent injury to you
and other people and damage to property. The indications and
their meanings are as follows. Please read the text after fully
understanding the contents.
Ignore this indication and
If handled properly,
death or serious injury
possible
indicates capacity. implementation
When the driver does any of the following:
Be sure to park your car in a safe place before
Please go.
●Car audio operations (volume control, di
insertion/removal of disk, etc.)
Ignore this indication and
If handled properly,
personal injury may result
indicate what to expect
is.
Examples of pictograms
The symbol calls attention (including warnings).
This is to inform you that there is content to
vinegar. Concrete precautions are drawn nearby.
It is written.
Note
The symbol indicates a prohibited action.
it's something to tell you. in or near the figure
Specific prohibited contents (in the case of the left figure,
Do not disassemble) is drawn.
Ban
Symbols force or direct an action
It tells you what to do. in the vicinity
Specific instructions are drawn.
vinegar.
implementation
While driving, keep the volume so that you can hear sounds outside the car.
Please use it.
implementation
The customer or a third party shall not be held responsible for
damages caused by misuse of this product, failure during use, other
defects, or use of this product. Please note that our company does
not take any responsibility for this.
6
If any of the following abnormalities are found, immediately
Discontinue use and contact the store of purchase or Kenwood service.
service center, Kenwood service station
Please contact our sales office. as it is
Doing so may cause fire or other accidents.
I will.
●no sound
●No display
●Foreign object entered
●water splashed
●smoke comes out
●smells weird
Ban
Do not put your hands or fingers into the disc insertion slot.
Doing so may result in injury.
Ban
Do not allow water or foreign objects to enter this product. Doing so
may cause smoke, fire, or electric shock.
Ban
Do not use the product for purposes other than vehicle use.
please
Ban
Repairs must be performed by the place of purchase or Kenwood service center.
center, Kenwood service station,
Please ask our sales office. customer repair
Failure to do so may result in fire or other accidents.
Ban
Do not subject this product to strong impact. Since it
uses glass parts, it may break and cause injury.
There is a risk of
implementation
Ban Installation and wiring of this product requires skill and experience.
For your safety, please ask the store where you purchased the
product.
Do not disassemble or modify the product.
It may cause fire or other accidents.
7
CD player/connected to this unit
About disc changer
When you notice something wrong with this unit
If you notice something wrong with this unit,
?Operation” on page 29 to see if there is a
solution. I can't find a solution
the reset button on the product using the tip of a pen, etc.
please.
Kenwood disc changers and CD players sold after
1998 can be connected to this unit. Connectable
disc changer or CD player
Please refer to the catalog for the models of .
●
Kenwood disc changers made before 1997, disc
changers and CD players made by other
companies cannot be connected. Connecting
may cause damage or malfunction.
●reset button
Kenwood disk with "ON switch" ●
When pressing the reset button does not restore normal operation
turn off the unit and return it to the place of purchase or
Please consult a Kenwood service center.
when.
Set the changer to the “N” side.
●
Available functions and displays depend on the connected model.
Information available may vary.
●
Up to two disc changers can be connected by
using the optional CD/MD switching unit "KCA-
S210A". Details such as connection
For more information, see “Connections” (page 38) and the
instruction manual supplied with the KCA-S210A.
Condensation
Do not leave the unit inside the unit, such as immediately after turning on the heater in cold weather.
Dew (water droplets) may form on the Connect this
It is called dew, and MD cannot be read in this state.
becomes.
In such a case, remove the MD and leave it for about an hour.
If you leave it alone, the condensation will be removed.
If it does not work properly after several hours,
Contact the place of purchase or Kenwood Service Center
please.
About cleaning the set
If the front panel of the unit becomes dirty, clean it with silicon cloth.
wipe with a soft cloth or a dry cloth. Dirt
In severe cases, apply a neutral cleaner to the cloth.
Remove the dirt after attaching, then wipe off the detergent
please.
Do not spray a spray-type cleaner directly on the unit.
Doing so may damage the machine's mechanical parts, or
wipe with volatile substances such as thinner, alcohol, etc.
Doing so may scratch or erase characters.
About the playing time display
If the playing time of the MD exceeds 100 minutes, the playing time will be
displayed up to the last two digits.
Precautions when installing auto antenna car
when installed
Locations exposed to direct sunlight, hot air, or exposed to water
where it cannot be securely installed.
Do not install the product in a location subject to frequent vibrations.
Auto antenna that automatically extends the radio antenna
If installed in a car, set to tuner mode
When the traffic information function is turned on, the vehicle antenna
automatically grows.
Turn off the machine when entering a garage with a low ceiling.
or switch to a source other than FM/AM broadcast.
8
About Hi-MD/MD for data About temperature
Hi-MD discs, discs formatted in Hi-MD format, and
data MDs cannot be used. Use conventional MDs
for music.
If the windows are closed under direct sunlight, the inside of the car
It will get very hot.
If the internal temperature of this unit exceeds 60°C, a protective
circuit will activate and the MD will not be able to play.
In such cases, lower the temperature inside the car. The protective
circuit function is canceled, and the instrument is ready for playing.
I will. If it does not work properly, use the reset button.
Please press the button.
The MD with the label peeling off
Do not use an MD whose label is peeling off.
Labels are floating or peeling off
If you use an MD, it may come off inside the unit and become
impossible to remove, resulting in malfunction. Storage
Do not leave the MD in this unit for a long time.
stomach. Also, keep the removed MD in the
dedicated MD case.
About lens cleaner
Do not use lens cleaner. optics
This may damage the system components or make it impossible to eject.
It may cause malfunction.
Caring for your MD
Wipe off any dirt or dust on the surface of the
cartridge with a dry cloth before use. In particular,
if the disc is used with oil stains, it may not be
possible to load the disc or remove it.
Also, when cleaning, open the shutter.
Please be careful not to
Beware of high temperature
Do not leave the MD in a place exposed to direct sunlight (such as on
the dashboard) or in a place where the temperature is high.
please leave The MD cartridge will deform and
become unusable.
About MD shutter
The MD shutter is designed so that it cannot be opened. If you
force it open, the cartridge will be damaged and used.
You won't be able to.
When the shutter opens for some reason
Do not touch the recording area with your fingers.
stomach. If you touch the recording part, it will become unusable,
Sound skipping will occur frequently.
9
Playing MD is easy! Just plug in your MD.
When playing MD...
Adjust the volume. Insert the MD to play.
The IN indicator lights when an MD is inserted.
small big
volume quickly
Make it smaller.
●MDs recorded in the “MDLP” format can also be
played.
●This unit is equipped with a group management function. For more
information, see “Help – MD Group”(page 28).
Press again to return to the original
Return to volume.
Power on/off. Select a station stored in memory
increase.
Press to turn on the power, and press for more than 1 second to
Power is turned off.
Press the button for 2 seconds or longer to select the station being received.
to memory.
Switch MD play and FM/AM broadcast
change.
If pressed when a disc is inserted, FM/AM
Switches to broadcasting, MD, and STANDBY.
Pause playing.
Press again to play.
●For your safety, please listen at a volume that allows you to hear your surroundings.
Ten
EZOperations
MD operation Operation of the tuner Common operations
Select a song to play.
Select the station you want to receive.
Automatically picks up stations with good reception.
By setting the tuning mode,
You can set the stations to be received in order, or
can be changed step by step. (page 18)
Frequency of traffic information (1620KHz/
1629KHz/522KHz).
source seleksi John
Take out the MD.
display control rule
MD/External Disc mode code
FM broadcast band (FM1/FM2/FM3)
switch to . TUNER model code
Select the next MD group. audio control rule
Menu Sets
Switch to the AM broadcast band.
Select the previous MD group.
Receive traffic information.
The TI indicator lights up while receiving traffic information.
increase.
Press it again to return.
If you adjust the volume while receiving traffic information, the
adjusted volume is automatically set the next time traffic
information is received.
H.elp
11
EZOperations FunctionalOperations
A. B. C.
source selection
Switch the source to play. ●Display example when an external disc player is selected
“CD CH (1-2)”: CD changer
“MD CH (1-2)”: MD changer
“DISC CH (1-2)”: Disc changer
●AUX input source mode ( “AUX EXT” ) to use
For this purpose, the optional KCA-S210A or CA-C1AX is
required.
●When using KCA-S210A, "AUX EXT" display can be
changed to "AUX name select"(page 26)
I can.
Each press switches in the following order.
TUNER Receiving FM/AM broadcasts
MD play MD
STANDBY keep the power on
stop functioning Dimmer control
Sets the brightness of the display.
When an optional unit is connected,
Switches in the following order.
DIMON
TUNER Receiving FM/AM broadcasts
MD play MD The dimmer turns on/off each time the button is pressed for more
than 2 seconds. The display will be dark when on.
Connected external disc player
play a disc of
CD CH (1-2), etc.
AUX EXT Outputs the sound of the connected external AUX
STANDBY keep the power on
stop functioning
12
source selection FunctionalOperations
Select the source to play.
Also, set the display display.
Display switching
Switches the information displayed on the display. External Disc AUX EXT
1put it in display mode D-TITLE SRC NAME
(disc title) (AUX name)
DISP SEL T-TITLE CLOCK
(track title) (clock)
P-TIME
(track playing time)
CLOCK
Keep pressing until “DISP SEL” is displayed. (clock)
2Select display items ●If the playing time of the MD exceeds 100 minutes, only the last two
digits will be displayed.
●"G-TITLE" "Menu settings" (page 24)
By setting the “GRP” item to “ON”, you can select group-
registered MDs when playing.
●While playing a disc with no disc title, track title, or
group title
When you switch to the above display, the playing time is displayed.
increase.
Reverse feed
Forward
Each press switches in the following order.
TUNER/
When receiving traffic information MD play
3exit display mode
FREQ D-TITLE
(frequency) (disc title)
CLOCK G-TITLE
(clock) (group title)
T-TITLE
(track title)
STANDBY
P-TIME
(track playing time)
SRC NAME
(STANDBY) CLOCK
(clock)
CLOCK
(clock)
13
display control FunctionalOperations
ABC D. E.
track search Pause
Select songs in order. Pauses the currently playing song.
Beginning of song/previous song
next song
Each time you press the
Track search to the beginning/previous track.
Press again to resume play.
scan play
Group/disk search 10 seconds at the beginning of each song in the disc or group
You can search for songs by playing in intervals.
(Group registered MD only, disc changer) Select
the disc or group to play. 1 Start track scan play
next group/
disk TRAC SCN
previous group/
disk Scan play is turned on/off each time the button is pressed.
increase. When scan play is on,
The lock number flashes.
●The “10”th disk number is displayed as “0”.
●Group search is "menu setting" (page 24)
This can be operated when the “GRP” item is “ON”. 2At the song you want to hear...
manual search
Fast-forwards/fast-reverses the currently playing track.
Rewind
It will play from that song.
fast forward When all tracks have been scanned, Scan Ray will
automatically end.
Fast-forward/fast-rewind only while the button is held down
increase.
14
MD/External Disc mode FunctionalOperations
You can play using various functions with an MD or optional disc changer
source.
For basic MD listening, see EZ Operation (page 10).
repeat play random play
Repeat the current song or songs in the disc/group
Play over and over.
Random songs in current disc or all groups
play in order.
DISC RDM
Each time you press it, it switches as follows.
During track repeat, the track number, group
The group number blinks during pre-repeat, and the
disc number blinks during disc repeat.
Random play is turned on/off each time the button is pressed.
vinegar. Track number blinks during random play
To do.
●of¢side to randomly select the next song.
select.
CD/MD Group registered MD
●Group search cannot be performed during random play
of tracks in all groups.
TRAC REP
(track repeat on)
TRAC REP
(track repeat on)
*
REP OFF
(repeat playoff)
GRUP REP
(group repeat on)
magazine random play
REP OFF
(repeat playoff) (disc changer only)
CD/MD changer time The disc set in the disc changer
Play in random order from the screen.
TRAC REP
(track repeat on) MGZN RDM
DISC REP
(disc repeat on)
Magazine random play is turned on/off each time the
button is pressed. Tracks during magazine random play
The number flashes.
REP OFF
(repeat playoff)
* "GRP REP" is "menu setting" (page 24)
This can be selected when the “GRP” item is “ON”.
of¢Push to the side to randomly select the next song
To do.
15
MD/External Disc mode FunctionalOperations
A. B. C.
group random play group select
(Group registered MD only) (Group registered MD only)
Songs in a group while playing an MD registered to a group
are played in random order.
Select the group containing the song you want to listen to
Select in view.
1 Start group random play 1 Enter group select mode
GRUP RDM G-SELECT
The display will show the following and
view from the loop.
Track number during group random play
– flashes. Group number display
Displays the group number.
2End group random play
SEL G03
Choose 2 groups
●of¢side to randomly select the next song.
select. previous group
next group
●Group random is "menu setting" (page 24)
This can be operated when the “GRP” item is “ON” in .
Moves to the next group/previous group each time the button is pressed.
to move.
16
MD/External Disc mode FunctionalOperations
title scroll
3A group that has songs you want to hear... The scroll mode is set to “MANU”
Sometimes scrolls the title.
1 Display the title
"Switch display" (page 13)
Browse to disc title/track title
select group title display.
Exits group select mode and
the first song in the loop is played. 2scroll display
To cancel group select...
Group select can be operated when the “GRP” item is
“ON” in “Menu settings” (page 24). Scrolls the displayed title once.
vinegar.
When the scroll mode is set to “AUTO”, the title will start
scrolling from the first character when the above
operation is performed.(The scroll setting method is"Meni
settings" (see page 24)
17
MD/External Disc mode FunctionalOperations
A. BC
band switching
When the tuning mode is auto 1
Switch to FM1, FM2, FM3. Automatically selects stations with good reception.
To cancel in the middle, press it again.
FM1
FM2
FM3
When the tuning mode is Auto 2
Receives stations stored in memory in numerical order.
increase.(Refer to page 19 for the memory method.)
please give me)
Each time you press it, it switches in the order of FM1/FM2/FM3.
When the tuning mode is manual
Switch to AM band. Each press changes the frequency by one step.
increase.
AM ●The tuning mode can be selected in “Menu
settings” (page 24).
●The ST indicator lights when an FM stereo
broadcast is received.
tuning preset tuning
Select the station you want to receive.
1
stored in the memory buttons (1 to 6)
Receives stations that
choose a band 1choose a band
See “Band Switching” above to change the band.
Choose See “Band Switching” above to change the band.
Choose
2choose a station 2Select a memory button (one of 1 to 6)
~
FM1 84.7 3ch
The pressed button number is displayed in the memory number.
displayed and the stored frequency is recalled.
will be
18
TUNER mode FunctionalOperations
Receives FM/AM broadcasts.
Moreover, the broadcasting station of up to 6 stations can be stored in memory for each band.
For basic FM/AM listening, see EZ Operation (page 10).
auto memory manual memory
Automatically selects stations with good reception and stores them in memory
-
Memorize the station being received.
1choose a band
1choose a band
See “Band Switching” above to change the band.
Choose
See “Band Switching” above to change the band.
Choose
2choose a station
2Start auto memory
A-MEMORY
Keep pressing until “A-MEMORY” is displayed. 3Select the button (one of 1 to 6) to memorize
Auto memory ends automatically when 6 stations are memorized or
when one cycle of frequencies is performed.
~
FM1 84.7 3ch
Press until the button number display flashes once.
continue.
19
TUNER mode FunctionalOperations
AB C.
audio control
Adjust the volume balance, etc.
1 Select the source you want to set
The items and values that can be set are as follows.
Setting items set value
BAS L [Bus]
(bass volume level) -8-8
MID L [mid]
(mid-bass volume level) -8-8
2 Select the item to set TRE L [treble]
(volume level of treble) -8-8
BAS L BAL [Balance]
(left and right volume levels) L [left] 15 to R [right] 15
FAD [Fader]
(difference in volume level before and after)
R [rear] 15 to F [front] 15
The setting item switches each time the button is pressed.
Select 3 values “BAS” ,“MID” , and “TRE” values for each source
can be set for each
4exit audio control
apart from
Press any button other than
The set value changes each time it is turned.
When adjusting “FAD”...
20
audio control FunctionalOperations

Other Kenwood Receiver manuals

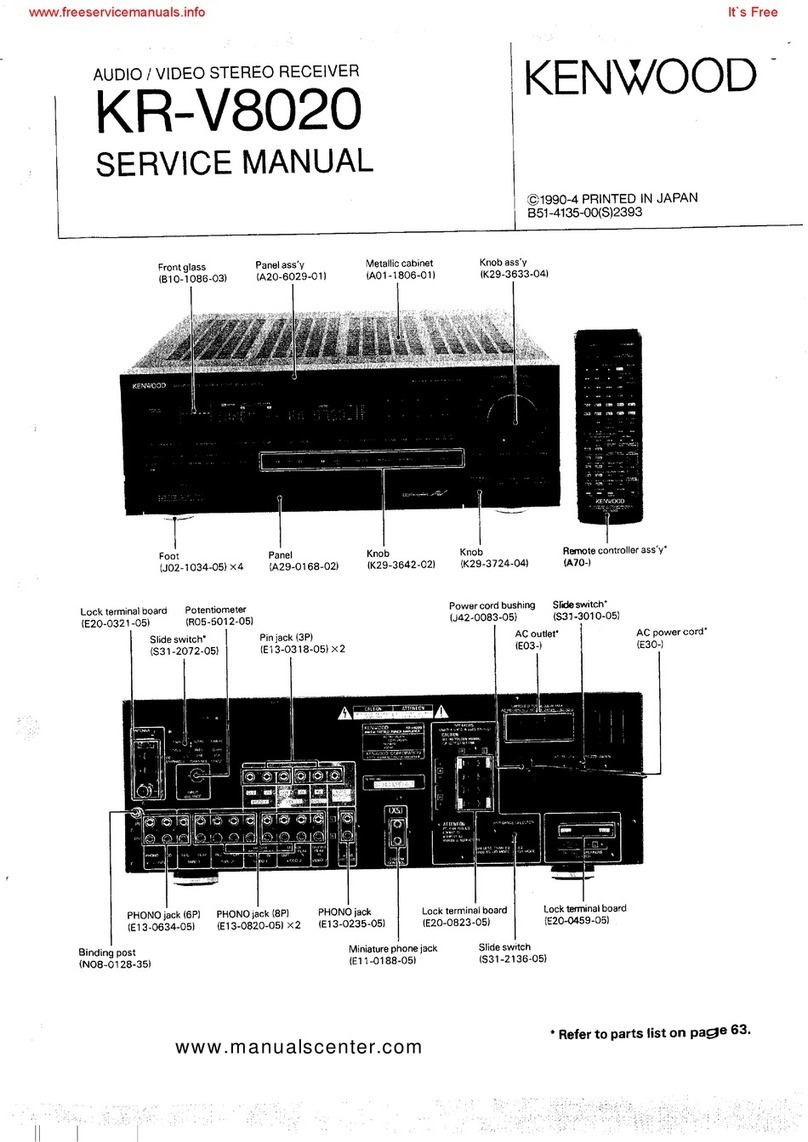
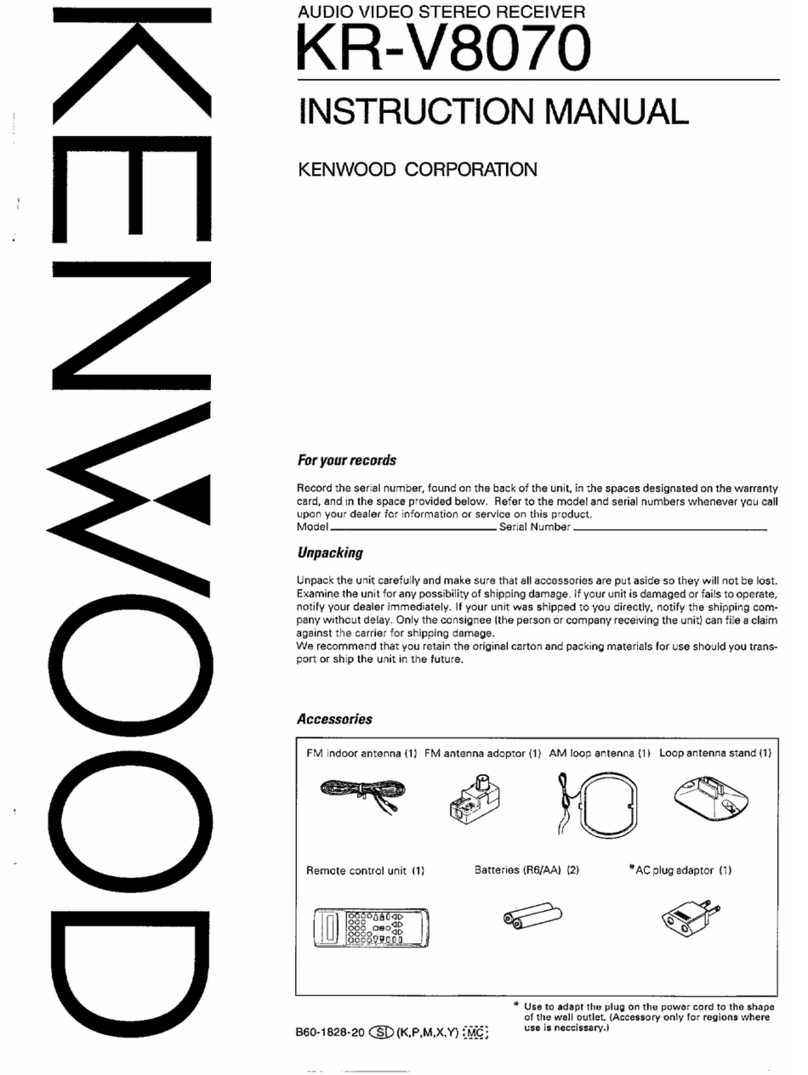
Kenwood KR-V5570 User manual

Kenwood

Kenwood KR-V5570 User manual

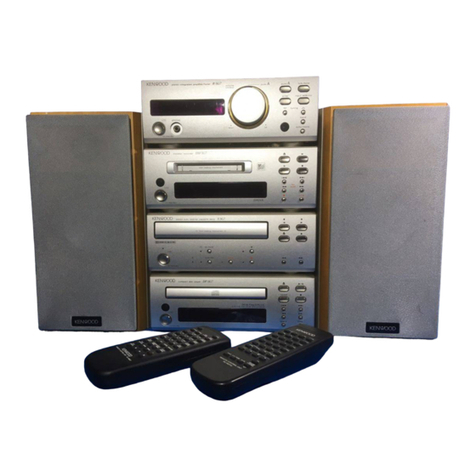
Kenwood RZ-1 User manual

Kenwood

Kenwood RZ-1 User manual

Kenwood KMD-PS971R/X92 User manual

Kenwood

Kenwood KMD-PS971R/X92 User manual

Kenwood KRF-V5090DS Installation and operation manual

Kenwood

Kenwood KRF-V5090DS Installation and operation manual

Kenwood KR-V8540 User manual

Kenwood

Kenwood KR-V8540 User manual

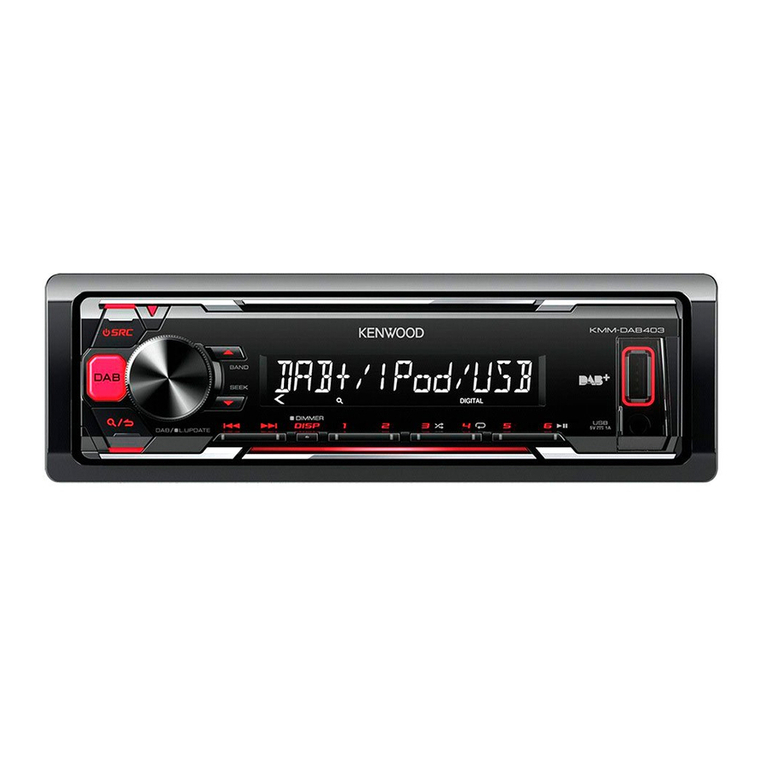
Kenwood KMM-BT203 User manual

Kenwood

Kenwood KMM-BT203 User manual

Kenwood AR-304 User manual

Kenwood

Kenwood AR-304 User manual

Kenwood VR-716 User manual

Kenwood

Kenwood VR-716 User manual

Kenwood KR-X1000 User manual

Kenwood

Kenwood KR-X1000 User manual

Kenwood DVR-8100 User manual

Kenwood

Kenwood DVR-8100 User manual

Kenwood KRF-V7030D-S User manual

Kenwood

Kenwood KRF-V7030D-S User manual

Kenwood VR-7080A User manual

Kenwood

Kenwood VR-7080A User manual

Kenwood KR-V8080 User manual

Kenwood

Kenwood KR-V8080 User manual

Kenwood KR-V7010 User manual

Kenwood

Kenwood KR-V7010 User manual

Kenwood VR-4700 Instruction Manual

Kenwood

Kenwood VR-4700 Instruction Manual

Kenwood KR-V9080 User manual

Kenwood

Kenwood KR-V9080 User manual

Kenwood KDC-BT73DAB User manual

Kenwood

Kenwood KDC-BT73DAB User manual

Kenwood KRF-X9995D User manual

Kenwood

Kenwood KRF-X9995D User manual

Kenwood KR-V5580 User manual

Kenwood

Kenwood KR-V5580 User manual

Kenwood TM-742 A/E User manual

Kenwood

Kenwood TM-742 A/E User manual

Kenwood VR-505 User manual

Kenwood

Kenwood VR-505 User manual

Kenwood VR-5900 Sovereign User manual

Kenwood

Kenwood VR-5900 Sovereign User manual

Kenwood VR-606 User manual

Kenwood

Kenwood VR-606 User manual

Kenwood KR-V7080 User manual

Kenwood

Kenwood KR-V7080 User manual

Popular Receiver manuals by other brands

Outlaw RR 2160 owner's manual

Outlaw

Outlaw RR 2160 owner's manual

Spektrum SPMAR637T manual

Spektrum

Spektrum SPMAR637T manual

Marantz SR4023 Mode d'emploi

Marantz

Marantz SR4023 Mode d'emploi

Granite River Labs GRL-DP21-SINK-AN user guide

Granite River Labs

Granite River Labs GRL-DP21-SINK-AN user guide

Memorex MSD5000 operating manual

Memorex

Memorex MSD5000 operating manual

Conrad 1404311 operating instructions

Conrad

Conrad 1404311 operating instructions

HQ EL-COCO20FS manual

HQ

HQ EL-COCO20FS manual

Motorola DCT2000 user guide

Motorola

Motorola DCT2000 user guide

Sony CX-JTD8 Service manual

Sony

Sony CX-JTD8 Service manual

Onkyo TX-SR707 instruction manual

Onkyo

Onkyo TX-SR707 instruction manual

CYP COH-TX1 Operation manual

CYP

CYP COH-TX1 Operation manual

Marantz SR3053 user guide

Marantz

Marantz SR3053 user guide

Radix epsilon instruction manual

Radix

Radix epsilon instruction manual

DigiSender DG440  X7 instruction manual

DigiSender

DigiSender DG440 X7 instruction manual

Yupiteru MTV-5000 Owner's manual

Yupiteru

Yupiteru MTV-5000 Owner's manual

Converters.TV 865 Operation manual

Converters.TV

Converters.TV 865 Operation manual

City Theatrical Multiverse 5904 user manual

City Theatrical

City Theatrical Multiverse 5904 user manual

Raymer FM Receiver 834 operating instructions

Raymer

Raymer FM Receiver 834 operating instructions

manuals.online logo
manuals.online logoBrands
  • About & Mission
  • Contact us
  • Privacy Policy
  • Terms and Conditions

Copyright 2025 Manuals.Online. All Rights Reserved.