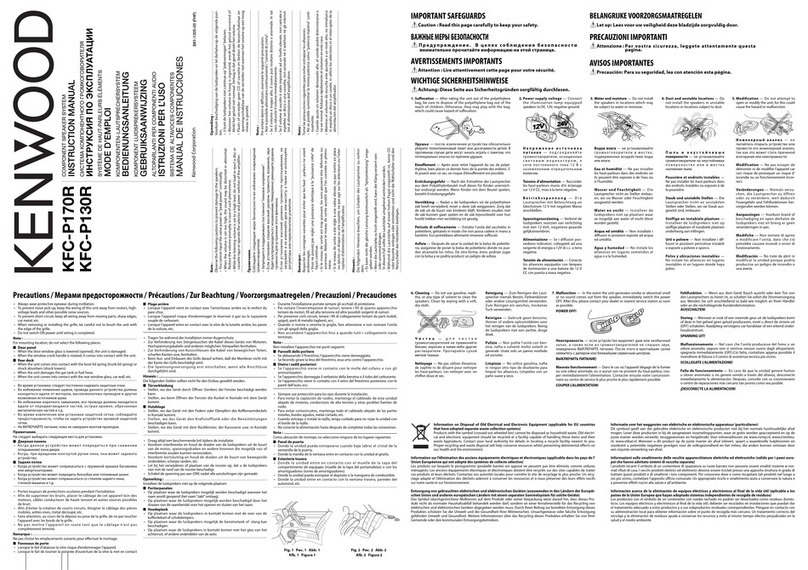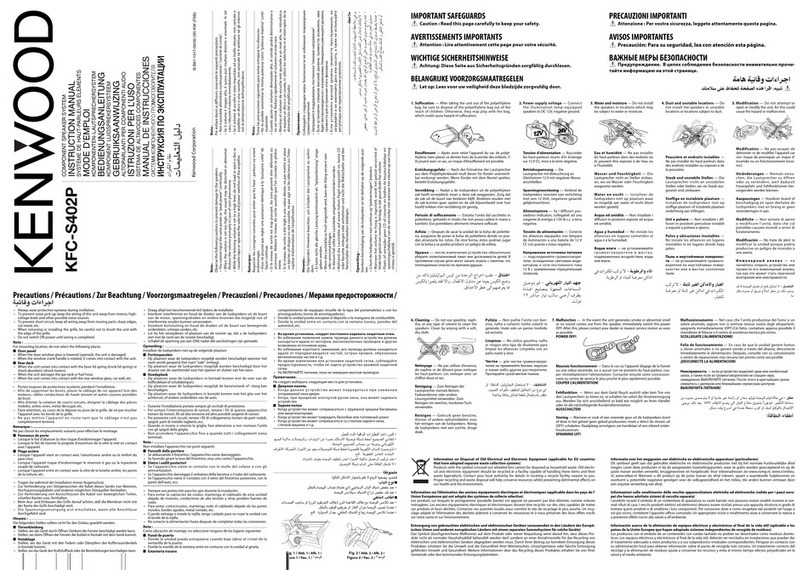
Precautions
• Always wear protective eyewear during instllation.
• To prevent noise pick-up, keep the wiring of this unit away from motors, high-voltage
leads and other possible noise sources.
• To prevent short-circuit, keep all wiring away from moving parts, sharp edges, cut
metal, etc.
•
When removing or installing the grille, be careful not to brush the unit with the edge of
the grille.
• Do not switch ON power until wiring is completed.
Note : For mounting location, do not select the following places.
■Door panel (Fig. 1)
• When the door window glass is lowered (opened), the unit is damaged.
• When the window crank handle is rotated, it comes into contact with the unit.
■Rear deck (Fig. 2)
• When the unit comes into contact with the boot lid spring (trunk lid spring) or shock
absorbers (shock towers).
• When the unit damages the gas tank or fuel hose.
• When the unit comes into contact with the rear window glass, car wall, etc.
Précautions
• Portez toujours de protections oculaires pendant l’installation.
• Afin de supprimer les bruits, placer le câblage de cet appareil loin des moteurs, câbles
conducteurs de haute tension et autres sources possibles de bruit.
• Afin d’éviter la création de courts-circuits, éloigner le câblage des pièces mobiles,
arêtes vives, métal découpé, etc.
• Faire attention, au cours de la dépose ou pose de la grille, de ne pas toucher l’appareil
avec les bords de la grille.
• Ne pas mettre l’appareil en route tant que le câblage n’est pas complètement terminé.
Remarque : Ne pas choisir les emplacements suivants pour effectuer le montage.
■Panneaux de porte (Fig. 1)
• Lorsque le fait d’abaisser la vitre risque d’endommager l’appareil.
• Lorsque le fait de tourner la poignée d’ouverture de la vitre la met en contact avec
l’appareil.
■Plage arrière (Fig. 2)
• Lorsque l’appareil vient en contact avec l’amortisseur arrière ou le renfort du pare-
choc.
• Lorsque l’appareil risque d’endommager le réservoir à gaz ou la tuyauterie souple de
carburant.
• Lorsque l’appareil entre en contact avec la vitre de la lunette arrière, les parois de la
voiture, etc.
Precauciones
• Siempre use protección para los ojos durante la instalación.
• Para evitar la captación de ruidos, mantenga el cableado de esta unidad alejado de
motores, conductores de alta tensión y otras posibles fuentes de ruido.
• Para evitar cortocircuitos, mantenga todo el cableado alejado de las partes móviles,
bordes agudos, metal cortado, etc.
•
Cuando extraiga o instale la rejilla, tenga cuidado para no rozar la unidad con el borde de
la rejilla.
• No conecte la alimentación hasta después de completar todas las conexiones.
Nota : Como ubicación de montaje, no seleccione ninguno de los lugares siguientes.
■Panel de puerta (Figura 1)
• Donde la unidad pueda estropearse cuando baje (abra) el cristal de la ventanilla de la
puerta.
• Donde la manilla de la ventana entre en contacto con la unidad al girarla.
■Estantería trasera (Figura 2)
• Donde la unidad entre en contacto con el muelle de la tapa del compartimiento de
equipajes (muelle de la tapa del portamaletas) o con los amortiguadores (torres de
amortiguadores).
• Donde la unidad pueda estropear el depósito o la manguera de combustible.
• Donde la unidad entre en contacto con la ventana trasera, paredes del automóvil, etc.
Fig. 1 / Figura 1 Fig. 2 / Figura 2
IMPORTANT SAFETY INSTRUCTIONS
CAUTION
To avoid the risk of human injury or property damage, be sure to read and observe the
following safety precautions.
Consult a professional technician for installing and connecting the speaker. — Incorrect
installation may lead to trac accidents or malfunctions.
Avoid installation where the speaker in unstable. — Make sure that the speaker is stationary
and does not rattle. Displacement of the speaker may cause injury.
Do not modify the speaker. — Doing so may result in smoke or re.
Do not place hands on the speaker. — The speaker becomes hot after extended operation.
Touching it in such a condition may cause burns.
Keep the volume of sound at an optimum level. — Not being able to hear sounds from outside
of your car can lead to trac accidents.
In case of abnormality, stop the use and disconnect the speaker. — If operation is continued,
smoke or re may result. Disconnect the speaker and ask servicing.
FOR PROPER INSTALLATION AND USE
Please read the instructions carefully before using this speaker.
• Be careful not to accidentally kick or apply any sort of strong impact to the speaker.
• To prevent damaging the speaker, turn o the power of the amplier before connecting it to
the speaker.
• Do not use the provided parts for other purposes (Ex. using a speaker cord instead of a power
cord). Otherwise malfunction or re hazard could result.
IMPORTANTES CONSIGNES DE SÉCURITÉ
ATTENTION
Pour éviter tout risque de blessure ou de dégâts matériels, assurez-vous d'avoir lu et de
respecter les précautions suivantes.
Consultez un technicien professionnel pour l’installation et le raccordement du haut-
parleur. — Une mauvaise installation peut provoquer des accidents de la route ou des
dysfonctionnements.
Évitez d’installer le haut-parleur de manière instable. — Assurez-vous que le haut-parleur est
stable et ne produit pas de bruit de vibration. Le déplacement du haut-parleur peut provoquer
des blessures.
Ne modiez pas le haut-parleur. — Cela pourrait provoquer de la fumée ou un incendie.
Ne posez pas vos mains sur le haut-parleur. — Le haut-parleur devient chaud après un
fonctionnement prolongé. Vous pourriez vous brûler en le touchant.
Maintenez le son à un volume optimal. — Vous risquez de provoquer des accidents de la route
si vous ne pouvez pas entendre les sons provenant de l’extérieur de votre voiture.
En cas d’anomalie, cesser d’utiliser le haut-parleur et le débrancher. — Sinon de la fumée ou
un incendie peut se produire. Débrancher le haut-parleur et le faire réparer.
POUR UNE INSTALLATION ET UNE UTILISATION
APPROPRIÉES
Veuillez lire attentivement les instructions avant d’utiliser ce haut-parleur.
• Faites attention à ne pas cogner accidentellement le haut-parleur ou lui faire subir un choc
violent.
• Pour éviter d’endommager le haut-parleur, coupez l’alimentation de l’amplificateur avant de le
raccorder au haut-parleur.
• N’utilisez pas les pièces fournies à d’autres fins (par ex. un câble de haut-parleur à la place d’un
cordon d’alimentation). Sinon, un dysfonctionnement ou un incendie pourrait se produire.
INSTRUCCIONES DE SEGURIDAD IMPORTANTES
PRECAUCIÓN
Para evitar el riesgo de que se produzcan lesiones personales o daños en el equipo,
asegúrese de leer y observar las siguientes precauciones de seguridad.
Consulte a un técnico profesional a la hora de instalar y conectar el altavoz. — Una
instalación incorrecta puede ocasionar un accidente de tráfico o un funcionamiento incorrecto.
Evite llevar a cabo la instalación si el altavoz se encuentra inestable. — Asegúrese de que el
altavoz esté fijo y no vibre. El desplazamiento del altavoz puede ocasionar lesiones.
No modifique el altavoz. — De hacerlo, podría producirse humo o fuego.
No coloque las manos sobre el altavoz. — El altavoz se calentará tras un periodo de
funcionamiento prolongado. Tocarlo entonces podría ocasionar quemaduras.
Mantenga el volumen de sonido a un nivel óptimo. — No escuchar los sonidos del exterior
del vehículo podría ocasionar un accidente de tráfico.
En el caso de producirse alguna anormalidad, deje de utilizar el altavoz y desconéctelo. — Si
se continúa utilizando el altavoz bajo estas condiciones, puede que salga humo o se produzca un
incendio. Desconecte el altavoz y solicite reparaciones.
INSTALACIÓN Y UTILIZACIÓN CORRECTAS
Lea atentamente las instrucciones antes de utilizar este altavoz.
• Tenga cuidado de no golpear accidentalmente o ejercer cualquier tipo de impacto fuerte sobre
el altavoz.
• Para evitar que se produzcan daños en el altavoz, desconecte la alimentación del amplificador
antes de conectarlo al altavoz.
• No utilice para otros fines las piezas facilitadas (por ejemplo: no utilice un cable de altavoz en
lugar de un cable de alimentación). De lo contrario, podría darse un funcionamiento incorrecto
o existir riesgo de incendio.
Note: KENWOOD follows a policy of continuous advancements in development. For this reason specifications may be changed without notice.
Remarque: KENWOOD applique une politique de progrès continus. Les caractéristiques peuvent donc être modifiées sans préavis.
Nota: KENWOOD sigue una política de avances continuos en el campo del desarrollo. Por esta razón, las especificaciones están sujetas a cambios sin previo aviso.
Technical specifications / Caractéristiques techniques / Especificaciones técnicas
For Argentina
Información acerca de la eliminación de equipos eléctricos y electrónicos al final de la vida útil (aplicable a los países que hayan adoptado sistemas independientes de recogida de
residuos)
Los productos con el símbolo de un contenedor con ruedas tachado no podrán ser desechados como residuos domésticos. Los equipos eléctricos y electrónicos al final de la vida
útil, deberán ser reciclados en instalaciones que puedan dar el tratamiento adecuado a estos productos y a sus subproductos residuales correspondientes. Póngase en contacto con
su administración local para obtener información sobre el punto de recogida más cercano. Un tratamiento correcto del reciclaje y la eliminación de residuos ayuda a conservar los
recursos y evita al mismo tiempo efectos perjudiciales en la salud y el medio ambiente.
Note: Observe the following cautions to prevent damage to the speakers.
• You cannot input the same power as“peak power” continually.
• When the volume is set too high, the sound may be distorted or abnormal. Reduce the volume
promptly in case of such phenomena.
Remarque: Respecter les consignes suivantes pour éviter que les haut - parleurs ne soient
endommagés.
• Vous ne pouvez pas régler une puissance identique à la“puissance crête” de façon continue.
• Si le niveau de sortie est trop puissant, les sons peuvent étre déformés ou anormaux. Réduire le
niveau de sortie aussitôt que l'on constate ce phénomène.
Nota: Tome las precauciones siguientes para evitar estropear los altavoces.
• No es posible suministrar la misma potencia como“potencia máxima” continuamente.
• Cuando ajuste un volumen demasiado alto, el sonido podrá distorsionarse o no ser normal.
Reduzca rápidamente el volumen en este caso.
XR-1703HR
XR-1603HR
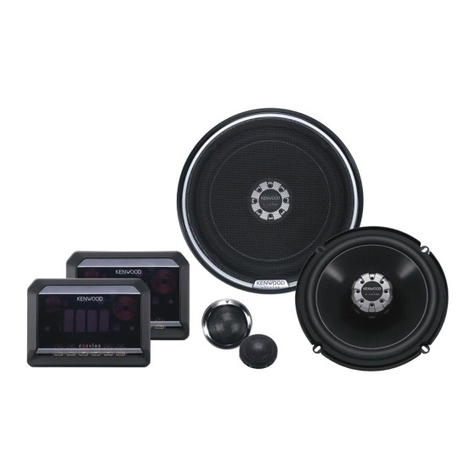
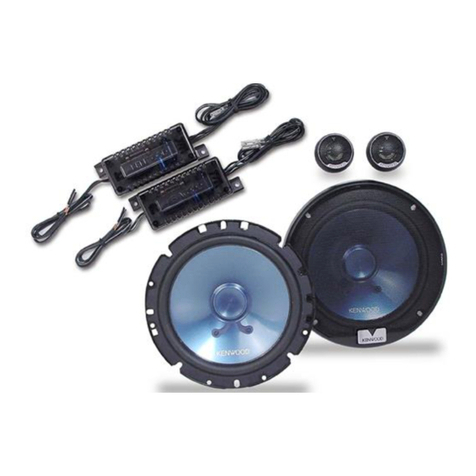
COMPONENT SPEAKER SYSTEM
INSTRUCTION MANUAL
SYSTÈME DE HAUT-PARLEURS ÉLÉMENTS
MODE D’EMPLOI
SISTEMA DE ALTAVOCES COMPONENTES
MANUAL DE INSTRUCCIONES
©B5E-0181-00/00 (K)
Parts / Pieces / Partes
The product with this logo is conformed to Hi-Resolution Audio standard defined by Japan Audio Society. This logo is used under license from Japan Audio
Society.
It is recommended that a car audio system should be configured with all High-Resolution Audio compatible products from player to speaker to enjoy its high
quality sound.
Il est recommandé qu'un système audio de voiture doit être configuré avec tous les produits compatibles Audio Haute Résolution de lecteur à haut-parleur pour
apprécier son son haute qualité.
Se recomienda que el sistema de audio del coche esté configurado con todos los productos compatibles con el audio de alta resolución, desde el reproductor
hasta los altavoces, para disfrutar su alta calidad de sonido.
SYMBOL UNIT VALUE
XR-1703HR XR-1603HR
Nominal Impedance
Z Ω 4 4
DC Resistance
Re Ω 3.6 3.6
Voice Coil Inductance
Le mH 0.198 0.180
Resonance Frequency
Fs Hz 71.2 76.7
Mechanical Q Factor
Qms 6.81 6.22
Electrical Q Factor
Qes 1.36 1.11
Total Q Factor
Qts 1.14 0.94
Volume Acoustic Compliance
Vas liter 8.53 6.23
cu.ft 0.301 0.220
Moving Mass
Mms g 16.22 12.27
Suspension Compliance
Cms mm/N 0.308 0.351
Force Factor
BL T·m 4.38 4.38
Piston Area
SD sq·cm 139.8 112.0
XR-1703HR
①4②4③2④2⑤2⑥2
⑦1⑧1⑨2⑩4⑪8⑫8
⑬8⑭8⑮2⑯2
XR-1603HR
①4②4③2④2⑤2⑥2
⑦1⑧1⑨2⑩4⑰8⑱8
⑲8⑳8
ø 3 x12 mm
(1/2 ")
ø 3 x12 mm
(1/2 ")
ø 6 x20 mm
(13/16 ")
ø 5 x16 mm
(5/8 ") ø 4 x20 mm
(13/16 ")
10 mm x 3 mm
(3/8 " x 1/8 ")
10 mm x 3 mm
(3/8 " x 1/8 ")
10 mm x 15 mm
(3/8 " x 9/16 ")
10 mm x 15 mm
(3/8 " x 9/16 ")
ø 5 x20 mm
(13/16 ")
ø 4 x16 mm
(5/8 ") M5 x16 mm
(5/8 ")
ø 3
ø 3
ø 6 ø 4
B5E-0181_XS_K.indd 1 2017/11/08 9:07
