2/ 3
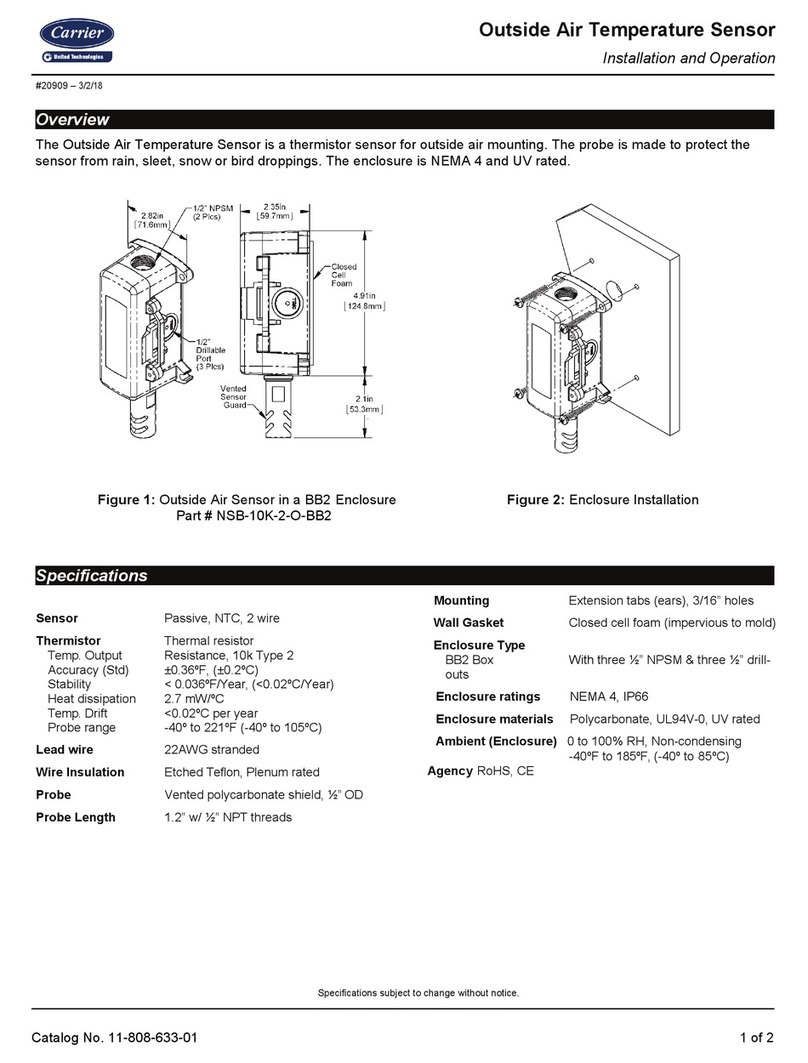
A. This is 10K NTC sensor, need not to distinguish positive or negative when wiring
sensor.
B. The input voltage must within the voltage value marked in diagram ±10% value.
C. Load Power ≤ Votage of load ∗ Max current of Relay
Factor
The factor for Inductive Load like compressor, heating pump, usually be 5~8;
The factor for Resistive Load like Electric heating rod, Electric blanket
usually is 1.5~2;
The factor for Incandescent lamp usually is 15.
6. Configurations
6.1. Function & Parameter
Temperature Calibration (°F )
6.2. How to set my ideal temperature?
We call it ATV means Aim Temperature Value (default 5°F) which is the ideal
temperature value you wish to keep around, once exceed this value (if difference value =
0) the working status of load will be changed; and ATV must between the lower limit and
higher limit.
Assure power on, Press and release key once time you will find display
blink a data which is changeable
Now press or keys to get you aim value.
Waiting 10s the device will save data automatically or press to save it
6.3. When will the load working?
Firstly of all, the instant time passed the delay time, and then matches one of the following
In heating mode, the relay will turn on heater when
Measured Temperature Value ≤ ATV - Temp. Differential
In Cooling mode, the relay will turn on cooler
Measured Temperature Value ≥ ATV + Temp. Differential
6.4. How to set other parameters?
Press and hold on 3s until appears the code HC.
Now press the or keys to select the code you want to update;
Press and release to see exist value; now Press the or keys in order
to get you aim value;
Press key to memorize the configured value and return to the menu.
Repeat operation from step 2 / 3 / 4 to adjust other parameters;
Press to save data and quit from setting mode back to normal monitor status.
Actually modified value will be memorized automatically if without operation
in 10s
6.5. How to get Factory Reset?
In normal status, press and keys in same time, do not release them until screen
shows YS which means success, nearly 3s.
7. Error & Alarm
When alarm occur, if the readout flash --- and buzzer sounds,
Press any key to stop buzz scream;
Check the room temperature and then change the compressor / heater working status
manually if need,
fix or replace the sensor; after that screen will back to normal state
And other code please, reference below content to fix problem.
Measured temperature > HS
Check the refrigerator or heater
Measured temperature < LS
Check the refrigerator or heater
8. Environmental Information
The packages material is 100% recyclable; Just dispose it through
specialized recyclers.
The electro components can be recycled or reused if it is disassembled
for specialized companies.
Please do not burn or throw the controllers in domestic garbage,
observe the respectively law in your region concerning the
environmental responsible manner of dispose its devices.
