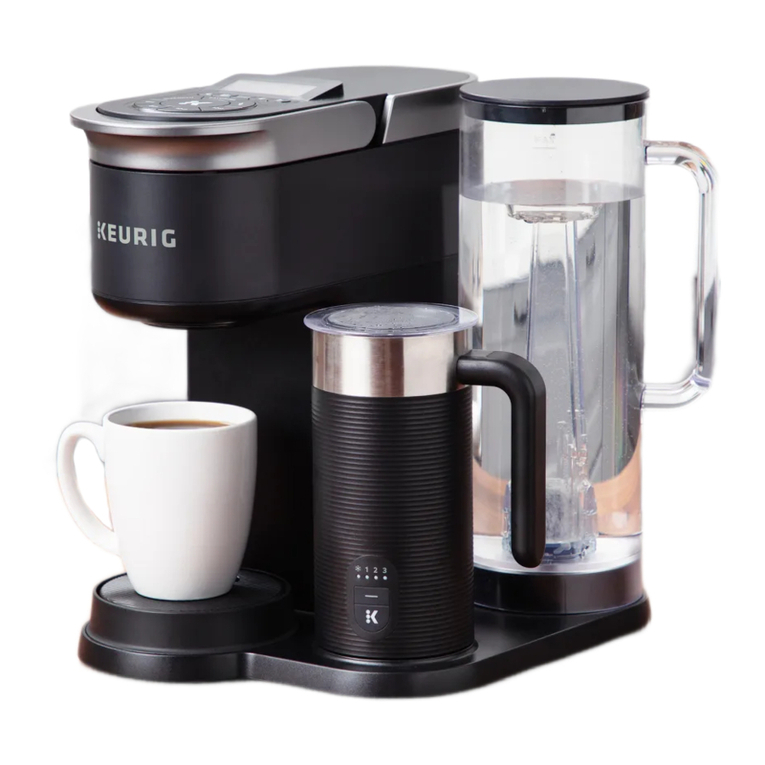
Frother:
•
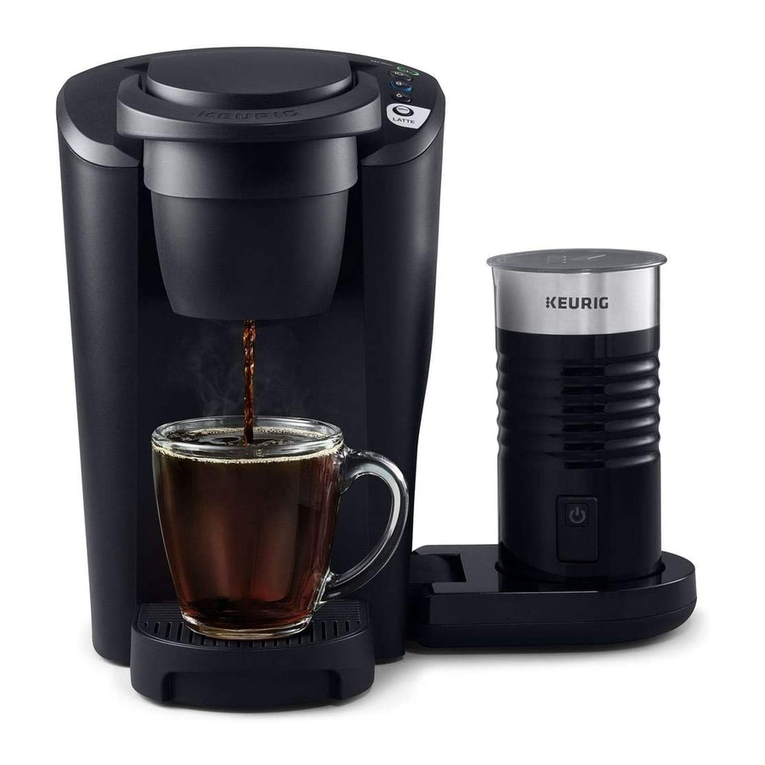
If you are brewing coffee, you will not be able to use the frother at the
same time. Wait until your brew has completed before pressing the
frother button.
•
For best froth performance, be sure the whisk is seated properly on the
post in the bottom of the frother.
•
Some separation of milk and froth can occur, especially if the froth
is not poured right away. Pour the milk and scoop the froth into your
beverage with a spoon if needed.
•
If you are not satisfied with how your milk is frothing, please reference
the How to Froth Like a Pro section of this guide for helpful hints. If you
are still unsatisfied with your milk froth, please call Customer Service.
•
If you are frothing the same milk twice, you may experience a
shorter froth time, as the milk will have already reached the target
temperature.
•
If your milk frother is overflowing, be sure you are filling below the
MAX fill line inside the frother.
•
If your milk frother is scalding or burning the milk, be sure you are filling
above the MIN fill line inside the frother. Additionally, be sure to clean
residual milk at the bottom of the frother after each froth to avoid
scalded milk.
•
If the milk frother is not turning on, unplug your brewer, wait 30 seconds,
plug back in, and try again. If it still does not work, call Customer Service.
Note: Froth time will vary depending on the temperature of the milk.
Grounds in Your Coffee
Grounds may have gathered in the exit or entrance needles and can be
cleaned using a straightened paper clip or similar tool.
• Clean the exit needle of the K-Cup® pod holder. Refer to the exit needle
care instructions.
• Clean the brewer entrance needle. Refer to the entrance needle
care instructions.
For optimal enjoyment and to limit grounds in your cup during hot water
brews or when transitioning from brewing a coffee pod to a non-coffee
pod (e.g., tea or cocoa), clean the exit and entrance needles per the
instructions provided and perform two cleansing brews.
Brewer Will Not Brew
• The water must be at a minimum level to brew. Add water to the
MAX line, open and close the handle, and try to brew again.
• Lift up and replace the reservoir to ensure a secure fit on the base.
Brewing a Partial Cup
• Unplug and plug the brewer back in. Remove and replace the
water reservoir, ensuring a proper fit on the base.
• Clean the K-Cup® pod holder and unclog the needles, following
the K-Cup® pod holder care instructions.
• The brewer may need to be descaled. If you have repeated the
descale procedure on your brewer two times and it is still only
brewing a partial cup, contact Customer Service.
Brewer Does Not Have Power or Shuts Off
• Press any button or lift the brewer handle to turn on the brewer.
• Plug brewer into its own outlet. If the electric circuit is
overloaded with other appliances, your brewer may not
function properly. The brewer should be operated on its
own circuit, separate from other appliances.
• For energy savings, the brewer automatically turns off
five minutes after the last brew.
Troubleshooting
Note: The full descaling procedure must be completed to turn
off the Descale light. To opt out of descale notifications, see
instructions under Brewer Features.
You will need: A large ceramic mug (10 oz minimum), fresh water,
Keurig® Descaling Solution, and access to a sink.
Do not use a paper cup. Ensure that there is no beverage
pod in the K-Cup® pod holder. The descaling procedure takes
approximately 20 minutes.
STEP 1: Prepare the Brewer
Pour the entire bottle of Keurig® Descaling Solution into the
empty water reservoir. Then fill the empty bottle with water and
pour into the water reservoir.
Do not insert a K-Cup® pod.
Place a large mug on the drip tray.
STEP 2: Descaling the Brewer
To activate Descale Mode, begin with the brewer plugged in
and powered off, then press and hold the 8 oz and 12 oz buttons
together for three seconds.
When flashing, press the 12 oz button to start the descaling
process. Once the brew is complete, pour the hot liquid into the
sink. Continue to brew until the ADD WATER light illuminates.
STEP 3: Fresh Water Rinse
Empty and rinse the water reservoir and refill to the MAX fill line
with fresh water. When flashing, press the 12 oz button to start
the rinsing process.
Once the brew is complete, pour the hot liquid into the sink.
Continue to brew until the DESCALE notification turns off.
The brewer has now exited Descale Mode and is ready for use!
NOTE: The cleaning action of Keurig® Descaling Solution may
result in a “foam” dispensed from the brewer. This is natural,
as the solution is reacting with the scale inside. For a brewer
that is heavily scaled, the brewer may not fill properly after the
descaler is added. If this occurs, you may see only a small or no
output dispensed, followed by the sound of air blowing out. If
this occurs:
• Turn off and unplug the brewer.
• If there is Keurig® Descaling Solution in the water
reservoir, discard the contents, rinse the water reservoir
thoroughly, and refill with water.
• Plug the brewer back in, power on, and repeat the
Step 3 Fresh Water Rinse cycle.
The brewer should begin to function normally as the solution
is rinsed out and the scale is removed. If problem persists,
allow brewer to sit unplugged for at least 30 minutes before
continuing with the rinse.
Descaling Procedure
