Kewaunee Supreme Air Series Manual

KEWAUNEE®
VENTURI FUME HOOD
Supreme Air Series
encouraging new discovery...Worldwide
Operation
Maintenance
Technical
Manual
Operation & Maintenance Procedures
Recommended Work Practices
Installation Instructions
VFHOMT-11/18

We’re honored that you have purchased a Kewaunee fume hood.
We take pride in many things; our families, our town, our flag and this great country — to
name a few. We also take great pride to have you as a customer. We have worked hard
to create the world’s safest and best fume hood. Why...? Because we know you are doing
important work—work that is sometimes dangerous — and we want you to be safe so you can
return home to your family.
We have spent countless hours creating this manual — it includes the latest fume hood
safety procedures and best practices. It also includes valuable installation and maintenance
information that will protect your fume hood investment. Please read this manual and practice
what it teaches. Knowing this manual will help you stay safe and help you keep your Venturi
fume hood working properly for years to come.
If you have any questions regarding your Venturi fume hood you can contact us at
Thanks again for purchasing Kewaunee.
The Kewaunee Fume Hood Assembly Group

VFHOMT-11/18 - 1
Supreme Air Venturi Fume Hoods
Operation & Maintenance
Technical Manual
Table of Contents
Operating Procedures
General Procedures
All Fume Hoods.............................................................................................2
Perchloric Acid Fume Hoods.........................................................................3
Venturi Fume Hood Features & Options
Features & Option Identification....................................................................4
Venturi Effect.................................................................................................5
LED Lighting..................................................................................................5
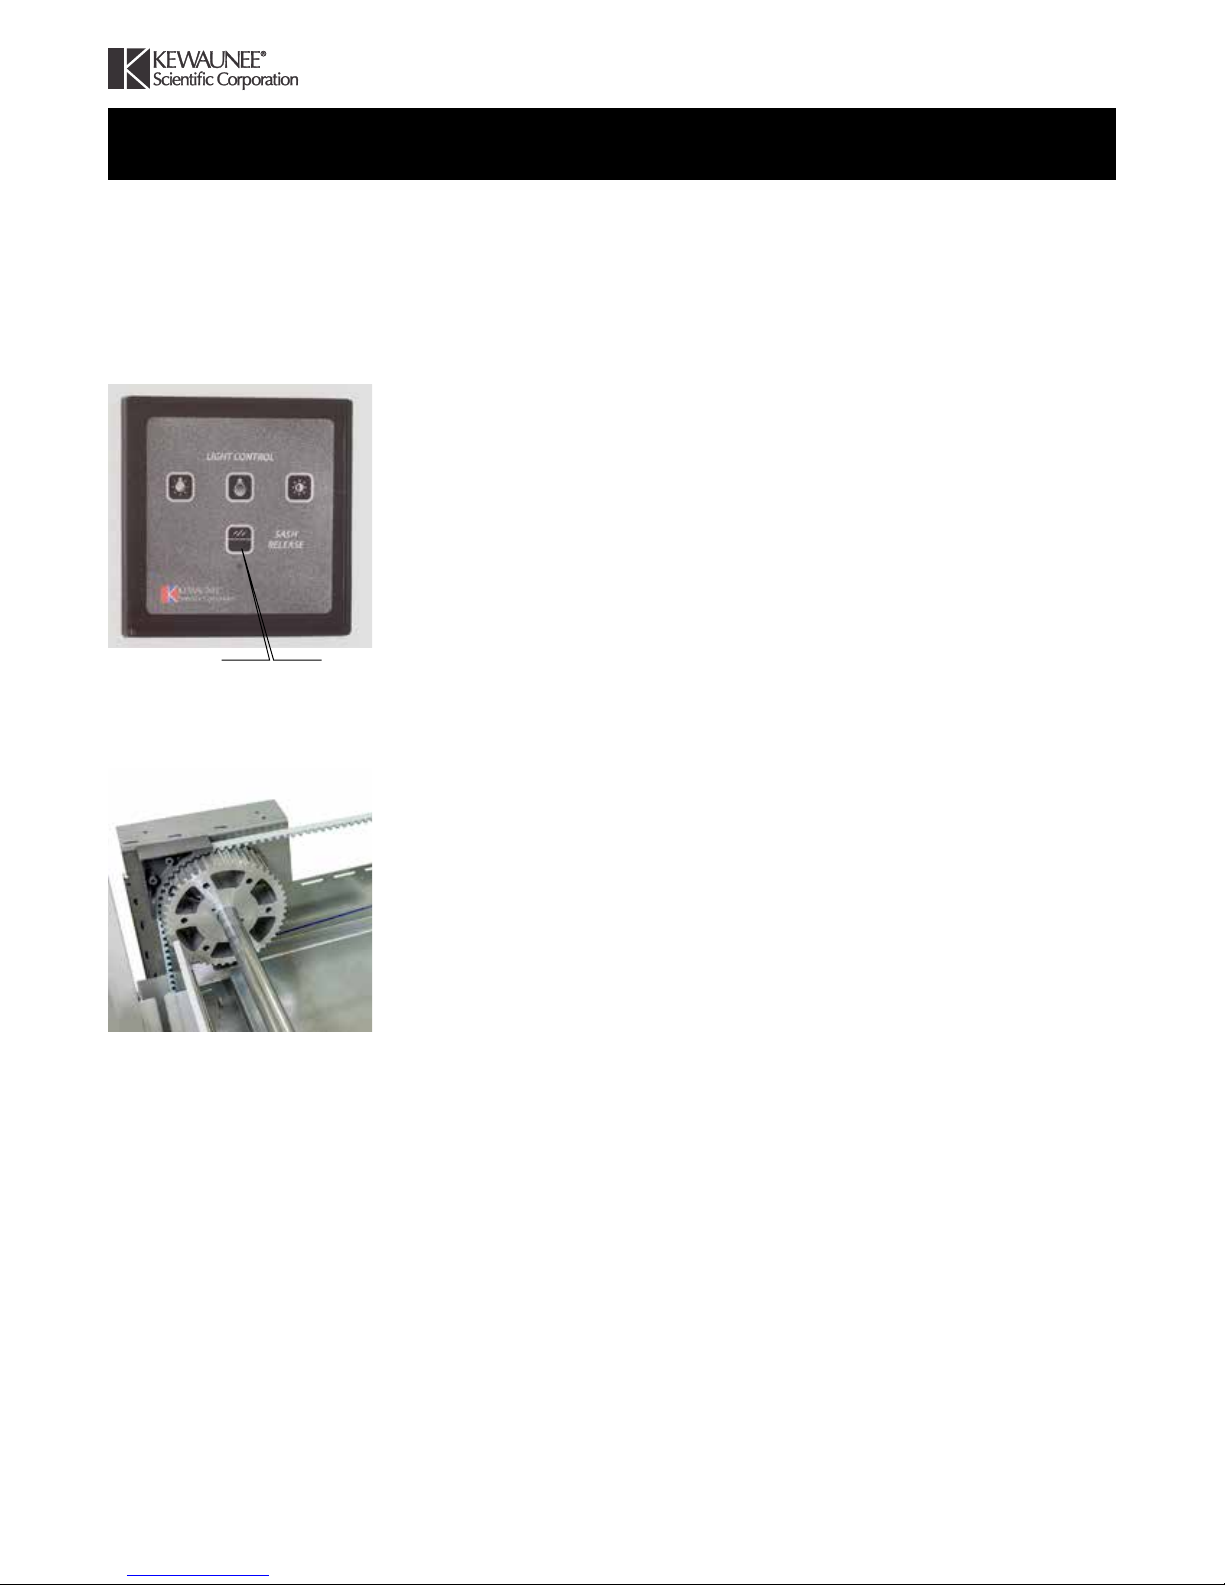
Electromechanical Sash Stop .......................................................................5
Belt Drive Pulley System...............................................................................6
Dynamic Barrier Bypass................................................................................6
Airfoil .............................................................................................................6
Rear Baffle Removal & Adjustment...............................................................7
Interior Access Panels ..................................................................................7
Exterior End Panels ......................................................................................7
Auto Sash......................................................................................................8
Tissue Screen ...............................................................................................9
Vent Holes.....................................................................................................9
Cord Pass Through.......................................................................................9
Safety Shield.................................................................................................9
Airflow Monitor ..............................................................................................9
Ceiling Enclosure ........................................................................................10
Maintenance Instructions
General Maintenance ........................................................................................11
Belt Drive & Pulley System Maintenance ..........................................................12
Sash Maintenance.............................................................................................12
Sash Leveling Instructions.................................................................................13
Troubleshooting Guide ......................................................................................14
Sash Glass Replacement Instructions
Vertical Sash...............................................................................................16
Combination Sash.......................................................................................18
Horizontal Sash...........................................................................................20
Recommended Work Practices...................................................................................22
Installation Instructions
Fume Hood........................................................................................................26
Base Cabinets ...................................................................................................29
Ceiling Enclosure...............................................................................................30
Wiring Diagram..................................................................................................31
Electrical - Prewired/UL Listed ..........................................................................32
Parts List............................................................................................................38

VFHOMT-11/18 - 2
Operating Procedures
General Procedures for Supreme Air Venturi Fume Hoods
Failure to follow these
Procedures may result in
overexposure to
contaminates or other
injury.
Other important
operating data
1. Do not use Perchloric Acid in a hood not specifically designed for use with
Perchloric Acid.
2. Prior to using hood, verify that the exhaust fan is operating and sufficient air
is being exhausted from hood.
3. Never put head into hood while contaminates are being generated.
4. Set up all apparatus and sources of contaminates at least 6” back from sash
opening and in recessed portion of worksurface.
5. Do not place electrical receptacles or other sources of ignition in hood when
flammables are present.
6. Use a safety shield if there is a possibility of a small explosion or runaway
reaction. This hood is not designed for explosion protection.
7. Do not obstruct slots in rear baffle.
8. Do not remove bottom deflector vane nor block off opening between the
underside of the deflector vane and the work top.
9. Place equipment with large flat surfaces parallel to hood face on legs 2” to 3”
high.
10. While working at hood, keep sash lowered to the minimum opening required
for access to working area. During other times, keep sash closed.
11. Wear gloves and other protective clothing if skin contact with airborne
contaminates is a hazard.
For more information see Recommended Work Practices on page 22
• Remove all materials from hood which are not needed for the immediate
work.
• Do not store chemicals in hood.
• Avoid making rapid movements while working at hood.
• Minimize personnel traffic past hood.
• Avoid creating air currents in the laboratory which affect the air flow patterns
into hood.
• Use good housekeeping in hood at all times. Clean up spills immediately.
• Test the performance of hood at least once every six months.
• In models with removable sash, always replace sash before operating.

VFHOMT-11/18 - 3
Operating Procedures
Procedures for Perchloric Acid Fume Hoods
When heated, Perchloric Acid becomes a strong oxidizer producing unstable
residues which contaminate the fume hood and ductwork and produce an
explosion hazard. The following additional precautions should be followed when
heating perchloric acid.
1. Use this hood only for Perchloric Acid procedures. Perchloric Acid may react
with organic materials to create an explosion hazard.
2. Operate the water wash down system for 15 minutes after each use. If the
hood is used continuously during the work day, then the wash down system
should be used at the end of the work day.
During the wash down procedure a small amount of water may drip into
the hood work area. Prior to operating the wash down system clear the
hood work area of any materials or equipment that may be damaged or
contaminated by this water.
The exhaust fan should be turned off during the operation of the wash
down system. The fan impeller wheel may be damaged by the water spray
impacting on it at a high velocity.
The valve for the hood wash down is located on the left front vertical fascia.
There may be a separate valve or switch for activating the wash down system
for the duct.
3. Approximately once a week, clean the interior surfaces of the work area with
water.
4. Place large hot plates on 2” or 3” tall metal legs to allow air flow below the hot
plate.
5. The use of other inorganic acids in the hood may adversely affect the
stainless steel liner and necessitate more frequent cleaning and operation of
the wash down system.

VFHOMT-11/18 - 4
Operating Procedures
Supreme Air Venturi Fume Hoods
Features & Options Identification
Venturi Port
Airfoil
LED Light &
Sash Stop
Control Panel
Exhaust Plenum &
Duct Collar Belt Drive
Pulley System
Rear Baffles
LED Light
Single Point
Connection
Junction Box Top Front Panel
Exterior
End
Panel
Interior
Access
Panel
Worktop
Venturi Port
ID/Serial No. Label

VFHOMT-11/18 - 5
Operating Procedures
Venturi Effect Kewaunee’s Venturi line of bench mounted fume hoods employ two Venturi ports
located at the bottom left and right corners of the sash. The Venturi ports assist
air movement and improves corner airflow. Prior to using the fume hood, ensure
these ports are not blocked and air movement is not impeded through the ports.
Do not run hoses, wires or cables through or above these ports. (see Cord Pass
rough section of this manual, page 9.)
LED Lights This hood is equipped with long life LED lights that enhance the user experience
and greatly reduces maintenance. The top three buttons of the Control Panel,
located on the hood side post, control the LED lights.
On/Off
Press once to turn the light on. Press again to turn the light off
Temperature
Three light temperature settings are offered:
Warm White 3000K
Neutral 4500K
Cool White 6000K
Pressing the Temperature button will cycle through the three settings.
Brightness
Fifteen (15) light brightness settings are offered. Each press of the brightness
button increases intensity by approximately 6.5%.
The LED light has a life expectancy is approximately 2 years and contains no
user serviceable parts.
NOTE:
If your hood is equipped with an explosion proof or vapor tight light the above
conditions may vary.
Supreme Air Venturi Fume Hoods Features
Light/Sash Stop Control Panel
Temperature
On/Off Brightness

VFHOMT-11/18 - 6
Operating Procedures
Supreme Air Venturi Fume Hoods Features
Electromechanical
Sash Stop The Venturi is equipped with a sash stop located within the sidewall of the fume
hood. A raised sash will meet the sash stop at a preset height and will stop upon
its encounter. To defeat the sash stop, press the “Sash Release” button. The sash
stop will release for 1½ seconds so the sash can be raised to full open. The sash
stop will not impede sash movement when the sash is being closed.
In the event of a power failure the sash stop may be released manually. To
manually override the sash stop, remove the protective plug button located just
behind the sash track, midway up, in the left end interior liner. Using your finger or
a probe, find the sash stop mechanism, and slide the plunger to the rear.
Belt Drive Pulley System Venturi employs a low maintenance, dual shaft, belt and gear driven sash system.
It is recommended that a user check the hood roof mounted sash support system
annually to ensure no foreign objects or obstructions have found their way into
the belt and gear path. A user should annually lubricate the pulley shaft bearings
with white lithium grease. The belt and gear has been tested to 300,000 cycles.
Dynamic Barrier Bypass The Venturi fume hood Upper Bypass is factory set and should not be modified.
In the event of a significant change in airflow application please contact
Kewaunee to see if the Upper Bypass requires modification.
Airfoil The Lower Airfoil should not be removed or altered to ensure safe fume hood
operation. Airfoils should be cleaned of all exposed chemicals in accordance to
the MSDS sheets and your laboratories safety guidelines.
Light/Sash Stop Control Panel
Sash Release

VFHOMT-11/18 - 7
Operating Procedures
Supreme Air Venturi Fume Hoods Features
Rear Baffle Removal
and Adjustment The Venturi fume hood is designed with rear baffles that require no user
adjustment. These baffles are intentionally non-adjustable and should not be
removed while the fume hood is in use. For cleaning or other maintenance, the
baffles can be removed (without tools) by lifting up and then pulling the bottom
out towards the user. Baffle replacement is accomplished by reversing the
removal process.
Interior Access Panels Hoods are equipped with Interior Access Panels allowing user access to the
hood sidewalls. These access panels are held in place with a gasket and are
removable (without tools) by pulling gently on the gasket perimeter until the
gasket and panel are free. Access panels are replaced by gently working the
gasket back around and into the access opening perimeter until the gasket and
panel sits flush with the hood interior sidewall.
Exterior End Panels The left and right exterior fume hood sides are removable without the use of any
tools by lifting the end panel up and away. Depending on the size of the hood a
user may want to employ a second person to safely remove the panel. To replace
the end panel, insert the tabs on the end panel in the slots in the hood frame,
press the panel in, and press down.

VFHOMT-11/18 - 8
Operating Procedures
Supreme Air Venturi Fume Hood Options
Auto Sash Auto Sash Return
The Auto Sash Return option is a passively balanced system that lowers the
open sash to an 18” operating height. When the sash is raised to the full open
position, a sash lock holds the sash open for set-up purposes. By pressing the
electronic sash stop release button, the sash automatically closes to the 18"
operating height.
Push Button Sash
The Push Button Sash, located within the light control panel, is a motorized
sash controller that opens or closes the sash. From the closed position, a single
push of the up button will open the sash to a preprogrammed sash stop height
and another push of the up button will then fully open the sash. From the open
position, a single push of the down button will fully close the sash. At any time
a user may interrupt the mechanism, and stop sash travel, by pushing the stop
button. In the event of a sash obstruction the sash will stop and retract a few
inches so the object can be removed. When the mechanism is not in operation,
the sash can be manually opened or closed. The standard electromechanical
sash stop is not provided when this option is chosen. The push button sash
mechanism is supplied installed and prewired to a junction box located on the top
of the hood.
Split sash hoods are equipped with two sash controllers-one for each sash.
Auto Sash Operator
The Proximity Sash is designed to close the sash after it has been left open
for a set period of time. Using an Overhead Motion Sensor the system senses
operator absence and then closes the sash after a programmable time period
(0-3600 seconds). At any time a user can override this function and manually
adjust the sash.
The system also includes a photoelectric sensor which scans the sash plane for
obstructions. Any obstruction will halt sash descent and issue a warning. Once
the obstruction is removed the system will reset and sash operation will continue.
All control variables are user programmable. See supplemental Proximity Sash
manual for more information.
The Automatic Sash Operator is supplied factory installed and prewired to a
junction box located on the top of the hood.
NOTE: The Proximity Sash Operator can be programmed to open or close a
sash. As it is possible that an occurrence in a fume hood could be complicated
by opening the sash, Kewaunee recommends this system to be used only for
closing the sash. Therefore, the choice of opening of a sash should be manually
performed.

VFHOMT-11/18 - 9
Operating Procedures
Supreme Air Venturi Fume Hood Options
Tissue Screen Your fume hood may be equipped with a tissue screen which is present to catch
any materials light enough to be swept up by fume hood airflow. The tissue
screen is located behind the rear baffles and can be accessed by removing the
Lower Rear Baffles. (see Rear Baffle Removal and Adjustment on page 7)
Vent Holes The fume hood worksurface may be supplied with optional vent holes which
provide exhaust to the fume hood base cabinets. These vent holes must remain
clear of debris. Any obstruction must be immediately removed.
Cord Pass rough Your fume hood may have been supplied with optional Cord Pass Throughs
located in the fume hood sidewalls. These provide convenient and safe passage
of hoses, wires, and cords into the fume hood interior.
Safety Shield Your hood may be furnished with a safety shield designed to provide protection to
fume hood users from small explosions, splattering of chemicals, breaking glass,
etc. The shield slides the full length of the hood face opening on ball bearing
rollers suspended from a track at the top of the sash opening, with a guide at
the bottom to keep the shield from swinging. During research and when the sash
must be open, a user should locate the safety shield in front of them-protecting
their face and torso-and working their arms around the safety shield. When the
shield is not in use, it can be easily removed from the upper track and stored until
it is needed again. Users should lubricant the ball bearings on an annual basis
with a white lithium grease.
Airflow Monitors An airflow monitor is a safety device designed to notify a user of an unsafe airflow
condition with in their fume hood. To ensure maximum safety, the airflow monitor’s
power source should not be disconnected nor should any monitor parts within the
fume hood be disconnected.
The monitor must be calibrated after the building has been balanced. Once
calibrated, the monitor will give a visual and an audible alarm during a period
of unsafe airflow. In the event of an alarm, the user is advised to close the sash
fully and wait until the alarm stops. Once the alarm has stopped then a user may
continue to use the fume hood. If the alarm continues, even after the sash has
been fully closed, the user should contact the building maintenance supervisor
for further investigation.
For calibration, programming and operating instructions please refer
supplemental airflow monitor instructions.

VFHOMT-11/18 - 10
Operating Procedures
Supreme Air Venturi Fume Hoods Options
Ceiling Enclosure Kewaunee has engineered the Venturi Fume Hood Ceiling Enclosures with a
removable Front Panel to allow access to the top of the hood. To access a hood
through the enclosure you will need a ladder. If the hood is six feet long or larger,
it is best to have one person on each side of the enclosure. If there is a drop
ceiling, you may need to remove enough of the ceiling panels to gain access to
the top of the Ceiling Enclosure Front Panel. The ceiling grid may be attached to
the Front Panel using rivets, screws, or some other type of hardware.
Once all fasteners are removed, remove the Front Panel by lifting up and tilting
the top backwards to disengage the hooks from the left and right sides that holds
the Front Panel to the End Panels of the enclosure. Safely remove the panel and
store it flat to prevent damage while the hood maintenance is performed.
To reinstall the Ceiling Enclosure Front Panel, reverse the steps. It is best to use
the same type of fasteners that were originally used to attach the ceiling grid to
Front Panel when required.
Step 1 Step 2 Step 3
Slide Front Panel up to
disengage panel hooks
from End Panels.
(remove any screws or rivets
fastening ceiling grid to
Front Panel)
Rotate Front Panel to
clear the face of the
fume hood.
Lower Front Panel and
store in safe location.
Front Panel
Ceiling Enclosure Ceiling Enclosure Ceiling Enclosure
Front Panel
Front Panel
End Panel End Panel End Panel
Ceiling Grid
(by others)
Ceiling Grid
(by others)
Ceiling Grid
(by others)

VFHOMT-11/18 - 11
Maintenance Instructions
Supreme Air Venturi Fume Hoods
CAUTION
!
Periodically:
As Needed:
Prior to performing any maintenance work, verify with the chemical hygiene
officer in charge of the laboratory that there are no hazardous contaminates
on the surfaces inside the hood and which cleaners are compatable with the
chemicals used in the hood.
• Check the hood for proper face velocity at least annually.
• Clean glass panel shielding LED lights from hood interior. On hoods with
vapor proof or explosion proof lights, clean the exterior of the globe.
•. Clean both sides of the sash glass.
•. Clean work top and apply a coat of polish.
• Check sash belts for damage or wear. Replace if frayed. Apply white lithium
grease to the bearings on the sash pulley axles.
• Plumbing service fittings can be serviced by removing the hood outside
end panels. If the hood is located against a wall or another hood, removable
gasketed access panels are provided (except on Isotope and Perchloric Acid
hoods) in the hood interior. These panels may be removed by pulling gently
on the gasket perimeter until the gasket and panel are free.
• For hoods with vapor proof lights, the lights can be accessed from the
hood interior. The globe can be unscrewed from the fixture to expose the
incandescent bulb. The fixture is rated for a maximum bulb size of 150 watts.
• For hoods with explosion-proof light, the light can be accessed from the
hood interior. Remove the light panel by unscrewing the bolts at each corner.
Loosen the set screw and unscrew the globe assembly from the upper
portion of the fixture to gain access to the incandescent bulb. The fixture is
rated for a maximum bulb size of 150 watts.

VFHOMT-11/18 - 12
Maintenance Instructions
Supreme Air Venturi Fume Hoods
Belt Drive and
Pulley System HTD-8mm steel reinforced urethane belt
Maintenance and aluminum gear on 3/4"diameter shaft drive system
1. Check that sash is level. Level sash if necessary by following sash leveling
instructions on page 14.
2. Inspect belt, sash, and counterweight drive path is free and clear of any foreign
objects.
3. Move sash up and down full travel and check belt for any wearing. If belt wearing
is discovered, locate and remove any foreign object that is causing wear and/or
contact Kewaunee for replacement.
4. Check that belt is traveling over front and back pulleys smoothly and in sync. If
belt pulleys are out of sync, follow sash leveling instructions on page 14.
5. Check that front belt keeper is spaced 1/16" to 1/8" away from belt and adjust if
necessary. (see Detail 1 on page 13)
6. Lubricate all bearings with white lithium grease.
Sash Maintenance
1. Check that sash is level. Level sash if necessary by following sash leveling
instructions.
2. Move sash up and down full travel and check that sash is operating smoothly and
with minimal friction.
3. Lubricate sash track with white lithium grease.
4. On horizontal sliding sashes, move sash glass horizontally and make sure sash
tracks are free of debris. Lubricate sash wheels with white lithium grease.

VFHOMT-11/18 - 13
Sash Leveling
Instructions
1. Completely close sash.
2. Loosen front and rear set screws. Open sash as necessary until set screws rotate
to an accessible location. (see Detail 1)
3. Once all set screws are loose, twist drive shafts so set screws will penetrate into
a new location when tightened.
4. Level sash.
5. Tighten set screws to the recommended torque setting of 45 inch pounds.
Maintenance Instructions
Supreme Air Venturi Fume Hoods
Rear Pulley Set Screws
two (2) per pulley
on opposite sides of hub
Front Pulley Set Screw
one (1) per pulley
in pulley body
Detail 1
Set Screw Locations
Belt Keeper
Sash Belt

VFHOMT-11/18 - 14
Problem Possible Cause Recommended Fix
Light does not turn on. a) No power to the light. • Check that power is connected to the hood.
• Check that all wiring connections from the control
panel to the light are intact.
• Check that the switch located on the power supply is in
the “ON” position.
b) Intensity is at lowest setting. • Press the intensity button several times.
• Press the on/off button again and press the intensity
button several times.
Only one light color will come
on.
Loose wiring connection. Check that all wiring connections from the control panel to
the light are intact.
Sash stop does not retract a) No power to control panel. Check that the green light on control panel illuminates
when sash release button is pressed. If not, check that
hood and control have power connected.
b) Sash is pressed against
stop
Check that sash is not pressed up against the sash stop.
c) Solenoid does not activate
when button is pressed.
Check solenoid mechanism is functioning properly.
1) Check that all wiring connections from the control
panel to the solenoid are intact.
2) Access solenoid on left hand side of hood behind
the left end panel. Access may also be gained from
inside of the hood through the removable access
panel.
3) Remove solenoid bracket attachment screws.
4) Check that solenoid is pulling straight and not
binding.
5) Test that the solenoid will activate when not
attached to the hood.
6) If solenoid and latch mechanism are binding
and are not in line and pulling straight, contact
Kewaunee for a replacement.
Troubleshooting Guide

VFHOMT-11/18 - 15
Problem Possible Cause Recommended Fix
Sash Return does not release
from upper position
(R1 Option Only)
a) No power to control panel. Check that the green light on control panel illuminates
when sash release button is pressed. If not, check that
hood and control have power connected.
b) Sash is not raised to full
open position.
Raise sash until sash engages upper sash stop.
c) Solenoid does not activate
when button is pressed.
Check solenoid mechanism is functioning properly.
1) Check that all wiring connections from the control
panel to the solenoid are intact.
2) Access solenoid on right hand side of hood behind
the right end panel. Access may also be gained from
inside of the hood through the removable access
panel.
3) Remove solenoid bracket attachment screws.
4) Check that solenoid is pulling straight and not binding.
5) Test that the solenoid will activate when not attached
to the hood.
6) If solenoid and latch mechanism are binding and are
not in line and pulling straight, contact Kewaunee for
a replacement.
d) Sash Return Option not
included.
Check that the Sash Return Option was ordered.
Sash Return releases but sash
does not return to desired
location.
(R1 Option Only)
a) Too much friction in sash
track.
Spray white lithium grease onto sash track linear bearing.
(Located inside sash track)
b) Sash return needs
adjustment.
Adjust spring force.
1) Loosen set screws and rotate the reel assembly
while holding shaft stationary.
2) Check that sash/counterweight are balanced.
3) Rotate reel to the rear to increase sash travel.
4) Rotate reel to the front to decrease sash travel.
5) Snug tighten one of the set screws and test.
6) Repeat the procedure until the sash returns to the
desired location.
7) Fully tighten both set screws.
Sash does not remain in hold
open position.
(R1 Option Only)
Too much tension in return
spring.
Follow above Adjust spring force instructions.
Troubleshooting Guide

VFHOMT-11/18 - 16
Maintenance Instructions
Sash Glass Replacement Instructions
Vertical Sash
1. Remove the hood Top Front Panel by lifting up and pulling out.
(The panel is attached to the hood front posts by four flat head pins that match to the four
Keyhole Slots in the front of the posts.)
2. Open Sash to operating height.
3. Remove (4) Screws on backside of Sash Handle. These screws attach the
handle to the Belt Tees. (see detail 1)
4. Completely close Sash.
5. Slowly open sash until a hole in the Front Pulley lines up with the hole in the
Pulley Bracket.
6. Insert a pin such as a bolt or screwdriver through the Pulley and Pulley Bracket.
Clamp the pin in place so that it cannot work loose. Clamp the Sash Belt to the
side of the Pulley Bracket on each side of the hood. The sash drive system is
now locked so that the sash can be removed without the counterweight falling.
7. Holding the Sash Handle, carefully lift the Sash up from both ends, while at the
same time pulling down on the Belt Tees, until the sash is free from the belt tees
on both ends. (see Figure 1)
8. Slide the Sash, as far as possible, into one side of the Sash Track and swing the
other side out and away from the front of the hood. The sash is now free.
9. If replacing the Sash Handle onto a new glass panel, continue to step 9. If
replacing the glass and handle assembly in the hood only, skip to step 16.
10. Lay sash down on a horizontal surface.
11. Using a razor blade and putty knife, cut the silicone between the Sash Glass and
the slot in the Sash Handle and work the handle loose from the glass.
12. Clean all excess silicone from the handle slot.
13. Apply a bead of silicone inside the handle slot.
14. Press the Sash Handle onto the Sash Glass. Make sure the handle is centered
along the length of the glass.
15. Clean any excess silicone from the glass and handle.
16. Tape the Sash Handle to the Sash Glass and let the silicone cure for 24 hours
before continuing.
17. Holding the new Sash vertical, insert one end into the Sash Track and swing the
other end in line with the track on the opposite end.
18. Center the Sash Handle between the shoulders of both Belt Tees and line the
tees up with the notches on the bottom of the Sash Handle.
19. Carefully lower the Sash Handle onto the Belt Tees. Make sure the Belt Tees
are completely seated into the Sash Handle.
20. Remove the clamps and pins from the Pulley, Pulley Brackets, and Belts.
21. Open the sash and install the (4) Screws through the backside of the Sash
Handle into the Belt Tees. (see Detail 1)
22. Replace Top Front Panel

VFHOMT-11/18 - 17
Maintenance Instructions
Sash Glass Replacement Instructions
Figure 1
Detail 1
Pin and Clamp Pulley and Belt
(both sides) (Step 6)
Sash Handle Screws
(4) total - (2) each side
Belt Tee
Sash Handle
Back Side of Sash
Belt Tee
Belt Tee
Sash Handle
Sash Glass
Pulley Bracket
Front Pulley
Sash Belt
Top Front Panel not shown for clarity
Step 8A Step 8B
Step 8B
Step 7
Step 7
Step 7
Step 7
Step 3
Sash Track
Front Post
Keyhole Slot
(2 each side)

VFHOMT-11/18 - 18
Combination Sash
1. Remove the hood Top Front Panel by lifting up and pulling out.
(The panel is attached to the hood front posts by four flat head pins that match to the four
Keyhole Slots in the front of the posts.)
2. Slowly move Sash until a hole in the Front Pulley lines up with the hole in the
Pulley Bracket.
3. Insert a pin such as a bolt or screwdriver through the Pulley and Pulley Bracket.
Clamp the pin in place so that it cannot work loose. Clamp the Belt to the side
of the Pulley Bracket on each side of the hood. The sash drive system is now
locked so that the sash can be removed without the counterweight falling.
4. Remove the screws attaching the Top Front Sash Track to the Sash Frame.
5. Carefully lean the Front Sash Panel and Top Front Sash Track forward.
6. Lower the Top Front Sash Track down and out from the Front Sash Panel
wheels.
7. Individually lift the Front Sash Panel out of the Bottom Track.
8. On back side of sash, remove the center row of screws which hold the C-channel
onto the inside of the Top Rear Sash Track and remove the C-channel.
9. Individually lift the Rear Sash Panel up and out of the Bottom Track and Top
Rear Sash Track.
10. If replacing the glass in the glass pane assembly, continue to step 11. If
replacing the complete glass pane assembly in the sash frame, skip to step 15.
11. Remove bolts from Sash Panel Wheel Bracket Assembly.
12. Separate Inner and Outer Wheel Brackets from Glass.
13. Remove excess tape from Inner and Outer Wheel Brackets and replace with
new 3M VHB double sided tape.
14. Attach Inner and Outer Wheel Brackets to the top edge of the glass and
reinstall bolts. Make sure the Wheel Brackets are seated as far down on the top
edge of the Glass as possible.
15. Insert Rear Sash Panel into rear channel of Bottom Track and tilt back and up
to hook wheels into the Top Rear Sash Track.
16. Install C-channel onto the inside of the rear track and install the center row of
screws on the back of the sash into the C-channel.
17. Install Front Sash Panels into front channel of Bottom Track and stand up
vertically.
18. Hook Top Front Sash Track onto wheels of Front Sash Panels and lift up into
position.
19. Install screws to attach Top Front Sash Track to the Sash Frame.
20. Remove the clamps and pins from the Pulley, Pulley Brackets, and Belts.
21. Replace Top Front Panel
Maintenance Instructions
Sash Glass Replacement Instructions
Table of contents
Other Kewaunee Ventilation Hood manuals