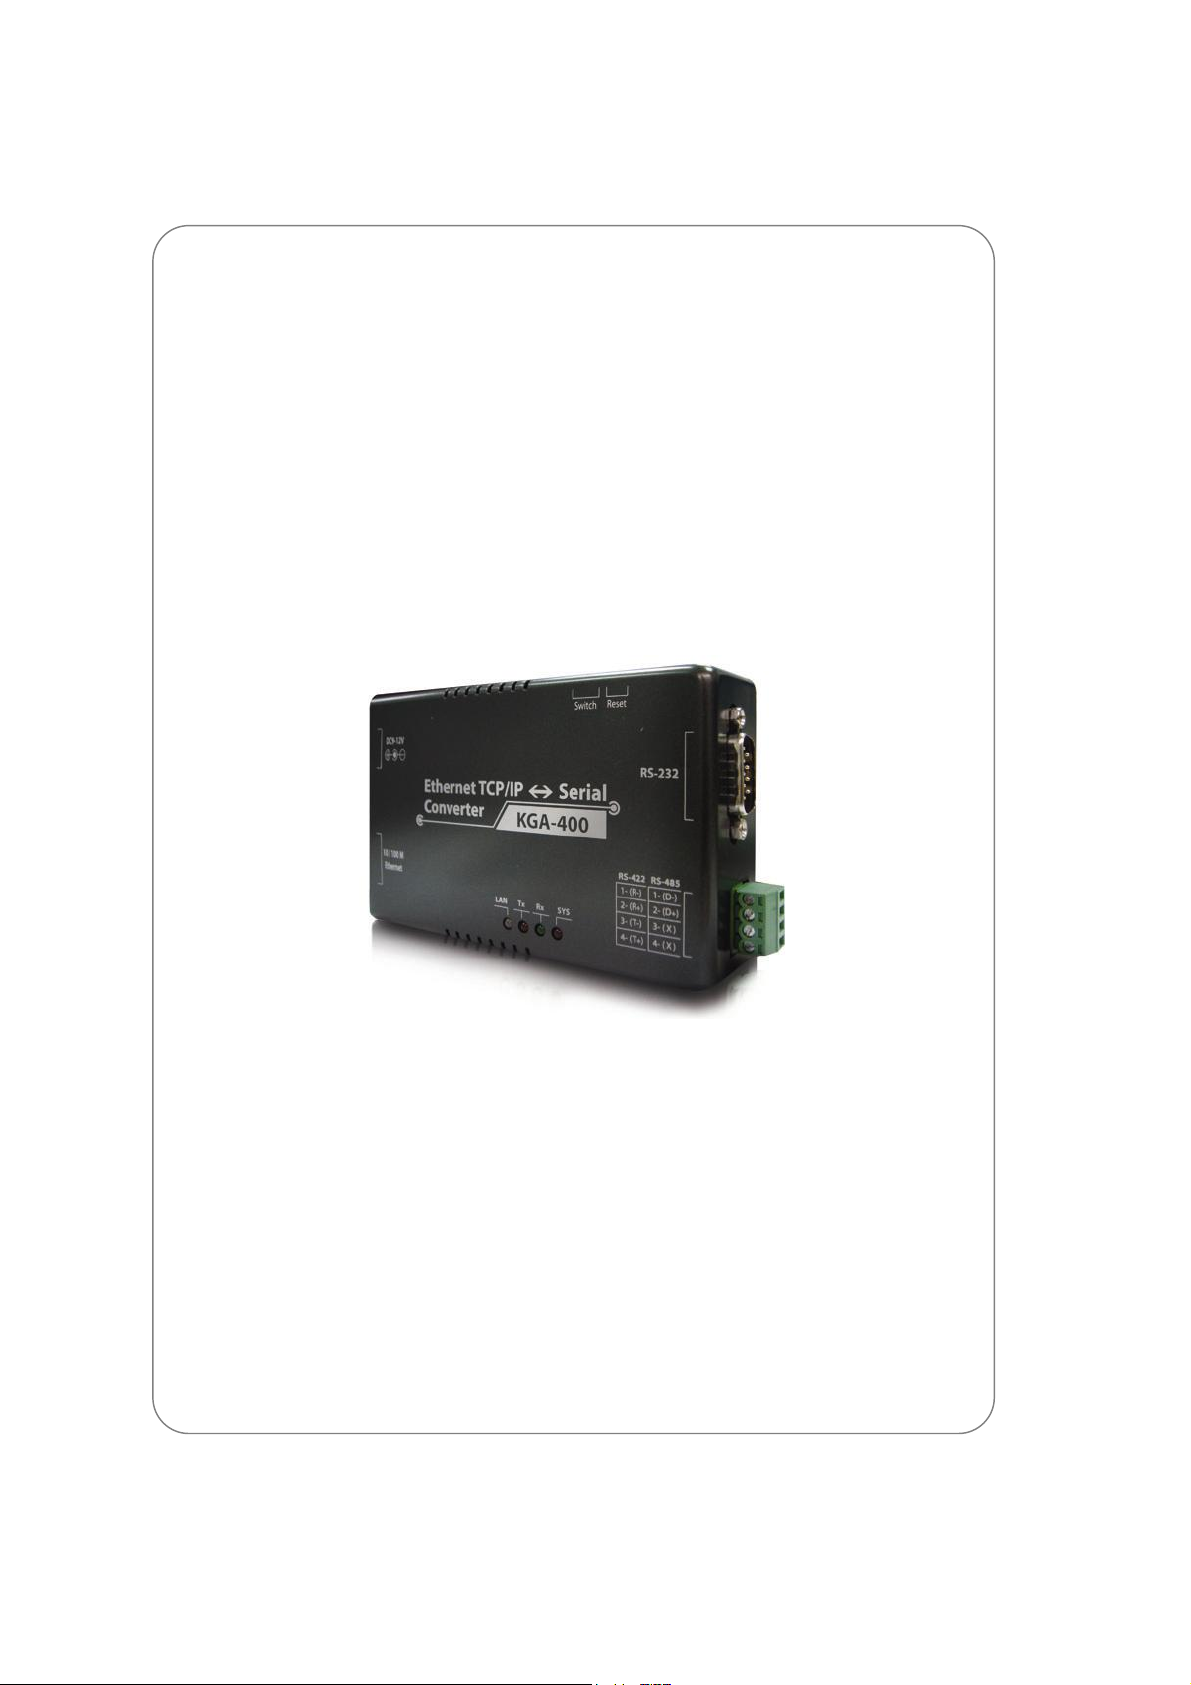
TCP/IP CONVERTER (KGA400) User Manual
----------------------------------------------------------------------------------------------------------------------------------------------------
www.kguardsecurity.com
2
Table of Contents
1. Introduction...........................................................................................................................................3
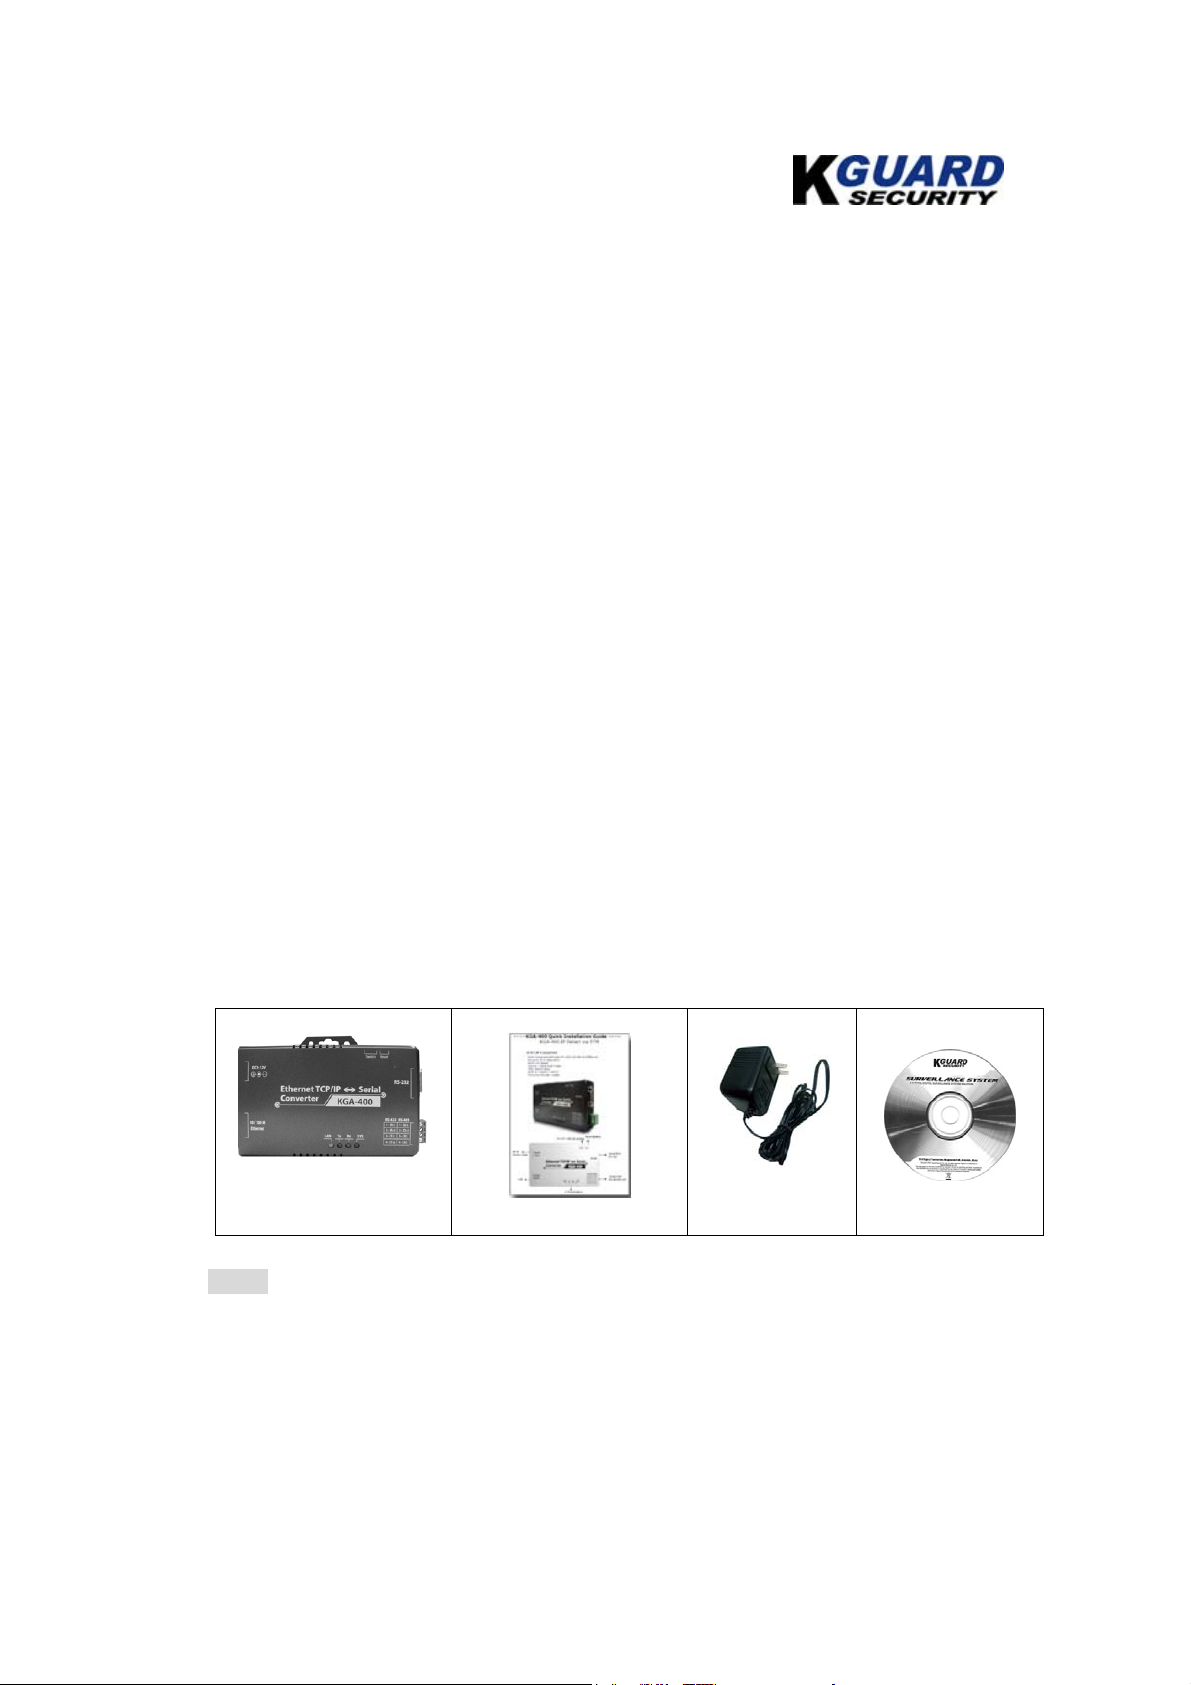
2. Package Content..................................................................................................................................3
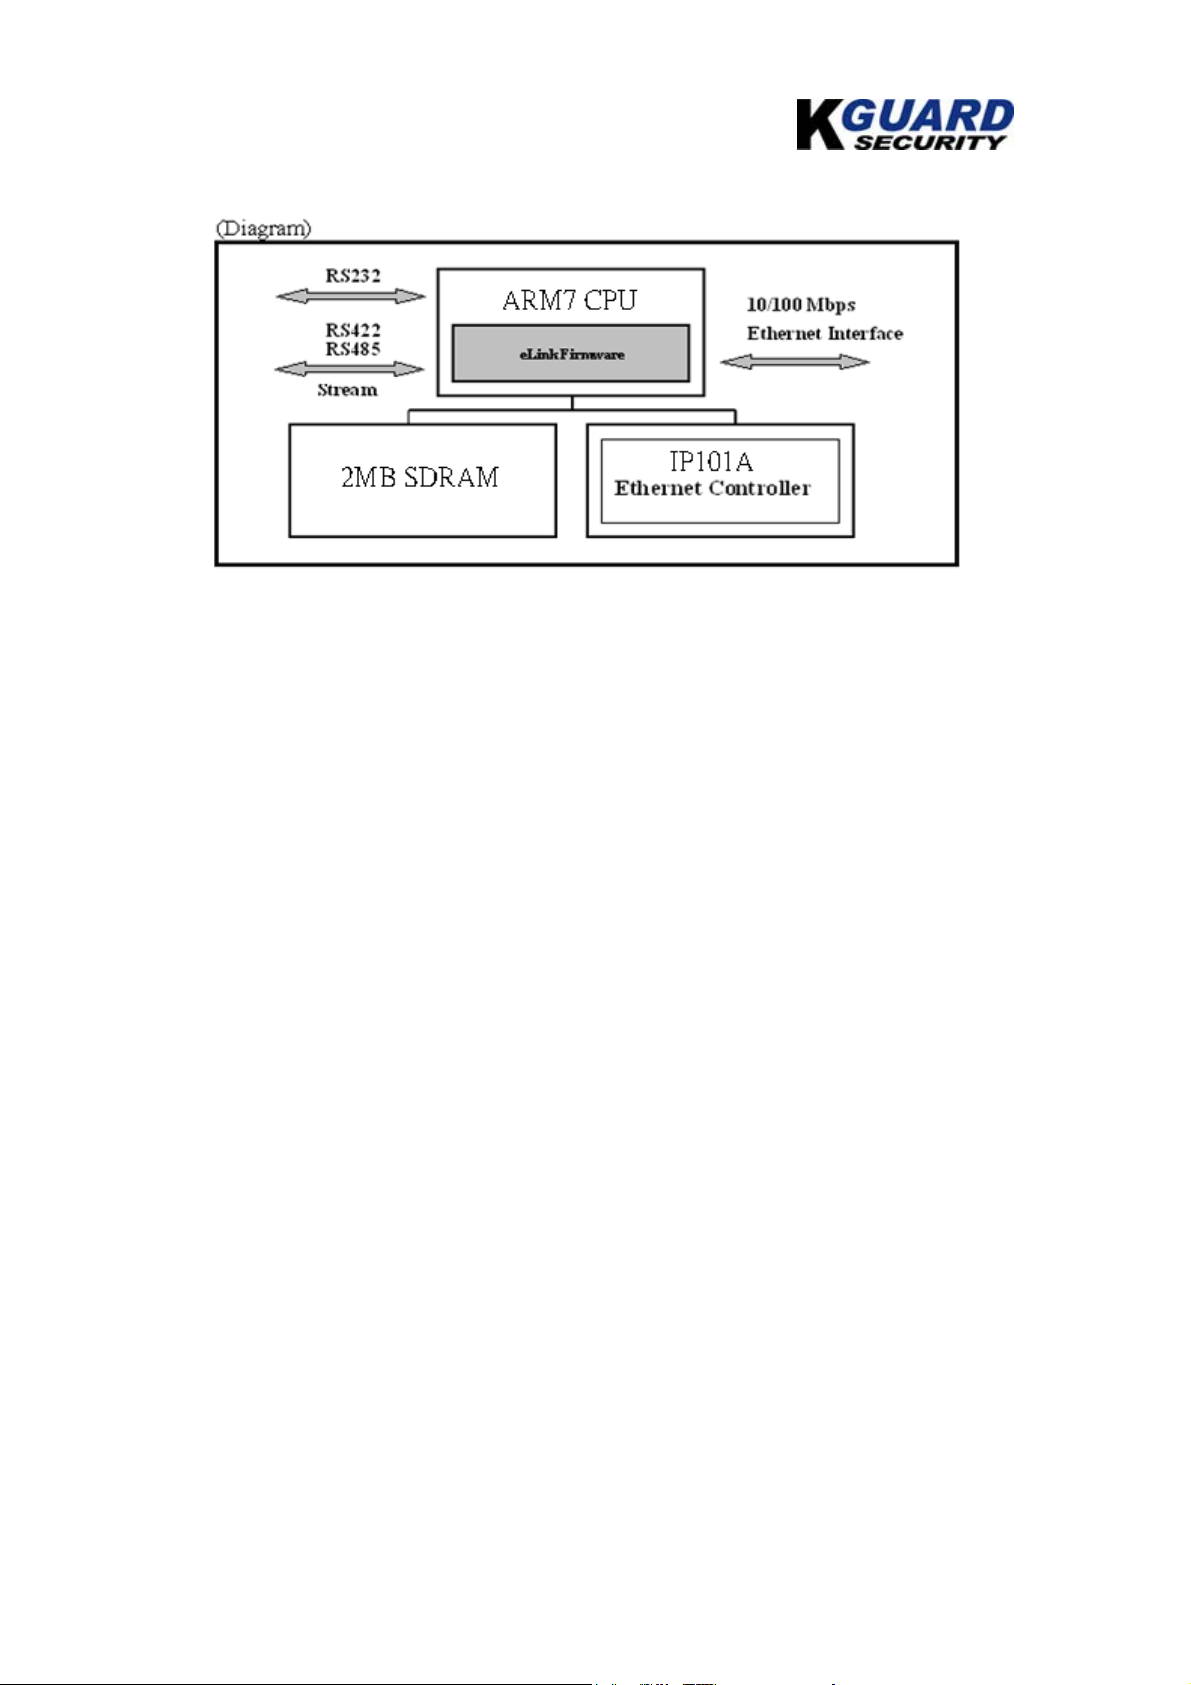
3. Block Diagram ......................................................................................................................................4
4. Product Features..................................................................................................................................4
4.1 Data Conversion between RS-232/422/485 and Ethernet........................................................4
4.2 Dynamic IP Configuration...............................................................................................................4
4.3 Dual LAN Speed..............................................................................................................................4
4.4 Server / Client Dual Modes............................................................................................................4
4.5 Web-based Setup............................................................................................................................4
4.6 Built-in Security Control..................................................................................................................4
4.7 Firmware Remote Update..............................................................................................................5
5. Specification..........................................................................................................................................5
6. Quick Guide...........................................................................................................................................5
7. Converter Description.......................................................................................................................13
7.1. Panel View..............................................................................................................................13
7.2. Left View..................................................................................................................................13
7.3. Right View...............................................................................................................................14
7.4. LED Indicators........................................................................................................................14
7.5. Terminator & Reset Button ...................................................................................................14
7.6. Wiring Architecture.................................................................................................................15
8. Configuration......................................................................................................................................16
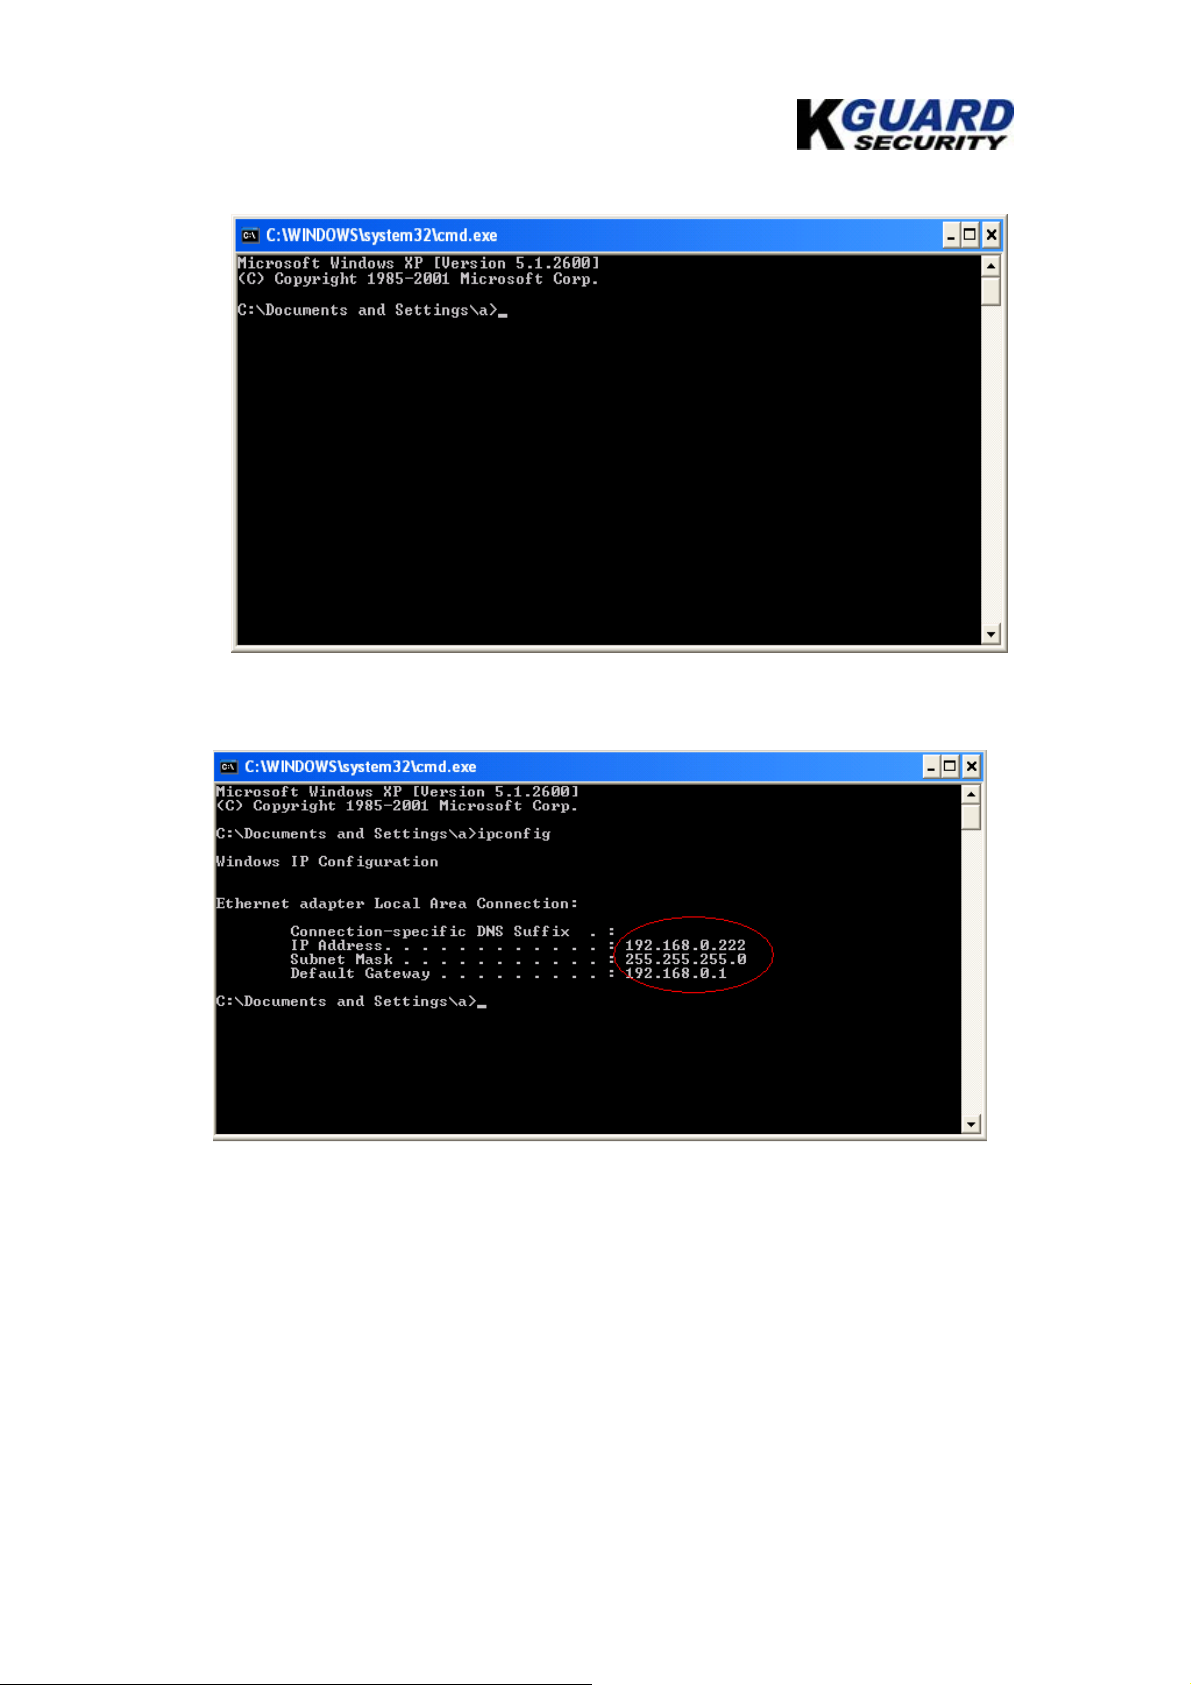
8.1. Initial IP configuration............................................................................................................16
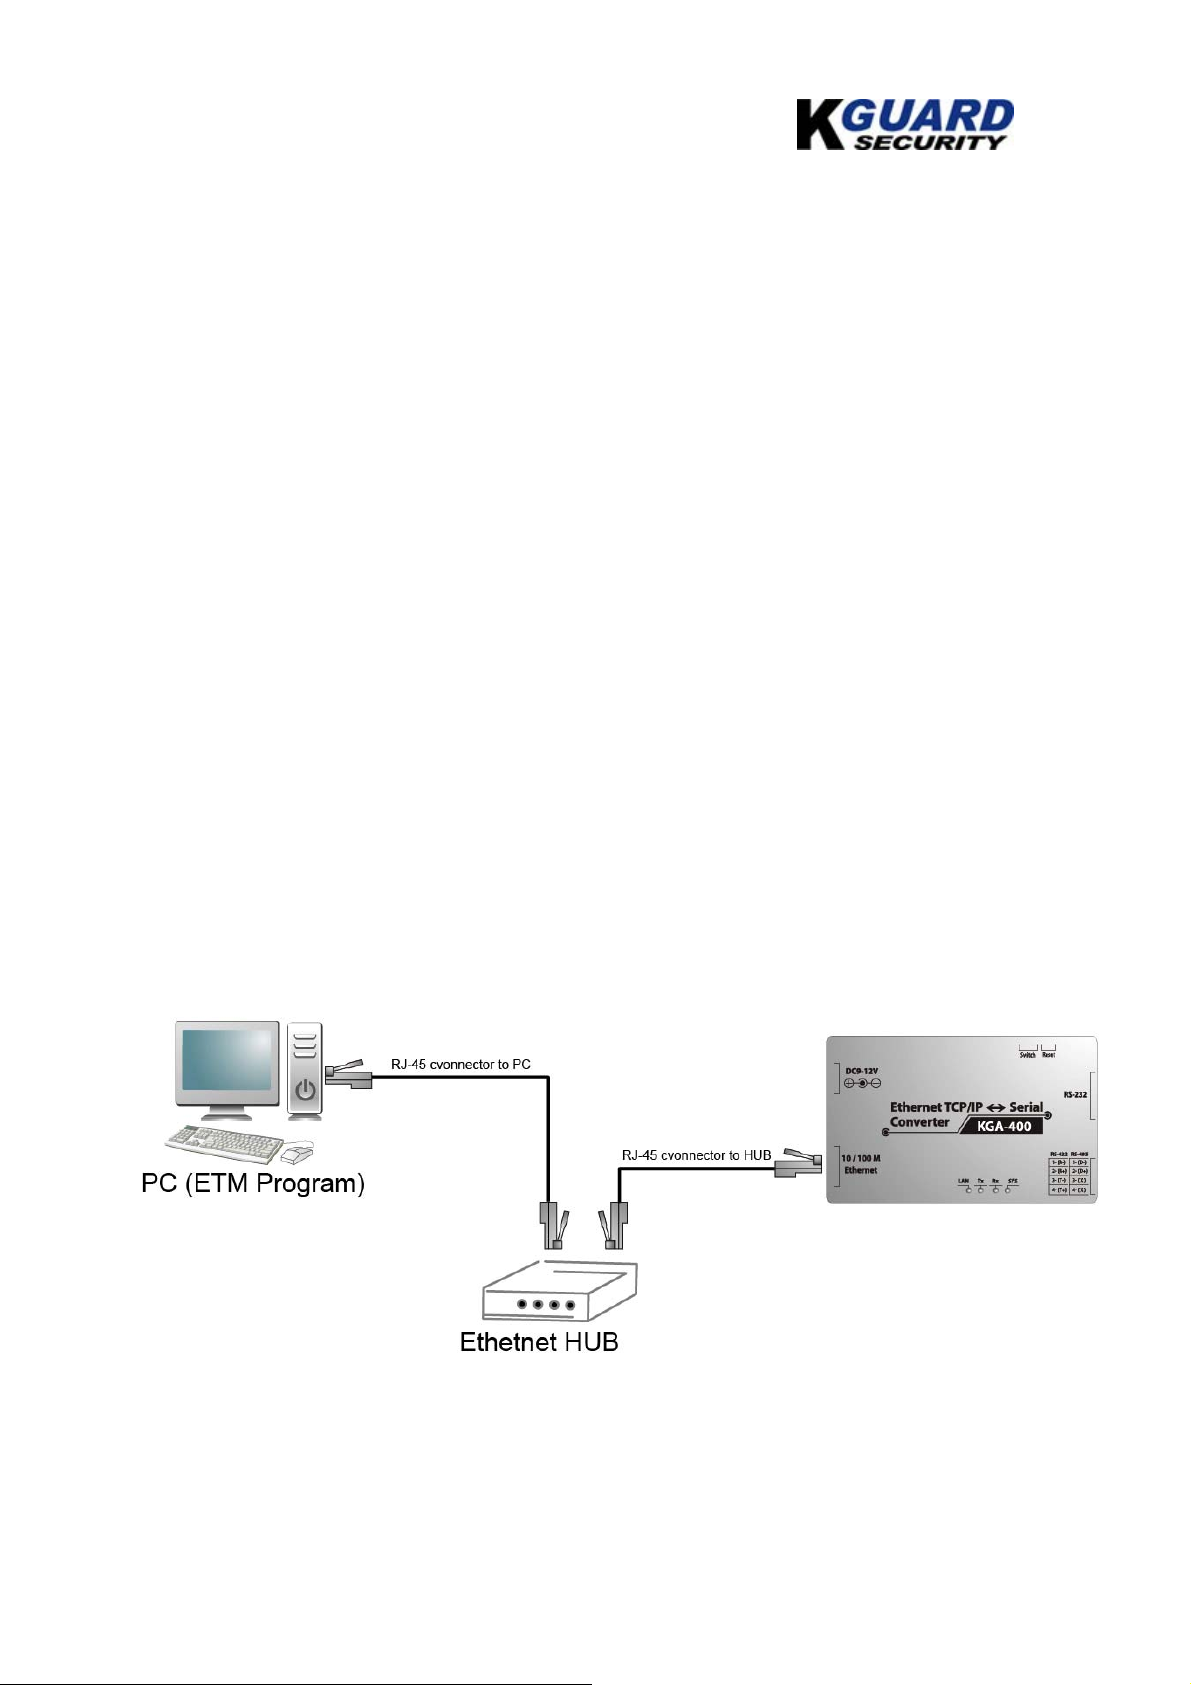
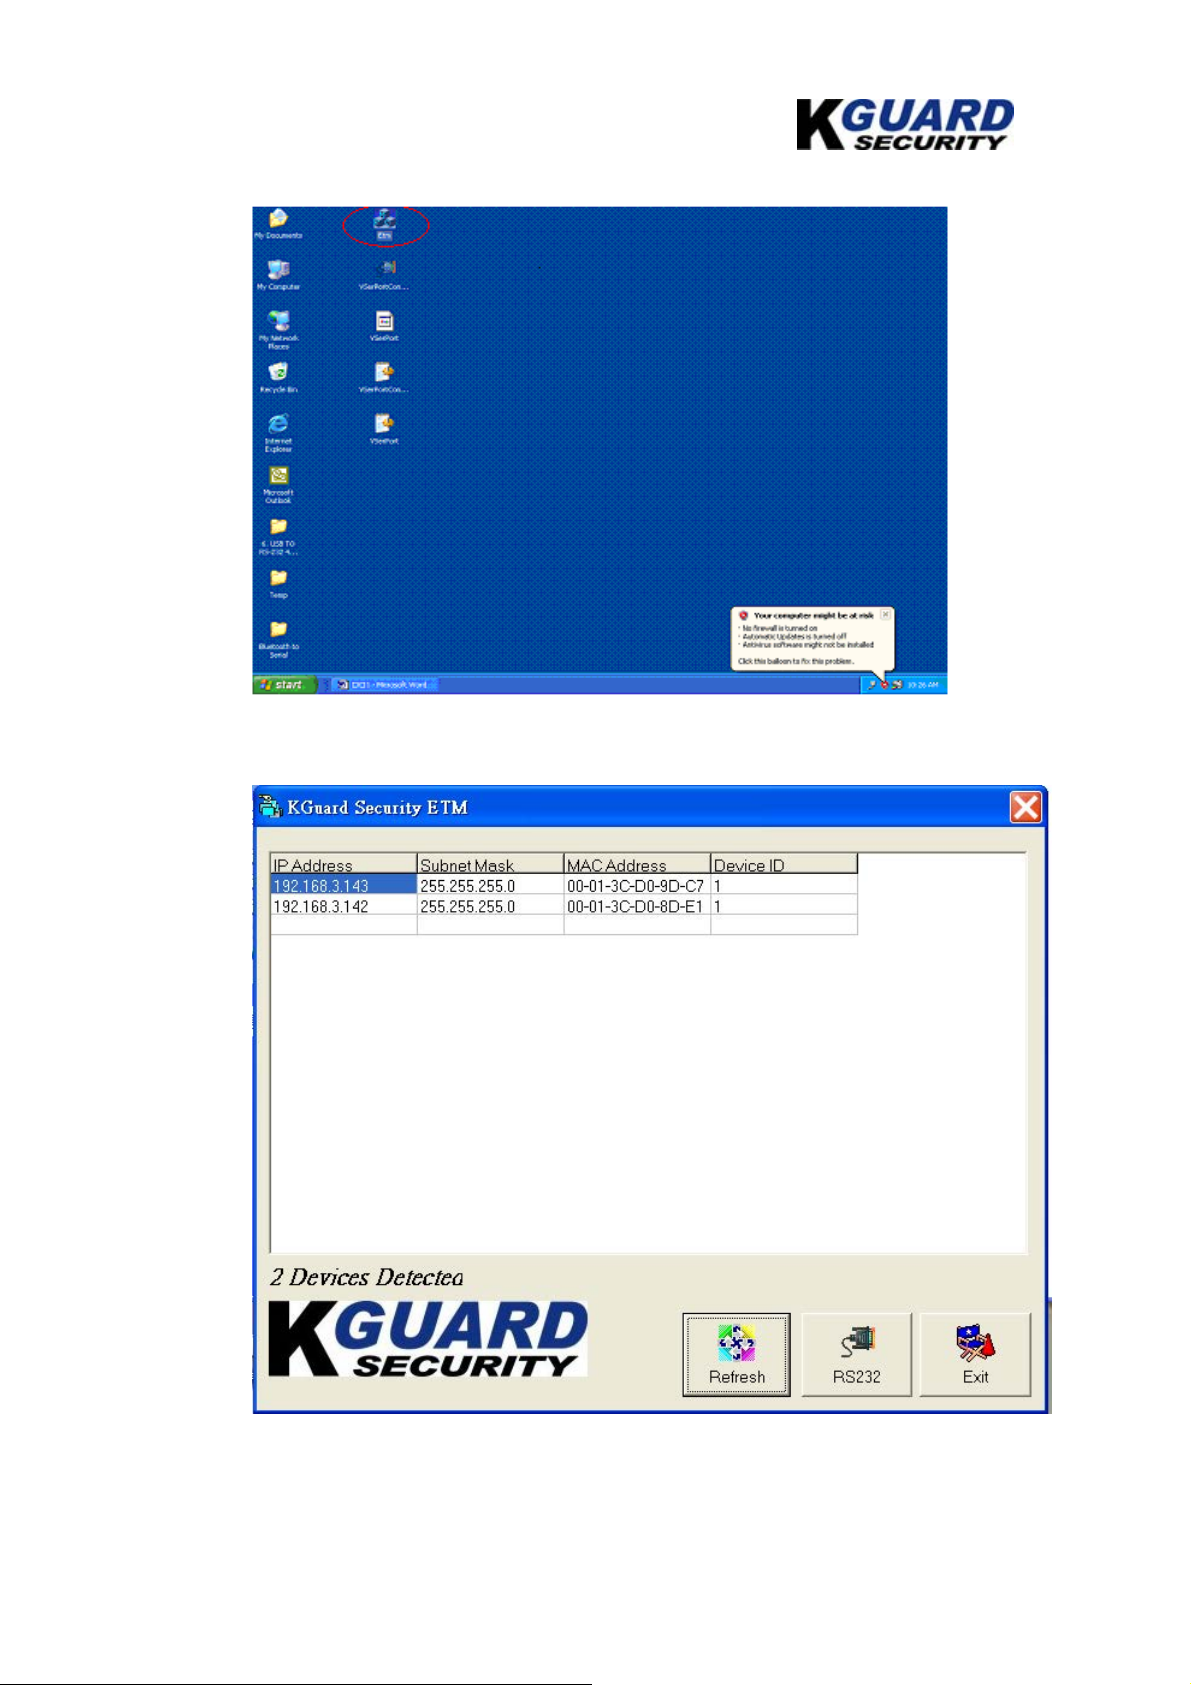
8.2. ETM Device Management Utility.........................................................................................16
8.3. Web Console configuration ..................................................................................................18
8.4. Controller Status.....................................................................................................................18
8.5. Controller Setup.....................................................................................................................19
8.6. Controller Updated.................................................................................................................23
8.7. Default Setting........................................................................................................................24
9. Self Testing..........................................................................................................................................25
9.1. RS232 Loop Test....................................................................................................................25
9.2. RS422 Loop Test....................................................................................................................29
9.3. RS485 Loop Test....................................................................................................................33
10. Appendix A – Pins Out and Cable Wiring................................................................................37
11. Appendix B – Virtual Serial Port Driver Operation ...............................................................37
12. Appendix C – Console Command.............................................................................................43
13. Appendix D – FAQ.........................................................................................................................56
※ALL UPDATED DOCUMENTATION RELEASE IS AVAILABLE FOR DOWNLOAD AT KGUARD
OFFICIAL WEBSITE.