
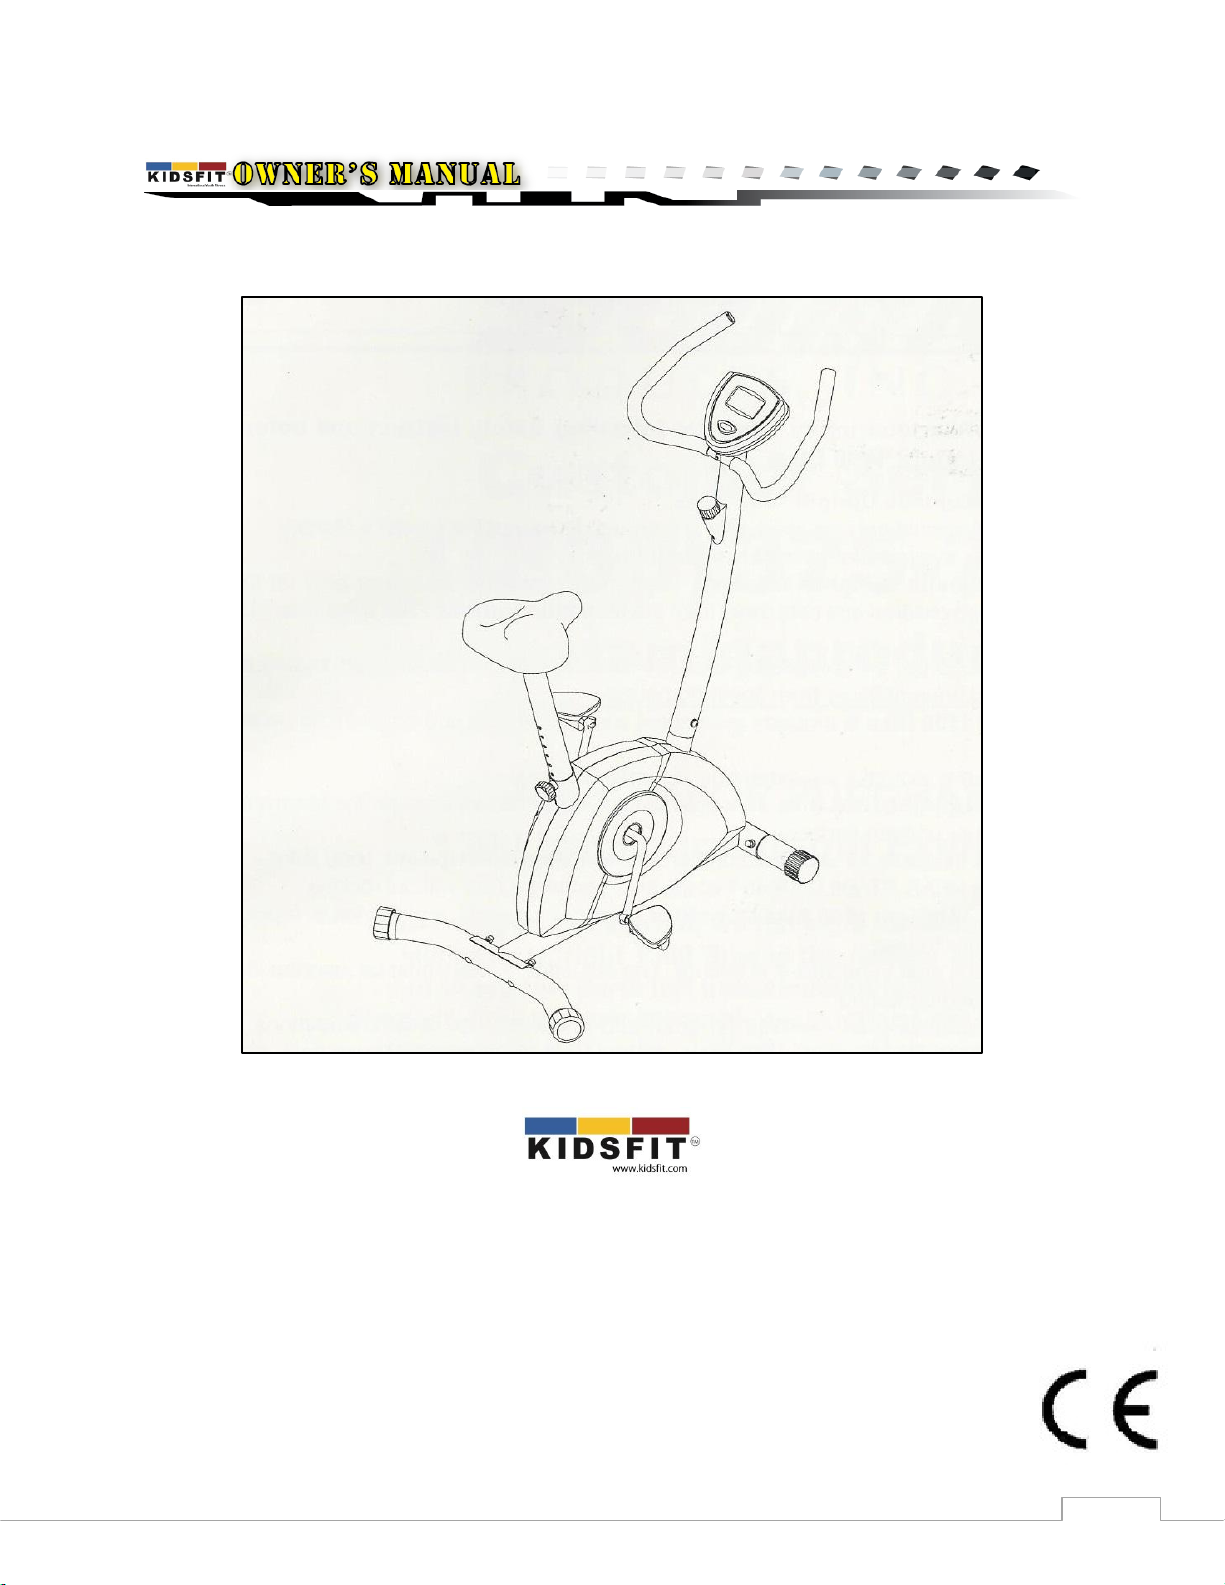
Cardio Kids Home Bike Owner’s Manual
REVISION: 1/22/2014
Important Instructions
Please read these instructions carefully before using the equipment for the first time. They contain
information which is important for your safety as well as for the use and maintenance of the unit. Keep
these instructions in a safe place for reference purposes, to assist you when ordering spare parts, and
maintenance work.
For Your Safety
ATTENTION! For indoor use only!
ATTENTION! This training device should be used only for its intended purpose.
ATTENTION! Any other use of the equipment is prohibited and may be dangerous. The
manufacturer cannot be held liable for damage or injury caused by improper use of the
equipment.
Incorrect repairs and structural modifications may endanger the safety of the user.
Worn or damaged parts should be replaced immediately and the equipment taken out of use
until they have been repaired. Damaged components may endanger your safety or reduce the
lifetime of the equipment.
If the equipment is in regular use, check all its components thoroughly every 1-2 months. Pay
particular attention to the tightness of bolts and nuts.
ATTENTION! Instruct children on possible sources of danger during exercising.
Always wear suitable shoes when using exercise equipment.
In choosing the location of the equipment, ensure it is a safe distance from any obstacles.
The surface on which the unit is placed must be firm and even. Place rubber or straw mats
under it to deaden any noise or impacts.
Handling the equipment
It is not recommended to use or store the unit in a damp room as this may cause it to rust.
Please ensure that no part of the machine comes in contact with liquids (drinks, perspiration,
etc.). This may cause corrosion.
Damaged components may endanger your safety or reduce the lifetime of the equipment. For
this reason, worn or damaged parts should be replaced immediately and the equipment taken
out of use until this has been done. Use only original Kidsfit spare parts.
To ensure that the safety level is kept to the highest possible standard, determined by its
construction, this product should be serviced regularly (once a year) by a qualified service tech.
Please ensure that liquids or perspiration never enter the machine or the electronics.
Before beginning your first training session, familiarize yourself thoroughly with all the functions
and settings of the unit.
When choosing a place for the equipment please ensure that the floor can withstand the
additional weight/ load.


 Service manual")


