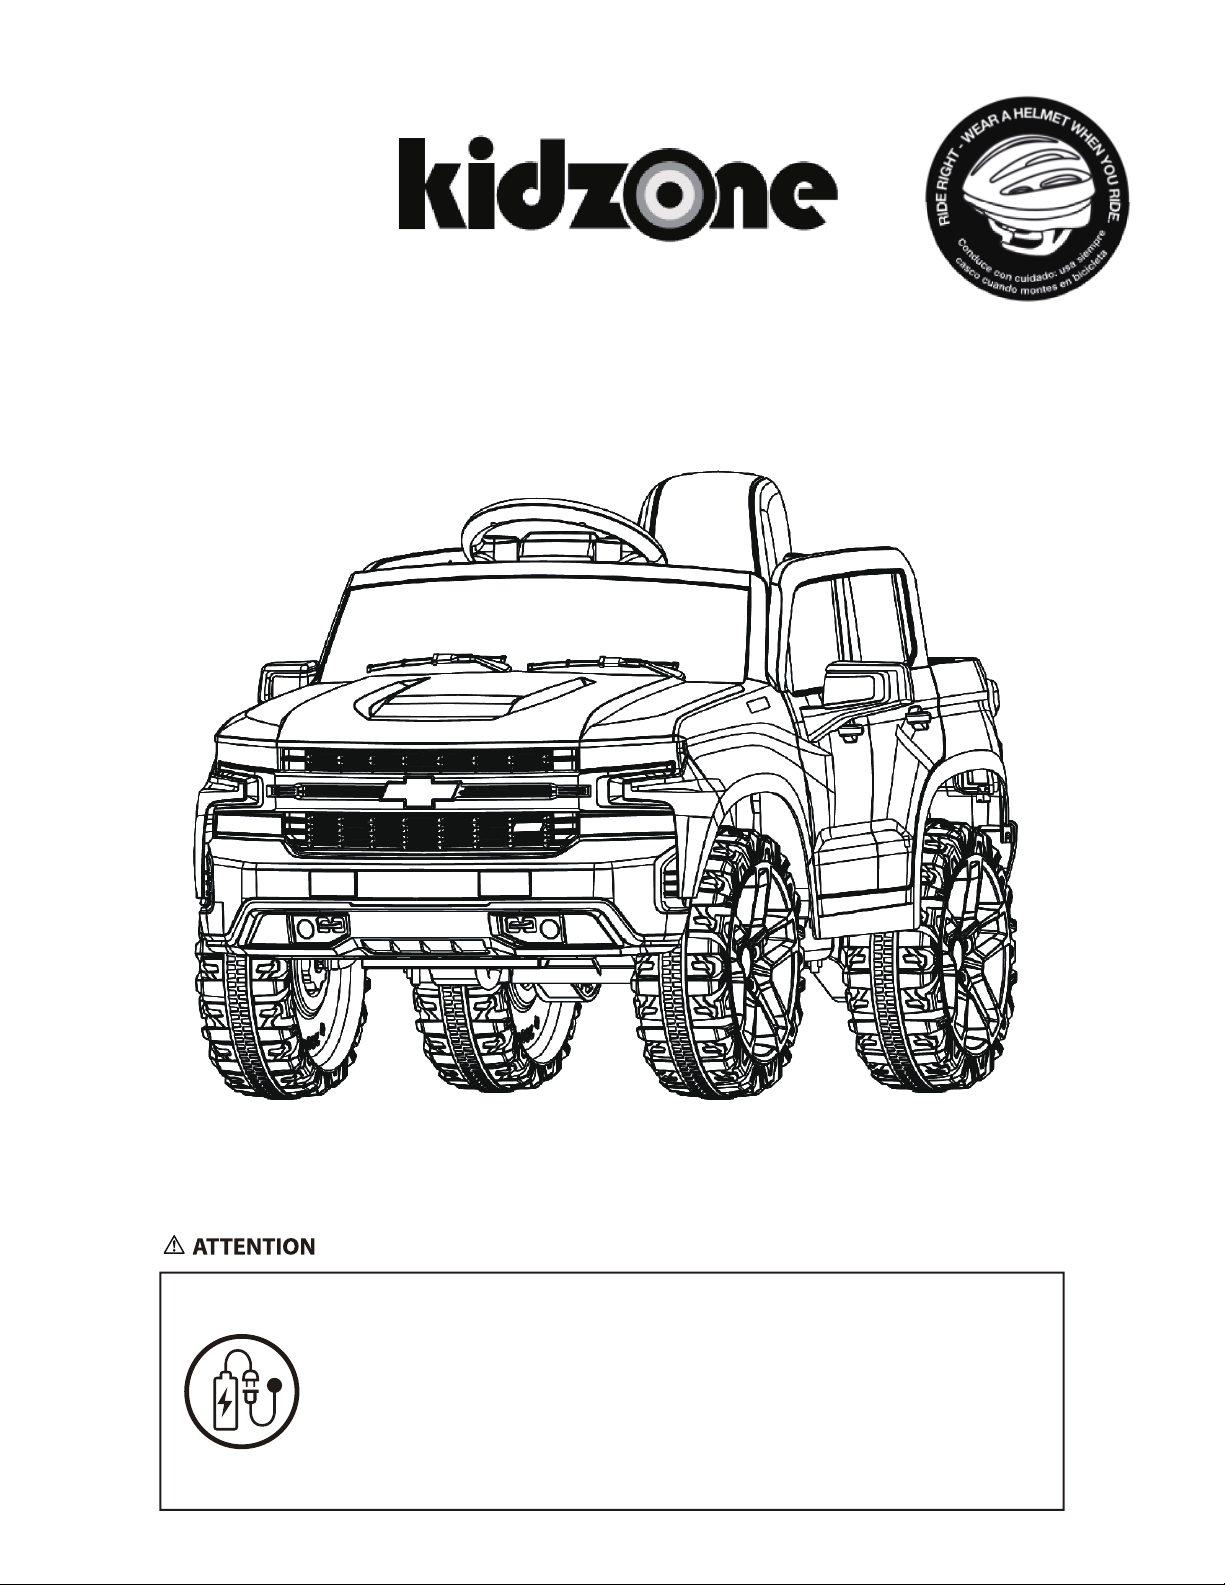
Kidzone 060-ROT-11L User manual

LICENSED CHEVY SILVERADO RIDE ON (12V)
item number: 060-ROT-11L
Note: Product appearance and colors may vary from the photo.
This vehicle is packed with the battery disconnected.
Connect the battery before use.
This manual contains important safety, performance
and maintenance information. Read the manual before
allowing your child to ride your new electric ride-on toy.
Keep this manual properly for future reference.

Safety Instruction
When using electrical product, basic safety precaution should always be followed including the following.
Read all Instruction before use operating this product
• To Protect against electrical shock, do not immerse cord, charger, transformer, battery, or the product
inwater or other liquid.
• Only use charging devices, transformer, and battery provided or recommended by the manufacturer.
• For your children’s safety, the product should by assembled by adult.
• This toy is only intended for children between 37 - 72 months of age.
•$MPTFMZBEVMU supervision is necessary when your child is operating this product.
• Disconnect the battery if not used for a long time.
• Personal protective equipment such as helmet is needed when operating this product.
• To reduce the risk of injury, adult supervision is required. Never use in roadways, near motor vehicles,
•
on or near steep inclines or steps, swimming pools or other bodies of water; always wear shoes, and
never allow more than 1 rider.
• Do not use this product on slippery surface.
Do not use this product as a trac tool.
• Always keep hands, hair, and clothing away from moving parts.
• Maximum users’s weight for this product is 66 lb / 30 kg.
• Do not change, modify or add any electrical wiring on this product.
• Avoid using this product in tight environment to prevent damage to the product or injury to the user.
• Do not use this product in the dark. Only operate this product during daytime or well-lit area.
• For your child's safety, please make sure the seat belt is securely fastened when operating this product.
• Personal protective equipment such as helmet is needed when operating this product.
WARNING:

WARNING:
Manufacturer and seller expressly disclaim any and all liability for personal injury, property damage or
loss, whether direct, indirect, or incidental, resulting from the incorrect attachment, improper use,
inadequate maintenance, unapproved modication, or neglect of this product.
WARNING:
PREVENT FIRE
also ruin the electrical system.
Never modify the electrical system. Alterations could cause a re resulting in serious injury and could
The battery must be handled by adults only. The battery is heavy and contains sulfuric acid(electrolyte).
Use of the wrong type of battery or charger could cause a re or explosion resulting in serious injury.
Dropping the battery could result in serious injury.
Never allow children to charge the battery. Battery charging must be done by adults only.
Never lift or carry the battery by the wires or connector. This can damage the battery and possibly
cause a re resulting in serious injury. Lift and carry the battery by the case only.
Examine the battery, charger and their connectors for excessive wear or damage each time you
charge the battery. If damage or excessive wear is detected, do not use the charger or the battery
until you have replaced the worn or damaged part.
Motor: DC12V
Battery: 12V4.5AH
Charger: 120V AC (Input), DC 12V 0.9A (output)
Speed: 0.7~2.2mph(1.2~3.5km/h)
Suitable Age: 37 -72 months
Maximum User Weight: 66 lb / 30 kg
Dimension: 42.91” x 28.34” x 25.19”(1090 x 720 x 640 mm)
Battery Charge Time: 8 - 12 hours
First charging time: 8~12hours
Max charging time: 20hours
Battery (Temperature Tolerance) : -20°C(68°F) TO 60°C (140°F)
Operation Time: 1~2hours
3

Parts and Feature
A (Steering Wheel)
E (Remote Control) F (Wind Deflector) H (Wheel Cover)
I (Wheel)
P (M8 Spanner)
J (Rear View Mirror)
X (M4 x 16 Screw)
K (Side Window)
Y (M3 x 10 Screw)
Q (Charger)
C (Seat) D (Backrest)
4

Assembly Instruction
Estimated Assemble Time: 40 mins
Tools Needed:
Screw Driver (not included)
Some parts are small parts and have sharp edges. Do not let children handle parts or the assembly.
This product should be assembled by adult.
Assemble the rear lights to the vehicle and tighten screws (Y).
Y

Assembly Instruction
Remove Nuts (2) and Gaskets (1) from the Rear Axle (3) by M8 Spanner(P).
Assemble Rear Wheel Motor (4) to the Rear Axle (3). Insert the extended end (8) into slot (Z) of the vehicle.
3
12 2
4
48
8
Z
Z
1

Assembly Instruction
Remove Nuts (6) and Gaskets (5) from both ends of the front axle by M8 Spanner(P).
NOTE: Leave 1 Gasket (5) on each side of the front axle.
Insert Wheels (I) to both front and rear axle.
Secure using Gasket (5) and Nut (6) by M8 Spanner(P) and put on the Wheel Cover (H).
5
5 5
5
5
5
66
6 6
6
6
H H
H
H
I I
I
I

Assembly Instruction
Insert 2 AA batteries to the Steering Wheel (A).
Remove the screw from Steering Wheel (A).
Insert the Steering Wheel (A) to the Steering Column (7) then tighten the screw.
A
AA
7
WARNING
• All batteries should be installed in the correct polarity.
• Do not recharge Non-rechargeable battery.
• Keep battery away from children.
• Do not mix old and new batteries.
Do not mix alkaline, standard (carbon-zinc), or rechargeable batteries.•

Assembly Instruction
Align Side Window (K) to the side of the car
body and fasten 5 M3x10 Screws (Y).
Repeat the same step for the other side.
Insert the windshield (F) to the vehicle body.
Insert the 2 Rear View Mirror (J) to the vehicle
body.
Y
Y
Y
Y
Y
F
J
K

Assembly Instruction
Insert the hook of the Seat (C) into the
corresponding grooves on the vehicle body, then
secure in place using 2 M4x16 Screws (X).
Insert Seat Backrest (D) into the corresponding
grooves on the vehicle body, then fasten 2
M4x16 Screws (X).
C
X
X
D

User Instruction
Control the vehicle
Control Panel
Control the ON / OFF of the vehicle and the audio playing system.
See detailed instruction on the Control Panel on page 11~12.
Horn Button
Press the button to horn.
Foot Pedal
Press the foot pedal to move the vehicle
Release the foot pedal to stop the vehicle.
Control Panel
Horn Button
Horn Button
Horn Button
1

User Instruction (Control Panel)
1. FM Radio Search Button
Press this button to search FM channel when in FM mode.
2. FM Button
Press the FM button to enter FM mode.
3. Mode Button
Press Mode button to switch between USB, AUX, and Bluetooth(Kidzone Ride-on).
4. Forward Button
Press the forward button, and step on the foot pedal to move the vehicle forward.
5. Reverse Button
Press the reverse button, and step on the foot pedal to move the vehicle in reverse.
6. High / Low Speed Button
Press the speed button to switch between high and low speed.
7. Previous / Decrease Volume Button
Press the button to play the previous music track.
Press and hold the button to decrease the volume.
8. Light Button
Press the button to turn ON / OFF the vehicle light.
1
7 8 9 10
4
5
6
11 12 13
2
3
1

User Instruction (Control Panel)
9. Next / Increase Volume Button
Press the button to play the next music track.
Press and hold the button to increase the volume.
10.ON/OFF Button
Press and hold the button to turn ON or OFF the vehicle.
Short press the button to pause or play music track.
Port for ash drive with MP3 les.
NOTE: The player can only support MP3 format les.
11. Flash Drive Port
12. Voltage Display Screen
The battery level will be displayed on the screen.
13. AUX Port
Connect music device to the vehicle player via AUX cable.
1

User Instruction (Remote Control)
Using the remote control
Forward Left
Right
Reverse
Stop
Speed Selection Button
LED Indicator
1

User Instruction (Charging)
The battery should only be charged by an adult. The battery is
not replaceable.
WARNING!
1

Troubleshooting
Care and Maintenance
• Check the product regularly and make sure there is no missing or loose parts. Re-tighten any loose parts
if necessary.
• Make sure there is no cracked or broken plastic parts.
•Keep away the product from heat and humid area, cover it with trap when not in use.
•
• Clean the vehicle with a cloth. Use a non-wax furniture polish to restore the shininess of the plastic parts.
Do not use
Turn o the product and disconnect the battery if the product is not use for a long period of time.
abrasive cleaner.
• Do not wash the product with a hose or immerse any parts in water or other liquid.
• Occasionally use lightweight oil to lubricate moving parts
Problem Possible Reason Solution
Vehicle does not move
Low Battery Fully charge the battery
Fuse Protection Wait 5 - 20 seconds for the fuse to
reset
Disconnected / Badly connected
battery Reconnect the battery
Failed battery / engine Contact Customer Service
Battery not last long
Low Battery Fully charge the battery
Old Battery Replace battery if necessary
Vehicle runs very slow
Low Battery Fully charge the battery
Old Battery Replace battery if necessary
Vehicle is overloaded Make sure user’s weight is under
66 lb / 30 kg
Vehicle is being used in harsh
environment
Avoid using the vehicle in harsh
environment
1

Troubleshooting
1

Model: CST-1A
FCC ID: 2ARLM-CST-1A
This device complies with part 15 of the FCC Rules. Operation is subject to the following two conditions:
(1)This device may not cause harmful interference, and
(2)this device must accept any interference received, including interference that may cause undesired
operation.
NOTE: This equipment has been tested and found to comply with the limits for Class B digital device,
pursuant to part 15 of the FCC rules. These limits are designed to provide reasonable protection against
harmful interference in a residential installation. This equipment generates, uses and can radiate
radiofrequency energy and if not installed and used in accordance with the instructions, may cause harmful
interference to radio or television reception, which can be determined by turning the equipment o and on,
the user is encouraged to try to correct the interference by one or more of the following measures:
-Reorient or relocate the receiving antenna.
-Increase the separation between the equipment and the receiver.
-Connect the equipment into an outlet on a circuit dierent from that to which the receiver is connected.
-Consult the dealer or an experienced radio/TV technical for help.
Caution: Changes or modications not expressly approved by the party responsible for compliance could
void the user's authority to operate the equipment.
This product conforms to toy safety standards CPSIA and ASTM-F963.
Importer: ONE BIG OUTLET
Importer Address: 19301 E Walnut dr. N. City of industry CA91748 united states
Importer Tel.: 800 - 946 - 6151
1

19
Table of contents
Other Kidzone Toy manuals
Popular Toy manuals by other brands

Monogram
Monogram 1956 Chevrolet Bel Air owner's manual

Lionel
Lionel Crane Car American Flyer owner's manual

CREATIVE CONCEPTS
CREATIVE CONCEPTS Pucker Powder Assembly and mounting instructions

Fisher-Price
Fisher-Price GeoTrax K0402 instructions

Lionel
Lionel Pioneer Zephyr owner's manual

SIG
SIG Award Winning Model Designs Piper Cherokee Assembly instructions