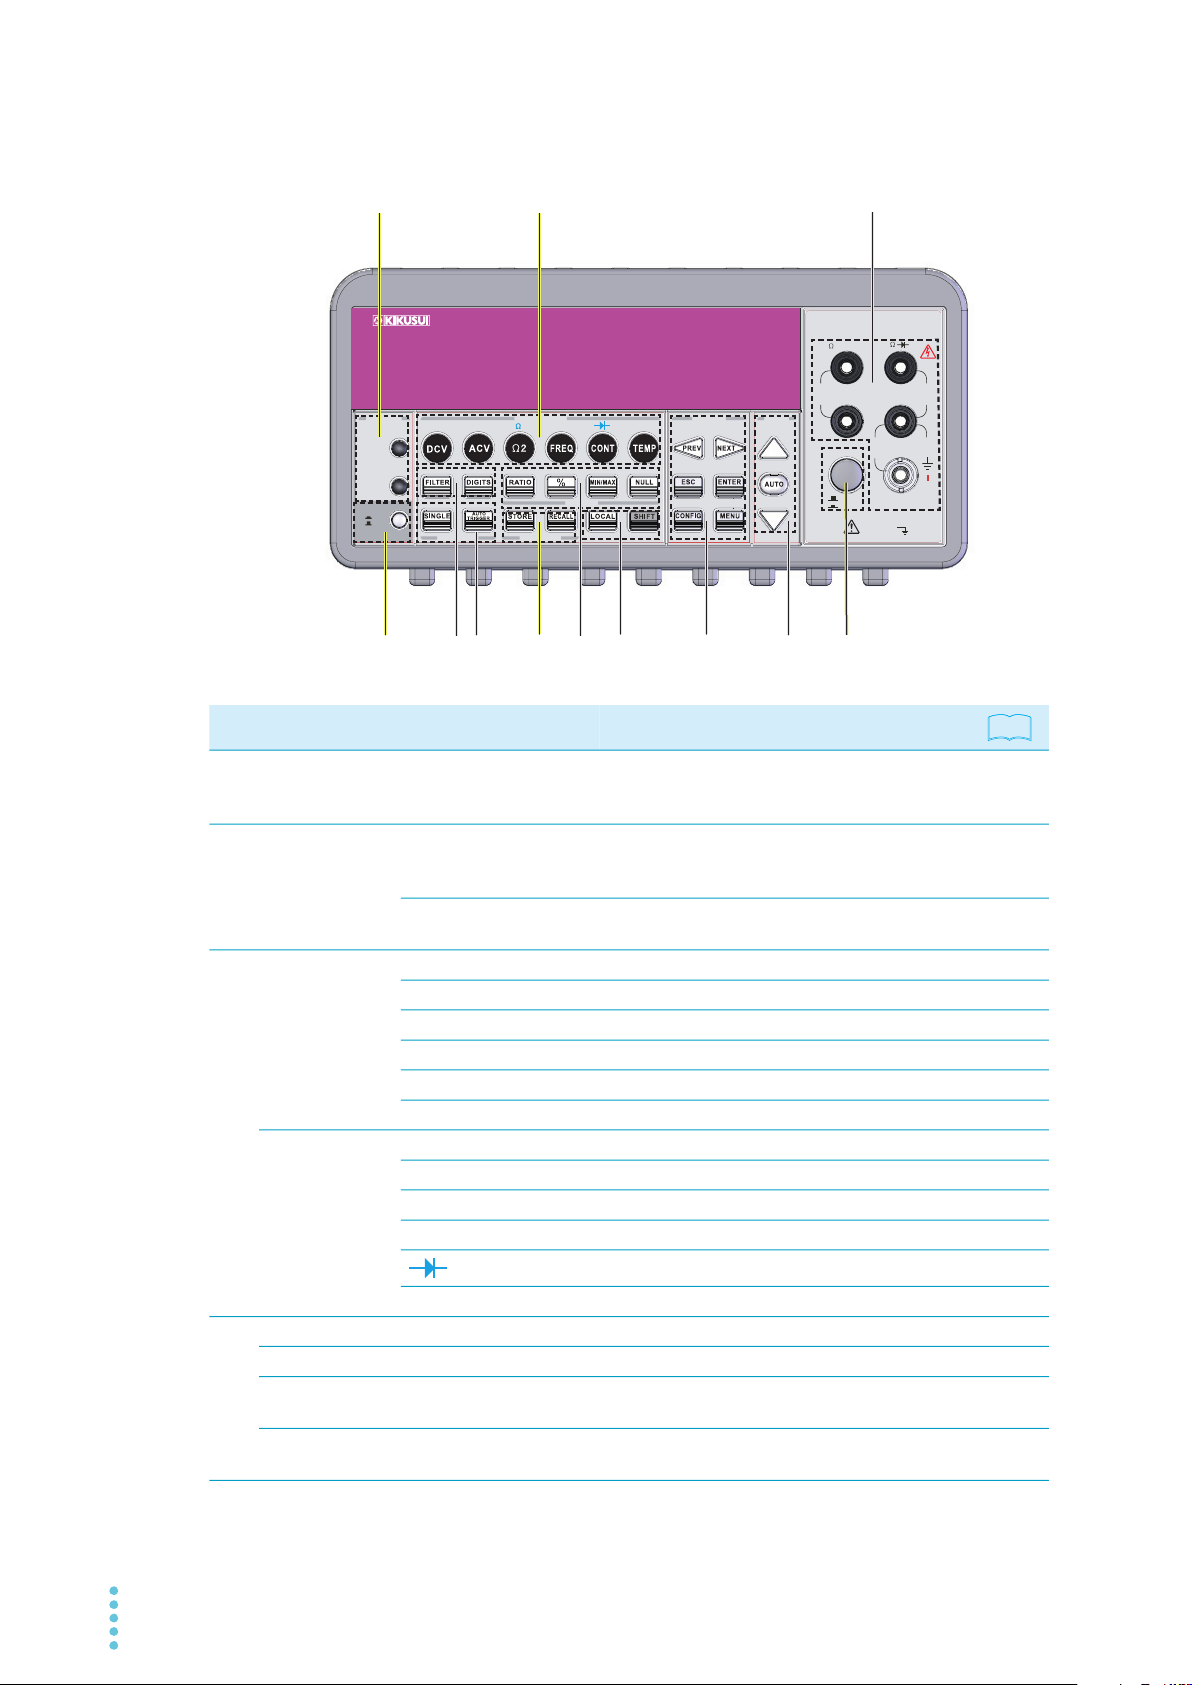
Kikusui DME1600 User manual

Part No. IB022459
Jan 2023
User’s Manual
6-1/2 Digit Multimeter
DME1600
Overview
Preparation
Basic Measurement
Function Settings
Math Functions
1
2
3
4
5
6
System Settings
Specifications 7
8
9

2DME1600
There are two manuals for the DME1600: the User’s Manual
(this manual) and the Remote Interface Manual.
The manuals are intended for users of the DME1600 and their
instructors. These manuals assume that the reader has elec-
trical knowledge.
• User’s manual (this manual)
This manual is intended for first-time users of the DME1600.
It gives an overview of the DME1600, connecting proce-
dures, safety precautions, etc. Please read through and
understand this guide before operating the product.
• Remote interface manual
This manual explains how to control the DME1600 remotely
using SCPI remote interface commands.
The interface manual is written for readers with sufficient
basic knowledge of how to control measuring instruments
using a PC.
You can download the most recent version of the manuals
from the Kikusui Electronics Corporation website.
The product that this manual covers
This user’s manual is for the DME1600 6-1/2 Digit Multimeter.
When contacting us about the product, please provide us with:
The model (written on the front panel)
The serial number (written on the rear panel)
Trademarks
Company names and product names used in this manual are
generally trademarks or registered trademarks of the respec-
tive companies.
Copyrights
The contents of this manual may not be reproduced, in whole
or in part, without the prior consent of the copyright holder.
The specifications of this product and the contents of this man-
ual are subject to change without prior notice.
© 2011 Kikusui Electronics Corporation
Dispose of the product in accordance with your local
regulations.
• The DME1600 6-1/2 Digit Multimeter is also referred to as
the “DME1600.”
• This manual denotes key sequences that require you to
press the SHIFT key as SHIFT+(the name of the key).
• The following markings are used in the explanations in the
text.
Indicates a potentially hazardous situation which, if
ignored, could result in death or serious injury.
Indicates a potentially hazardous situation which, if
ignored, may result in slight injury or damage to the prod-
uct or other property.
Indicates information that you should know.
Explanation of terminology or operation principle.
Indicates a reference to detailed information.
About DME1600 manuals
Disposal
Notations Used in This Manual
WARNING
CAUTION
DESCRIPTION
See

DME1600 3
DANGER
Indicates an imminently hazardous situation which, if
ignored, will result in death or serious injury.
WARNING
Indicates a potentially hazardous situation which, if ignored,
could result in death or serious injury.
CAUTION
Indicates a potentially hazardous situation which, if ignored,
may result in slight injury or damage to the product or other
property.
Indicates a general danger, warning, or caution.
When this symbol is marked on the product, see
the relevant sections in the operation manual.
or
Indicates that a high voltage is used here.
Touching the part causes a possibly fatal electric
shock. If physical contact is required by your
work, start work only after you make sure that no
voltage is output here.
Indicates a location whose surface can become
hot.
Shows that the act indicated is prohibited.
Direct current (DC)
Alternating current (AC)
Direct current (DC) and alternating current (AC)
Protective conductor terminal
Earth (ground) terminal
Chassis (frame) terminal
On (supply)
Off (supply)
On (supply) / standby
This product is not completely disconnected from
MAINS when it is in standby mode.
In position of a bi-stable push control
Out position of a bi-stable push control
Safety Symbols CAT II*IEC Measurement Category II
Applies to test and measuring circuits connected
directly to utilization points of the low-voltage
installation. This category applies to circuits con-
nected to circuits of equipment on the primary
side of a transformer. Such pieces of equipment
have a power cord connected to a power outlet.
Examples are household appliances and portable
tools.
CAT III*
IEC Measurement Category III
Applies to test and measuring circuits connected
to the distribution part of the building’s low-voltage
installation. For example, this category applies to
circuits connected to distribution boards, circuit
breakers, and wiring systems in the fixed distribu-
tion installation, and to stationary motors with a
permanent connection to the fixed distribution
installation.
CAT IV*
IEC Measurement Category IV
Applies to test and measuring circuits connected
at the source of the building’s low-voltage installa-
tion. For example, this category applies to circuits
connected to a building's service lines, electricity
meters, primary overcurrent protection equip-
ment (switchboards and distribution boards), and
their electric circuits.
Indicates that this product conforms to the
requirements of the applicable EU directive.
Indicates that this product conforms to the
requirements of the Waste Electrical and Elec-
tronic Equipment Directive.
In the EU, this product cannot be disposed of as
domestic household waste.
When disposing of this product, follow the Waste
Electrical and Electronic Equipment (WEEE)
Directive.
In areas outside of the EU, dispose of it as per the
instructions of the local authorities.
* IEC 61010-2-030:2010 expresses other types of circuits
that are not directly connected to MAINS (circuits that do
not fall under CAT II to CAT IV) as “O” (Other).

4DME1600
The following safety precautions must be observed to avoid
fire hazards, electric shock, accidents, and other failures.
Using the product in a manner that is not specified in the
operation manual may impair the protection functions pro-
vided by the product.
Users
• This product must be used only by qualified personnel who
understand the contents of this operation manual.
• If unqualified personnel is to use the product, be sure the
product is handled under the supervision of qualified per-
sonnel (those who have electrical knowledge). This is to
prevent the possibility of personal injury.
Purpose
• Never use the product for purposes other than the product’s
intended use.
• This product is not designed or manufactured for general
home or consumer use.
Input power
• Use the product within the rated input power voltage range.
• For applying power, use the power cord provided. For
details, see the respective page in the operation manual.
• This product is designed as an equipment of IEC Overvolt-
age Category II (energy-consuming equipment supplied
from the fixed installation).
Fuse
• With products with a fuse holder on the exterior surface, the
fuse can be replaced with a new one. When replacing the
fuse, use a fuse of shape, rating, and characteristics that
conform to the product. For details, see the respective page
in the operation manual.
Cover
• Some parts inside the product may cause physical hazards.
Do not remove the external cover.
Grounding
• This product is IEC Safety Class I equipment (equipment
with a protective conductor terminal). To prevent electric
shock, be sure to connect the protective conductor terminal
of the product to electrical ground (safety ground).
Operation
• If a malfunction or abnormality is detected on the product,
stop using it immediately, and remove the power plug from
the outlet or turn off the circuit breaker of distribution. Make
sure the product is not used until it is completely repaired.
• Use cables or wires with sufficiently large current capacity
for output wires and load cables.
• Do not disassemble or modify the product. If you need to
modify the product, contact your Kikusui distributor/agent.
• To maintain the performance and safe operation of the prod-
uct, it is recommended that periodic maintenance, inspec-
tion, and cleaning be performed.
• To prevent the possibility of electric shock, remove the
power plug from the outlet or turn off the circuit breaker of
distribution before carrying out maintenance or inspection.
• Check periodically that there are no tears or breaks in the
power cord.
• If the panel needs cleaning, gently wipe it using a soft cloth
with water-diluted neutral detergent. Do not use volatile
chemicals such as benzene or thinner.
• This product is calibrated before shipment. To maintain the
product’s performance, we recommend periodic calibration.
To have your product calibrated, contact your Kikusui agent/
distributor.
Adjustments and Repairs
• Kikusui service engineers will perform internal service on
the product. If the product needs adjustment or repairs, con-
tact your Kikusui distributor/agent.
Warning label
• Pay attention to the condition of the warning label attached
to the outer surface of this product. If this label tears or falls
off, replace with a new label. If you need a new label, con-
tact your Kikusui agent or distributor.
CAUTION
This equipment is not intended for use
in residential environments and may
not provide adequate protection to
radio reception in such environments.
Safety Precautions
Operation
Manual
Line
Voltage
GNL
Check?
Maintenance, Inspection and
Calibration

DME1600 5
• Do not use the product in a flammable atmosphere.
To prevent the possibility of explosion or fire, do not use the
product near alcohol, thinner, or other combustible materi-
als, or in an atmosphere containing such vapors.
• Avoid locations where the product is exposed to high tem-
perature or direct sunlight.
Do not install the product near a heater or in areas subject
to drastic temperature changes. For the operating and stor-
age temperature range of the product, see the specification
table in the operation manual.
• Avoid high humidity.
Do not install the product in high-humidity locations–near a
boiler, humidifier, or water supply. For the operating and
storage humidity range of the product, see the specification
table in the operation manual.
Condensation may occur even within the operating humidity
range. In such cases, do not use the product until the con-
densation dries up completely.
• Be sure to use it indoors.
This product is designed for safe indoor use.
• Do not install the product in a corrosive atmosphere.
Do not install the product in a corrosive atmosphere or in
environments containing sulfuric acid mist, etc. This may
cause corrosion of various conductors and bad contacts of
terminals inside the power supply leading to malfunction
and failure, or in the worst case, a fire.
• Do not install the product in a dusty location.
Accumulation of dust can lead to electric shock or fire.
• Do not use the product where ventilation is poor.
On the rear panel of products that use fan-based forced air
cooling, heat is expelled from vents. To prevent the heat
from building up and causing a fire, keep the vents at least
20 cm away from walls. Also, do not place objects within 20
cm of the rear panel.
For products that do not have fans and use unforced air
cooling, air rises from the bottom panel to the top panel, so
make sure that the bottom and top panels are not blocked.
• Do not place objects on the product.
Placing objects on top of the product can cause failures
(especially heavy objects).
• Do not install the product on an inclined surface or location
subject to vibrations.
The product may fall and break or cause personal injury.
• Do not use the product in a location where strong magnetic
or electric fields are nearby or a location where large
amount of distortion and noise is present on the input power
supply waveform.
The product may malfunction.
• Do not use the unit near highly sensitive measuring instru-
ments or transceivers.
The noise generated by the unit may affect them.
• When installing products with casters, be sure to lock the
casters.
• Turn off the power switch.
Moving the product while the power is turned on can cause
electric shock or damage to it.
• Remove all wiring.
Moving the product with the wires connected can cause
wires to break or injuries due to the product falling over.
• Use two or more persons when moving the product which
weights more than 18 kg. The weight of the product is indi-
cated on the rear panel of the product and in the specifica-
tion table in this manual.
• Use extra precautions such as using more people when
moving into or out of present locations including inclines or
steps. Also handle carefully when relocating tall products as
they can fall over easily.
• When transporting the product, be sure to use the original
packing materials.
Otherwise, damage may result from vibrations or from the
product falling during transportation.
• Be sure to include the operation manual.
Precautions Concerning
Installation Location
Note the following points when installing
the product.
Precautions to Be Taken
When Moving the Product
Note the following points when moving or
transporting the product to the installation
location.

6DME1600
Contents
About DME1600 manuals ......................2
Disposal .................................................2
Notations Used in This Manual ..............2
Safety Symbols ......................................3
Safety Precautions .................................4
Precautions Concerning
Installation Location ...............................5
Precautions to Be Taken
When Moving the Product .....................5
1General Information
Product Overview ....................................... 14
Features............................................... 14
Options................................................. 15
2Preparation
Checking the Package Contents ................ 18
Using the Handle ........................................ 19
Setting the Line Voltage.............................. 20
Changing the Power Line Fuse .................. 22
Connecting the Power Cord........................ 24
Replacing the Current Input Terminal Fuses ...
26
Factory Default Settings ............................. 28
3Basic Measurement
Basic Measurement Feature Overview....... 30
Voltage Measurement................................. 30
Current Measurement................................. 32
Resistance Measurement ........................... 34
Frequency and Period Measurement ......... 36
Continuity Test............................................ 37
Diode Test .................................................. 38
Temperature Measurement ........................ 40
Thermocouple measurement ............... 40
2-wire RTD measurement.................... 42
3-wire RTD measurement.................... 44
4-wire RTD measurement.................... 46
4Function Settings
Function Settings Overview ........................ 48
ADC (Auto Zero Adjustment) ...................... 48
Filter............................................................ 50
AC filter ................................................ 50
Digital filter ........................................... 51
Resolution Setting....................................... 54
DC Input Resistance .................................. 56
Threshold Resistance for Continuity Tests 57
Threshold Range for Diode Tests .............. 58
Range (Auto and Manual).......................... 59
Integration Time ......................................... 60
Temperature Sensor .................................. 62
RTD..................................................... 62
Thermocouple ..................................... 65
Selecting the Remote Interface.................. 67
Switching between Input Terminals ........... 68
Triggering................................................... 69
Trigger Mode.............................................. 70
Auto trigger mode (front panel operation
only) .................................................... 70
Immediate trigger mode (remote interface
operation only) .................................... 70
Single trigger mode (front panel operation
only) .................................................... 71
Trigger Source ........................................... 72
Front panel operation.......................... 72
External trigger input........................... 73
Triggering through the remote interface....
74
Pulse output for external devices when
measurements finish........................... 74
Other Trigger Settings................................ 75
Number of samples per trigger............ 75
Number of triggers (remote interface
operation only) .................................... 76
Measured value hold........................... 76
Trigger delay ....................................... 77
5Math Functions
Math Function Overview ............................ 80
Ratio........................................................... 80
% (Percentage) .......................................... 82
Maximum and Minimum............................. 83
Null............................................................. 85
Upper and Lower Limit Test....................... 86
MX+B ......................................................... 88
dBm............................................................ 90
dB............................................................... 91
6System Settings
Overview of the System Settings ............... 94
Display ....................................................... 94
Beeper ....................................................... 95
Measurement memory ............................... 97
Hold Feature .............................................. 99
Initial Mode............................................... 100
Language ................................................. 101
Error Indicator .......................................... 102

DME1600 7
Viewing the Firmware Versions................ 103
Calibration Information Display ................ 104
Scan Function (Option) ............................ 105
Configuration and specifications of a
scanner card (DME1600-opt01)........ 105
Scanner card wiring........................... 106
Connecting the scanner card ............ 108
Configuring the scan function............ 109
Setting the step function..................... 111
7Specifications
DC characteristics ............................. 114
Frequency and period characteristics 115
AC characteristics ............................. 116
General specifications....................... 117
Outline drawing ................................. 118

8DME1600
Front panel
4
DME1600
6 1/2 DIGIT MULTIMETER
DISPLAY
NEXT
PREV
POWER
OFF
ON
DCI ACI 4
TCOUPL
PERIOD
LIMITS MX+B
dB
EXTRIG HOLD
MATH
TRIGGER MEMORY
dBm
STEP SCAN
LOCK
SETUP
RANGE
4W SENSE
RATIO
REF
INPUT
V
200V
MAX
HI
LO
500V pk
MAX
3A
RMS
TERMINALS
FRONT FUSE
㸸
3A 250V
REAR
1000V
MAX
CATϨ1000V
CATϩ600V
FUNCTION
CATϩ600V
3
2
11
12
10
7
18
5
469
No. Name Function
1 POWER Power switch
Power switch. The power is on when the but-
ton is in the “in” position. The power is off
when the button is in the “out” position.
p. 24
2 DISPLAY
PREV key
Shows the previous screen. Switches what is
displayed in the bottom area of the display
(model, version, range, hide).
p. 11
NEXT key Shows the next screen (the reverse operation
of the PREV key). p. 11
3
FUNCTION
DCV key DC voltage measurement. p. 30
ACV key AC voltage measurement. p. 30
2 key 2-wire resistance measurement. p. 34
FREQ key Frequency measurement. p. 36
CONT key Continuity test. p. 37
TEMP key RTD temperature measurement. p. 40
FUNCTION
(SHIFT+)
DCI key DC current measurement. p. 32
ACI key AC current measurement. p. 32
4 key 4-wire resistance measurement. p. 34
PERIOD key Period measurement. p. 36
(DIODE) key Diode test. p. 38
TCOUPL key Thermocouple temperature measurement. p. 40
4
FILTER key Digital filter setup. p. 51
DIGITS key Resolution (displayed digits) setup. p. 54
SHIFT+FILTER STEP key Step function setup (when a scanner is
installed). p. 111
SHIFT+DIGITS SCAN key Scan function setup (when a scanner is
installed). p. 109
See

DME1600 9
How to use the SHIFT key
Press SHIFT to turn on the SHIFT indicator on the display. Then, press a key whose name is written in blue.
This key sequence does not mean you hold down the SHIFT key and press another key.
This manual denotes key sequences that require you to press the SHIFT key as SHIFT+(the name of the
key).
How to use the ESC key
• Press ESC to cancel the previous operation and the DME1600 to the state that it was in before the previ-
ous operation.
• Press ESC to unlock the keys.
5
TRIGGER SINGLE key Single trigger measurement. p. 71
AUTO TRIGGER key Auto trigger measurement. p. 70
TRIGGER
(SHIFT+)
EXTRIG key External trigger EXT TRIG terminal input. p. 73
HOLD key Holds measured values. p. 76
6 MEMORY STORE key Stores measured values in memory. p. 97
RECALL key Recalls measured values from memory. p. 97
7
MATH
RATIO key Calculates the ratio of DC voltage to a refer-
ence DC voltage. p. 80
% key Calculates the ratio of measured values to
target values as a percentage. p. 82
MIN/MAX key Calculates the minimum and maximum. p. 83
NULL key Calculates the difference between the mea-
sured value and the stored null value. p. 85
MATH
(SHIFT+)
LIMITS key Tests the upper and lower limits. p. 86
MX+B key
Calculates value Y that is linearly proportional
to measured value X as defined by slope M
and offset B.
p. 88
dBm key dBm calculation. p. 90
dB key dB calculation. p. 91
8
LOCAL key Switches from remote control mode to local
mode. -
SHIFT key
Used to select functions that are marked in
blue above the keys (see below for details on
how to use this key).
Below
9
SETUP
PREV key
Shows the previous screen. Scrolls through
the buffer during measurement and changes
the displayed digits.
-
NEXT key Shows the next screen(the reverse operation
of the PREV key). -
ESC key Cancels the selection and returns to the mea-
surement display. Below
ENTER key Enters the selection and moves to the next
setting or returns to the measurement display. -
CONFIG key Used to set items related to panel key func-
tions. p. 55
MENU key Used to set items not related to panel key
functions. p. 49
SETUP
(SHIFT+) LOCK key Enables the key lock. Press ESC to clear the
key lock. -
10 RANGE
The up key Changes the range to the next higher range. -
AUTO key Auto range. -
The down key. Changes the range to the next lower range. -
No. Name Function See

10 DME1600
Maximum input voltage
• The LO terminal is marked with 500 Vpk max against ground.
• The SENSE HI to LO terminal is marked with 200 Vpk max.
• The maximum voltage from HI to LO is 1000 Vpk.
No. Name Function
11 TERMINALS TERMINALS switch Switches the input terminals. Select the front
panel or rear panel terminals. p. 31
12 INPUT
HI-LO (V// )
terminal
Input terminal. Used in DCV, ACV, 2, FREQ,
PERIOD, CONT, , and TEMP measure-
ments.
p. 31
HI-LO (4W SENSE
/RATIO REF) terminal
Input terminal. Used in 4, TEMP, and RATIO
measurements. p. 34
I-LO terminal Current input terminal. Used in DCI and ACI
measurements. p. 32
FUSE 3 A 250 V I-LO terminal. For protecting the front-panel
input circuit (3 A, 250 V). p. 22
See

DME1600 11
Display
3
4
21
No. Name Function
1 Top area
ADRS Indicates that the DME1600 is being con-
trolled through the GPIB interface p. 67
RMT Indicates that the DME1600 is being con-
trolled through the USB interface p. 67
MAN Indicates that the manual range is being used p. 59
TRIG Indicates that single trigger measurement is
enabled p. 71
HOLD Indicates that the measured value is being
held p. 76
MEM Indicates that measured values are stored in
memory p. 97
RATIO Indicates that the ratio of DC voltage to a ref-
erence DC voltage is being calculated p. 80
MATH Indicates that the math function is being per-
formed p. 80
ERR Indicates that an error has occurred p. 102
SHIFT Indicates that the SHIFT key has been
pressed p. 9
REAR Indicates that the rear-panel input terminals
are in use p. 10
FILT Indicates that the digital filter is in use p. 51
2 Right area
4W Indicates that 4-wire resistance measurement
mode is in use p. 35
Indicates that the continuity test is in use p. 37
Indicates that the diode test is in use p. 38
EXT Indicates that external trigger mode is in use p. 73
LOCK Indicates that keys are locked p. 9
OFF Indicates that the display is off p. 94
3Measurement
display area
Displays measured values and function set-
tings -
4 Bottom area Displays the model, version, range, or nothing -
See

12 DME1600
Rear panel
Maximum input voltage
• The LO terminal is marked with 500 Vpk max against ground.
• The SENSE HI to LO terminal is marked with 200 Vpk max.
• The maximum voltage from HI to LO is 1000 Vpk.
10
KIKUSUI ELECTRONICS CORP. MADE IN TAIWAN GPIB
LINE: 50 / 60Hz,25VA MAX FUSE(250V ):250mAT
USB
VM COMP EXT TRIG
5V Max
to
CATϩ600V
3A 250V
7A 250V
3A
RMS
500Vpk
MAX
1000V
MAX
200V
MAX
RATIO
REF
LO
HI
4W SENSE V
781
6
24
35
No. Name Feature
1 INPUT
HI-LO (V// )
terminal
Input terminal. Used in DCV, ACV, 2, FREQ,
PERIOD, CONT, , and TEMP measure-
ments.
p. 30
HI-LO (4W SENSE
/RATIO REF) terminal
Input terminal. Used in 4, TEMP, and RATIO
measurements. p. 34
I-LO terminal Current input terminal. Used in DCI and ACI
measurements. p. 32
FUSE 3 A 250 V I-LO terminal. For protecting the rear-panel
input circuit (3 A, 250 V). p. 26
2 VM COMP Signal output when measurements finish for
synchronizing external devices. p. 74
3 EXT TRIG External trigger signal input. p. 73
4 USB USB port for controlling the DME1600
remotely. p. 67
5Protective con-
ductor terminal
A grounding terminal for connecting to a
power cord that does not have a three-prong
plug.
-
6Voltage setting
selector
Line voltage switch and fuse holder. Switch-
able between 100 Vac/220 Vac and 120 Vac/
240 Vac.
p. 20
7 GPIB GPIB cable connector for controlling the
DME1600 remotely. p. 67
8 Option slot For a scanner. p. 105
See

General Information
This chapter gives an overview of the
DME1600 and explains the options that
are available for it.
1

14 DME1600
Product Overview
The DME1600 is a robust, versatile 6-1/2 digit digital multimeter. It has a one-year accuracy
of 0.0035% for 10 V range DC voltage measurements and 0.01% for 10 k range resistance
measurements.
At the fastest 4-1/2 digit setting, the DME1600 makes 2000 measurements per second. At
the 6-1/2 digit setting, it makes 50 measurements per second.
The DME1600 is standard-equipped with a USB interface (the GPIB interface is a factory
option).
Features
Resolution: 6 1/2 digits
Display: 5×7 dot matrix VFD, three-color dual display
Basic measurement features
Function settings
Function
Voltage measurement DC voltage: 0.1 V, 1 V, 10 V, 100 V, and 1000 V ranges.
AC voltage: 0.1 V, 1 V, 10 V, 100 V, and 750 V ranges.
Current measurement DC current: 10 mA, 100 mA, 1 A, and 3 A ranges.
AC current: 1 A and 3 A ranges.
Resistance measurement 2-wire and 4-wire methods100 , 1 k, 10 k, 100 k, 1 M, 10 M,
and 100 M ranges.
Frequency and period mea-
surement
3 Hz to 300 kHz (333 ms to 3.3 s).
Continuity test The DME1600 beeps when the measured resistance is less than the
threshold value.
Diode test The DME1600 beeps when the measured forward voltage is within
the voltage threshold range.
Temperature measurement Thermocouples and RTDs can be used as temperature sensors.
Function
Auto zero adjustment Minimizes the effect of internal offset.
Filter Eliminates noise and performs averaging. Two types of filters are
available: AC and digital. The AC filter is used only for AC voltage and
AC current measurements. The digital filter averages measured val-
ues.
Resolution You can set the number of digits to display for measured values.
DC input resistance You can select which input resistance to use in DC voltage measure-
ments.
Threshold resistance for conti-
nuity tests
You can set the threshold resistance to a value between 1 and
1000 .
Diode test You can set the forward voltage to a value between 0.01 V and 1.2 V.
Range You can select auto or manual range mode.
Integration time You can set the sampling interval for analog-to-digital conversion.
The integration time feature not only eliminates noise and increases
measurement accuracy but also optimizes measurement speed or
resolution.
Temperature sensor You can select thermocouples or RTDs.
Remote interface You can select USB or GPIB.
Input terminal switch You can select front-panel or rear-panel terminals.
Trigger mode You can select auto, immediate, or single triggering.
Trigger source You can select front panel, external trigger input, or remote interface.
Trigger settings You can set the trigger count, measured value hold, and trigger delay.

DME1600 15
Product Overview
1
General Information
Math functions
Other functions
Standard-equipped USB interface (the GPIB interface is a factory option)
Options
10-channel scanner card (DME1600-opt01)
Thermocouple adapter (DME1600-opt02)
Adapts K type thermocouple cable connector to dual banana plugs.
Kelvin probe, for 4-wire resistance measurement (DME1600-opt07)
4-wire test leads (DME1600-opt08)
20-channel scanner card (DME1600-opt09)
K type thermocouple cable (DME1600-opt11)
To use this option, DME1600-opt02 (Thermocouple adapter) is required.
10-channel thermocouple scanner card (DME1600-opt12)
Function
Ratio Ratio of the input DC voltage to the specified reference DC voltage
Percentage Ratio of the measured value to the specified target value as a per-
centage
Maximum and minimum Maximum value, minimum value, average of measured values, and
number of measured values
Null Difference between the measured value and the stored null value
Upper and lower limit tests Tests the measured value against the specified upper or lower limit
MX+B Determines value Y that is linearly proportional to measured value X
as defined by slope M and offset B
dBm Measured voltage displayed as a power level (relative to 1 mW), dis-
sipated through a reference resistance
dB Displays the measured value relative to a reference value in decibels
Function
Display Display on and off
Beep sound Beep sound on and off
Measurement memory Stores 2000 measured values
Hold Measured value hold
Initial mode For selecting the mode that the DME1600 starts in when the power
switch is turned on
Language Communication command language
Error indicators Displays errors
Calibration information display Previous calibration date and the next calibration date

16 DME1600
Product Overview
This page left blank intentionally.

Preparation
This chapter describes how to unpack and
prepare this product before you use it.
2

18 DME1600
Checking the Package Contents
When you receive the product, check that all accessories are included and that the accesso-
ries have not been damaged during transportation. If any of the accessories are damaged or
missing, contact your Kikusui agent or distributor.
We recommend that all packing materials be saved, in case the product needs to be trans-
ported at a later date.
Accessories
Item Quantity
Power cord 1 pc.
Standard test leads 1 set
USB cable 1 pc.
Fuse (spare) 1 pc.
CD-ROM (includes a PDF of the operation manual and the application software) 1 pc.
Packing list, safety precautions 1 English,
1 Japanese

DME1600 19
2
Preparation
Using the Handle
You can remove the handle.
Move the handle to the vertical position above the DME1600 before removing it.
1Hold the left and right parts of the handle that are attached to the
DME1600, and pull them outwards.
2Move the handle to the vertical position above the DME1600.
3Pull the left and right parts of the handle that are attached to the
DME1600 outwards to detach them.
You can adjust the handle angle.
1Hold the left and right parts of the handle that are attached to the
DME1600, and pull them outwards.
2Move the handle to the desired position.
If you are going to carry the DME1600 by the handle, move the handle to the position
shown below.
When you move the DME1600 using its handle

20 DME1600
Setting the Line Voltage
The DME1600’s AC input voltage rating is single-phase 100 Vac or 220 Vac. The frequency
rating is 50 Hz/60 Hz ± 10 %.
1Turn the power switch off.
2Remove the power cord from the rear-panel voltage setting selector.
3Using a flat-blade screwdriver, open the voltage setting selector cap.
WARNING
To avoid electric shock:
• Before changing the line voltage setting, be sure to disconnect the DME1600 from
the AC power line.
Other manuals for DME1600
1
Table of contents
Other Kikusui Multimeter manuals