manuals.online logo
Brands
  1. Home
  2. •
  3. Brands
  4. •
  5. Kinco
  6. •
  7. Power Supply
  8. •
  9. Kinco PS Series User manual

Kinco PS Series User manual

This manual suits for next models

3

Popular Power Supply manuals by other brands

Videx 520MR Installation instruction

Videx

Videx 520MR Installation instruction

Poppstar 1008821 Instructions for use

Poppstar

Poppstar 1008821 Instructions for use

TDK-Lambda LZS-A1000-3 Installation, operation and maintenance manual

TDK-Lambda

TDK-Lambda LZS-A1000-3 Installation, operation and maintenance manual

TDK-Lambda 500A instruction manual

TDK-Lambda

TDK-Lambda 500A instruction manual

Calira EVS 17/07-DS/IU operating instructions

Calira

Calira EVS 17/07-DS/IU operating instructions

Monacor PS-12CCD instruction manual

Monacor

Monacor PS-12CCD instruction manual

VOLTIMA MagicBox 15 Installation and operating instructions

VOLTIMA

VOLTIMA MagicBox 15 Installation and operating instructions

Miller Auto Deltaweld 452 owner's manual

Miller

Miller Auto Deltaweld 452 owner's manual

BCP PUOUBK How to install

BCP

BCP PUOUBK How to install

HC 2210 manual

HC

HC 2210 manual

Agilent Technologies 6032A Service manual

Agilent Technologies

Agilent Technologies 6032A Service manual

Radial Engineering SB-48UB user guide

Radial Engineering

Radial Engineering SB-48UB user guide

Puls CT5.241 installation manual

Puls

Puls CT5.241 installation manual

OCZ ZX1250W Technical specifications

OCZ

OCZ ZX1250W Technical specifications

iseg ECH 238 manual

iseg

iseg ECH 238 manual

Agilent Technologies 6631B Service manual

Agilent Technologies

Agilent Technologies 6631B Service manual

Power XXL A Series instruction manual

Power

Power XXL A Series instruction manual

HP 6200B Operating and service manual

HP

HP 6200B Operating and service manual

manuals.online logo
manuals.online logoBrands
  • About & Mission
  • Contact us
  • Privacy Policy
  • Terms and Conditions

Copyright 2025 Manuals.Online. All Rights Reserved.

PS2401/PS2405/PS2405 is an OPEN-TYPE device. It should be installed in a control cabinet
free of airborne dust ,humidity,electric shock and vibration.To prevent non-maintenance staff
from operating PS2401/PS2402/PS2405,or to prevent an accident from damaging
PS2401/PS2402/PS2405,the control cabinet in which PS2401/PS2402/PS2405 is installed
should be equipped with a safeguard.For example, the control cabinet in which
PS2401/PS2402/PS2405 is installed can be unlocked with a special toll or key.
Connect the AC input (100VAC~240VAC)to terminals L and N.Any 110VAC or 220VAC
connected to the +24V terminal will permanently damage the PS2401/PS2402/PS2405.
Please use O-type or Y-type terminals for I/O wire terminals.
Make sure that the ground terminal on PS2401/02/05 is correctly grounded in order to prevent
electromagnetic interference.
MODEL
PS2401
PS2402
PS2405
OUTPUT
DC VOLTAGE 24V 24V 24V
RATED CURRENT 1A 2.5A 5A
CURRENT RANGE 0~1A 0~2.5A 0~5A
RATED POWER 24W 60W 120W
RIPPLE & NOISE(Max.) 200mVp-p 200mVp-p 200mVp-p
VOLTAGE TOLERANCE ±2% ±2% ±3%
INPUT VOLTAGE RANGE 100~240VAC
FREQUENCY RANGE 47~63Hz
PROTECTION SHORT CIRCUIT Hiccup Mode, Recovers automatically after fault
condition is removed.
ENVIRONMENT
WORKING TEMP. -20~+50
WORKING HUMIDITY 20 ~ 90% RH Non-condensing
STORAGE TEMP. -40~+85
STORAGE HUMIDITY 10 ~ 95% RH
Judge the errors by the indicators on the front panel.When errors occurred on
PS2401/02/05,please check :"POWER" LED.
The "POWER"LED at the front of the MPU will be lit (in green) if the power is on.If the
indicator is not ON when the MPU is powered up,please check if power supply is normal.If the
indicator is not on when the MPU is powered up and with the input power being normal,it is an
indication that the PLC is malfunction.Please have this machine replaced or have it repaired at a
dealer near you.
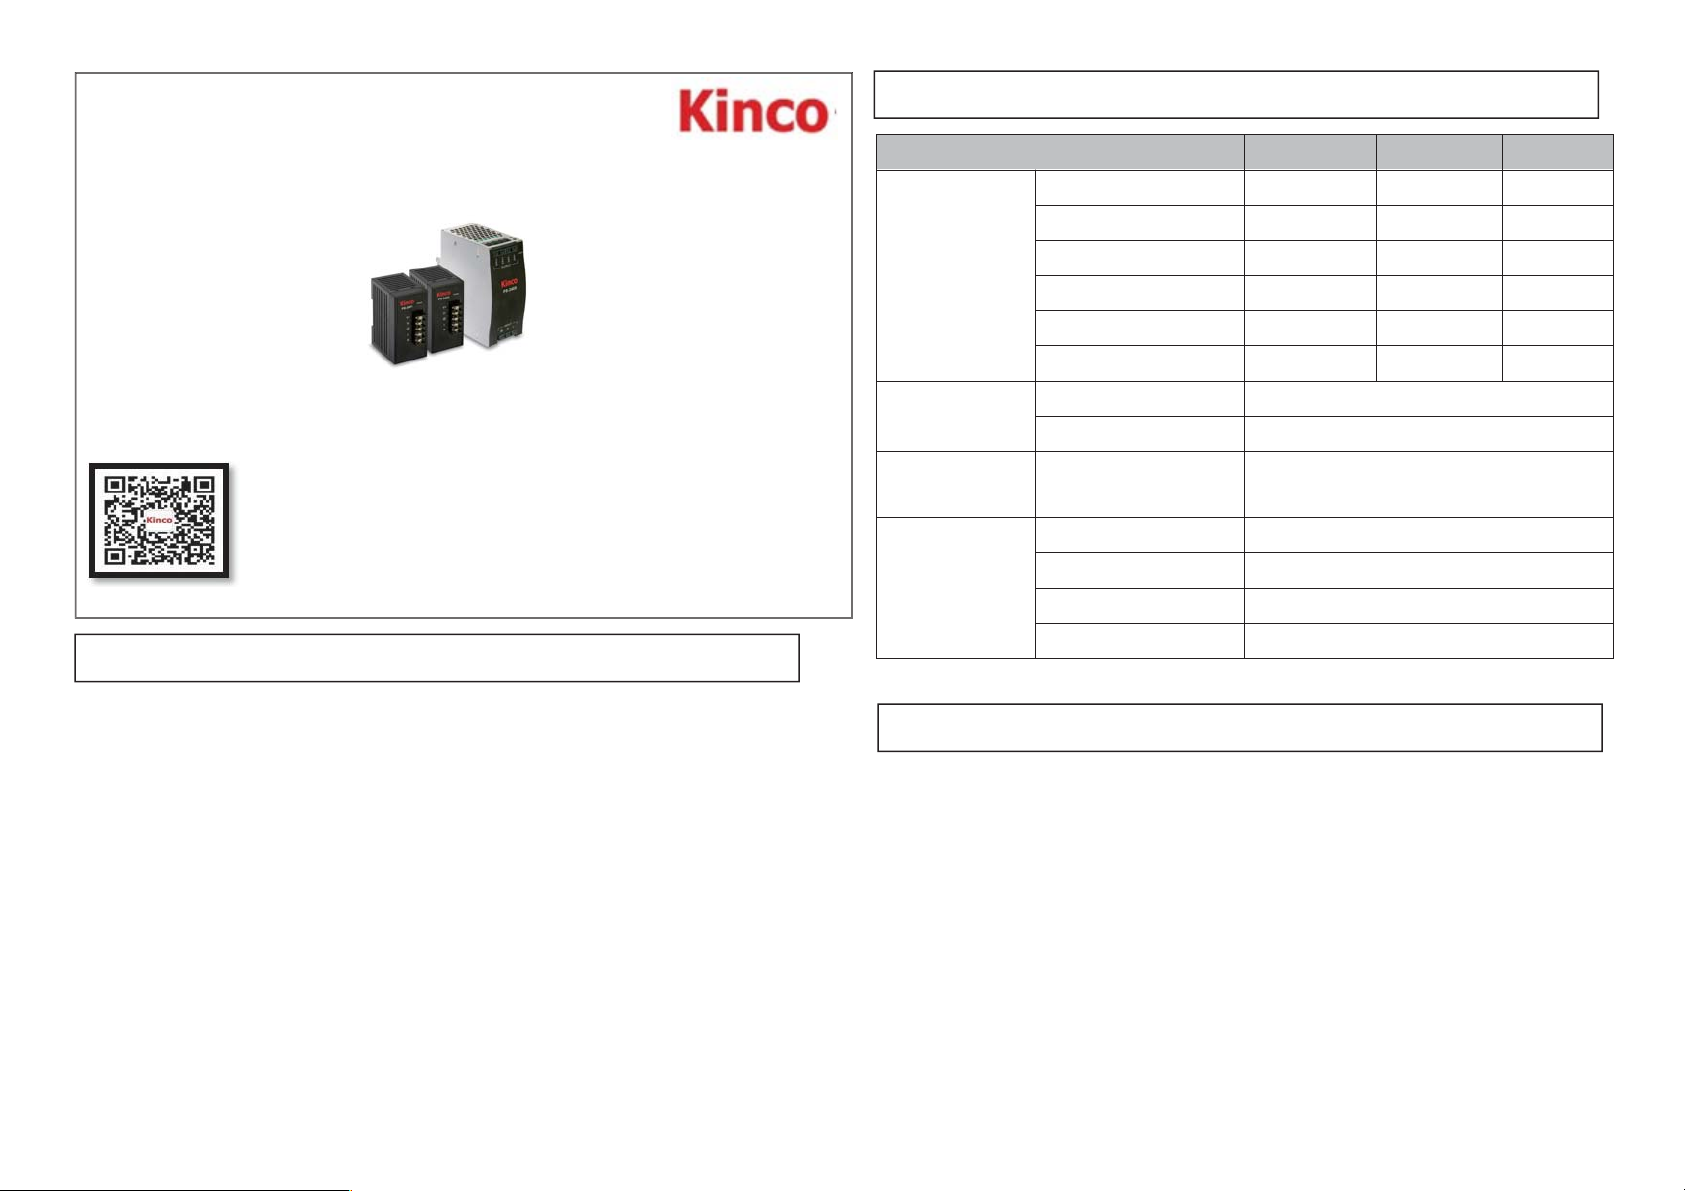
PS Series Power Supply
Installation Instruction
Kinco Electric (Shenzhen) Ltd.
Tel00755-26585555
Fax00755-26616372
Add: Building 1, No. 6 Langshan 1st Rd, Hi-tech Park North,
Nanshan,Shenzhen,China.
Kinco WeChat http0//www.kinco.cn Email0sales@kinco.cn
1.Caution
2.Electrial S
p
ecifications
3.Trubleshootin
g
DIN Rail Installation:
1.The PS series power supply can be mounted to a cabinet by using the DIN rail that is 35mm high
with a depth of 7.5mm.On the bottom of the PS series power supply is a white retaining clip. To
mount the PS to the DIN rail, place it onto the rail and gently push up on the clip.To remove it ,pull
down on the retaining clip and gently pull the PS power supply away from the DIN rail.
3. For heat dissipation,a 10-15 cm clearance must be kept when the adjacent device is a heat source.
Dimensions

Fig.1 Dimension of PS-2401/PS-2402
Fig.2 Dimension of PS-2405
4. Installation and Dimensions