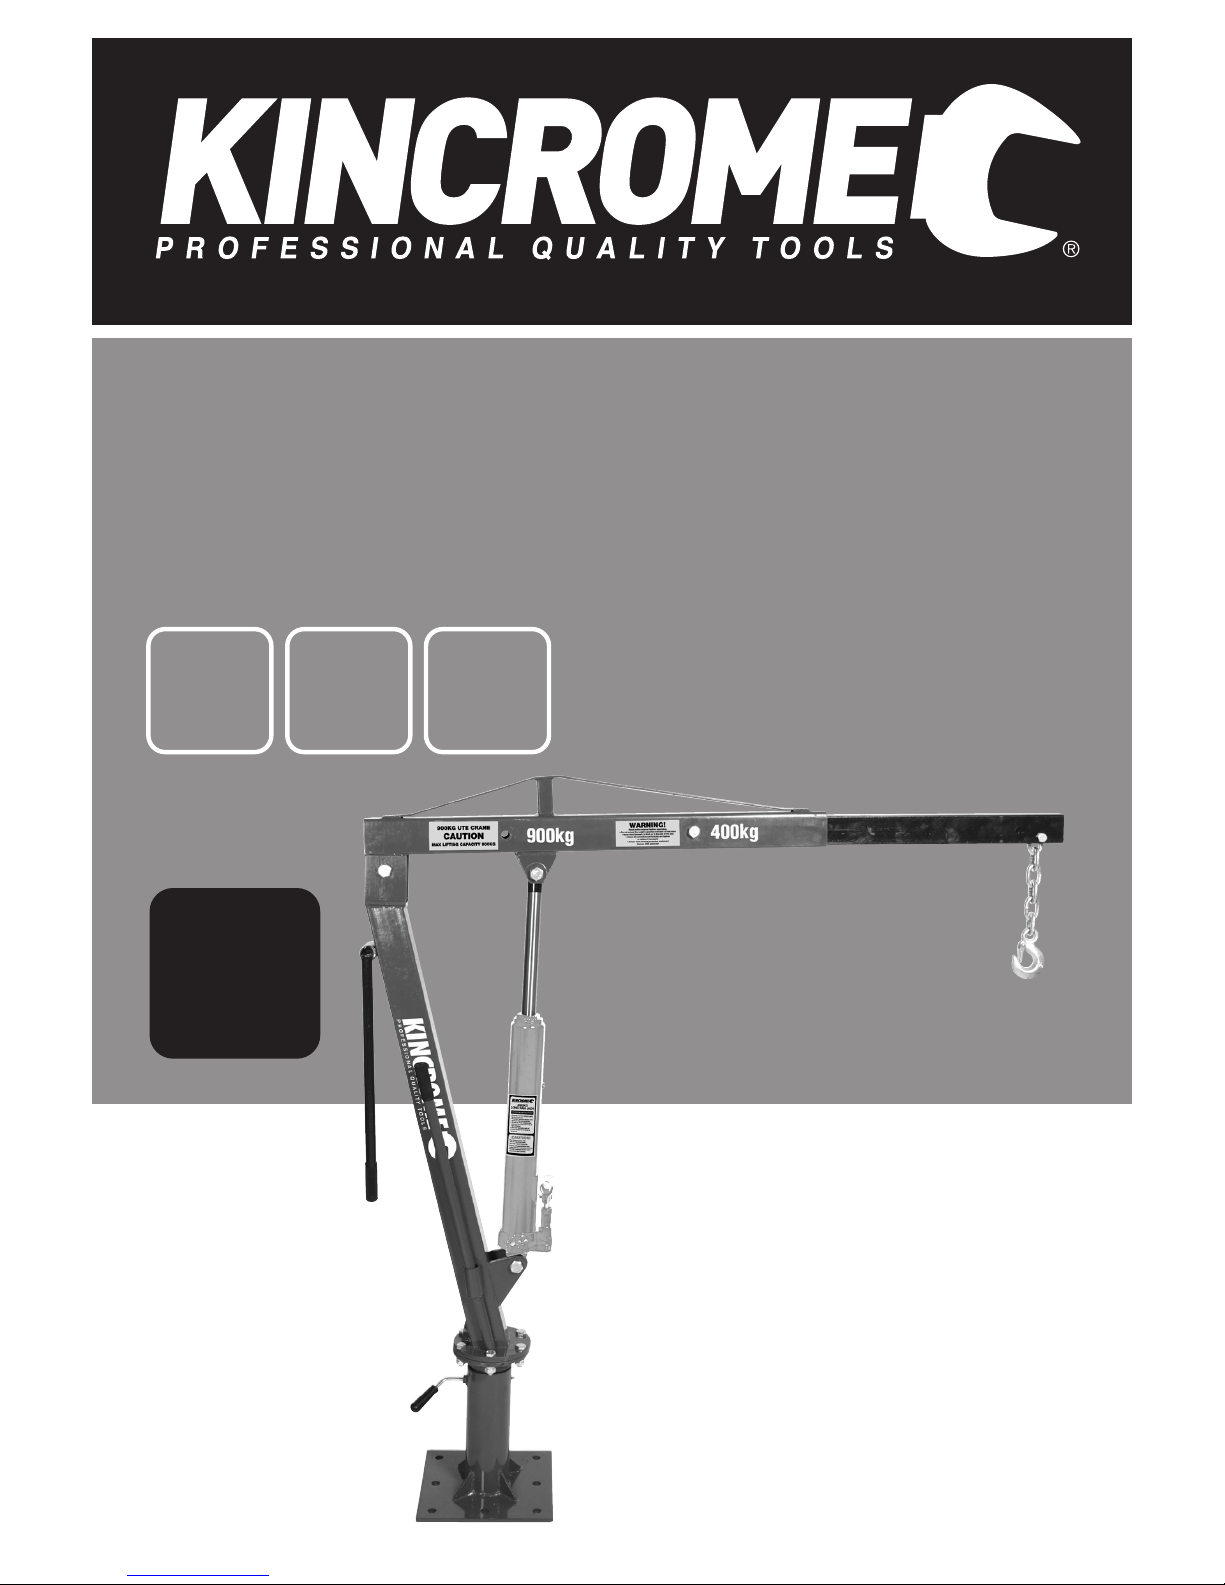
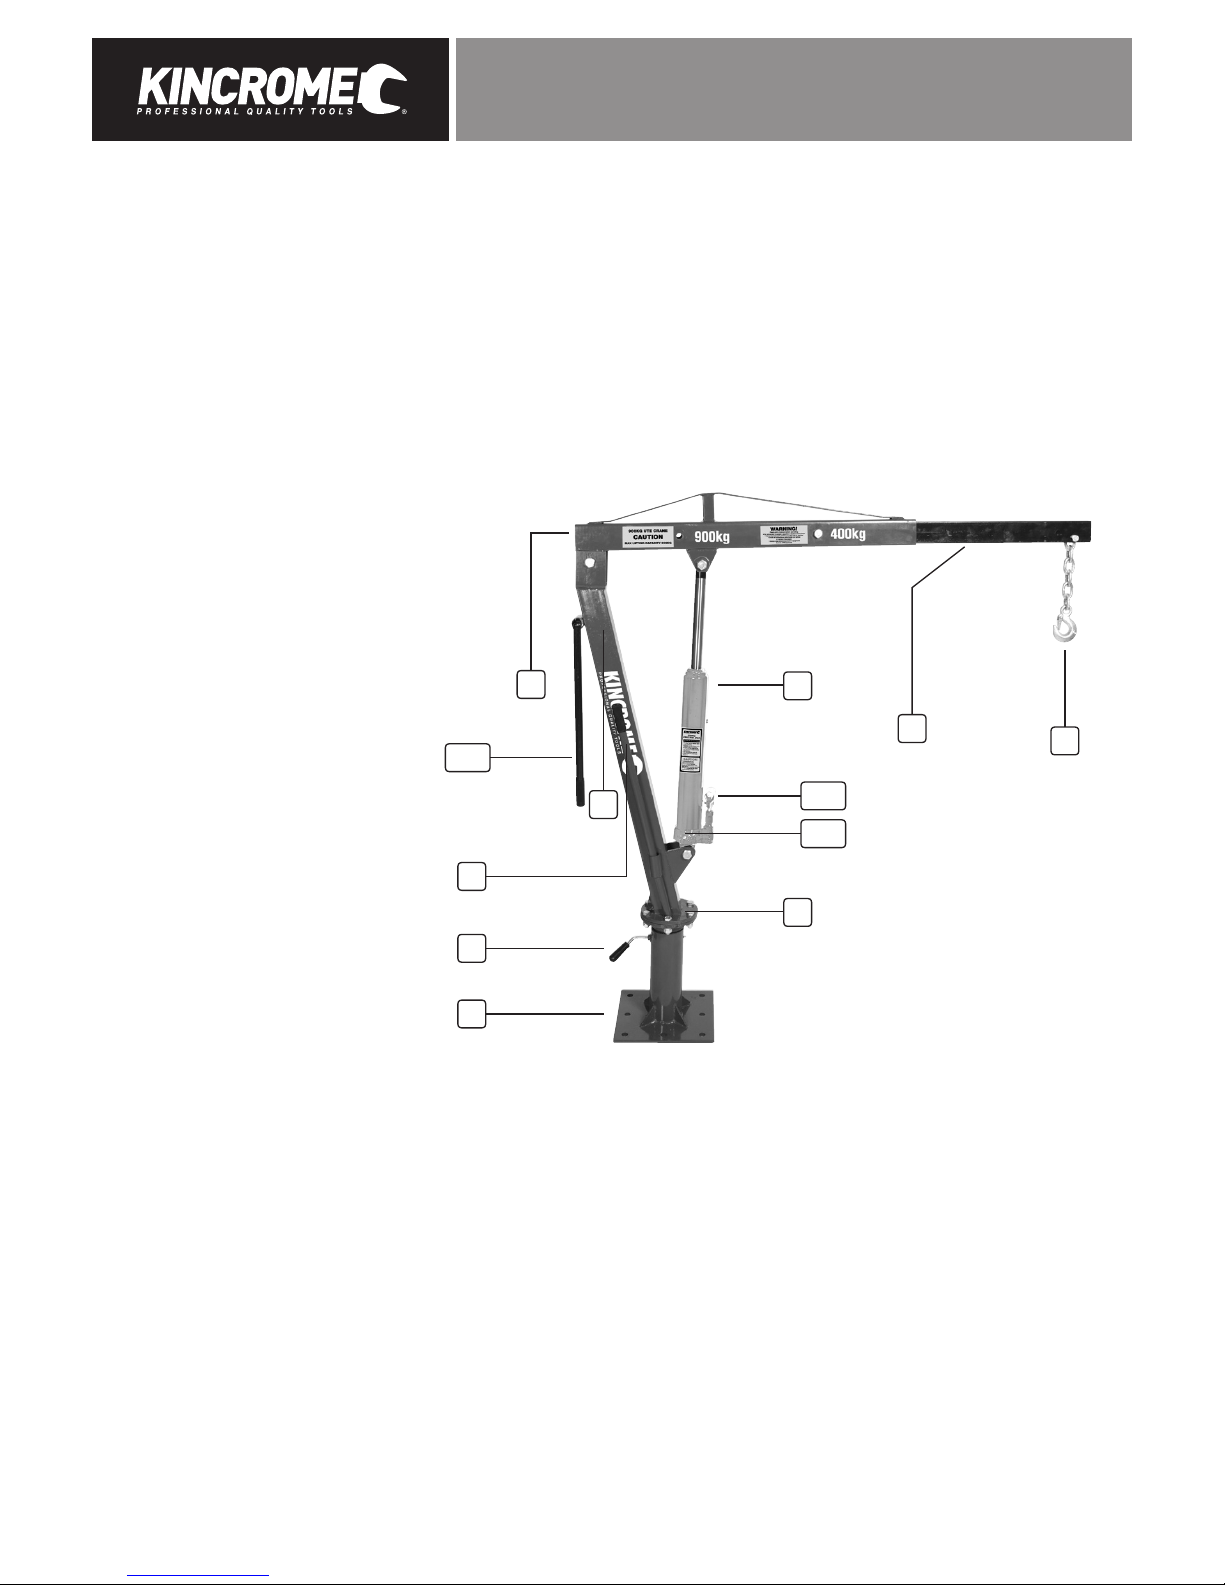
5
Assembling the boom extension to the boom
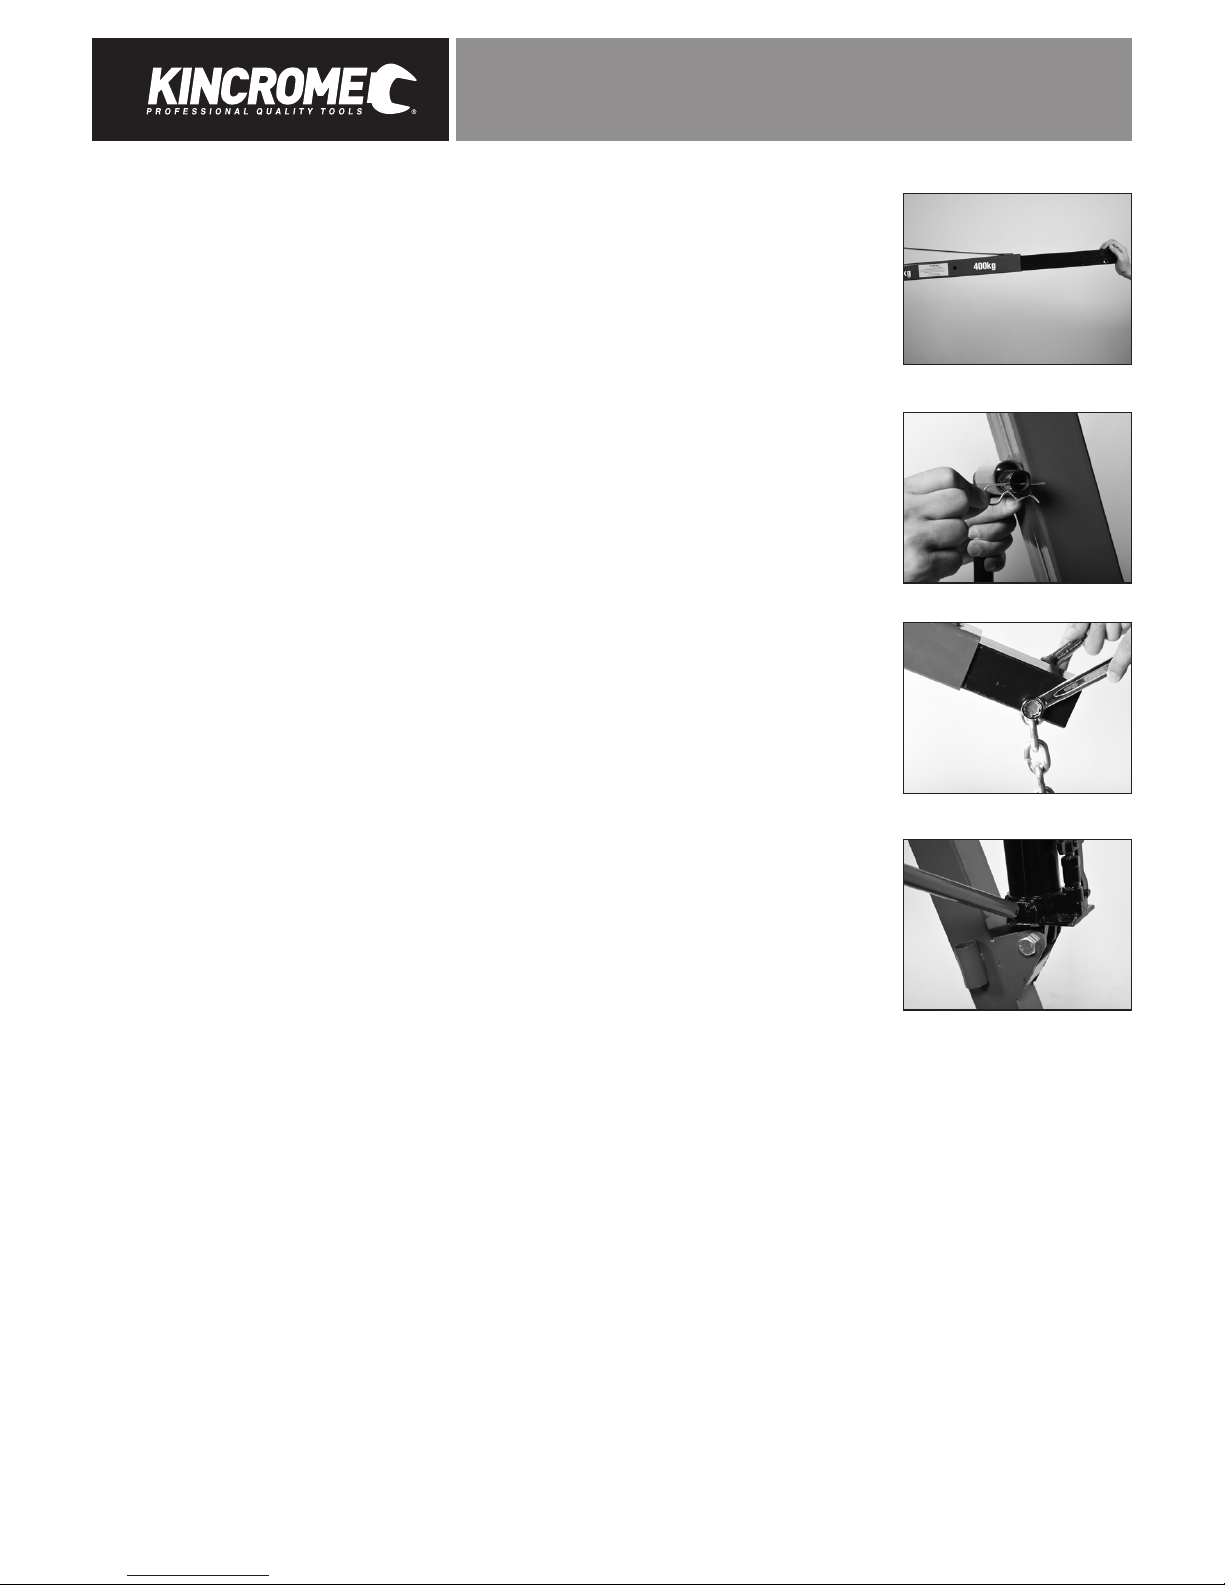
1. Slide the boom extension (2) in to the boom (3) (Fig. 6).
2. Align the hole in the boom extension (2) with the hole in the boom (3) that suits the load to be lifted
and secure in place using the bolt, flat washer, spring washer and nut (supplied).
3. Using a 22mm spanner or shifter (not supplied) securely tighten all bolts & nuts.
Note: The longer the boom is extended the lower the lifting capacity.
4. Recheck all bolts and nuts on the ute crane to ensure they are fully tightened and installed correctly.
Fitting the accessories
1. Attach the rotation handle (10) into the main post (4) mounting point and secure with hitch pin (Fig. 7).
2. Assemble hook and chain (1) to boom extension (2) using a bolt, washer and nut (supplied) (Fig. 8)
3. Using a 18mm and 19mm spanner or adjustable spanner (not supplied) securely tighten all bolts
& nuts.
4. Ensure all bolts are tightened correctly and that the unit can rotate freely without coming in to
contact with any objects.
3) Operation
Caution: This product is intended for lifting purpose only, not for supporting loads.
Promptly support load after jacking with appropriately rated safety stands or equivalent blocking.
Do not overload this jack beyond its rated capacity marked on the side of the boom for the
corresponding boom position.
To raise a load on flatbed or tray
Lifting a load using a crane can be dangerous. Follow all instructions and precautions below.
Do not lift any products with the vehicles engine running.
WARNING: Ensure the handbrake is engaged on the vehicle before making any adjustments
WARNING: NEVER work on a load suspended by the crane, Never place any part of your body under
the suspended load.
Caution: Make sure the ground is clear and no obstacles are in the path of the crane.
1. With the boom (2) lowered to the same height as the load, rotate crane into position over the load
to be lifted. Fit the pump handle (8) to the pressure release valve (11) (Fig. 9) and twist completely
clockwise to close the valve (do not over tighten). Place pump handle (8) into the pump actuator (12)
and slowly pump handle until the boom begins to raise.
2. Attach the hook and chain (1) to the sling, chain or load levelling device (not included) making sure
the device is securely attached to the load and is suitably rated to hold the weight.
3. Slowly pump the handle until the crane begins to support the load being lifted. Double check the
load being lifted is firmly supported by the crane, chain, sling or levelling device.
4. Pump the pump handle (8) to raise the working load to the desired height.
5. Using the rotation handle (10) slowly swing the load to the desired lowering location.
Note: Never leave the load suspended for long periods of time, as soon as practicable the load should be lowered.
6. Fit the handle of the hydraulic pump (6) to the pressure release valve (11) and slowly twist anti-clockwise until load begins
to lower (Do not loosen anymore than 2 full rotations). Excessive speed or jerky motion can cause the load to slip leading
to property damage or personal injury.
4) Maintenance Of The Ute Crane
It is recommended that the general condition of any tool be examined before it is used. Keep your ute crane in good repair by
adopting a program of conscientious repair and maintenance in accordance with the recommended procedures found in this manual.
If any abnormal vibrations or noise occurs, stop using the ute crane immediately and have the problem corrected before further use.
Have necessary repairs made by qualified service personnel.
• Cleaning. Regularly blow dirt and dust off the ute crane with clean, dry air at least once a week. To minimize the risk of eye injury,
always wear approved eye protection. Use only soap and a damp cloth to clean your tools. Do Not use gasoline, kerosene or other
solvents. Many household cleaners could be harmful to seals resulting in premature seal deterioration.
• Replacement parts and accessories. When servicing, use only identical replacement parts. Use of any other parts will void the
warranty. Only use accessories intended for use with this ute crane.
• Check for damaged parts. Before using the tool, any part that appears damaged should be carefully checked to determine that it
will operate properly and perform its intended function. Any part that is damaged must be replaced.
• Maintain ute crane with care. Follow instructions for lubricating and changing accessories. The handles must be kept clean
and free from oil and grease at all times.
(Fig. 6)
(Fig. 7)
(Fig. 8)
(Fig. 9)