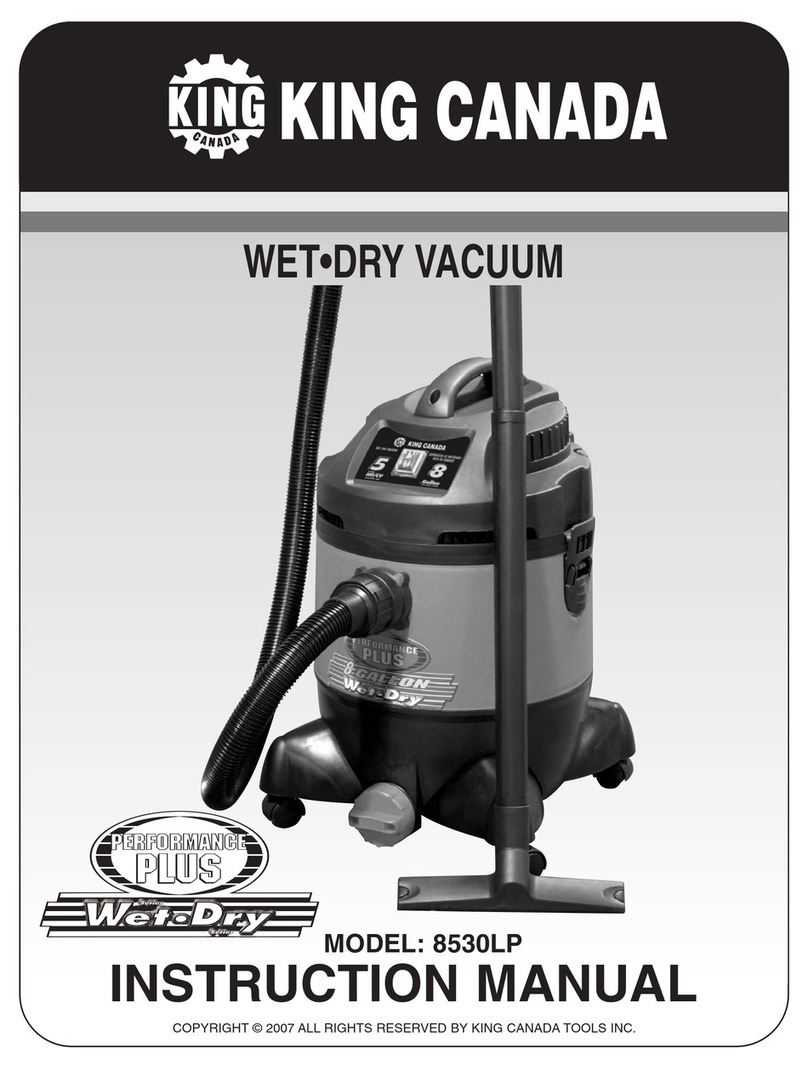
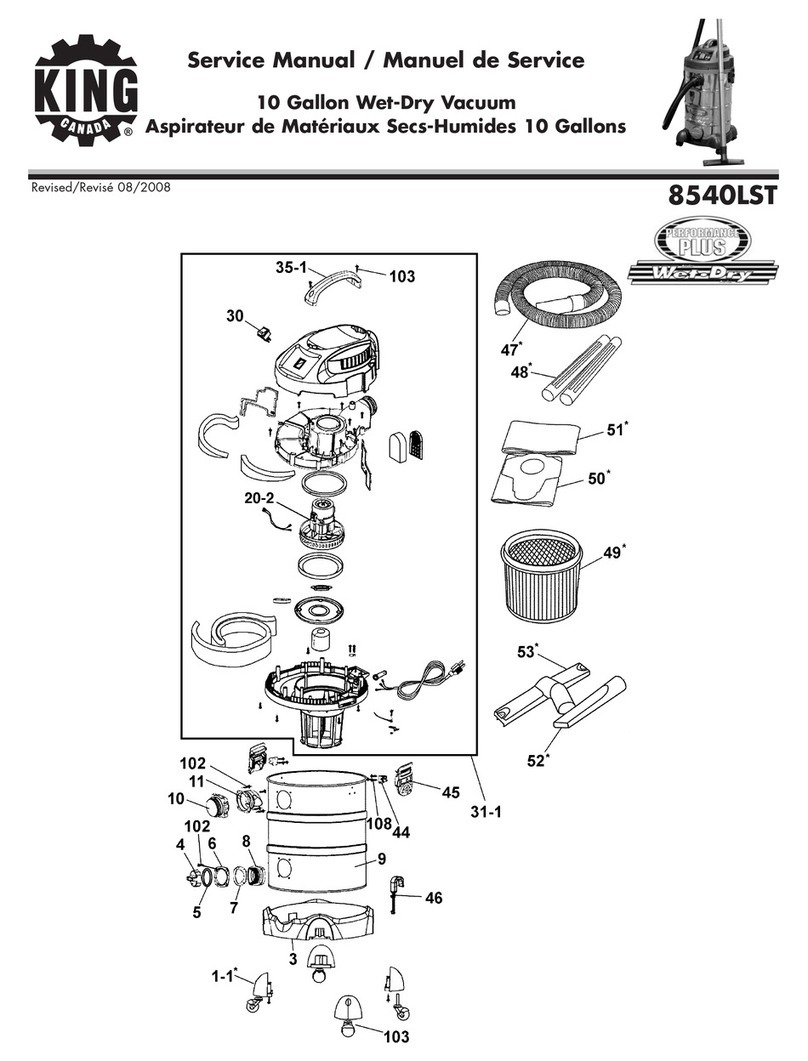
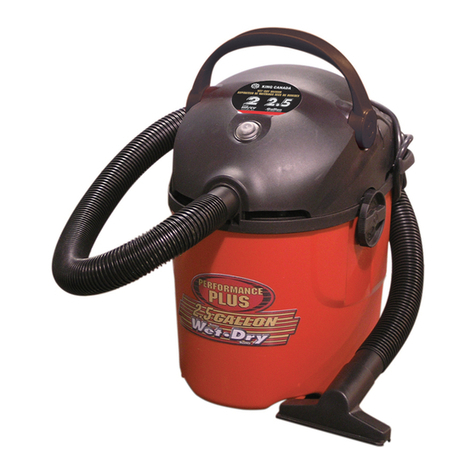
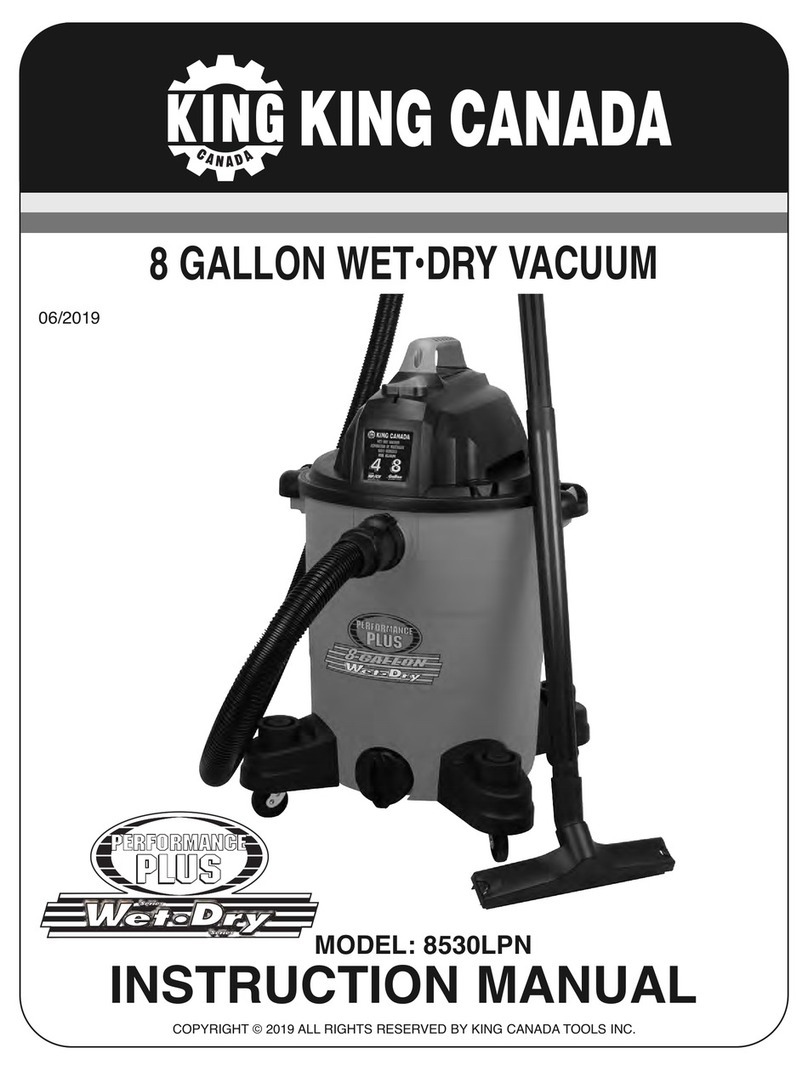
King Canada 8510LPN User manual

INSTRUCTION MANUAL
COPYRIGHT © 2023 ALL RIGHTS RESERVED BY KING CANADA TOOLS INC.
MODEL: 8510LPN
2.5 GALLON WET•DRY VACUUM

WARRANTY INFORMATION
2-YEAR
LIMITED WARRANTY
FOR THIS WET/DRY VACUUM
KING CANADA TOOLS
OFFERS A 2-YEAR LIMITED WARRANTY
FOR NON-COMMERCIAL USE.
PROOF OF PURCHASE
Please keep your dated proof of purchase for warranty and servicing purposes.
REPLACEMENT PARTS
Replacement parts for this product are available at our authorized King Canada service centers across Canada. Please use the 10 digit part
numbers listed in this manual for all part orders where applicable.
LIMITED TOOL WARRANTY
King Canada makes every effort to ensure that this product meets high quality and durability standards. King Canada warrants to the original
retail consumer a 2-year limited warranty as of the date the product was purchased at retail and that each product is free from defects in materials.
Warranty does not apply to defects due directly or indirectly to misuse, abuse, normal wear and tear, negligence or accidents, repairs done by
an unauthorized service center, alterations and lack of maintenance. King Canada shall in no event be liable for death, injuries to persons or
property or for incidental, special or consequential damages arising from the use of our products.
To take advantage of this limited warranty, return the product at your expense together with your dated proof of purchase to an authorized King
Canada service center. Contact your retailer or visit our web site at www.kingcanada.com for an updated listing of our authorized service centers.
In cooperation with our authorized service center, King Canada will either repair or replace the product if any part or parts covered under this
warranty which examination proves to be defective in workmanship or material during the warranty period.
NOTE TO USER
This instruction manual is meant to serve as a guide only. Specifications and references are subject to change without prior notice.
ITEMS NOT COVERED UNDER WARRANTY
Accessories supplied with this vacuum such as the hose, gulper tool, round brush, crevice tool, foam filter and re-usable filter are not covered
under warranty and are available as optional accessories at your nearest King Canada distributor.

IMPORTANT SAFETY INSTRUCTIONS
READ AND UNDERSTAND ALL INSTRUCTIONS BEFORE
USING THIS VACUUM. Read and understand this operator’s manual
and all labels on the Wet/Dry Vacuum cleaner before operating. Safety
is a combination of common sense, staying alert and knowing how
your vacuum works. Use this Wet/Dry Vacuum only as described in
this manual. To reduce the risk of personal injury or damage to your
Wet/Dry Vacuum, use only manufacturer recommended accessories.
For Household Use Only.
SAVE THIS MANUAL
WARNING: FOR FUTURE REFERENCE. When using a vacuum,
basic precautions should always be followed including the following:
WARNING: TO REDUCE THE RISK OF FIRE, ELECTRIC SHOCK,
OR INJURY:
• Do not run vacuum unattended.
• Do not use to pick up flammable or combustible liquids, such as
gasoline, or use in areas where they may be present.
• Do not vacuum, or use this Wet/Dry vacuum near flammable liquids,
gases, or explosive vapors like gasoline or other fuels, lighter fluids,
cleaners, oil-based paints, natural gas, hydrogen, or explosive dusts
like coal dust, magnesium dust, grain dust, or gun powder. Sparks
inside the motor can ignite flammable vapors or dust.
• To reduce the risk of health hazards from vapors or dusts, do not
vacuum toxic materials.
• Do not use or store near hazardous materials.
• Do not pick up anything that is burning or smoking, such as
cigarettes, matches, or hot ashes.
• Do not expose to rain. Store indoors.
• If vacuum is not working as it should, has been dropped, damaged,
left outdoors, or dropped into water, return it to a service center.
• Do not unplug by pulling on cord. To unplug, grasp the plug, not the cord.
• Do not use with damaged cord or plug.
• Do not pull or carry by cord, use cord as a handle, close a door on
cord, or pull cord around sharp edges or corners.
• Keep cord away from heated surfaces.
• Do not handle plug or vacuum with wet hands.
• Do not use without filters in place.
• Do not allow to be used as a toy. Close attention is necessary when
used by or near children.
• To reduce the risk of injury from accidental starting, unplug power
cord before changing or cleaning filter.
• Do not leave vacuum when plugged in. Unplug from outlet when not
in use and before servicing.
• Turn off all controls before unplugging.
• Unplug before connecting or disconnecting hose, or any other
accessories.
• Do not put any object into openings. Do not use with any opening
blocked; keep free of dust, lint, hair, and anything that may reduce air flow.
• Keep hair, loose clothing, fingers, and all parts of body away from
openings and moving parts.
• Use extra care when cleaning on stairs.
• Use only as described in this manual. Use only manufacturer’s
recommended attachments.
• This vacuum is provided with double insulation. Use only identical
replacement parts. See DOUBLE INSULATION INSTRUCTIONS.
CAUTION: To reduce the risk of injury from moving parts - Unplug
before servicing.
WARNING: To reduce the risk of electric shock - Unplug before cleaning
or servicing.
DOUBLE INSULATION INSTRUCTIONS
This Wet/Dry Vacuum is double insulated, eliminating the need for a
separate grounding system. Use only identical replacement parts.
Read the instructions for Servicing Double Insulated Wet/Dry Vacuum
before servicing. Use this Wet/Dry Vacuum as described in this
manual. Observe the following warnings that appear on the motor
housing of your Wet/Dry Vac.
DOUBLE INSULATED - GROUNDING NOT REQUIRED - WHEN
SERVICING USE ONLY IDENTICAL REPLACEMENT PARTS.
WARNING: TO REDUCE THE RISK OF ELECTRIC SHOCK-DO NOT
EXPOSE TO RAIN. STORE INDOORS.
WARNING: FOR YOUR OWN SAFETY, READ AND UNDERSTAND
OPERATOR’S MANUAL. DO NOT RUN UNATTENDED. DO NOT
PICK UP HOT ASHES, COALS, TOXIC, FLAMMABLE OR OTHER
HAZARDOUS MATERIALS. DO NOT USE AROUND EXPLOSIVE
LIQUIDS OR VAPORS.
CAUTION: DO NOT VACUUM DRYWALL DUST OR FIREPLACE
SOOT OR ASH WITH STANDARD WET/DRY FILTER. THIS TYPE OF
DUST IS VERY FINE WHICH MAY NOT BE CAPTURED BY THE
FILTER AND CAUSE DAMAGE TO MOTOR. WHEN VACUUMING
FINE DUST USE A FINE DUST FILTER.
WARNING: SERVICING OF DOUBLE INSULATED WET/DRY VACUUM
WITH A DOUBLE INSULATED WET/DRY VACUUM, TWO SYSTEMS
OF INSULATION ARE PROVIDED INSTEAD OF GROUNDING. NO
GROUNDING MEANS IS PROVIDED ON A DOUBLE INSULATED
APPLIANCE, NOR SHOULD A MEANS FOR GROUNDING BE
ADDED. SERVICING A DOUBLE INSULATED WET/DRY VACUUM
REQUIRES EXTREME CARE AND KNOWLEDGE OF THE SYSTEM,
AND SHOULD BE DONE ONLY BY QUALIFIED SERVICE PERSON-
NEL. REPLACEMENT PARTS FOR A DOUBLE INSULATED
WET/DRY VACUUM MUST BE IDENTICAL TO THE PARTS THEY
REPLACE. YOUR DOUBLE INSULATED WET/DRY VAC IS MARKED
WITH THE WORDS ‘DOUBLE INSULATED’ AND THE SYMBOL
MAY ALSO BE MARKED ON THE APPLIANCE.

GETTING TO KNOW YOUR VACUUM,
ELECTRICAL INFO & SPECIFICATIONS
SPECIFICATIONS
Model ..........................................................................8510LPN
Voltage ..............................................................................120V
Horsepower ............................................................2 HP (peak)
Amperage ..............................................................................5A
Phase ........................................................................................1
Hertz ..................................................................................60Hz
Tank size..............................................2.5 Gallon (US)/10 liters
Air flow ..........................................................................56 CFM
Vacuum pressure (inches of water) ..................................48”
POWER SUPPLY- WARNING: YOUR VACUUM MUST BE
CONNECTED TO A 120V, MINIMUM 15-AMP. BRANCH CIRCUIT.
FAILURE TO CONNECT IN THIS WAY CAN RESULT IN INJURY
FROM SHOCK OR FIRE.
DOUBLE INSULATION
Double insulated tools are equipped with a polarized two-prong plug
(one blade is wider than the other). This plug will fit in a polarized outlet
only one way. If the plug does not fit fully into the outlet, reverse the
plug. If it still does not fit, contact a qualified electrician to install a
polarized outlet. Do not alter or change the plug in any way. Double
insulation eliminates the need for three wire grounded power supply
and grounded power cords.
120V OPERATION- As received from the factory, your vacuum is ready
to run for 120V operation. This vacuum is intended for use on a circuit
that has an outlet and a plug which looks like the one illustrated in Fig.1.
EXTENSION CORDS
Improper use of extension cords may cause inefficient operation of your
tool which can result in overheating. Be sure your extension cord is
rated to allow sufficient current flow to the motor. If you are using the
tool outdoors, use an extension cord rated for outdoor use (signified by
“SJW or SJTW” on the jacket).
The extension cord must have a minimum wire size depending on the
amperage of the tool and the length of the extension cord. This size is
determined by its AWG (American Wire Gauge) rating. The smaller the
gauge, the greater the cable’s capacity. The amount of cords used does
not matter: Total length determines the minimum AWG rating. Every
cord must meet the AWG rating. Use the chart in Fig.2 to determine
what AWG rating is required for your situation.
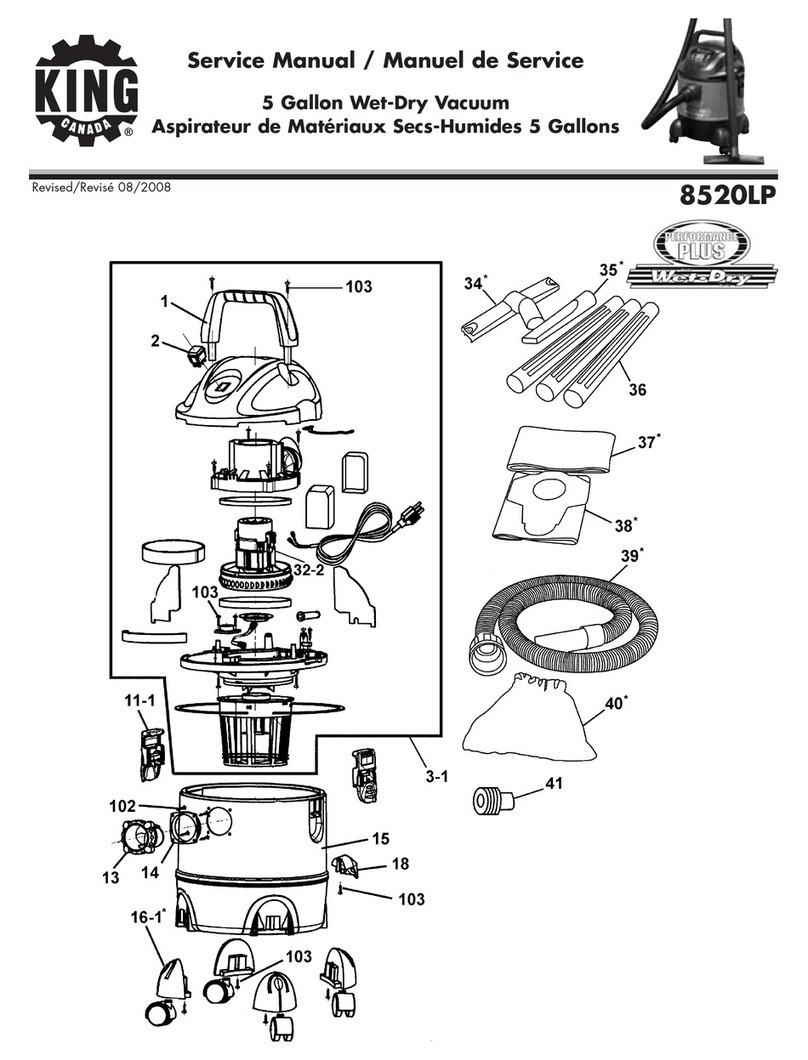
1) Carry handle
2) On/Off switch
3) Cover/motor assembly
4) Flex hose
5) Tank
6) Cover latch (2)
7) Crevice tool
8) Re-usable filter
9) Foam filter
10) Round brush
11) Gulper tool
12) Cord wrap posts
13) Blower outlet
ELECTRICAL INFO & SPECIFICATIONS
GETTING TO KNOW
YOUR VACUUM
FIGURE 1
POLARIZED OUTLET
POLARIZED PLUG
FIGURE 2
Tool’s
Amperage
Rating
0-6
6-10
10-12
12-16
Cord Size in A.W.G.
Cord Length in Feet
25 50 100 150
18 16 16 14
18 16 14 12
16 16 14 12
14 12 --

UNPACKING, ASSEMBLING & OPERATING
YOUR VACUUM
ATTENTION! The vacuum accessories are packed inside the vacuum tank.
UNPACKING YOUR VACUUM
Remove the entire contents of the carton, please note that the accessories are packed inside
the vacuum tank. To access these accessories, undo latches (A) Fig.3, remove the tank
cover/motor assembly (B) and then remove the accessories inside the tank.
WARNING! DO NOT CONNECT THE POWER CORD TO THE POWER SOURCE UNTIL THE
FOLLOWING ASSEMBLY AND SET-UP INSTRUCTIONS HAVE BEEN DONE.
INSTALLING THE CORRECT FILTER FOR THE APPLICATION
Before reinstalling the cover/motor assembly on, it is important to determine the desired
cleaning application, wet or dry vacuuming. Each cleaning application requires different filters.
When vacuuming dry materials, to ensure proper filtration, the foam filter should be used
when vacuuming coarse materials with low dust for maximum air flow. The re-usable filter can
and should be used together with the foam filter when vacuuming coarse and dusty materials.
Place the cover/motor assembly upside down, slide the foam filter (A) Fig.4 over the cage (B).
Then slide the re-usable filter over the foam filter.
When vacuuming wet materials, to ensure proper filtration, the foam filter must be installed.
Place the cover/motor assembly upside down, slide the foam filter (A) Fig.4 over the cage (B).
Reposition and secure the cover/motor assembly to the tank with both latches, Fig.5.
HOSE AND ACCESSORY ASSEMBLY
1) Insert one end of the hose (A) Fig.6 into the vacuum inlet (front of the vacuum) and twist
slightly to tighten into place.
2) Attach either the gulper tool (B) Fig.6, round brush or the crevice tool to the other end of the
hose (C).
DRY VACUUMING OPERATIONAL STEPS
Before vacuuming dry materials, it is important that you have read and understood the
safety rules in this manual.
1) Unplug the power cord from the power source.
2) Remove the cover/motor assembly by undoing the 2 side latches and install a clean and dry
foam filter. If the vacuuming operation is extremely dusty, install the re-usable filter over the
foam filter. If it is necessary to vacuum dry materials and you have just finished vacuuming
wet materials, the foam filter must be completely dried or else the foam filter will clog up
quickly and it will be difficult to clean. The foam filter can be dried quickly by running the
vacuum for 5-10 minutes without the hose installed.
3) Reposition and secure the cover/motor assembly to the tank using the 2 side latches.
4) Insert the hose into the inlet on the front of the vacuum and twist slightly to tighten.
5) Attach either the gulper tool, round brush or the crevice tool to the other end of the hose.
FIGURE 3
FIGURE 4
FIGURE 5
FIGURE 6
FIGURE 7
This manual suits for next models
1
Table of contents
Other King Canada Vacuum Cleaner manuals

King Canada
King Canada 8560LST Troubleshooting guide

King Canada
King Canada 8540LST Troubleshooting guide

King Canada
King Canada 8530LP User manual

King Canada
King Canada 8520LP Troubleshooting guide

King Canada
King Canada 8560LST User manual

King Canada
King Canada 8530LP Troubleshooting guide

King Canada
King Canada PERFOMANCE PLUS 8530LPN User manual

King Canada
King Canada 8531LP-B User manual

King Canada
King Canada 8521AV User manual

King Canada
King Canada 8510LP User manual