PISR11700/1800 – Issue 1 – 12.08.16 - TH
Water Supply Regulations
Depending on the nature of the establishment where the bath is to be used, UK water regulations stipulate certain
conditions of supply. It is understood that the bath might be classed by the water authorities as either a Category 3
fluid container (typically if used in a private domestic dwelling) or a Category 5 fluid container if used in a medical
multi-user environment (e.g. Hospital). The categorisation is important. If the installation is a Category 5, the local
water provider should be informed in advance of the installation by the person responsible for the installation and a
regulation air gap must be included in the cold water supply. The air gap is to prevent back siphoning down the
shower hose.
Kingkraft can supply a Category 5 compliant system for the shower. This shower option stops the shower head from
being submerged in the bath water. Please contact kingkraft regarding this optional extra.
By definition, a category 5 installation cannot be supplied via a Combi-Boiler. If there is any doubt as to the nature of
the installation, please refer to your local water supply authority.
If the installation is for a Category 3 container, back siphoning will need to be adequately prevented by the provision
of the twin non-return valves on the cold and hot supplies. (Not supplied as standard with the bath)
A standard Argent has a volume of no more than 230 litres to the depth of the overflow hole, but special sizes may
be more. In this case please inf rm the L cal Water Auth rity. Your local water authority should be able to advise
you on the likely categorisation of the bath in your particular establishment.
Water Supply Requirements
The bath can either be ‘stepped’ into or the user lowered into the bath using a hoisting system. If the bather enters
the bath before it has water in, the bath can subsequently be filled with water mixed to a safe temperature by the
mixer valve / bath fill tap, but this is only if a thermostatic valve / tap option is chosen!
In order that the bather does not become cold, the bath is designed to permit as high as possible flow rates
(although they may work with low flow rates, then the fill time will of course be longer). Depending on how the bath
is to be used, it is therefore important to establish that there is sufficient flow available.
Typical high flow rates are 20 litres per minute, low rates are, say, 5 litres per minute.
The mixer valves / taps provided, together with the necessary non-return valves and filters can cause restrictions
that reduce flow rate still further. If high flow rates are available then it is preferable to pipe supplies in 22mm.
(Combi-Boilers require 15mm pipework, and will generally fill quite slowly).
Consideration may need to be given to providing a pumped supply to the bath if flow rate is likely to be an issue.
A minimum head of water of 4 metres (0.4 Bar) is preferable potentially to avoid the need for a pump. (Combi-
boilers or mains supplies cannot be pumped) A competent plumber should be able to advise the best option before
the bath is delivered. Kingkraft do not supply booster pumps.
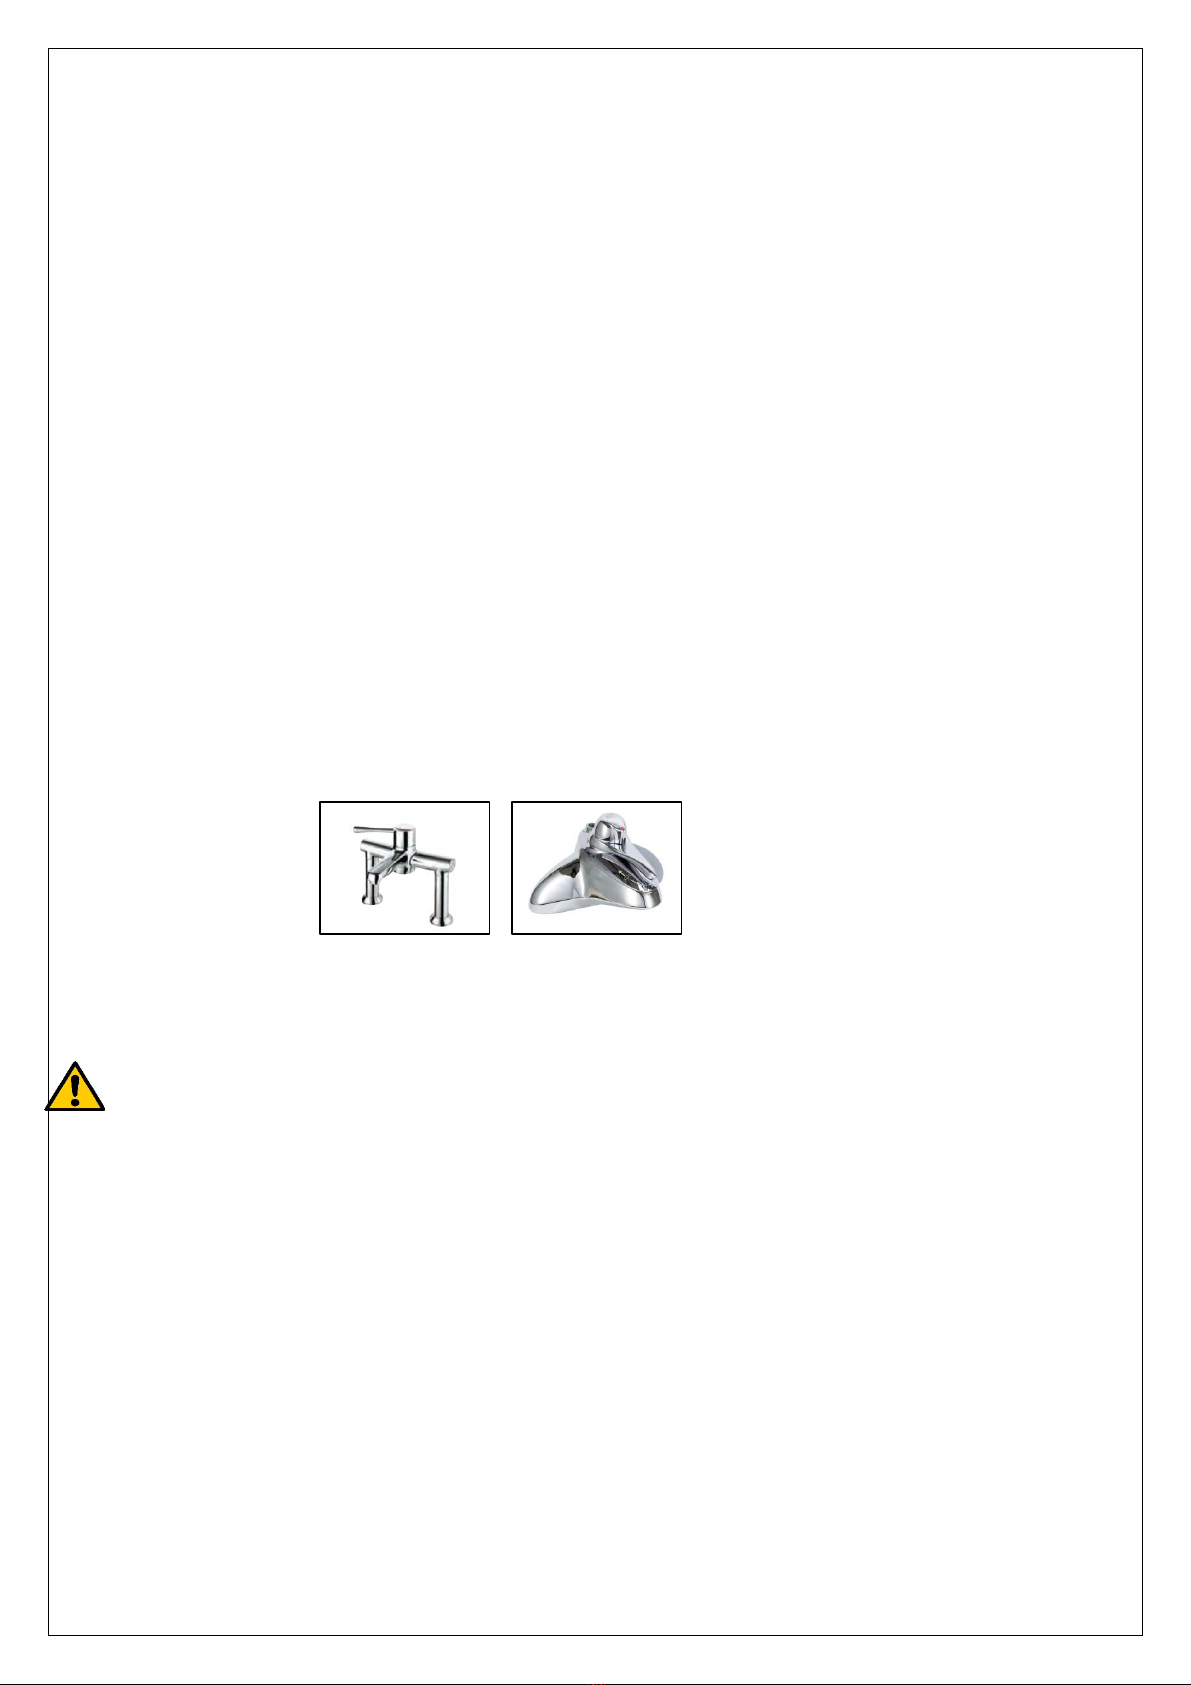
In addition to adequate flow rates, the incoming water pressures must ideally be in a ratio of 5:1 cold to hot for on-
board valves, 2:1 or equal pressures for the digital mixing valves and equal pressures for the Rada Autotherm and
Reliance Caremix mixer taps, with no tendency for air locks and with a nominal hot temperature of 55
o
or higher.
The mixer valves / taps will need to be set up and checked at commissioning to mix the incoming water to supply
controlled water at 43
o
C to the bath and 39
o
C to the shower. Please also reference the manufacturers instructions
provided with the bath.
If the bath is being used in continuous cycles, adequate hot water storage must be available. A standard Kingkraft
bath is 230 litres or less in volume up to the overflow hole depth, but special size baths may be larger. Please
check with Kingkraft if you are in doubt.
The boiler must be plumbed in and working to the correct temperatures before final commissioning can
commence. Please note this must be completed prior to an agreed install. Further charges may apply for
return visits.
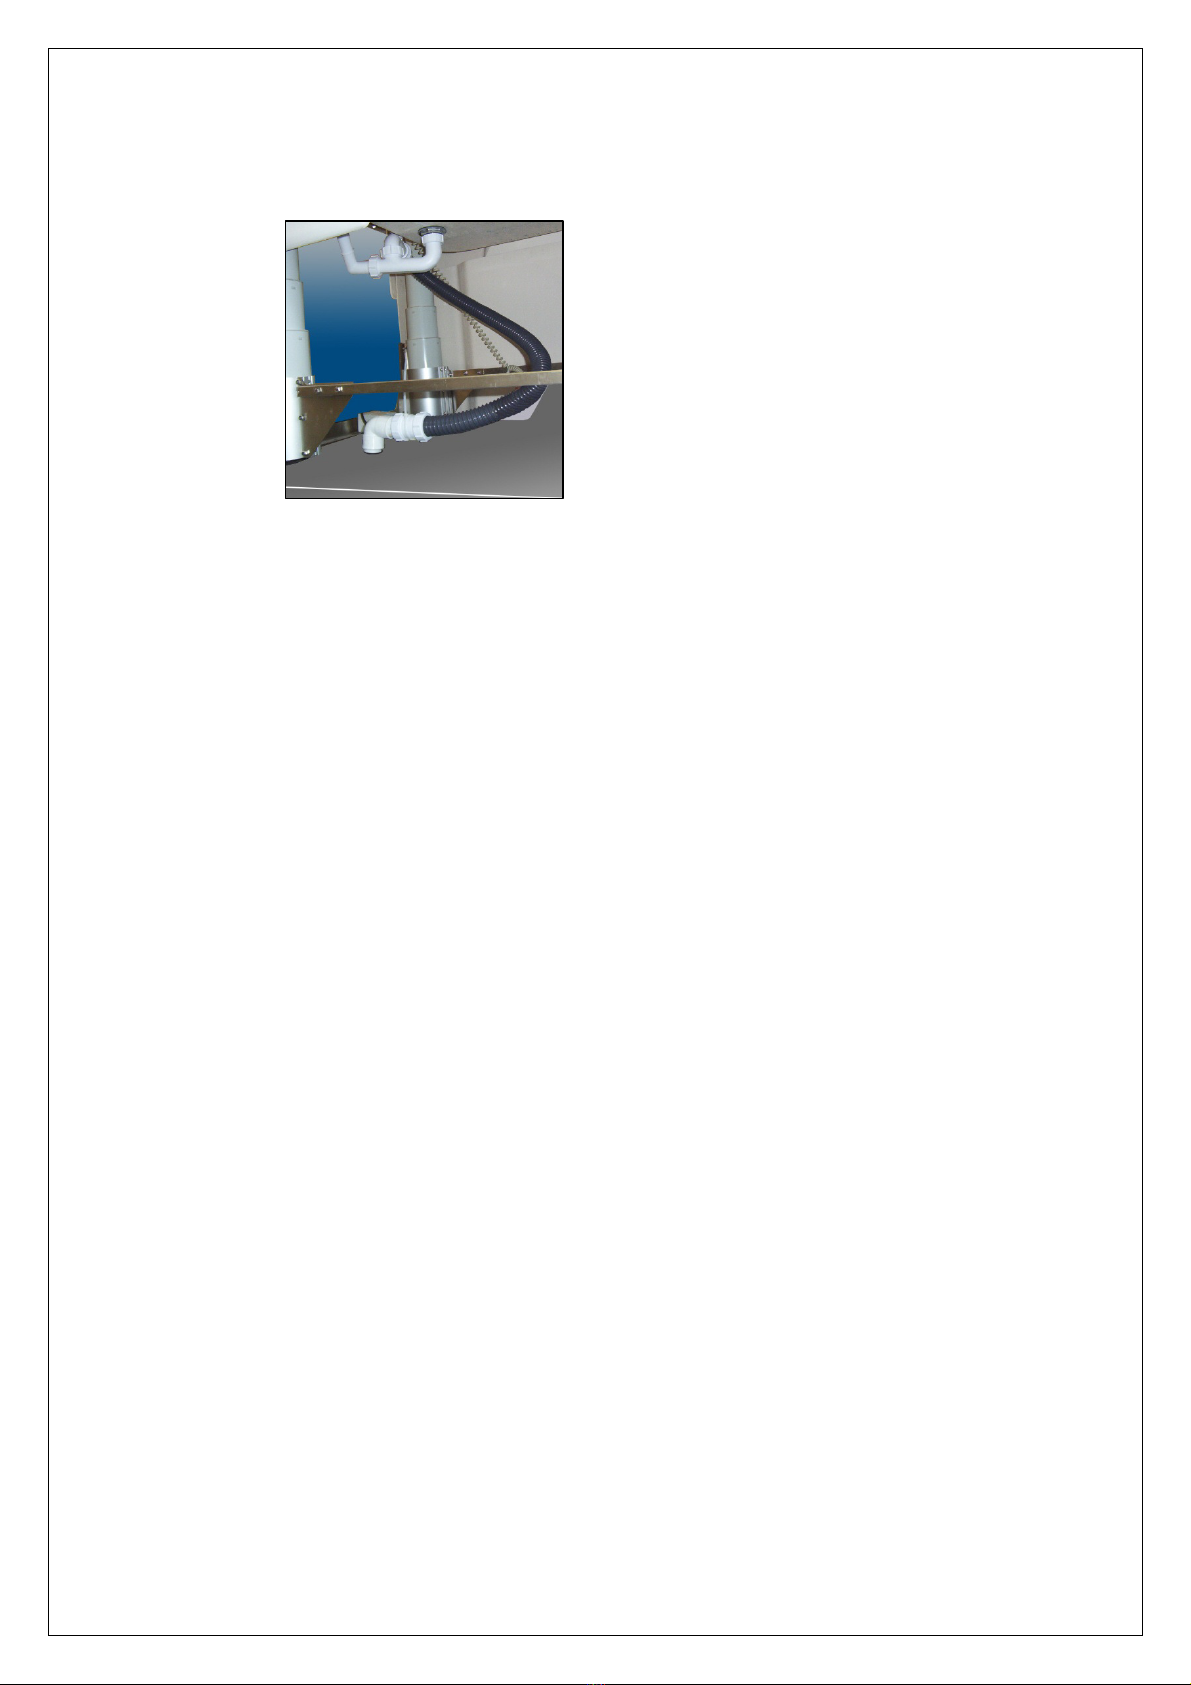
Pipework