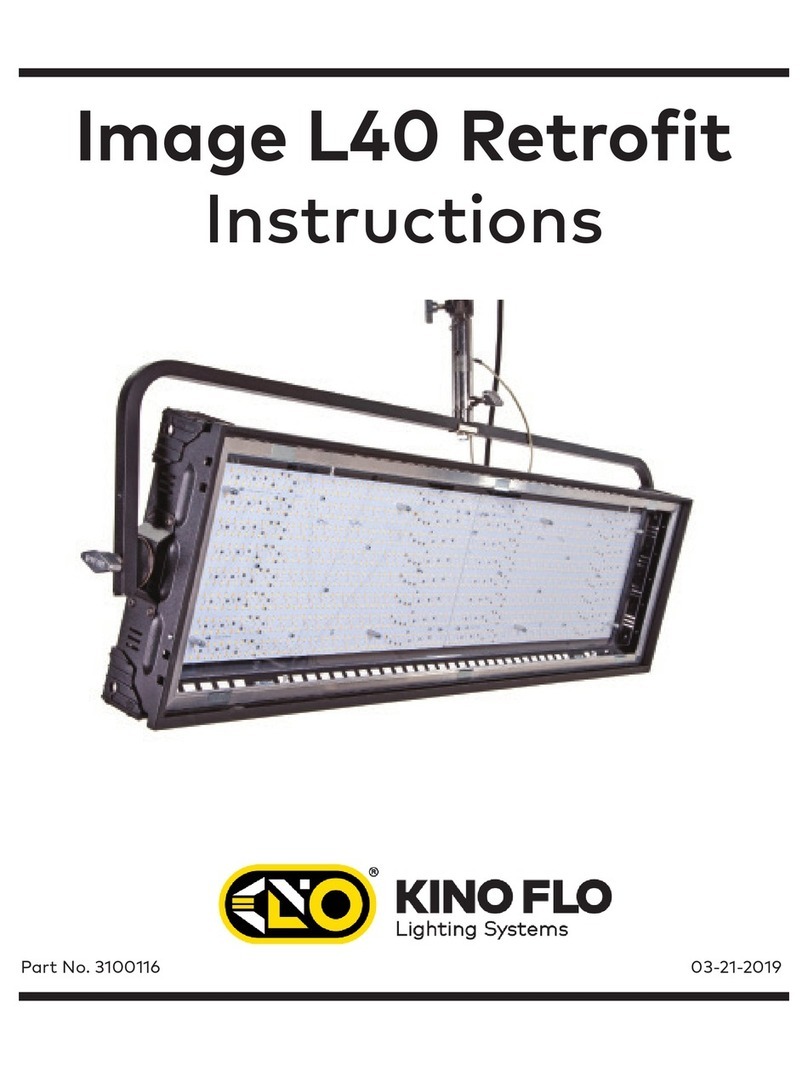
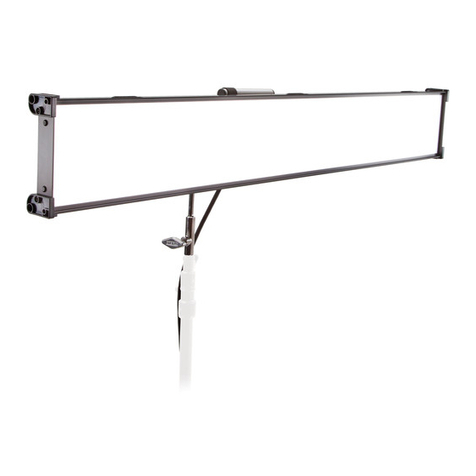
Kino Flo tegra 4bank dmx User manual

Operation Manual
Tegra 4Bank
DMX
Part No. 3100061 Rev A 11-03-2015
®

2
Tegra 4Bank DMX Assembly
True Match Lamps
488-K32-S 4ft Kino KF32 Safety-Coated
488-K55-S 4ft Kino KF55 Safety-Coated
TEG-450-120U
Tegra 4Bank DMX, Univ 120U
TEG-450-230U
Tegra 4Bank DMX, Univ 230U
LVR-T490-P
Tegra 4Bank Louver/HP, 90°
(Included)
MTP-LB
Kino 41 Lollipop w/ Baby Receiver (16mm)
(Included)
®

3
Tegra 4Bank DMX Kits
Tegra 4Bank
DMX Kit
Tegra 4Bank DMX Kit
w/ Soft Case
KIT-T450-120U
Tegra 4Bank DMX Kit, Univ 120U
KIT-T450-230U
Tegra 4Bank DMX Kit, Univ 230U
Kit Contents:
1 Tegra 4Bank DMX
1 Flozier, Half
1 Lamp Case
1 Ship Case
Dimensions: Weight:
54.5 x 9 x 21” 41 lb
(138.5 x 23 x 53.5cm) (19kg)
KIT-T450B-120U
Tegra 4Bank DMX Kit w/ Soft Case,
Univ 120U
KIT-T450B-230U
Tegra 4Bank DMX Kit w/ Soft Case,
Univ 230U
Kit Contents:
1 Tegra 4Bank DMX
1 Flozier, Half
1 Lamp Case
1 Soft Case
Dimensions: Weight:
55 x 8 x 19.5” 23 lb
(140 x 20.5 x 49.5cm) (10.5kg)

4
Inserting Lamps
Lamp Harness Color Codes
Applying Louver
Locking Lamp Connector:
Depress both tabs on lamp connector and apply to
lamp pins. Match the Harness color-codes at each
end of the lamp.
Push lamps into the xture’s Lamp Holder Clips.
The Louver is fastened to the reector with 4 Velcro straps.
The Harness wiring is color-coded. The same color-code must match at
each end of the lamp for proper operation.

5
Mounting Procedures
Baby Offset Arm
A 180 degree turn is all that is required to loosen the
mount for orientation.
To adjust the tension on the lock lever, pull handle
away from mount. This disengages the handle from the
screw mechanism and allows the lever to be reoriented.
You can also use a screwdriver to adjust the tension.
Pull back on handle and adjust screw.
Lollipops are interchangeable.
MTP-L Kino 41 Lollipop w/ 3/8” Pin (10mm)
MTP-LB Kino 41 Lollipop w/ Baby Receiver (16mm)
MTP-LBS Kino 41 Lollipop w/ Baby Receiver
Short (16mm)
Mounted on a baby stand Mounted to pipe grid Note: When hanging in a
studio, loop a safety cord
through the strain-relief ring
provided on the back of the
xture.
The Baby Offset Arm (MTP-B41F) allows xtures to mount on the center of a
stand or can also be under slung from a baby stand to use as an up light.

6
Gelling the Fixture
Mounting Flozier
Restricting the airow around the lamps can cause the lamps to operate hotter.
This increased heat will raise the lamp’s color temperature and green spike.
Therefore, it is recommended to clip gels to the doors of the xture.
Do Not clip gels to louver.
Do Not block the xture ends in a manner that restricts airow.
Remove Louver.
Stretch two elastic cords
around xture.
Expand the Barndoors to smooth out the face of the
Flozier and eliminate wrinkles.
Take up slack on both
elastic cords.

7
Ballast Power
The Tegra 4Bank DMX requires 100-240VAC 50/60 Hertz on an earth
grounded circuit. The electronic Ballast operates at a high frequency of 40kHz.
It is lightweight, icker-free and dead quiet.
Warning! To Ensure Proper Operation
ALWAYS TURN OFF THE FIXTURE BEFORE
connecting or disconnecting lamps. After the lamps
are properly installed, the in-line switch can turn on
the ballast.
Cold Temperature Operation
The Tegra 4Bank DMX is designed to operate at temperatures from
14F to 122F (-10C to +50C). In cold temperatures, the ballast may not
strike the lamp(s). Switch the ballast to OFF. Make sure onboard dimmer is
full up and re-strike.

Tegra 4Bank DMX Control Panel
A) DMX Channels: Sets the xture to use 1 DMX channel to dim all 4 lamps
or 4 DMX channels to control lamps individually.
B) DMX OK: Lights if valid DMX signal is present.
C) DMX Address: Sets DMX address of xture.
D) DMX-In & DMX-Out: DMX-In receives signals from Dimmer Board.
DMX-Out relays DMX signals through other xtures or instruments.
(Note: Each Tegra 4Bank DMX xture has an “AUTO TERMINATE”
feature. The last xture that does not have an XLR cable attached to the
DMX “Out” port will automatically terminate.)
E) Fuse: Provides circuit protection. Note: If fuse is “blown” or “open”,
replace with same type of fuse rating as marked.
F) Dimmer Knob: Manual dimming control
G) Remote Dim: Input jack for Remote Dimmer (DIM-5)
H) Lamp Switches: Turns individual lamps on manually.
8
A B C D
H
E
G
F

Manual Operation
Tegra 4Bank Lamp Switching
Manual Dimming Control
The onboard dimmer dial can manually dim lamps.
Lamp Switching
The Tegra 4Bank DMX xture has four lamp switches
which allow for individual lamp operation.
See diagram below.
Turning off 2 lamps equals a one f-stop reduction in
light output without color shift.
Note: All manual controls are disabled as soon as the DMX cable is applied.
For Manual control with DMX cables plugged in, set address to “000”. There is
a 5 second delay when switching between DMX and Manual control.
Dimming and Color Temperature Shift
Dimming can be used to adjust the light output of the xture. The color temperature
will shift marginally if kept to within one f-stop. Dimming beyond one f-stop may
result in a reduction of color temperature as well as a noticeable shift to magenta.
9
Black
White
Black
White

Remote Dimmer Operation
The Remote Dimmer (DIM-5), sold separately, is designed to remotely dim the
Tegra 4Bank.
Insert the dimmer cable into the receptacle marked:
REMOTE DIM.
Inserting the dimmer cable will automatically disable
the onboard dimmer.
Insert the other end of the dimmer cable into the
Remote Dimmer (DIM-5).
DMX Operation
DMX Addressing
Prior to hanging any instruments, set the DMX address
of each xture.
Push the tabs above or below the number window to set
the address. (Valid addresses range from 001 to 512.)
The light above the address block will illuminate if a
DMX signal is present.
Tip: Power is not required to set DMX addresses.
Therefore, DMX addresses can be set for each xture
prior to hanging.
IMPORTANT!
The dimmer board/light console should have its channel set to LINEAR light
output response. (LINEAR response is the default setting on most dimmer
boards.)
10

11
DMX Channels
The Tegra 4Bank DMX operates on 1 or 4 DMX
addresses. On DMX Channel 1, one DMX address
controls/dims all 4 lamps on one dimmer channel.
On DMX Channel 4, four DMX addresses control/dim
4 lamps individually.
Tegra 4Bank DMX
Address Sequence
(DMX Channel 4)
Lamp # DMX Address
Lamp 1 1
Lamp 2 2
Lamp 3 3
Lamp 4 4
Tegra 4Bank DMX Lamp Sequence
If a xture loses its DMX signal, it will hold its last DMX command.
For this reason, it is important to turn a xture off using the DMX commands.
For example, if you try to turn off the lights by turning off the dimmer board,
the lights will remember their last DMX command and stay on. The xtures
require a DMX “Off” or “Black-Out” command in order to turn off.
Note: The Tegra ballast board incorporates a preheat circuit when striking
the lamps. Therefore, when fading up from black, there will be a 2-3 second
response delay. One way to avoid this issue is to lower the light level to
approximately 7-10% on the DMX console, then fade up from that point.

12
Auto Terminate Feature
The Tegra 4Bank DMX series have an
“AUTO TERMINATE” feature. The last xture
that does not have an XLR cable attached to the
DMX “Out” port will automatically terminate.
Any theatrical lighting board with DMX512 protocol can be used to individu-
ally turn on/off lamps in a xture. Tegra 4Bank DMX xtures can be jumpered
using the IN and OUT ports. As many as 100 xtures can be jumpered on one
chain as long as the DMX cable run remains under 1000 feet or 40 x 25ft DMX
cables.
DMX Cables
Cable must comply with EIA-485 (RS485).
The xture uses ve-pin XLR male and female
connectors to receive DMX signals from the
Dimmer Board and jumper the xtures in a series.
DMX pin-out wiring follows the USITT DMX512
standard:
Pin 1: Shield
Pin 2: Data –
Pin 3: Data +
Pin 4: Spare –
Pin 5: Spare +
Note: Pin four and ve in the Fixture are connected
internally as Pin four to four and Pin ve to ve.
Connecting Pin four and ve as the pass-thru
allows secondary data to be passed through other
equipment.
Note: When operating xtures at great distances from the dimmer board,
it is recommended to use Opto-Isolators to provide DMX signal amplication.
DMX Cables
Auto Terminate

13
Do not use Microphone Cables and other general purpose, two-core cables
designed for audio or signaling use. They are not suitable for DMX512.
Problems due to incorrect cabling may not be immediately apparent.
Microphone Cables may appear to work ne, but systems built with such
cables may fail or be prone to random errors. Cable must comply with EIA-485
(RS485).
Troubleshooting
If the Fixture does not strike after two or three attempts, turn off the Fixture.
• With the power switch in the ON position, the red light should be on.
If it is not, Voltage is not present. Check your power feed.
• The onboard dimmer should be full up, turned completely clockwise.
• All four lamp switches should be in the ON position.
• Check lamp contact. Harness color-codes must match at each end of
the lamp. Once everything has been checked, re-strike.
With DMX cable connected, if yellow light is off, there is no DMX signal.
• Establish a valid DMX signal. Address must be between 001 and 512.
(Note: 0 or 513 and higher are invalid addresses.)
• The dimmer setting on the lighting board must be up in the full mode.
There is a 2-3 second response delay when fading up from black.
•Lower the light level to approximately 7-10% on the DMX console,
then fade up from that point.

14
Accessories and Parts
DIM-5 Remote Dimmer w/ 15ft Cable
DFS-4804 Tegra 4Bank Flozier, Full
DFS-4804-H Tegra 4Bank Flozier, Half
LVR-T490-P Tegra 4Bank Louver/HP, 90°
LVR-T460-P Tegra 4Bank Louver/HP, 60°
MTP-B41F Kino Offset w/ Baby Receiver (16mm)
MTP-L Kino 41 Lollipop w/ 3/8” Pin (10mm)
MTP-LB Kino 41 Lollipop w/ Baby Receiver (16mm)
MTP-LBS Kino 41 Lollipop w/ Baby Receiver Short
(16mm)
STD-M36 Medium Duty Stand/Black, 36”

15
Cases
KAS-T4-C BAG-401 KAS-C46
Part No. Description Dimensions Weight
(Empty)
Holds
BAG-401 Tegra 4Bank
Soft Case
55 x 8 x 19.5”
(140 x 20.5 x 49.5cm)
6 lb
(3kg)
Tegra 4Bank System,
Lamp Case
KAS-C46 6-Lamp
Carry Case,
50.5 x 6 x 4”
(128.5 x 15 x 10cm)
1.5 lb
(0.7kg)
4ft Lamps (6)
KAS-T4-C Tegra 4Bank
Travel Case
54.5 x 9 x 21”
(138.5 x 23 x 53.5cm)
24 lb
(11kg)
Tegra 4Bank Kit
Items
True Match Lamps
®
488-K32-S 4ft Kino KF32 Safety-Coated
488-K55-S 4ft Kino KF55 Safety-Coated
XLR-525 DMX Cable 5-Pin XLR, 25ft
XLR-515 DMX Cable 5-Pin XLR, 15ft

16
For latest Warranty information and Certications,
see Kino Flo website at www.kinoo.com.
Environmental: Disposal of Old Electrical & Electronic Equipment.
This symbol on the product or on its packaging indicates that
this product shall not be treated as household waste. This prod-
uct is made of recyclable materials and should be disposed of in
accordance with local and state regulations.
Kino Flo, Inc. 2840 N. Hollywood Way, Burbank, CA 91505, USA
Tel: 818 767-6528 website: www.kinoo.com
Fixture Specications
Tegra 4Bank
DMX
TEG-450-120U Tegra 4Bank DMX, Univ 120U
Input Voltage: 100~240VAC 50/60Hz
Output Frequency: 40kHz
Amperage: 2.8 amps at 120VAC
Lamp Switching: 1~4
Dimming Range: 100% - 5%
Weight w/ lamps: 19 lb (8.6kg)
Dimensions: 52 x 13.5 x 6”
(w/ 6.5” barndoors)
(132 x 34 x 15cm)
(w/ 16.5cm barndoors)
Lamp Type: F75/T12
TEG-450-230U Tegra 4Bank DMX, Univ 230U
Input Voltage: 240~100VAC 50/60Hz
Output Frequency: 40kHz
Amperage: 1.4 amps at 230VAC
Lamp Switching: 1~4
Dimming Range: 100% - 5%
Weight w/ lamps: 19 lb (8.6kg)
Dimensions: 52 x 13.5 x 6”
(w/ 6.5” barndoors)
(132 x 34 x 15cm)
(w/ 16.5cm barndoors)
Lamp Type: F75/T12
Other manuals for tegra 4bank dmx
1
Table of contents
Other Kino Flo Light Fixture manuals
Popular Light Fixture manuals by other brands

Modulex
Modulex MSP-080A/10B/DL/3 installation guide

Triarch
Triarch Indoor Lighting 29477 installation instructions

ALPHA LITE
ALPHA LITE L Series user manual

Access Lighting
Access Lighting 30111 installation instructions

GLP
GLP Fusion XPAR 12Z Quick Start and Safety Manual

involight
involight MovingBAR2410Q user manual