manuals.online logo
Brands
  1. Home
  2. •
  3. Brands
  4. •
  5. KitchenAid
  6. •
  7. Ventilation Hood
  8. •
  9. KitchenAid KIRD801V User instructions

KitchenAid KIRD801V User instructions

This manual suits for next models

2

Other KitchenAid Ventilation Hood manuals

KitchenAid KVWC956KSS User manual

KitchenAid

KitchenAid KVWC956KSS User manual

KitchenAid 9763393A Manual

KitchenAid

KitchenAid 9763393A Manual

KitchenAid KWVU265YBA0 User manual

KitchenAid

KitchenAid KWVU265YBA0 User manual

KitchenAid KIVD800TOB Owner's manual

KitchenAid

KitchenAid KIVD800TOB Owner's manual

KitchenAid KWCU320JSS1 User manual

KitchenAid

KitchenAid KWCU320JSS1 User manual

KitchenAid KWCU405SBL0 Instructions for use

KitchenAid

KitchenAid KWCU405SBL0 Instructions for use

KitchenAid KXW8748YSS Product information sheet

KitchenAid

KitchenAid KXW8748YSS Product information sheet

KitchenAid W10526057C User manual

KitchenAid

KitchenAid W10526057C User manual

KitchenAid KVIB606DSS Product information sheet

KitchenAid

KitchenAid KVIB606DSS Product information sheet

KitchenAid KXI9736YSS0 Product information sheet

KitchenAid

KitchenAid KXI9736YSS0 Product information sheet

KitchenAid 36" (91.4 CM) ISLAND CANOPY RANGE HOOD Product information sheet

KitchenAid

KitchenAid 36" (91.4 CM) ISLAND CANOPY RANGE HOOD Product information sheet

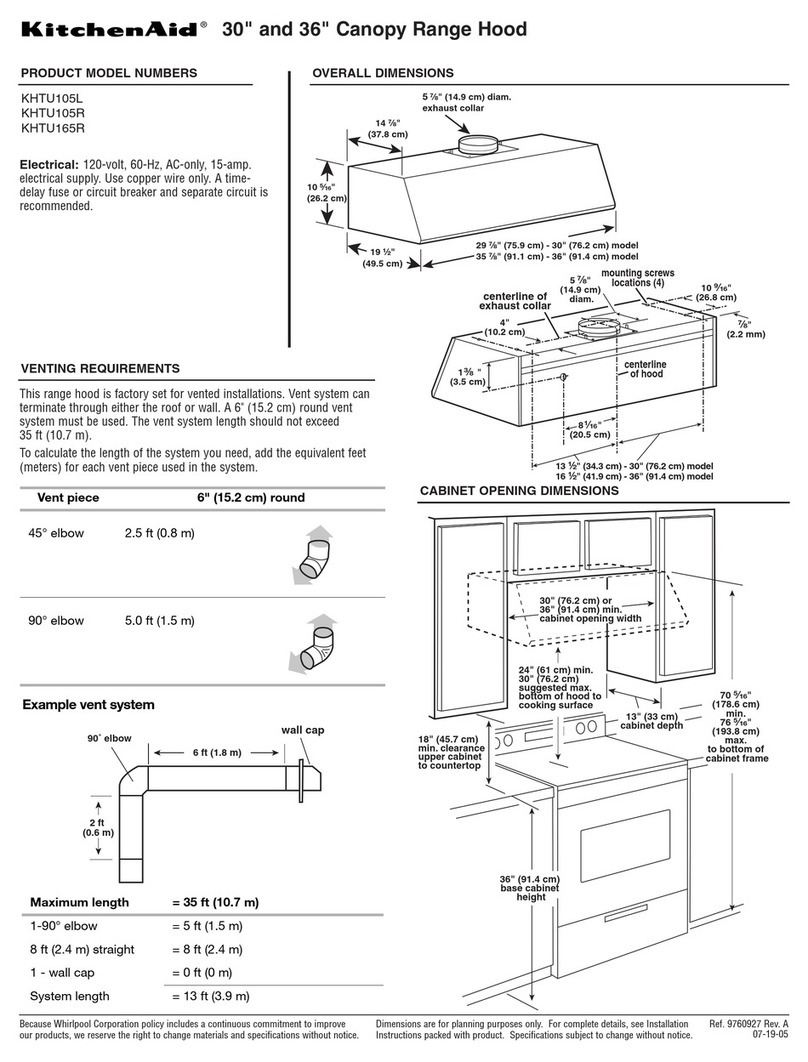
KitchenAid KHTU105LSS0 User manual

KitchenAid

KitchenAid KHTU105LSS0 User manual

KitchenAid 30" Freestanding Range Product information sheet

KitchenAid

KitchenAid 30" Freestanding Range Product information sheet

KitchenAid KCGT 9010 User manual

KitchenAid

KitchenAid KCGT 9010 User manual

KitchenAid W10268947B Product information sheet

KitchenAid

KitchenAid W10268947B Product information sheet

KitchenAid W10322991C Product information sheet

KitchenAid

KitchenAid W10322991C Product information sheet

KitchenAid KWCU380WSS0 User manual

KitchenAid

KitchenAid KWCU380WSS0 User manual

KitchenAid KWCU380JSS1 User manual

KitchenAid

KitchenAid KWCU380JSS1 User manual

KitchenAid KEBDS 90020 User manual

KitchenAid

KitchenAid KEBDS 90020 User manual

KitchenAid KIRD801XSS1 User manual

KitchenAid

KitchenAid KIRD801XSS1 User manual

KitchenAid KVIB606DSS0 Product information sheet

KitchenAid

KitchenAid KVIB606DSS0 Product information sheet

KitchenAid 30" (76.2 CM) COMMERCIAL STYLE WALL-MOUNT CANOPY RANGE... Product information sheet

KitchenAid

KitchenAid 30" (76.2 CM) COMMERCIAL STYLE WALL-MOUNT CANOPY RANGE... Product information sheet

KitchenAid KMMF330 User manual

KitchenAid

KitchenAid KMMF330 User manual

KitchenAid KXW2536YSS Product information sheet

KitchenAid

KitchenAid KXW2536YSS Product information sheet

Popular Ventilation Hood manuals by other brands

Gorenje S3 IHGC963S4X manual

Gorenje

Gorenje S3 IHGC963S4X manual

KOBE ISX2136SQB-1 Installation instructions and operation manual

KOBE

KOBE ISX2136SQB-1 Installation instructions and operation manual

U.S. Products ADVANTAGE-100H Information & operating instructions

U.S. Products

U.S. Products ADVANTAGE-100H Information & operating instructions

Kuppersberg DUDL 4 LX Technical Passport

Kuppersberg

Kuppersberg DUDL 4 LX Technical Passport

Framtid HW280 manual

Framtid

Framtid HW280 manual

Thermador HGEW 36 FS installation manual

Thermador

Thermador HGEW 36 FS installation manual

Electrolux LFT769X user manual

Electrolux

Electrolux LFT769X user manual

AEG X69453MVO UK user manual

AEG

AEG X69453MVO UK user manual

Broan B5836SS manual

Broan

Broan B5836SS manual

Heinner HDCH-6060RGBK quick start guide

Heinner

Heinner HDCH-6060RGBK quick start guide

Baumatic AS35SS instruction manual

Baumatic

Baumatic AS35SS instruction manual

Franke FTF 604 XS V2 Instructions for use and installation

Franke

Franke FTF 604 XS V2 Instructions for use and installation

Best UCB3I30SBW installation instructions

Best

Best UCB3I30SBW installation instructions

Gram EFU 503-90 X instruction manual

Gram

Gram EFU 503-90 X instruction manual

CIARRA CBCS6803 Installation and user manual

CIARRA

CIARRA CBCS6803 Installation and user manual

sauter SHG501 Instructions for installation and use

sauter

sauter SHG501 Instructions for installation and use

Franke 392-17 User instructions

Franke

Franke 392-17 User instructions

FALMEC Polar Black 35 Instruction booklet

FALMEC

FALMEC Polar Black 35 Instruction booklet

manuals.online logo
manuals.online logoBrands
  • About & Mission
  • Contact us
  • Privacy Policy
  • Terms and Conditions

Copyright 2025 Manuals.Online. All Rights Reserved.

Top trim widths:
30¹⁄₄" (76.8 cm) for 30" (76.2 cm) vent
36¹⁄₄" (92.1 cm) for 36" (91.4 cm) vent
13¹⁄₂" (34.3 cm)
retractable
vent height
27" (68.6 cm) for 30" (76.2 cm) vent
33" (83.8 cm) for 36" (91.4 cm) vent
13" (33.0 cm)
9¹⁄₄"
(23.5 cm)
³⁄₄"
(1.9 cm)
2¹⁄₈" (5.4 cm)
28³⁄₄"
(73.0 cm)
³⁄₈" (0.95 cm)
1¹⁄₂" (3.8 cm)
13" (33.0 cm)
Interior-mounted blower motor model Exterior-mounted blower motor model -
used with Part Number KPEC992M
¹⁄₄" (0.6 cm)
13" (33.0 cm)
6¹⁄₂"
(16.5 cm)
10" (25.4 cm)
diameter
vent collar
13" (33.0 cm)
6¹⁄₂"
(16.5 cm) ³⁄₄" (1.9 cm)
Terminal box cover
6" (15.2 cm)
diameter
vent collar
PRODUCT MODEL NUMBERS
PRODUCT DIMENSIONS
CABINET DIMENSIONS
KIRD801V
KIRD861V
KIRD862V
A 120-volt, 60-Hz, AC-only, 15-amp, fused electrical
cIrcuit is required. Use copper wire only.
30" (76.2 CM) and 36" (91.4 CM) Retractable Downdraft Vent System
Because Whirlpool Corporation policy includes a continuous commitment to improve
our products, we reserve the right to change materials and specifications without notice.
Dimensions are for planning purposes only. For complete details, see Installation
Instructions packed with product. Specifications subject to change without notice.
Ref. W10187117
11-06-08
®
ledomrotomrewolbdetnuom-roiretxEledomrotomrewolbdetnuom-roiretnI
A= ¹⁄₂" (12.7 mm)
minimum
21⁵⁄₁₆"
(54.1 cm)
All cutouts are
for 6" (15.2 cm)
diameter vent
system.
Centerline of cooktop cutout
23³⁄₄"
(60.3 cm)
21⁵⁄₁₆"
(54.1 cm)
Locate power
supply junction
box at lower
left hand
rear corner
of the cabinet.
7⁵⁄₈" (19.4 cm)
¹⁄₂" (12.7 mm)
minimum
Locate power
supply junction
box at lower
left hand
rear corner
of the cabinet.
ELECTRICAL REQUIREMENTS
Page 1 of 3
30" (76.2 CM) and 36" (91.4 CM) Retractable Downdraft Vent System
®
Because Whirlpool Corporation policy includes a continuous commitment to improve
our products, we reserve the right to change materials and specifications without notice.
Dimensions are for planning purposes only. For complete details, see Installation
Instructions packed with product. Specifications subject to change without notice.
Ref. W10187117
11-06-08
Page 2 of 3
COUNTERTOP CUTOUT DIMENSIONS
A. Downdraft vent
B. Cooktop
C. Measurement of cooktop rear overhang.
D. D = Measurement of cooktop rear overhang (C) +
1
¹³⁄₁₆
" [46.2 mm] (E)
E. 1
¹³⁄₁₆
" (46.2 mm)
F. ½" (12.7 mm) minimum
G. ¼" (6.4 mm) minimum
H. Countertop and backsplash
I. ½" (12.7 mm) minimum
A
BC
E
H
D
I
G
F
VENTING REQUIREMENTS
A. ½" (12.7 mm) minimum to backsplash or
rear wall
B.
³⁄₄
" (19.1 mm) maximum backsplash depth
C. 27
¹⁄₂
" (69.9 cm) on 30" (76.2 cm) models
33
¹⁄₂
" (85.9 cm) on 36" (91.4 cm) models
D. D = Measurement of cooktop rear overhang
+ 1
¹³⁄₁₆
" (46.2 mm)
A
B
C
D
Island location
Built-in cabinet locations
A. Down vent
A. Down vent
B. Rear vent
C. Left vent
D. Right vent
A
B
C
D
A
Island Location
Vent system installed under a concrete slab using PVC
sewer pipe.
A. Wall cap
B. 6" (15.2 cm) round metal vent
C. 16" (40.6 cm) maximum
D. 6" (15.2 cm) round PVC sewer pipe
E. 6" (15.2 cm) round metal vent
F. 6" (15.2 cm) round PVC coupling
G. Concrete slab
H. 6" (15.2 cm) round PVC sewer pipe
I. 6" (15.2 cm) round 90° PVC sewer pipe elbow
J. Tightly pack gravel or sand completely around pipe.
K. 6" (15.2 cm) round 90° PVC sewer pipe elbow
L. 6" (15.2 cm) round PVC coupling
M. 12" (30.5 cm) minimum
A
B
C
D
E
F
G
H
I
J
K
L
M
30" (76.2 CM) and 36" (91.4 CM) Retractable Downdraft Vent System
®
Because Whirlpool Corporation policy includes a continuous commitment to improve
our products, we reserve the right to change materials and specifications without notice.
Dimensions are for planning purposes only. For complete details, see Installation
Instructions packed with product. Specifications subject to change without notice.
Ref. W10187117
11-06-08
Page 3 of 3
VENTING REQUIREMENTS
Maximum Length of Vent System
To calculate the length of the system you need, add the
equivalent feet (meters) for each vent piece used in the system.
htgneLtneV
6" (15.2 cm) round 35 ft (8.9 m)
3¹⁄₄" x 10" (8.3 cm x 25.4 cm) 35 ft (8.9 m)
Vent Piece 6" (15.2 cm) Round
45° elbow 2.5 ft
(0.8 m)
90° elbow 5.0 ft
(1.5 m)
6" (15.2 cm)
wall cap
0.0 ft
(0.0 m)
3¹⁄₄" x 10" (8.3 cm x 25.4 cm)
to 6" (15.2 cm) transition
4.5 ft
(1.4 m)
6" (15.2 cm) to 3¹⁄₄" x 10"
(8.3 cm x 25.4 cm) transition
1 ft
(0.3 m)
3¹⁄₄" x 10" (8.3 cm x 25.4 cm)
to 6" (15.2 cm) 90° elbow
transition
5.0 ft
(1.5 m)
6" (15.2 cm) to 3¹⁄₄" x 10"
(8.3 cm x 25.4 cm) 90° elbow
transition
5.0 ft
(1.5 m)
Example Vent System
A. Blower motor
B. Transition
C. 90° elbows
D. 6" backdraft damper (supplied)
AB
C
6 ft
(1.8 m)
2 ft (0.6 m)
D
IMPORTANT: Make sure there is proper clearance within the wall or
floor before making exhaust vent cutouts.
Use heavy (rigid) metal vent.
Venting system must terminate to the outside.
Do not terminate the vent system in an attic or other enclosed area.
Do not use 4" (10.2 cm) laundry-type wall caps.
Do not install 2 elbows together.
Do not use plastic or metal foil vent.
The length of vent system and number of elbows should be kept to a
minimum to provide efficient performance.
Use no more than three 90° elbows
Make sure there is a minimum of 24" (61 cm) of straight vent between
the elbows if more than one elbow is used.
Use clamps to seal all joints in the vent system.
Use caulking tape to seal the exterior wall or floor opening around cap.
Do not cut joist or stud. If vent cutout falls over a joist or stud, a
supporting frame must be constructed.
Flexible metal vent is not recommended. If it is used, calculate each foot
of flexible vent as 2 ft (0.6 m) of rigid metal vent. Flexible elbows count
twice as much as standard elbows.
Recommended vent system length:
For either interior-mounted or exterior-mounted blower installations, the
vent system length should not exceed the maximum lengths listed in the
Maximum Length of Vent System chart.
It is recommended that you use round vent instead of rectangular vent, especially
if elbows are required. If rectangular vent is required, it should be transitioned to
6" (15.2 cm) round vent as soon as possible.
To calculate the length of the system you need, add the equivalent feet (meters)
for each vent piece used in the system.