Knapen Trailers Exside User manual

Users Manual
EN
knapen-trailers.eu
User Manual EXSIDE EN - v202101


User Manual EXSIDE EN - v202101
Table of contents
1 Introduction 5
1.1 General 5
1.2 Symbols in this manual 5
2 Vehicle identication 6
2.1 Trailer position indications 6
3 Safety 7
3.1 Standard visual inspection before driving off 7
3.2 Safety markings 7
4 General use of EXSIDE 8
5 Using the EXSIDE 8
5.1 Opening the side 9
5.2 Closing the side 10
5.3 Opening side with liftable upper rail (option) 11
5.4 Operating the liftable upper rail (option) 12
5.5 Closing the liftable upper rail (option) 13
5.6 EXSIDE with side doors on both sides. 14
5.7 Using the rotating upper beam with side doors (option) 15
5.8 Using the bars 15
5.9 Weight distribution/loaded 16
5.10 Methods for closing the side doors 16
5.11 Loading/unloading from the side 17
5.12 Using the PowerSheet®(option) 17
6 Maintenance and cleaning 18
7 Troubleshooting 18
7.1.2 Emergency operation pneumatic pump 18
7.2 Troubleshooting EXSIDE 19

4

5
User Manual EXSIDE EN - v202101
1 Introduction
1.1 General
Dear driver,
Congratulations on the purchase of your new moving oor trailer. An indispensable tool in your daily work. Our
greatest concern is with your safety. This manual plays an important role in this, however only in conjunction with
the “General Users Manual” supplied with the trailer
Before using the trailer for the rst time, read the “General Users Manual” and then this “EXSIDE Users Manual"
carefully to prevent accidents and/or serious damage. If you have any questions or comments, please contact us
via www.knapen-trailers.eu/contact
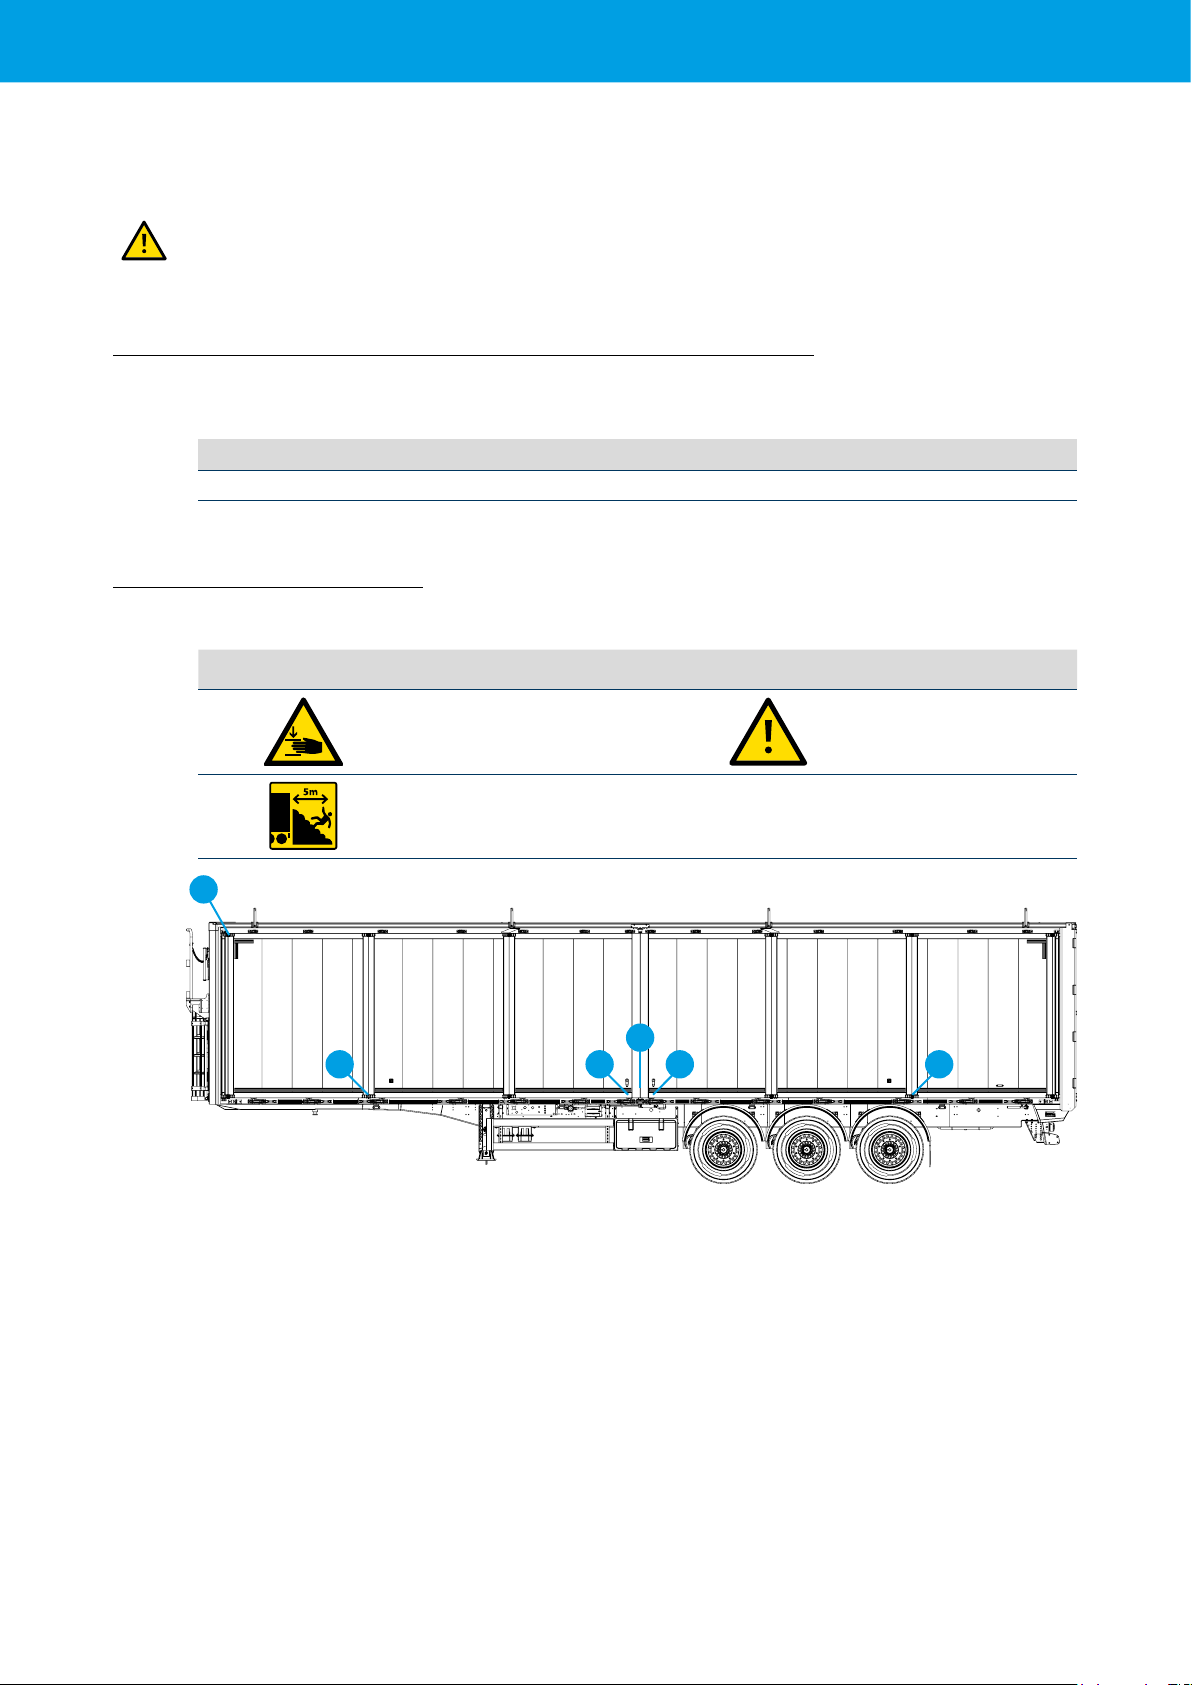
Trailers of type KT01 and KT02 (see type plate) are provided with CE marking. This means
that the trailers comply with the applicable European directives. The accompanying
Declaration of Conformity species these guidelines.
Knapen Trailers B.V. excludes liability for unsafe situations, accidents and damages resulting from:
Ignoring warnings or instructions as displayed on the trailer or described in this documentation.
Use for other applications or under conditions other than those specied in this documentation.
Modications made to the trailer, including the use of replacement parts other than original replacement parts.
Insufcient maintenance.
Unauthorised removal of safety guards and/or safety measures.
Inexpert or improper use of the trailer.
Knapen Trailers B.V. cannot be held liable for the consequential damage caused by malfunctions of the trailer (e.g.
damage to products, business interruption).
We wish you many safe kilometres!
1.2 Symbols in this manual
This manual uses various symbols:
Symbol Description
A safety instruction follows this symbol. Failure to follow this instruction correctly may result in
damage to your trailer, injury, and in some cases death.
Additional information follows this symbol.
For example, a link to another document or a useful tip.
Reference to maintenance and/or cleaning.
Reference in case of malfunctions.
Further instructions are described in the general Users Manual Knapen Trailers.

6
2 Vehicle identication
2.1 Trailer position indications
NO Description Chapter
1 Door retainer CH5.1
2 Locking point CH5.1
3 Door locks CH5.1
4 Handle mid-post CH5.1
5 Securing point mid-post CH5.1
6 Mid-post/centring point CH5.2
7 Operation liftable upper rail (option) CH5.4
8 Extra lock combined with liftable upper rail (option) CH5.5
9Operation air bag deation CH5.10
Positions may be different, depending on type and conguration
1
1
1 258
258 9 4 7
3
6

7
User Manual EXSIDE EN - v202101
3 Safety
Read this chapter carefully prior to using the trailer.
Always apply the following points of attention in the daily use of the trailer.
3.1 Standard visual inspection before driving off
The visual inspection before driving off is very important for the safety of the driver, bystanders, and fellow
road users.
Points for attention are:
Make sure that all door locks on the side doors are correctly secured, both above and below.
3.2 Safety markings
Explanation of stickers used.
NO Icon Description NO Icon Description
1 Risk of crushing hands 3 Danger
2Moving load hazard
1
2 121
3

8
4 General use of EXSIDE
General use of the trailer is described in the “General Users Manual".
5 Using the EXSIDE
When transporting general cargo, the load must be secured in accordance with the guidelines.
Important points for attention are:
The roof system must be free of water, snow and ice before
the side doors, mid post or upper rail are operated.
Make sure the trailer is straight and level during loading and
unloading from the side.
Check to see if any of the load is positioned against the rear
doors by carefully opening the rear doors. This can be done
using the pneumatic rear door locking device (see general
users manual).
Check via the rear of the trailer to see if any of the load has
shifted before opening the side doors.
Apply caution when operating the side doors during high
winds.
Do not open the side doors with bulk loads in the trailer.
Check the available space around the trailer before opening
the side doors.
- Distance side (door side) of the trailer: 3m
- Distance in front of the trailer: 2m
- Distance behind the trailer: 2m 3m 2m2m
The user instruction lists the side doors of the trailer from
front to back as illustrated.
1 2 3 4 5 6

9
User Manual EXSIDE EN - v202101
5.1 Opening the side
Step
1 Release the door handles on door 3.
2Fold door 3 against door 2 and secure it with the
door retainer.
3
Release the door handles on door 1 and door 2.
Use one of the door handles to pull the complete
set of doors outwards and roll the doors to the
front.
1 2
4Secure the set of doors at the locking point (1)
using the door handle (2).
2 1
5 Repeat the last four steps to open doors 4, 5 and 6. 4 5 6
6
Caution: the weight of the upper rail may create
pressure against the handle.
Hold the handle and release the mid post by
pressing the locking slide block (1). Slowly move
the handle outwards (2) and release the mid post
(3).
1
2
3
7
Place the handle back in the mid post.
Pull the bottom of the mid post outwards and roll
it to the front or rear of the trailer.
8 Secure the mid post using an elastic strap.

10
5 Using the EXSIDE
5.2 Closing the side
Step
1Release the mid post and roll it to the centre of the
trailer.
2
Release the handle of the post and place it in the
claw at the bottom (1).
Make sure the centring arrows align at the top (2).
Push the handle upwards until it is far enough in
the post and secured (3).
32
1
3Make sure the locking slide block is properly
engaged and secured.
4Open the locking point (1) to release the front set
of doors.
1
Make sure your hands do not become trapped
when closing the doors.
5Roll the front set of doors closed and close the
door handles on door 1 and 2.
When closing the door handles, make sure
the cam is positioned correctly in front of the
retainer plate, both above and below.
1 2
6Release the door retainer of door 3. Close door 3 in
the same way as door 1 and 2.
7Repeat the last three steps to close doors 4, 5 and 6.
1
2
3
456

11
User Manual EXSIDE EN - v202101
5.3 Opening side with liftable upper rail (option)
Note: If the trailer is equipped with the liftable upper rail option, rst follow the steps described in CH 5.1
“Opening the side". Then continue with the steps below.
Step
1Loosen the straps or central sheet fastening
(option) of the roof sheet.
2 Release the elastic straps at the front and rear.
3Make sure the rear bar is in position and the rear
upper beam is closed.
4Make sure the moveable bulk head is fully against
the head board.
Make sure the moveable bulk head does not
roll back.
5Lift the upper rail by operating the pump.
See CH 5.4 “Operating the liftable upper rail”.

12
5 Using the EXSIDE
5.4 Operating the liftable upper rail (option)
5.4.1 Manual pump
Step Operation
1Remove the handle from the holder (1).
Insert the handle into the pump (2).
1
2
2
Place the pump lever in the desired position.
Lift upper rail.
Lower upper rail.
3
Start pumping.
Build up pressure (pump ±15 times).
Lift upper rail (pump ±15 times).
Stop at the desired or highest position.
5.4.2 Pneumatic pump
During operation, run the motor of the truck for the air supply.
Step Operation
1
Place the pump lever in the desired position.
Lift upper rail.
Lower upper rail.
2
Push the control lever to the right to lift or lower the
upper rail.
Build up pressure (±15 secs.).
Stop at the desired or highest position
(the pump will automatically stop).

13
User Manual EXSIDE EN - v202101
5.5 Closing the liftable upper rail (option)
Before lowering the upper rail, check that the entire load is inside the trailer.
Step
1Lower the upper rail by operating the pump. See
CH 5.4 “Operating the liftable upper rail”.
2Release the mid post and roll it to the centre of the
trailer.
3
Release the handle of the post and place it in the
claw at the bottom (1).
Make sure the centring arrows align at the top (2).
Push the handle upwards until it is far enough in
the post and secured (3).
32
1
4Make sure the locking slide block is properly
engaged and secured.
5
Pump another ± 4 times/secs. to fully engage the
upper rail at the front and rear.
See CH 5.4 “Operating the liftable upper rail”.
6Open the locking point (1) and fold the door
handle (2) away from the locking point.
2 1
7
Push the set of doors fully open, hold down the
locking device (1) and pull the set of doors to the
centre. 1

14
5 Using the EXSIDE
Make sure your hands do not become trapped
when closing the doors.
8Roll the front set of doors closed and close the
door handles on door 1 and 2.
When closing the door handles, make sure
the cam is positioned correctly in front of the
retainer plate, both above and below.
1 2
9Release the door retainer of door 3. Close door 3 in
the same way as door 1 and 2.
10 Repeat the last four steps to close door 4, 5 and 6.
1
2
3
4 5 6
11 Reattach the straps or central sheet fastening
(option) and the elastic straps at the front and rear.
5.6 EXSIDE with side doors on both sides
Points for attention are:
Both sides may be fully opened to load and unload the
trailer.
Make sure the rear doors are closed during loading and
unloading when both sides are open.
Make sure there is enough space on both sides of the trailer
to operate the doors.
3m 2m2m

15
User Manual EXSIDE EN - v202101
5.7 Using the rotating upper beam with side doors (option)
When using the rotating upper beam only door 3 and/or
door 4 may be opened.
The other doors should always be closed when the
rotating upper beam is used.
3 4
Secure door 3 and/or 4 using the door retainer.
When using the rotating upper beam the rst bar should
always remain in position.
The other bars may be opened.
The other steps to be followed are described in the Knapen Trailers Users Manual.
5.8 Using the bars
Note: When the pin is released the bar may lower (±20cm).
Ensure a stable and safe position when performing the steps below.
Operation
1Remove the locking device from the bar.
The pin can now be completely removed.
2After the bar has been released, place the pin and
locking device back into the crossmember support.
3Turn the bar completely away and hook it into the
designated holder.

16
5 Using the EXSIDE
5.9 Weight distribution/loaded
Points for attention are:
Make sure the weight is distributed evenly for optimal
closing of the side doors and optimal handling.
Distribute the load properly if cargo has to be delivered to
various addresses.
Always close doors 1-3 rst, then doors 4-6.
123456
If the doors fail to close properly due to uneven weight
distribution see CH 5.10
5.10 Methods for closing the side doors
5.10.1 Airbag deation
If the door handles do not align with the retainer plates, activate the airbags deation on the 3rd axle.
The switch is located on the height control panel.
Press the button briey (<5 secs.) to vent the airbags on the
3rd axle.
If the button is pressed for >5 seconds, the airbags will be
deactivated again.
If the airbags have been vented, the support to the rear part of the chassis will alter. The degree of bend between
the kingpin and the axles will change, which will also alter the position of the retainer plates in relation to the
door handles. Depending on the weight distribution, this may have the desired effect.
5.10.2 Landing legs
In an extreme situation it may be necessary to use the landing legs in addition to the airbags to align the door
handles with the retainer plates. If this situation is expected in advance, it is advisable to place the landing legs on
the ground rst before loading.
Step
1Place the air suspension of the truck in the highest
position.
2Fold down the landing legs until they reach the
ground.
3Lower the air suspension of the truck until the door
handles are aligned, then close the doors.
The landing legs support the chassis and allow the chassis to lift at the centre, which allows the doors to close.

17
User Manual EXSIDE EN - v202101
5.11 Loading/unloading from the side
Points for attention are:
When loading and unloading at the front and rear in
combination with the liftable upper rail, make sure the
load (and/or fork-lift) does not touch the xed rails as this
can cause damage.
When loading or unloading pay attention to the height of the
load so it does not touch the upper rail (1). 1
Make sure the load and the forks of the fork-lift are
sufciently high to avoid catching on a oor prole, side
prole or lashing hook.
Do not slide the load over the oor. Lift the load at all times.
5.12 Using the PowerSheet®(option)
Points for attention are:
If the sheet closes on the same side as the side doors, make
sure the side doors are fully closed when the sheet is opened
and closed.
Make sure at least three bars (front-centre-rear) are in
position so the sheet can roll and unroll properly.
5.12.1 Using the PowerSheet®with a liftable upper rail (option)
Points for attention are:
If the sheet closes on the same side as the side doors, make sure the side doors are fully closed when the sheet
is opened and closed.
Before lifting the upper rail, ensure that the cover is closed but not tensioned.
Never tension (close) the sheet when the upper rail is lifted.
Make sure at least three bars (front-centre-rear) are in position so the sheet can roll and unroll properly.

18
6 Maintenance and cleaning
Side doors daily weekly monthly annually
Condition of rubber lower side
x
Condition of rubber upper side
x
Condition of vertical rubber (in the door)
x
Condition of hinges
x
Condition of rollers door guides
x
Condition of door locks
x
Clean rubber seals
x
Clean hinges
x
Clean inner sliding runner
x
Clean outer sliding runner
x
Mid post daily weekly monthly annually
Clean the claw at the bottom
x
Condition of locking slide block mid post
x
Condition of rubber mid post
x
Condition of rollers mid post*
x
Liftable upper rail daily weekly monthly annually
Check rail joint front and rear
x
Clean rail joint front and rear
x
Check oil level pump
x
Check additional door lock
x
Check for oil leaks
x
*The rollers should be replaced from the centre
7 Troubleshooting
7.1.2 Emergency operation pneumatic pump
Step Operation
1Remove the handle from the holder (1).
Insert the handle into the pump (2).
1
2
2
Place the pump lever in the desired position.
Lift upper rail.
Lower upper rail.
3
Start pumping horizontally.
Build up pressure (pump ±15 times)
Lift upper rail (pump ±15 times).
Stop at the desired or highest position.

19
User Manual EXSIDE EN - v202101
7.2 Troubleshooting EXSIDE
System malfunction Cause Solution
Mid post
not movable
Roller mechanism is damaged Contact your service point workshop
Blockage in rail Unblock
Locking mid-post is
difcult / does not
function
Frozen Place trailer in heated area
Claw is dirty Clean the claw at the bottom
Spring broken in sprung locking catch Secure the handle and contact your service
point workshop
Partial load too heavy in the centre Roll the front set of doors to the centre
Locking slide block in
mid post has broken off
Too much pressure on the upper rail Contact your service point workshop
Incorrect securing method
Moveable bulk head
sticks at the mid post
Mid post angled inwards due to load
between door 3/4 and the mid post on
the outside.
Clean the space between door 3/4 and the
mid post when the trailer is empty
Moveable bulk head
sticks at the front
Roller is broken Replace roller
Joint damaged Contact your service point workshop
Height difference Lower upper rail completely
Upper rail does not lift
(high enough)
Valve in incorrect position Place valve in the correct position
Mechanical blockage Check for mechanical blockage
Not enough oil Top up the oil
Too cold, oil too thick Place trailer in heated area
Frozen due to ice deposits
Upper rail does not
fully lower
Accumulation of dirt on the steel rails Lift the upper rail and clean the top of the
steel rails
Sheet at the front is stuck between the
bulkhead and
the upper rail
Lift the upper rail and release the sheet
Doors do not close Pressure caused by load Use relieves, eventually in combination
with landing legs (see CH 5.10)
Trailer is distorted Drive carefully to a at surface
Doors 3 and 4 do not
close Mid post incorrectly positioned Fully open both sets of doors, release the
mid post and position it in the right place
Door handle or door
retainer bent/broken
Incorrect securing method
Contact your service point workshop
Too much pressure (wind) on the door
panel
Additional door lock
does not loosen
(liftable upper rail)
Accumulation of dirt Release the lock using the sheet stick and
contact your service point workshop
Set of doors not fully open
Push the set of doors fully open, hold
down the locking device and pull the set
of doors to the centre

Knapen Trailers B.V.
Theo van Doesburgstraat 8
5753 DL Deurne, the Netherlands
Postal address
Postbox 343
5750 AH Deurne, the Netherlands
Tel: +31 (0) 493 320 330
Fax: +31 (0) 493 310 728
E-mail: [email protected]
Web: www.knapen-trailers.eu
© Copyright Knapen Trailers BV 2021 All rights reserved.
Table of contents
Other Knapen Trailers Utility Vehicle manuals
Popular Utility Vehicle manuals by other brands

Cub Cadet
Cub Cadet C460 Operator's manual

Textron Specialized Vehicles
Textron Specialized Vehicles Cushman Shuttle 4 ELiTE 2020 owner's manual

Range Road
Range Road RR602 Assembly manual

FARMA
FARMA CT 3 Instruction book

Taylor-Dunn
Taylor-Dunn C0-426-48AC Service and Replacement Parts Manual

Egholm
Egholm Park Ranger 2150 Operator's manual