Kogan INLUDING 3M BAG User manual

FOOD VACUUM SEALER WITH
BAG STORAGE AND CUTTER
INLUDING 3M BAG (SILVER)
KAVACSEALBGA


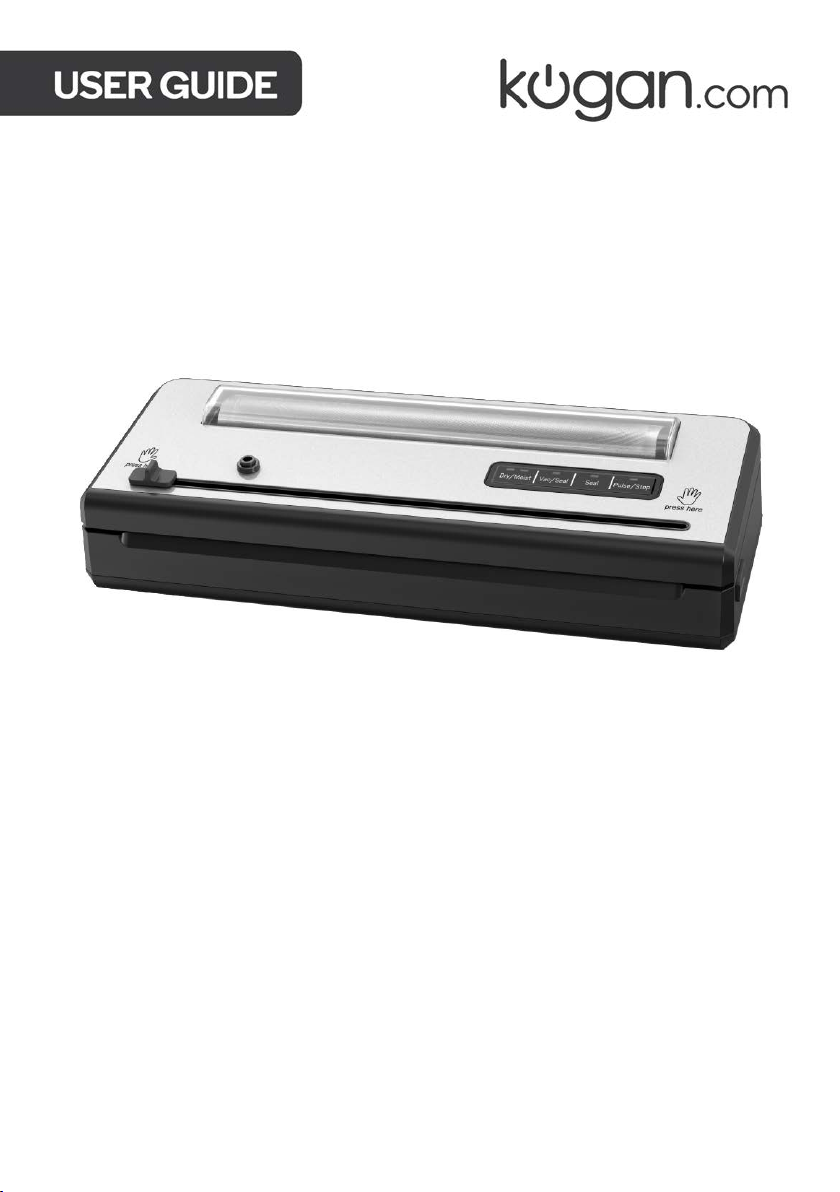
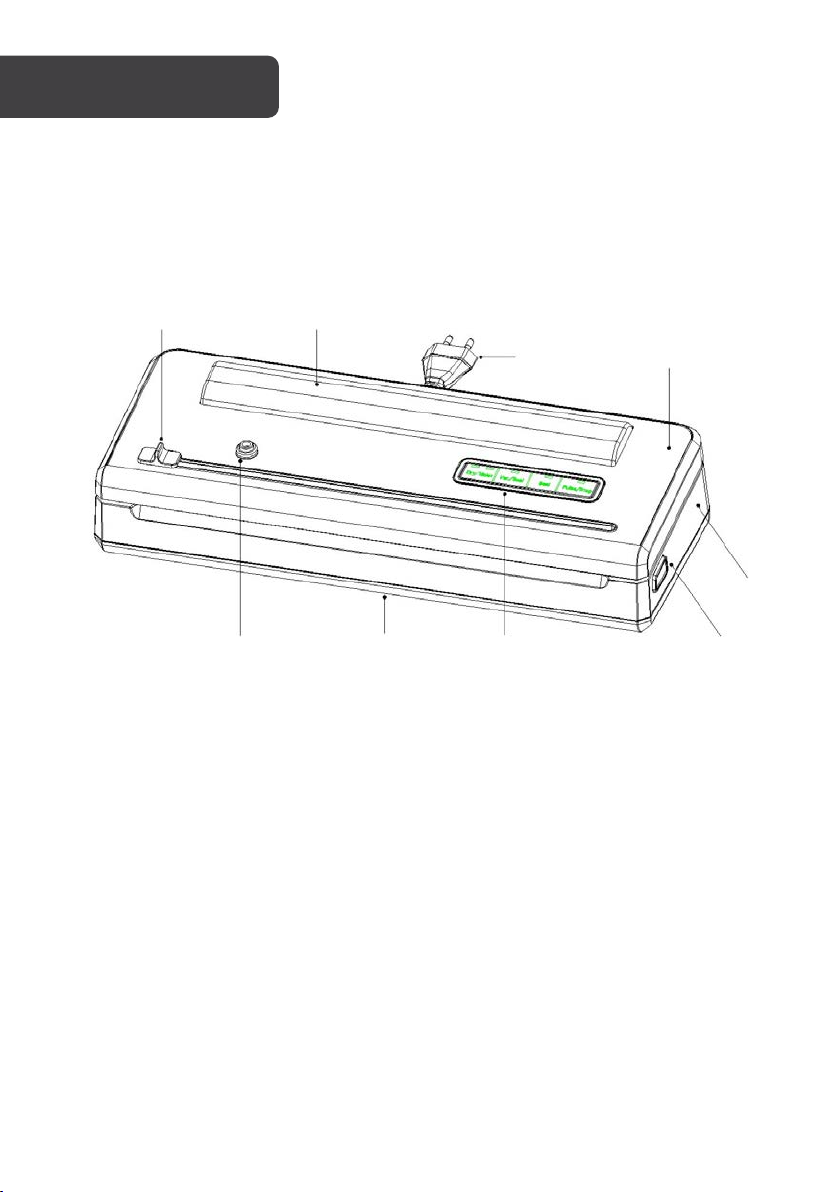
• Read all instructions before using this appliance and retain this guide for reference.
• Do not use this appliance on wet surfaces or outdoors.
• To prevent electric shock, do not put the power cord, plug and other parts of the
appliance into water or other liquids.
• If the cord or the appliance is damaged, stop use immediately and contact
help.Kogan.com for assistance.
• Don't use this appliance for purposes other than its intended use.
• Do not leave this appliance unattended while in operation.
• Do not place this appliance on or near a hot gas or electric burner or in a heated oven.
• Wait 10 seconds between uses so the appliance can cool down.
• Use only accessories recommended by Kogan.com with this appliance.
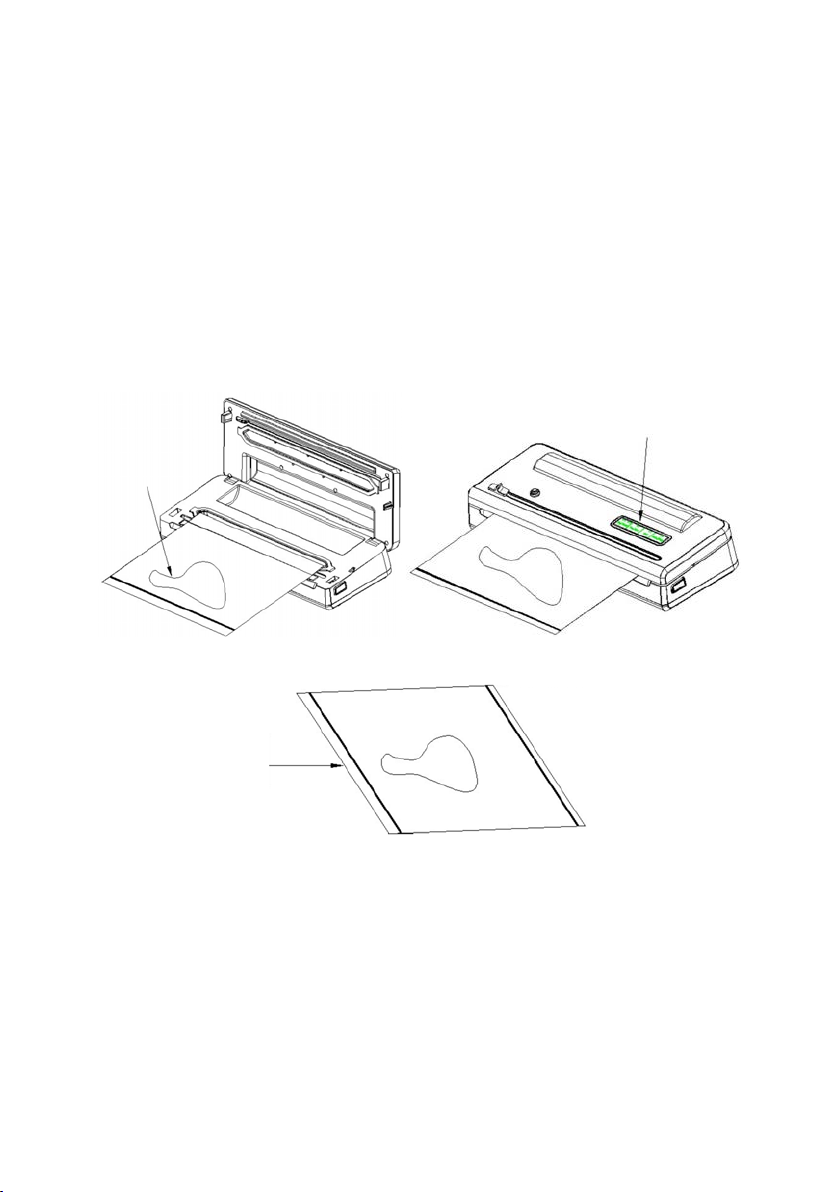
• During operation, liquid, debris or food particles may be brought into the vacuum
channel. Empty the hand-held suction nozzle after each use.
• To disconnect, unplug the power cord from the electrical outlet. Do not disconnect by
pulling on the cord.
• Do not immerse any part of the vacuum sealer, power cord or plug in water or any other
liquid.
• Do not use an extension cord with the vacuum sealer.
• Do not use the vacuum sealer on wet or hot surfaces or near a heat source.
• Do not reuse bags if they were storing raw meats, fish, or greasy foods.
• Do not reuse bags after they are used for simmering or microwaving.
• A short power cord is provided to reduce the risks of becoming entangled in a long cord
or tripping over.
• Before cleaning and when not in use, unplug the cord from the power outlet.
• This appliance is for indoor use only.
SAFETY & WARNINGS

OVERVIEW
Push blade
Transparent cover
Power cord
Upper cover
Housing
Lock (L/R)
Control panel
Base
Accessory port

Standby
After powering on the appliance, the dry mode indicator will illuminate. If no operations are
performed after 5 minutes, the indicator will begin flashing. After another 2 minutes without
user input the indicator will turn off and the appliance will enter standby mode. To wake the
appliance from standby mode, press any button, and then select the desired function.
Dry mode
Dry mode is the default operating mode used for vacuum sealing. Press the Vac/Seal
button to begin. During the vacuum process, the Vac/Seal indicator will flash and
automatically switches to the sealing function once vacuuming is complete.
The Vac/Seal indicator will remain on, while the Seal indicator flashes. After the sealing is
complete, the Seal indicator remains on for 2 seconds and turns off along with the Vac/Seal
indicator.
Moist mode
Moist mode is a specific setting designed to accommodate items with higher moisture
content. When using the moist mode, the vacuum sealer adjusts its operation to handle
moisture effectively and ensure a proper seal. This mode is useful when vacuum sealing
foods like marinated meats, soups, stews, or fruits that may release liquid during the sealing
process.
To enable moist mode, press the Dry/Moist button so the Moist indicator illuminates. Press
the Vac/Seal button to start.
OPERATION
Dry/Moist
Vac/Seal
Seal
Pulse/Stop
Note:
The difference between dry mode and moist mode is that the sealing time is different.
The two sealing modes can be switched at will. Liquids such as soup and food with
water content more than 20ml should always use moist mode to ensure a proper seal.

Seal
The seal button is used to initiate the sealing process without vacuuming out the air from
the bag or container.
Press the seal button to start working, the indicator will begin flashing. When sealing is
completed, the indicator will remain on for 2s and then go out.
During vacuuming, press the seal button at any time to switch to the sealing.
Pulse
The pulse function allows for manual control over the vacuuming process. When the pulse
button is pressed and held, the air pump starts to vacuum the air out of the bag or
container. This function enables you to control the level of vacuum by releasing the pulse
button when the desired amount of air has been removed.
Unlike the automatic vacuuming process, where the machine continues until a
predetermined level of vacuum is reached, the pulse function gives you more flexibility and
control. By releasing the pulse button, the air pump stops vacuuming, and you can check
the progress or adjust the vacuum level as needed.
The pulse function is particularly useful when dealing with delicate or fragile items that
require a gentler vacuuming process. It allows you to manually control the amount of air
removed, preventing damage to the item or excessive pressure on delicate contents.
Press and hold the Pulse button, the air pump will start to vacuum and the indicator light
will flash. When the button is released, the pump will stop vacuuming and the indicator
light will go out.
Stop
During operation, pressing the Stop button will stop the appliance immediately and return
to standby mode.
Note:
Once the sealing process has been completed, the machine is forced to rest for 10s.
During this period, any button pressed will be invalid and result in an alarm (indicator
flashing for 3 seconds). After 10 seconds the appliance is ready for normal operation.

Air Leakage
• If after 2 minutes of operation the required negative pressure is not reached, the
vacuum sealer will automatically pause operation.
• The Seal indicator will flash for 3 seconds and then the vacuum sealer will return to
standby mode.
• If air leakage is suspected:
o Check the seal for any moisture. Wipe it away or cut the bag if necessary.
o Check if there is a hole or puncture in the bag. Replace the bag if necessary.
o Check for any wrinkles in the seal. Wrinkles may cause air to re-enter the bag.
Cut the sealed edge and re-seal the bag if necessary.
Cut and Seal a Bag
1. Open the cover and pull out the bag roll to the desired length.
2. Firmly close the cover and press the Seal button to seal it.
3. Cut the bag using the push blade and open the cover.
4. Complete sealing and make bags.
Seal button
10mm
Bag
Push blade
10mm
Sealed
bag

Seal & Vacuum
1. Place your food items into the bag, ensuring you leave at least 7cm at the top of the
bag (10cm to reuse the bag after vacuuming).
2. Put the bag opening into the vacuum channel. Replace the cover and lock it firmly.
3. Press the Seal/Vac button to start sealing the bag. The Seal/Vac indicator will flash
during vacuuming.
4. The vacuum sealer will automatically switch to the sealing function after vacuuming
is completed. The Seal/Vac indicator will continue to flash, and the Seal indicator will
start flashing.
5. When sealing is completed, the indicator will stop flashing. Press the lock on both
sides of the vacuum sealer to unlock the cover and remove the sealed bag.
Food
Sealed bag
Seal/Vac

Vacuum Using an Accessory (not supplied)
1. Insert one end of the vacuum hose into the accessory port on the vacuum sealer
and the other end into the port on the accessory. Note: Vacuum hose, accessories
and containers are not supplied.
2. Press the Seal/Vac button to start vacuuming.
3. When sealing is completed, the indicator will stop flashing. The vacuum hose can
now be disconnected from the vacuum sealer and the container.
Accessory hose
Seal/Vac
Note:
Leave at least a 3cm clearance between the food and the top of the container.

• Disconnect this appliance from the electrical outlet before cleaning.
• Do not immerse this appliance in water or any other liquid.
• Do not use abrasive cleaning tools or products to clean this appliance, as these could
damage its surface.
• Use a damp cloth or sponge with mild soap to wipe down the exterior surfaces of the
vacuum sealer, including the control panel, lid, and any other accessible parts.
• Dry the appliance thoroughly before resuming use.
Disposal
This marking indicates that this appliance should not be disposed with
other household wastes. To prevent possible harm to the environment or
human health from uncontrolled waste disposal, recycle it responsibly to
promote the sustainable reuse of material resources.
CLEANING & CARE

NOTES

Need more information?
We hope that this user guide has given you
the assistance needed for a simple set-up.
For the most up-to-date guide for your product,
as well as any additional assistance you may require,
head online to help.kogan.com
This manual suits for next models
1
Table of contents
Other Kogan Food Saver manuals