manuals.online logo
Brands
  1. Home
  2. •
  3. Brands
  4. •
  5. Kolin
  6. •
  7. Air Conditioner
  8. •
  9. Kolin KLG-SF40-5G1M User manual

Kolin KLG-SF40-5G1M User manual

works
for
years
aaaair conditioner
www.kolinphil.com.ph
Owner's Manual
Original lnstructions
Split Type Floor Standing Air Conditioner
Thank you for choosing our produc't. Please read this
Owner's Manual carefully before operation and retain it for
lf you have lostthis Owner's Manual, Please contact our
service centers or visit www.kolinphil-com.ph-
MODEL:
KLG-SF4O-5G,IM
Content
Operation Notices
Predutions 1
Mainienance
Clean and maintenance
lntroduclion for icons on display screen ofan conditioner
Operation Guide
25
Button's introd uction .. ...... ----------------- 26
Button s on rernote contrcller ............ ...........-..-..-..... ------------------ 2A
lntrodu clion for icons on d isplay screen .-.. -.......-..-..-..-.. -.......-..- 2A
lntroduction for buttonson remote ontDller 29
Function intmduction for combination buttons
Replacement of batenes in remote controller .......... 33
u
Maltunclion
[,laltunclion ....-..-.............. -..-.............. 35
Attachment
Conliguration of connection pipe -..-.. -...-..-. --....... -.-..- ....-..-.. -...... 39
Pipe expanding npthod .. .................. 41
Thrs applran@ s not ntended for use by peEons (ncludrng ch dren) wth redu@d physrel, sen$ry
or mental capab rbes or lack of expenen@ and kwledge, unles they have ben gNen slpeMson
ormstrucbon concemng u*of breapplrance by a peMn esponsrble for bretr sfety
ChrErenshoLld be supeMsed to ensue that they do not play wth bre applrarce
lanation of Smbols
lndicates a hazardous situation that, if not avoided, will
result in dealh or serious injury.
lndicates a hazardous situation that, if not avoided, could
result in dealh or serious injury.
lndicates a hazardous situation that, if not avoided, may
result in minor or moderate injury.
lndicates important but not hazard-related information,
used to indicate risk ofproperty damage.
lf it needs to install, move or maintain the air condilioner, please contact dealer
or local service center to conduct it at first. Air conditioner must be installed,
moved or maintained by appointed unit. Otherwise, it may cause serious
damage or personal injury or death.
When refrigerant leaks or requires discharge during installation, maintenance,
or disassembly, it should be handled by certified professionals or otherwise in
compliance with local laws and regulations.
lndicates a hazard that would be assigned a signal word
WARNING or CAUTION
lManufacturer will bear no responsibilities when personal injury or
property loss is caused by the following reasons.
l.Damage the product due to improper use or misuse ofthe product;
2.Alter, change, maintain or use the product with other equipment without abiding
by the inslruction manual ofmanufacturer;
3.After verification, the defuct ofproduct is directy caused by corrosive gas;
4.After verification, defecb are due to improper operation during transporhtion of
product;
5.Operate, repair, maintain the unitwithout abiding by instruction manual or related
regulations;
6.After verification, the problem or dispute is caused by the quality specification or
performance ofparb and componenb that produced by other manufacturers;
7.The damage is caused by natural calamities, bad using environment or force
majeure.
tion Clauses
Precautions
Operation and Maintenance
.This appliance can be used by children aged from 8
years and above and persons with reduced physical,
sensory or mental capabilities or lack of experience
and knowledge if they have been given supervision or
instruction concerning use of the appliance in a safe
way and understand the hazards involved.
.Children shall not play with the appliance.
.Cleaning and user maintenance shall not be made by
children without supervision.
.Do not connecl air conditioner to multi-purpose socket.
Otherwise, it may cause fire hazard.
.Do disconnect power supply when cleaning air
conditioner. Otherwise, it may cause electric shock.
.lf the supply cord is damaged, it must be replaced by
the manufacturer, its service agent or similarly qualified
persons in order to avoid a nazatd.
.Do not wash the air conditioner with water to avoid
electric shock.
.Do not spray water on indoor unit. lt may cause electric
shock or malfunction-
.After removing the filter, do not touch fins to avoid injury.
.Do not use fire or hair dryer to dry the filter to avoid
deformation or fire hazard.
Precautions
. Maintenance must be performed by qualified
professionals. Otherwise, it may cause personal injury
or damage.
. Do not repair air conditioner by yourself. lt may cause
electric shock or damage. Please contact dealer when
you need to repair air conditioner.
. Do not extend fingers or objects into air inlet or air
outlet. lt may cause personal injury or damage.
. Do not block air outlet or air inlet. lt may cause
malfunction.
. Do not spill water on the remote mntroller, otherwrse the
remote controller may be broken.
. When below phenomenon occurs, please turn off air
conditioner and disconnect power immediately, and then
contact the dealer or qualified professionals for service.
. Power cord is overheating or damaged.
. There's abnormal sound during operation.
. Circuit break trips off frequently.
. Air conditioner gives off burning smell.
. lndoor unit is leaking.
. If the air conditioner operates under abnormal conditions,
it may cause malfunction, electric shock or fire hazard.
. When turning on orturning offthe unit by emergency
operation switch, please press this swrtch with an insulating
object other than metal.
. Do not step on top panel of outdoor unit, or put heavy
ob.iects. lt may cause damage or personal injury.
2
Precautions
Attachment
. lnstallation must be performed by qualified professionals.
Otherwise, it may cause personal injury or damage.
. Must follow the electric safety regulations when installing
the unit.
. According to the local safety regulations, use qualified
power supply circuit and circuit break.
. Do install the circuit break. lf not, it may cause malfunction.
. An all-pole disconnection switch having a contact separation
of at least 3mm in all poles should be connected in fixed
wiring.
. lncluding an circuit break with suitable capacity, please
note the following table.Air switch should be included
magnet buckle and heating buckle function, it can protect
the circuit-short and overload.
. Air Conditioner should be properly grounded. lncorrect
grounding may cause electric shock.
. Don't use unqualified power cord.
. Make sure the power supply matches with the requirement
of air conditioner. Unstable power supply or incorrect wiring
may result in electric shock, fire hazard or malfunction.
Please install proper power supply cables before using the
air conditioner.
. Properly connect the live wire, neutral wire and
grounding wire of power socket.
. Be sure to cut off the power supply before proceeding
any work related to electricity and safety.
3
Precautions
Do not put through the power before finishing installation.
lf the supply cord is damaged, it must be replaced by
the manufacturer, its service agent or similarly qualified
persons in order to avoid a hazatd.
The temperature of refrigerant circuit will be high, please
keep the interconnection cable away from the copper
tube.
The appliance shall be installed in accordance with
national wiring regulations.
lnstallation must be performed in accordance with the
requirement of NEC and CEC by authorized personnel
only.
The air conditioner is the first class electric appliance. lt
must be properly grounding with specialized grounding
device by a professional. Please make sure it is always
grounded effectively, otherwise it may cause electric shock.
The yellow-green wire in air conditioner is grounding
wire, which can't be used for other purposes.
The grounding resistance should comply with national
electric safety regulations.
. The appliance must be positioned so that the plug is
accessible.
All wires of indoor unit and outdoor unit should be
connected by a professional.
lf the length of power connection wire is insufficient, please
contact the supplier for a new one. Avoid extending the
wire by yourself.
4
Precautions
. For the air conditioner with plug, the plug should be
reachable after finishing installation-
. For the air conditioner without plug, an circuit break
must be installed in the line.
. If you need to relocate the air conditioner to another
place, only the qualified person can perform the work.
Otherwise, it may cause personal injury or damage.
. Select a location which is out of reach for children and
far away from animals or plants.lf it is unavoidable,
please add the fence for safety purpose.
. The indoor unit should be installed close to the wall.
. lnstructions for installation and use of this product are
provided by the manufacturer.
lndoor side DB^VB({ )Outdoor side DB^VB(t )
Maximum cooling 43t26
NOTICE:
. The operating temperature range (outdoor temperature) for cooling only unil is
18ar-43al
5
Clean and maintenance
. Turn off the air conditioner and disconnectthe power before cleaning the air
condilioner to avoid electric shock.
. Do notwash the air conditionerwith water to avoid electric shock.
. Do not use volatile liquid to clean the air condilioner.
. Do not use liquid or corrosive detergent clean the appliance and do not splash
water or olher liquid onto it, otherwise, it may damage lhe plastic components,
even cause electric shock
When the surhce of indoor unit is dirty, it is recommended to use a soft dry cloth
or wet cloth to wipe it.
Note:
. Do not remove the panel when cleaning
Clean surface of indoor unit
Clean filter
Remove screws of air-in panel
Open screw caps at both sides according to
direction 1r in fg. 1. Remove the screws at
both sides of air-in panelwilh screwdriver.
Open the air-in panel
According the arrow direction r. in fig. 2.
Draw out the filter according to arrow
direction,21.
Clean filter
. Use dusi catcher orwater to clean the flter.
. When the flter is very dirty, use water (below
45 C ) to clean il, and then put il in a shady
and cool place to dry.
lnstall filter and air-in panel
After installing the filter, buckle the air-in panel.
Use screwdriverto tighten the screws at both
sides of air-in panel, and then install the screw
cap.
2
3
4
Note:
. The filter should be cleaned every three months. I there is
much dust in the operalion environment, cleaning requency
can be increased.
. Do not use fire or hair dryerto dry the filter to avoid deformaiio
6
Fig.2
Fis. 1
Clean and maintenance
'1. Check whether air inlet and air outlet are blocked.
2. Check whether air switch, plug and socket are in
good condilion.
3. Check whether flter is clean.
4. Check whether the remote controller is installed
with batteries.
5. Check whether mounting bracketfor outdoor unit
is damaged or corroded. lfyes, please contact dealer.
6. Check whether drainage pipe is damaged.
1. Disconnect power supply.
2. Clean filter and indoor unit's panel.
3. Clear dust and obstructions from the outdoor unit.
4. Check whether mounting bracket for outdoor unit is damaged or corroded.
lfyes, please contact dealer.
Notice for recovery
'1. Many packing mabrials are recyclable materials.
appropriate tecycling unit.
2. lf you want to dispose the air conditioner, please
consulEnt service center for the conectdisposal
Please dispose them in
contact local dealer or
method.
7
lnstallation dimension dia
GVC36AR-D3NND2A
way from wall (30cm
leasl for piping side)
E
I
I
E
i
.%
8
iFins side)
all (30
lnstallation dimension dia
GVC60AR-F3NND2A
way rrom wall (30cm
l€asl for piping side)
p
"- il "s
o
E
I
t;
Safety precautions for installing and relocating the unit
AWarning
.When installing or relocating the unit, be sure to keep the relrigerant
circuit free from air or substances other lhan the specified refrigerant.
Any presence of air or other foreign substance in the refrigerant circuit will cause
system pressure rise or compressor rupture, resulting in injury.
.When installing or moving this unit, do not charge the refrigerant which
is not comply with that on the nameplate or unqualified refrigerant.
Otherwise, it may cause abnormal operation, wrong action, mechanical
malfunction or even series safety accident.
.When refrigerant needs to be recovered during relocating or repairing the
unit, be sure lhat the unit is running in cooling mode.Then, fully close the
valve at high pressure side (liquid valve).About 30-40 seconds later, fully
close the valve at low pressure side (gas valve), immediately stop the unit
and disconnect power. Please note thatthe time for refrigerant recovery
should not exceed I minute.
lf refigerant recovery takes too much time, air may be sucked in and cause
pressure rise or compressor rupture, resulting in injury.
. During refrigerant recovery, make sure that liquid valve and gas vafue are
fully closed and power is disconnecled before detaching the connection pipe.
lf compressor starls running when stop valve is open and connection pipe is not
yel connected, air will be sucked in and cause pressure rise or compressor
rupture, resulling in injury.
.When inslalling the unit, make sure that conneclion pipe is securely
connected before the compressor starts running.
lf compressor starls running when stop valve is open and connection pipe is not
yel connected, air will be sucked in and cause pressure rise or compressor
rupture, resulling in injury.
. Prohibit insialling the unit at the place where there may be leaked corrosive
gas or flammable gas.
lf there leaked gas around the unit, it may cause explosion and other accidents.
. Do not use extension cords for electrical connections. lf the electric wire
is not long enough, please contact a local service center authorized
and ask for a proper electric wire.
Poor connections may lead to electric shock or fire.
. Use the specified types ofwires for electrical connections betrveen the
indoor and outdoor units. Firmly clamp the wires so that their terminals
receive no external stresses.
Electric wires with insufficient capacity, wrong wire conneclions and insecure
wire terminals may cause electric shock orfire.
10
Tools for installation
2 Screw driver 3 lmpact drill
4 Drill head 5 Pipe expander 6 Torque wrench
7 Open-end wrench 8 Pipe cutter I Leakage detector
'10 Vacuum pump '1'1 Pressure meter '12 Universal meter
'13 lnner hexagon spanner '14 Measuring tape
Please contactthe local agent for
Don't use unqualified power cord. installation
Selection of installation location
lnstalling the unit in the following pla-
ces may cause malfunclion. lf it is u-
navoidable, please consult the local
dealer:
'1. The place near sfong heal sources
vapors, flammable or explosive gas,
or volatile objecb spread in the air.
2. The place with high-frequency dev-
ices (such as welding machine,
medical equipment).
3. The place near coast area.
4. The place with oil orfumes in the air.
5. The place with sulfureted gas.
6. Other places with special circums-
tances.
7. Please try your best to keep way
from iuorescent lamp.
8.lt's not allowed to be installed on the
unstable or motive base structure (such
as lruck) or in lhe conosive environ-
ment (such as chemical factory).
'1. Avoid installing the indoor unit in a place
where generated or leaked inflammable
gas will stay.
2. Avoid installing the indoor unit in a moist
place or in a place where oil may be
splashed on the unit.
3. Select a localion where outlet air may
reach each corner of the room.
4. Select a location where connection pipe
can be led to outdoor conveniently.
5. Select a location where air inlet and
outet won't be blocked.
6. Select a location with least affection of
outdoor air.
7. Select a localion with firm and flat foor.
8. Retain sufficient space for maintenance
and installation.
9. Ensure the installation meets the requir-
ement of installation dimension diagram.
'10. Do not use the unit in the immediate
surroundings of a laundry a bath a
shower or a swimming pool.
'1. Select a location where the noise and outlow air emitted by the outdoor unit
will not affect neighborhood.
2. The localion should be well venlilated and dry, in which the outdoor unit won't
be exposed directly to sunlight or strong wind.
3. The location should be able to withstand the weight ofoutdoor unit.
4. Make sure that the installation follows the requirement ofinstallation dimen-
sion diagram.
5. Select a localion which is out of reach for children and far away from animals
or plants. lf it is unavoidable, please add fence for safety purpose.
6. The height difference between indoor unit and outdoor unit should be within
5m. The length ofconnec'tion pipe should be within '10m.
uirements for electric connection
Safety precaution
1.,4ustfollowthe electric safeiy regulalionswhen installing the unit.
2. lfthe supply cord is damaged, it must be replaced by the manufacturer or ils
service agent or a similarly qualified person in order to avoid a hazard.
3. According to the local safety regulations, use qualifed power supply circuit and
air switch.
4. A air switch having a contact separation of at least 3mm in all poles should be
fixed in fixed wiring.
5. The appliance shall be insialled in accordance with national wiring regulaiion.
6. The air switch must have the functions of magnetic tripping and heattripping in
order to preveni short circuil or overload. Please insiall the air switch with
suitable capacity according to the sheet below.
7. Make sure the power supply maiches wilh the requiremeni of air condilioner.
Unsiable power supply or incorrectwiring may resull in electric shock, fre
hazard or malfunciion. Please install proper power supply cables before using
the air conditioner.
8. Properly connect the live wire, neutral wire and grounding wire of power socket.
9. Be sure to cut off the power supply before proceeding any work related to electric safety.
10. Do not put through the power before finishing installaiion.
1. The air condilioner is the first class electric appliance. lt must be properly
grounding with specialized grounding device by a professional. Please make
sure it is always grounded effeciively, otherwise it may cause eleciric shock.
2. The yellow-green wire in air conditioner is grounding wire, which can't be used
for oiher purposes.
3. The grounding resisiance should comply wilh national electric safety regulations.
4. The appliance must be posilioned so that the plug is accessible.
5. An all-pole disconneciion swilch having a contact separation of at least 3mm in
all poles should be connected in txed wiring
6. lncluding an air switch with suitable capacity, please noie the following table. Air
switch should be included magnet buckle and heating buckle function, it can
protect the circuit-short and overload. (Caution: please do not use the fuse only
for protectthe circuit) Air-conditbner Air switch capacity
36K. 60K 324
Grounding requirement
12
lnstallation of indoor unit
Step one: choosing installation location
Recommend the installation location to the client and then confirm itwith the client.
Step two: open piping hole
1. Choose the posilion ofpiping hole according to the direction of outlet pipe.
2. Open a piping hole with the diameter of O70 on the selected outlet pipe
posilion. ln order to drain smoothly, slant the piping hole on the wall slighty
downward to the outdoor side with the gradient of 5-10'.
opening the hole.
Step three: outlet
1. The pipe can be led
direclion of left, right
Noie:
. Payatention to dust prevention and
bke relevant safety measures when
After confrming the direction of outlel pipe,
loosen the screws at the upper and lower
adjusting bafffe to letthe connection pipe
/drain pipe connecb the indoor unit.
pipe
out in the I
!
t
I
I
I
I
!
I
n!ht
of indoor unit
Step four: connect the pipe
1. Take out the lefl and right screw
panelto remove the panel. cover and then remove the screws on air-inlet
upper and lMer adrLslrno baffle
13
lnstallation of indoor unit
2. Aim the pipejoint at lhe correspo-
nding bellmouth.
Iklienrdd blEUo (f}m)
114 15 7 (1 6ko m)
294 (3 oko m)
49 0 (5 oks m)
73 6 (7 5ko m)
3. Pretighten the union nutwilh hand.
4. Adjustlhe lorque force by referring 10
the following sheet. Place the open-
end wrench on the pipejoint and
place the iorque wrench on lhe
union nut. l'lghten the union nui
with torque wrench.
5. Wrap the indoor pipe
connection pipe with
and then wrap itwith
Note:
. Add insulating
hose in order
ation
and joint of
insulaiing pipe,
tape.
- rns!tatrfo oDe
Step five: install drain
1. Connecl lhe drain hose to
ouilet pipe of indoor unit.
hose
tne
1. Make the power connection wire go
through the cable-cross hole of
indoor unitand then pull it out.
2. Bind thejoint wilh tape.
Step six: connect wire of indoor unit
pipe in the indoordrain
to prevent condens-
^- rns!talrno ope
"",,"ltt-
14
lnstallation of indoor unit
2. Remove the wire clip;
according to the color;
with wire clip.
power connection wire to the wiring terminal
the power connection wire
connect the
lighten the
Ouldoor unir connecrion
L1 2L3 :!
N(r) 2 3 :.t:
Ouldoor unir connecrion
3. Adjustthe position of upper and lower adjusting bafffe; clamp lhe connection
pipe and drain pipe as firm as possible.
4. Tighten the screws.
Noie:
All wires of indoor unit and outdoor unit should be connected by a professional.
. lf the leng h of power connec'tion wile is insufficient, please contact the supplier
fur a new one. Avoid extending the wire by yourself.
. For lhe air conditioner with plug, the plug should be reachable afrerfinishing
installation-
. Forthe air conditioner without plug, an air switch must be ins{alled in the line.
The air switdl should be all-pole parting and the contact parting distance
should be more than 3mm
Step seven: bind up pipe
'1. Bind up the connection pipe, power cord and drain hose with the band.
15
lnstallation of indoor unit
2. Reserve a certain length ofdrain
binding them. When binding to a
then separate the drain hose.
hose and power cord for
certain degree, separate installation when
the indoor power and
rndoorpower@rd
3. Wrap it evenly, and rolling width should be 1/3 ofbandaging belt. Do notwrap it
tooiight or too loose.
4. The liquid pipe and gas pipe should be bound separately atlhe end.
Noie:
. The power cDd ad cDntrol wilB can't be crossed or winding.
. Th€ drsin hose should b€ bound at the boflom
Step eight: place the indoor unit
'1. Putthe bound pipes in the wall pipe and then make them pass through the wall
hole.
2. Stuffthe gap between pipes and wall hole with sealing gum.
3. Fix the wall pipe.
Noie:
blockins.
. Do hot b€nd th€ drain
€xcessively in ordar to
-r-li"''* *i'*" T
16

Other Kolin Air Conditioner manuals

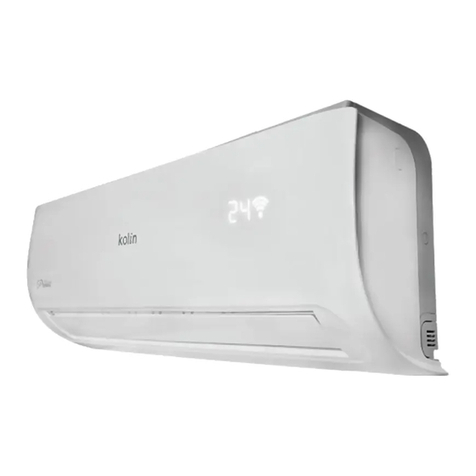
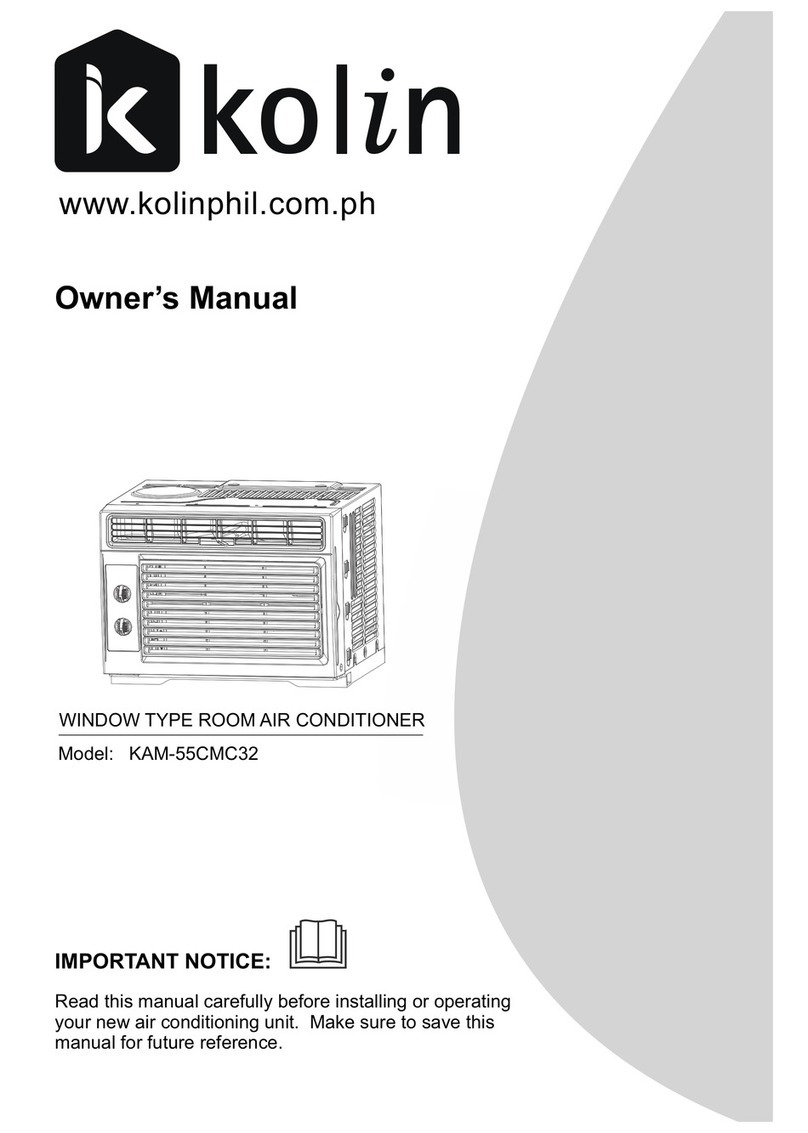
Kolin KAM-55CMC32 User manual

Kolin

Kolin KAM-55CMC32 User manual

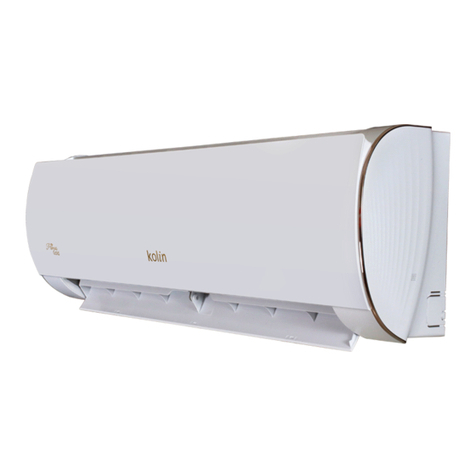
Kolin E Series User manual

Kolin

Kolin E Series User manual

Kolin KLM-SS40-4F1M User manual

Kolin

Kolin KLM-SS40-4F1M User manual

Kolin KLM-IF70-3D3M User manual

Kolin

Kolin KLM-IF70-3D3M User manual

Kolin KAM-55CMC32 User manual

Kolin

Kolin KAM-55CMC32 User manual

Kolin KLM-IS70-3D3M User manual

Kolin

Kolin KLM-IS70-3D3M User manual

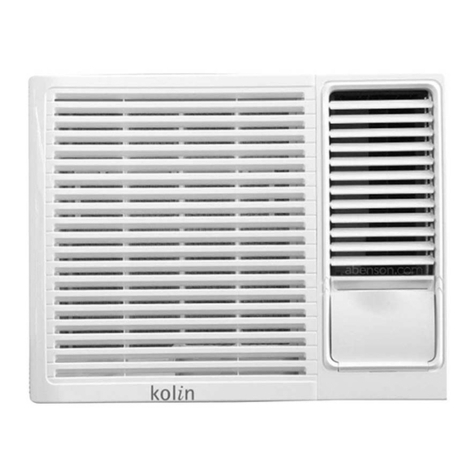
Kolin KEA-60BDRDCA User manual

Kolin

Kolin KEA-60BDRDCA User manual

Kolin KAG-110RSINV User manual

Kolin

Kolin KAG-110RSINV User manual

Kolin Quad Series User manual

Kolin

Kolin Quad Series User manual

Kolin KLG-SF70-4D3M User manual

Kolin

Kolin KLG-SF70-4D3M User manual

Kolin KLG-IF40-3D1M User manual

Kolin

Kolin KLG-IF40-3D1M User manual

Kolin KSM-IW10WAE-7J1M User manual

Kolin

Kolin KSM-IW10WAE-7J1M User manual

Kolin Primus Gold KSG-IWF-10WFY-8K1M32 User manual

Kolin

Kolin Primus Gold KSG-IWF-10WFY-8K1M32 User manual

Kolin KLG-IF70-2C1M User manual

Kolin

Kolin KLG-IF70-2C1M User manual
Kolin e Series User manual

Kolin

Kolin e Series User manual

Kolin KAM-75BMC User manual

Kolin

Kolin KAM-75BMC User manual

Kolin KLM-SC40-4F1M User manual

Kolin

Kolin KLM-SC40-4F1M User manual

Popular Air Conditioner manuals by other brands

Mitsubishi Electric MFZ-KA25VA installation manual

Mitsubishi Electric

Mitsubishi Electric MFZ-KA25VA installation manual

Nortek FS4BD-KA installation instructions

Nortek

Nortek FS4BD-KA installation instructions

LG AUUQ18GH1 Svc manual

LG

LG AUUQ18GH1 Svc manual

Carrier 42WHC016 installation manual

Carrier

Carrier 42WHC016 installation manual

Bard H24A2-A manual

Bard

Bard H24A2-A manual

Trotec pac 2000 e operating manual

Trotec

Trotec pac 2000 e operating manual

Daikin ARXN25N6V1B9 installation manual

Daikin

Daikin ARXN25N6V1B9 installation manual

LG LP1023BSSM owner's manual

LG

LG LP1023BSSM owner's manual

Hitachi RAS-4HRNS3E Installation and operation manual

Hitachi

Hitachi RAS-4HRNS3E Installation and operation manual

MCS Master BC 120 User and Maintenance Book

MCS Master

MCS Master BC 120 User and Maintenance Book

Panasonic CW-XC105HU Installation and operating instructions

Panasonic

Panasonic CW-XC105HU Installation and operating instructions

Daikin FTXZ25NV1B installation manual

Daikin

Daikin FTXZ25NV1B installation manual

Morgan MAC-COOL1B user manual

Morgan

Morgan MAC-COOL1B user manual

Hitachi air Home 400 RAK-DJ60PHAE Operation manual

Hitachi

Hitachi air Home 400 RAK-DJ60PHAE Operation manual

Whirlpool 1188910 Energy guide

Whirlpool

Whirlpool 1188910 Energy guide

International comfort products DFS2A318J2A Installation, Start-Up and Service Instructions

International comfort products

International comfort products DFS2A318J2A Installation, Start-Up and Service Instructions

Trane 4TTL6018A1000A Installation and operation manual

Trane

Trane 4TTL6018A1000A Installation and operation manual

Daitsu CRAD 3 KiAWP 15 user manual

Daitsu

Daitsu CRAD 3 KiAWP 15 user manual

manuals.online logo
manuals.online logoBrands
  • About & Mission
  • Contact us
  • Privacy Policy
  • Terms and Conditions

Copyright 2025 Manuals.Online. All Rights Reserved.