Montageanleitung
assembly Instruction /
instructions de montage
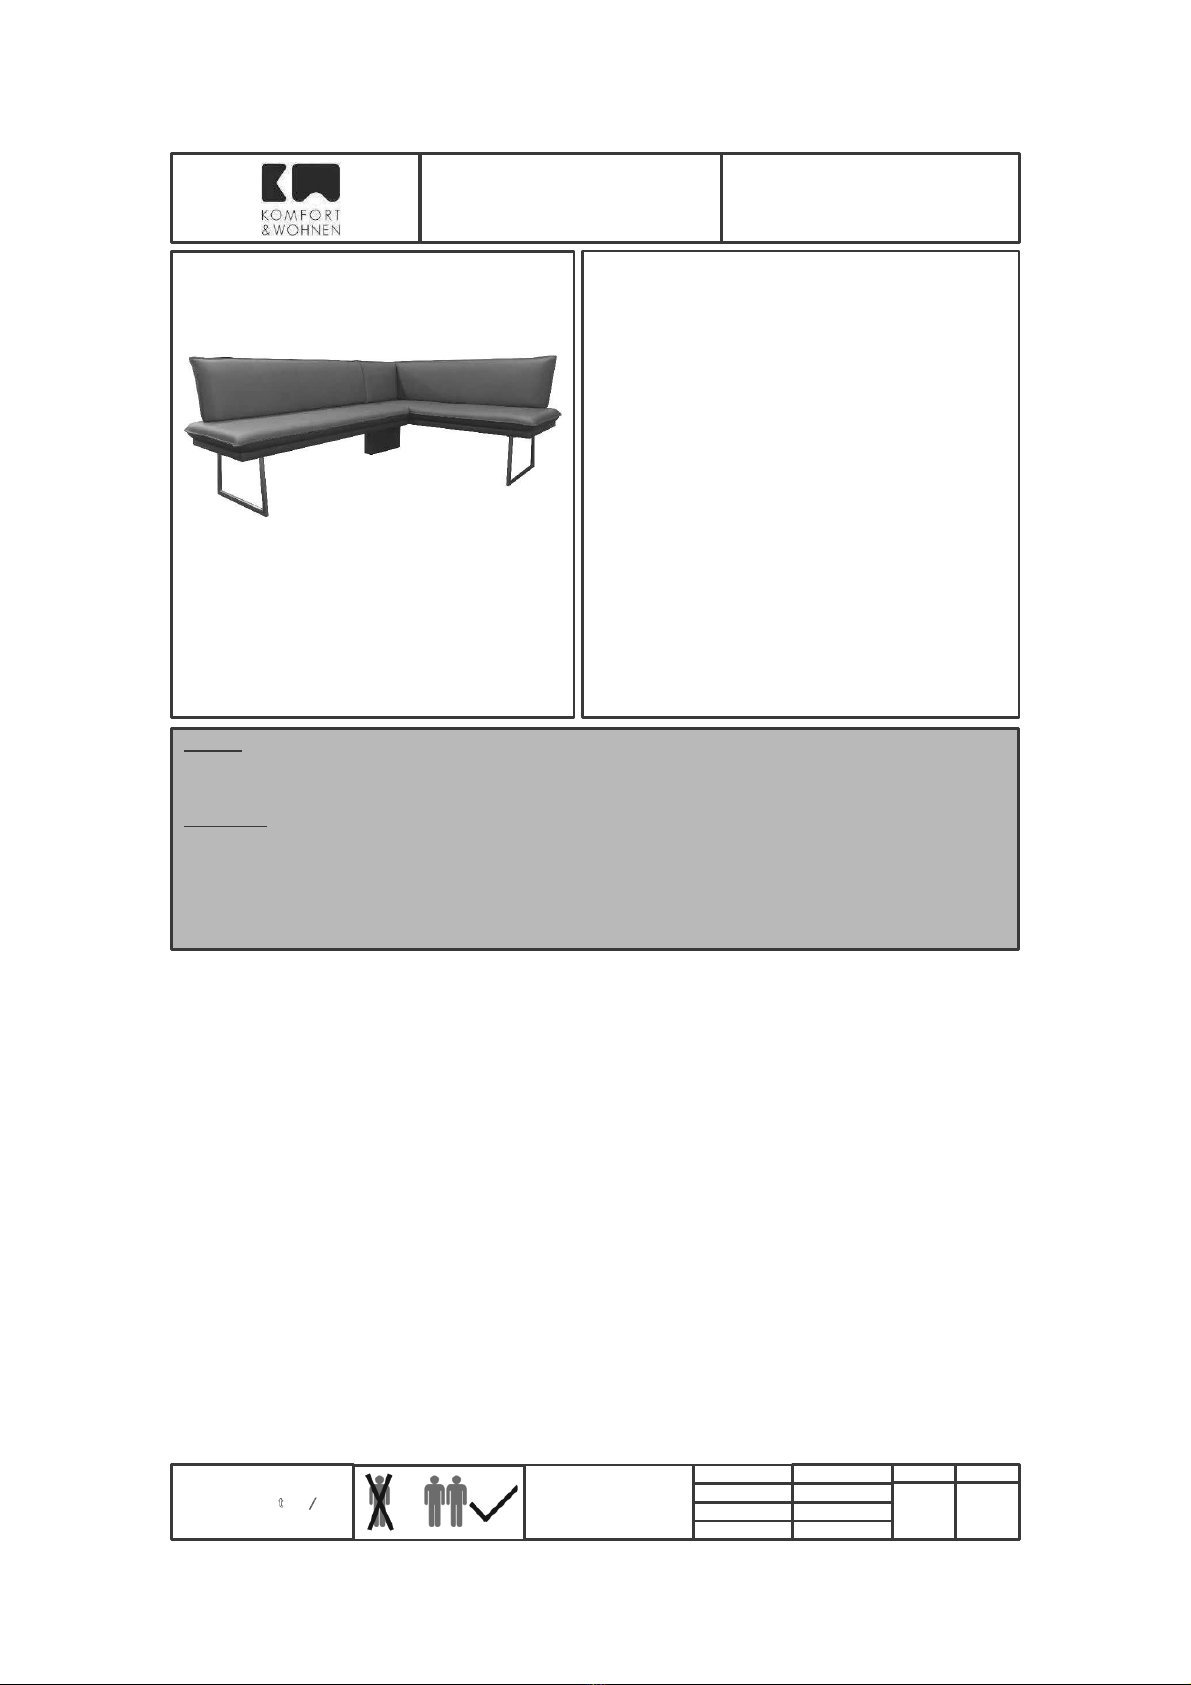
Modell 4197
Eckbank
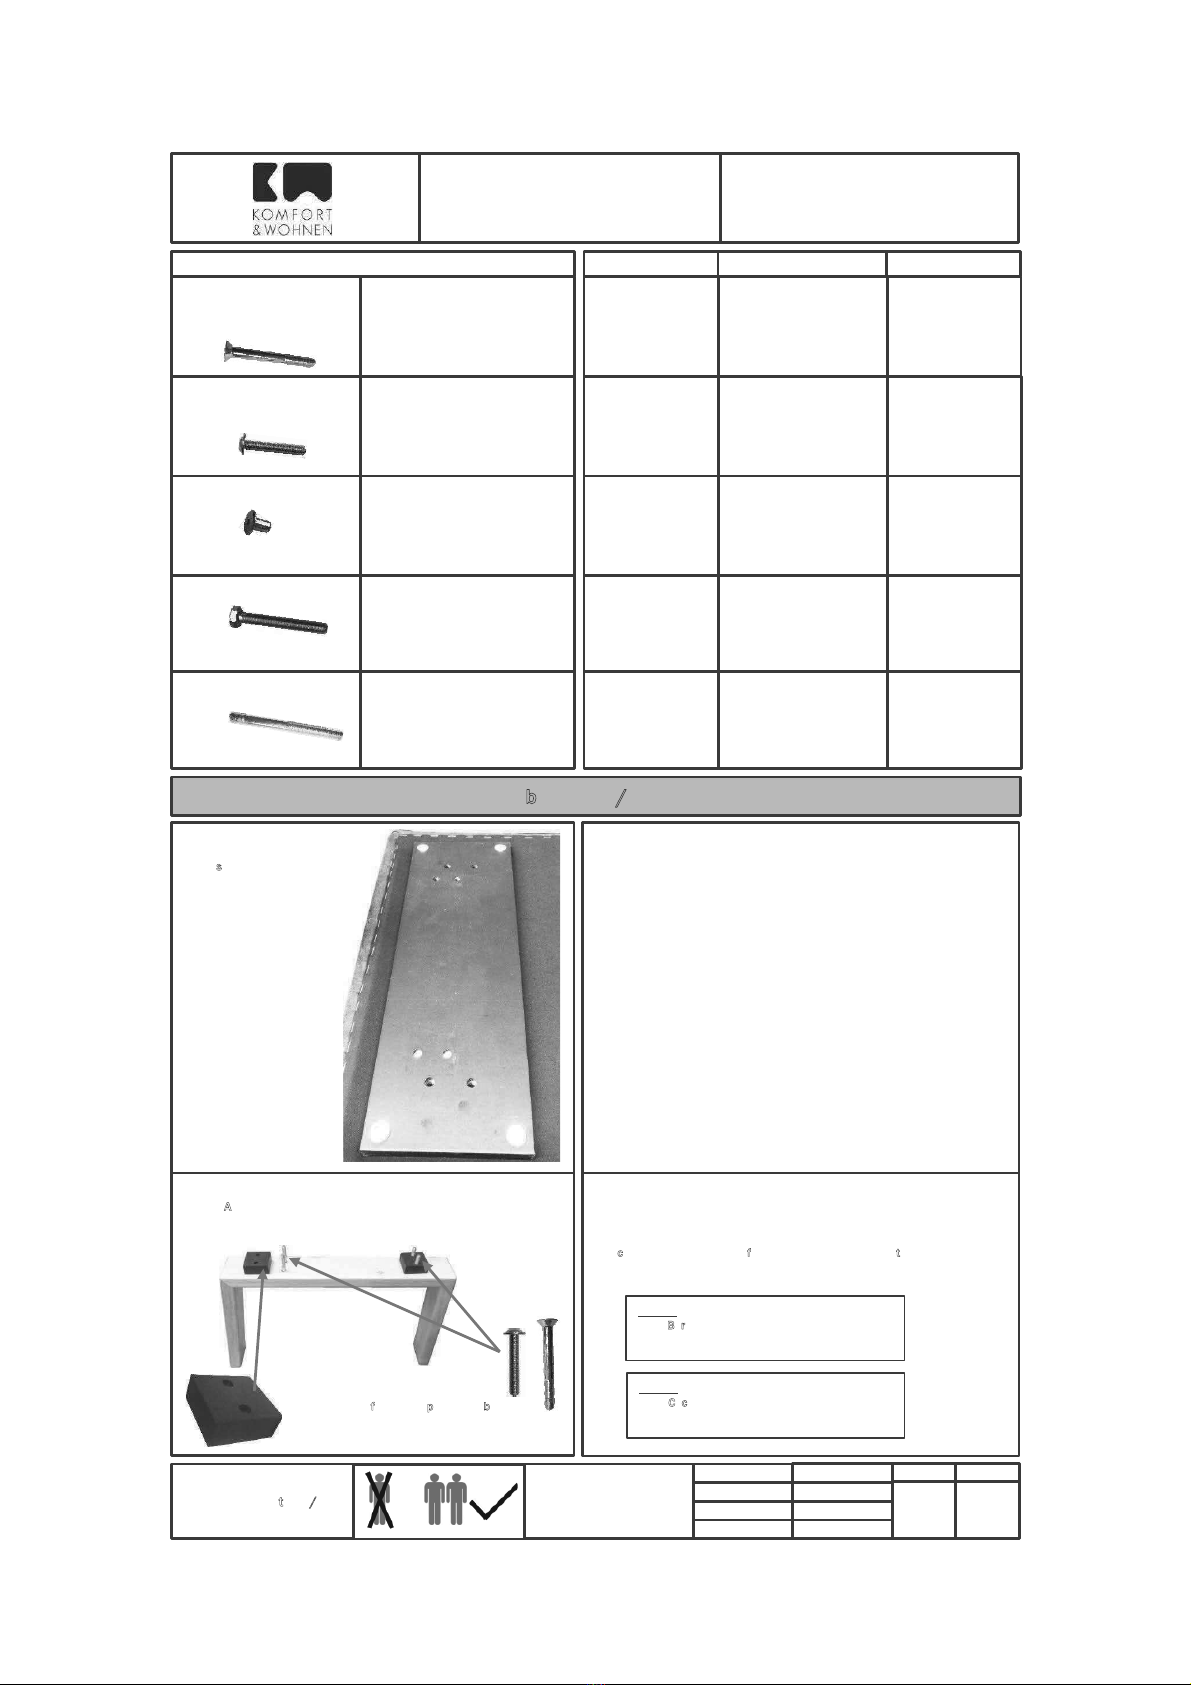
Schritt 2 : Montage Stützfuß Eckteil
Step 1: Mounting support base corner piece
No 2: montage pied support d‘anle
Fuß an der Unterseite der Bank anlegen und die Gewindehülse mit der
Hand an den Gewindebolzen aufdrehen.
Linsenkopfschrauben unten mit der Hand eindrehen.
Danach die Gewindehülse und die Linsenkopfschraube mit dem Inbus –
Schlüssel festziehen.
Put the base on the bottom of the bench and screw in the threaded
sleves by hand.
Screw in the raised countersunk screw by hand.
Fix the threaded sleves with the raised countersunk screws with an
allen key.
Placez le pied sur la face inférieure du banc et fixez la douille filetée avec
l'écrou. Visser le boulon fileté à la main.
Visser à la main les vis à tête cylindrique en bas.
Insérez ensuite la douille filetée et la vis à tête cylindrique à l'aide de la clé à
six pans creux - Serrer la clé.
Gewindehülse M8x20 mm 1 Stück
threaded sleve M8x20 mm
douille filetée M8x20
Linsenkopfschraube M8x50 mm 2 Stück
raised countersunk screw M8x50 mm2x
vis a tête bombée M8x50 mm 2x
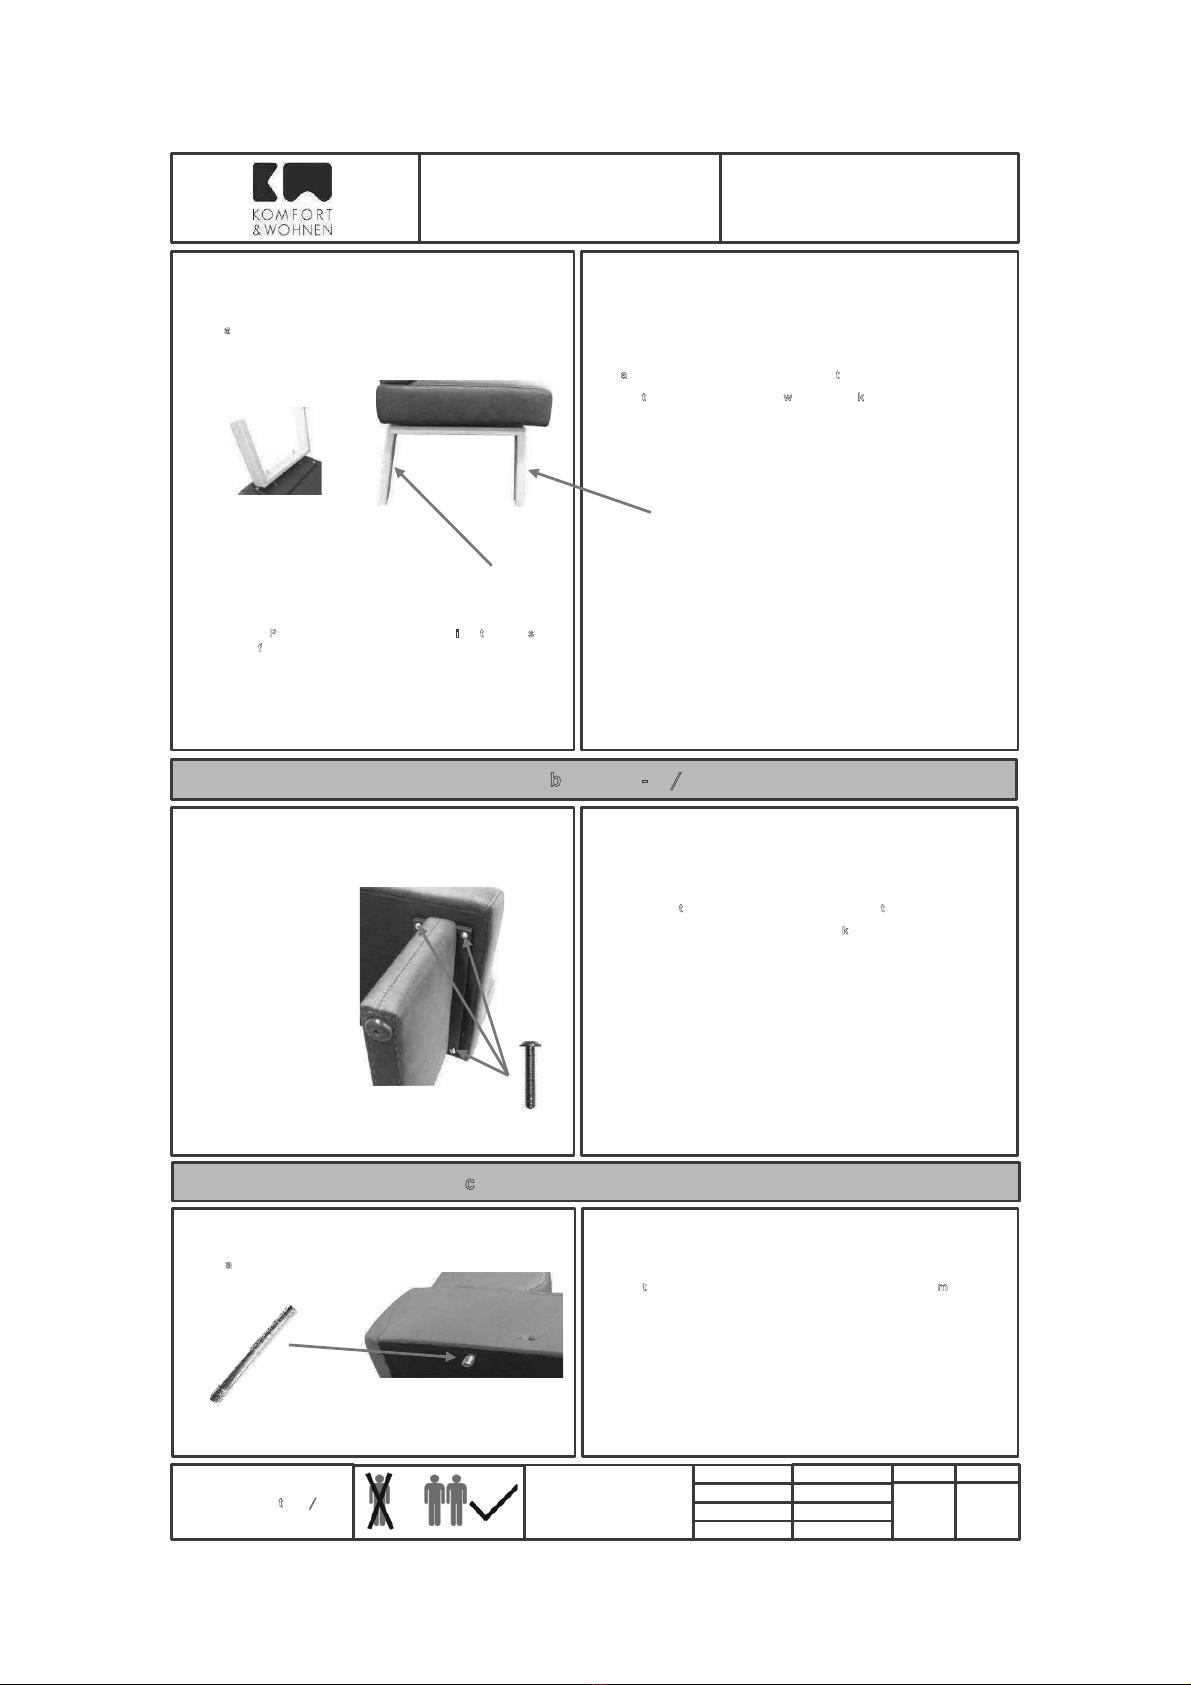
Schritt 1: Rücken verbinden
Step 1: connect the backs
Étape no. 1:connecter les dos
Teile zusammenstellen und den Bolzen am Rücken an der gegenüber-
liegenden Aussparung drücken.
Put both parts together and push inthe bolt.
Assemblez les pièces et appuyez le boulon sur le dos au renfoncement.
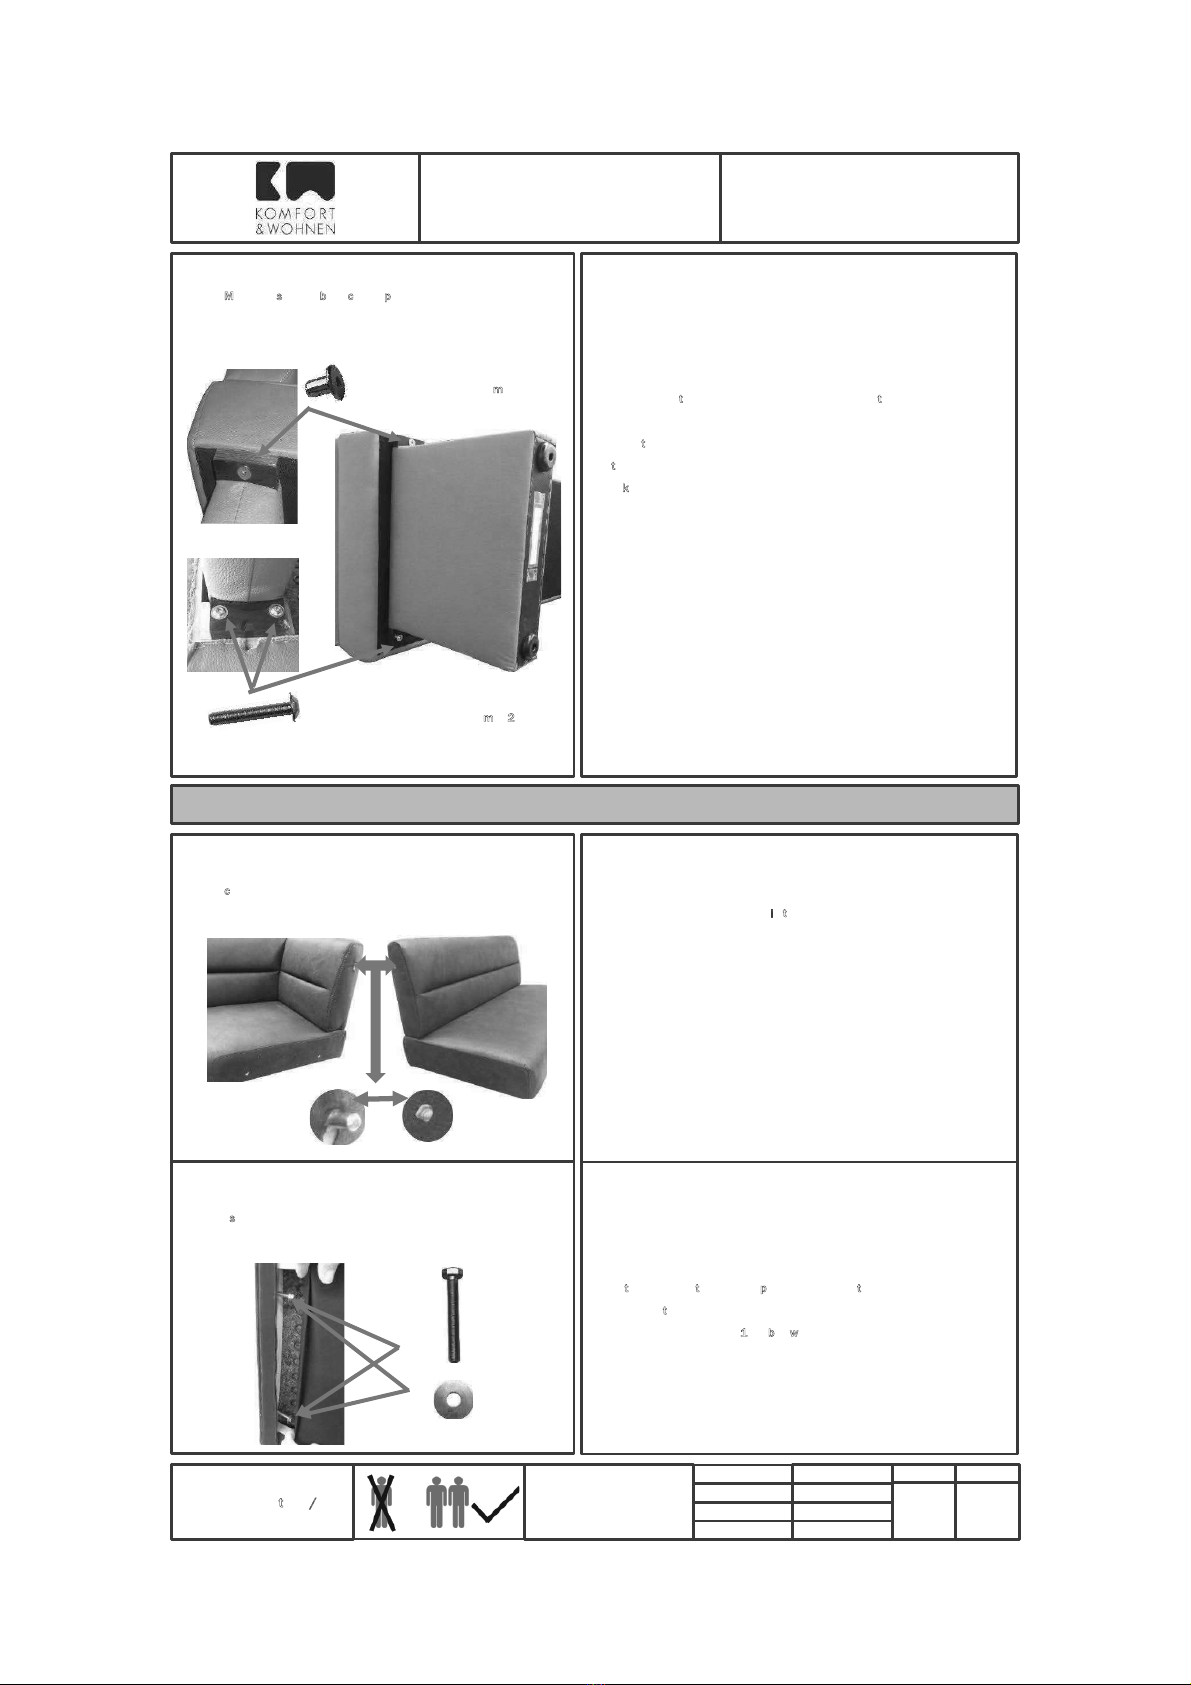
Schritt 2: Sitze verbinden
Connect seats
Étape no. 2: connecter les sièges
Reißverschluss an der Unterseite öffnen, Unterlegscheibe auf die Schloss-
Schraube aufstecken und per Hand in die vorgesehenen Löcher eindrehen.
Danach mit einem 13er Ringschlüssel festziehen.
Open the zipper on the bottom, put the washer on the machine screw
and screw in the provided holes.
Tightening the screw with a 13er box wrench.
Ouvrez la fermeture éclair en bas, insérer la rondelle sur la serrure et visser à la
main dans les trous prévus à cet effet. Puis serrez avec une clé à anneau de 13 mm.
Bankeckteile verbinden / connect the bench parts / assemblez les éléments
Montagezeit ca. 20 min.
Installation time /
temps d‘installation
DIV1000503 DJ
Version
Datum
2.0
14.05.18
Kürzel Seite
4/11