6
Connection of transmitter:
Transmitter:
1) Connect the antenna cable to
the ANT IN (4) input and the
antenna output socket on the
wall.
2) Connect the (existing) antenna
cable to the TO TV (3) output
and the antenna input of TV,
Set Top Box or other source.
3) If a DVD or other source is
directly connected to the
TV, it‘s possible to use the
transmitter for a loop through
of the signal and it offers at the
same time the possibility to
send the signal of the DVD or
other source to the receiver.
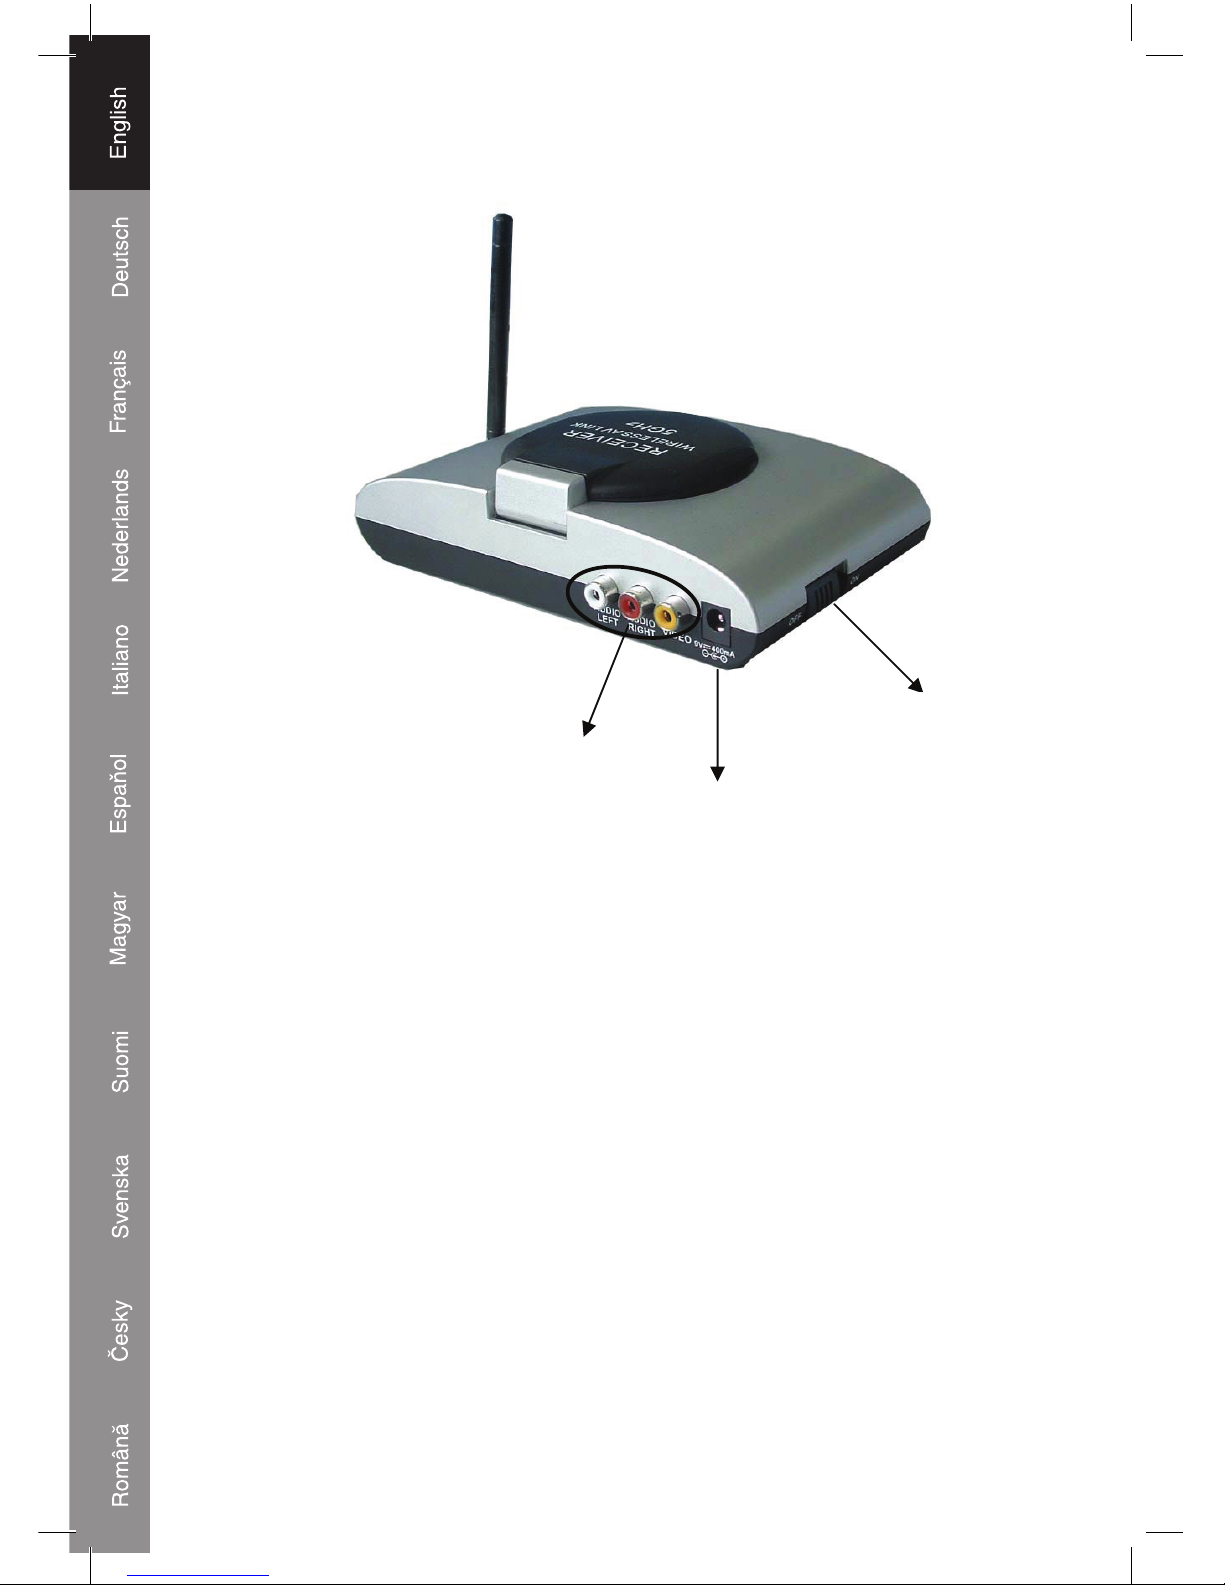
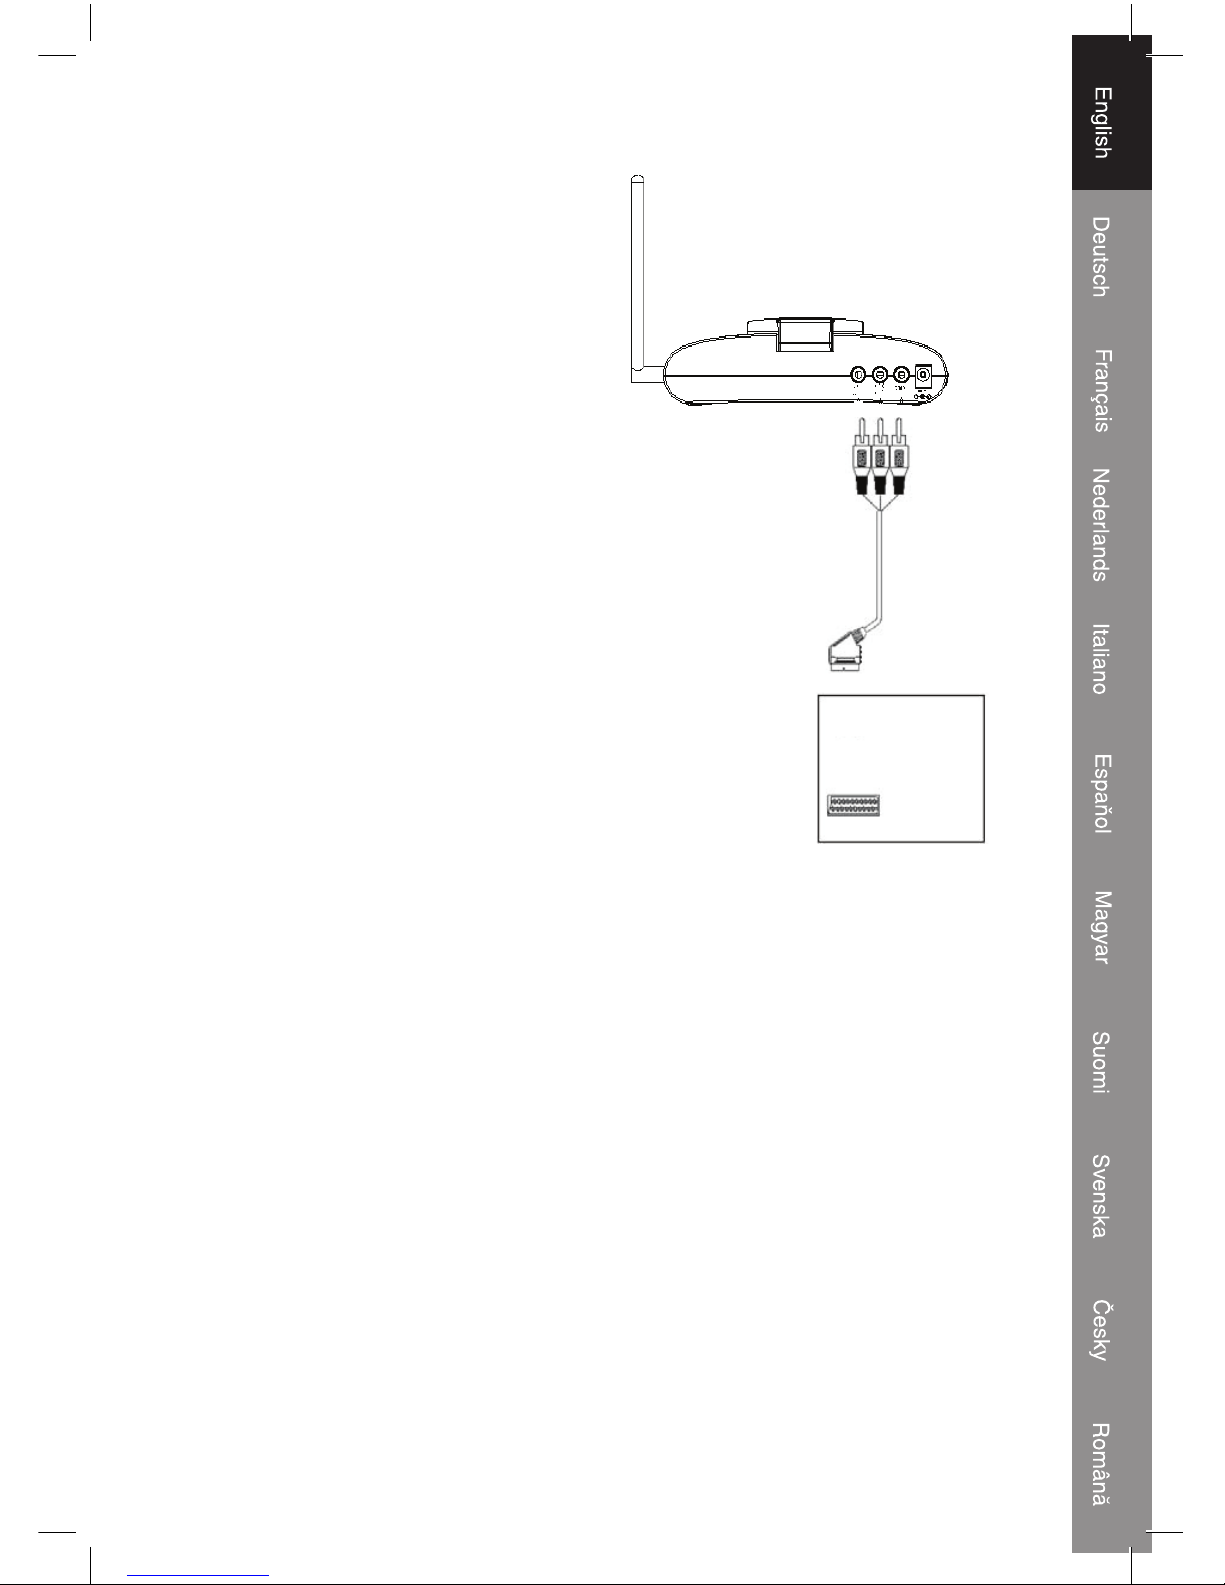
Connect the RCA plugs to the
AUDIO/VIDEO IN input (2) and
the Scart plug to the output of the
DVD or other source. Connect the
(existing) audio/video cable to the
AUDIO/VIDEO OUT output (5)
and the AUDIO/VIDEO input on
the TV.
4) Connect the DC plug of the
AC/DC adapter to the 9 V input
(6). Connect the AC plug to a
230 V power outlet.
5) Switch on the transmitter with
the ON/OFF switch (7).
6) Select a channel (1, 2, 3 or
4) with the channel button.
If a channel shows some
distortion, try another channel.
The transmitter and receiver
needs to be set to the same
channel.
Note: if the transmitter is switched OFF and switched ON again the transmitter returns
automatically to channel 1.
DVD TV