1
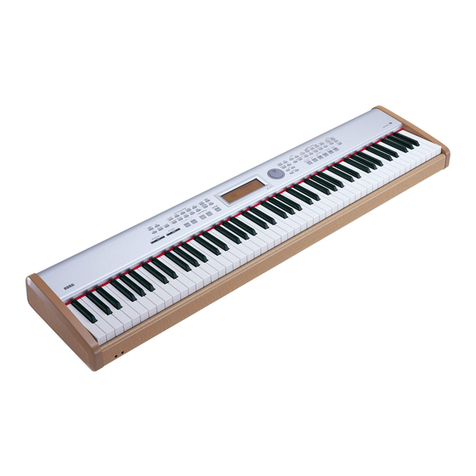
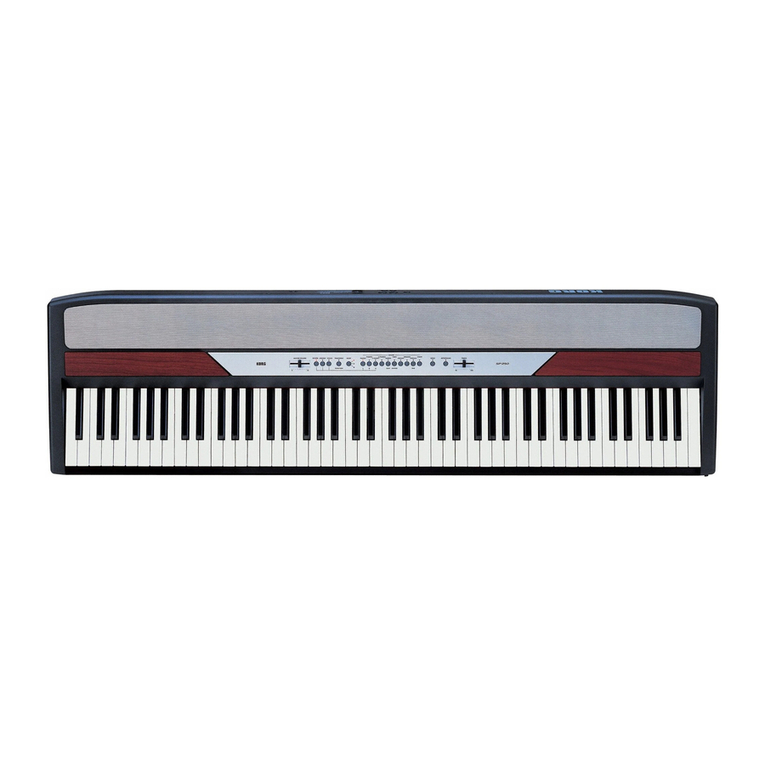
Setting Up Savable Splits and Layers – SP500
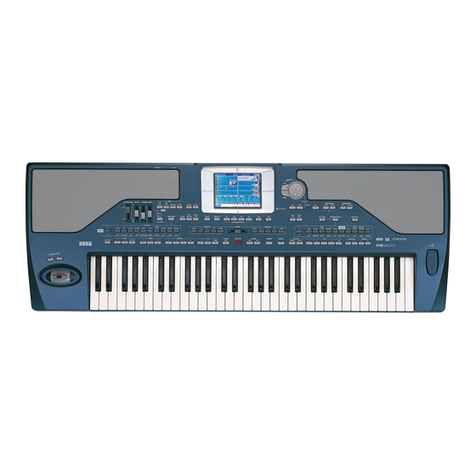
While the SP500’s Arranger mode does not allow for the custom saving of splits and layers, the Song
mode actually does. Here’s how to take advantage of the 100 available song locations:
1. Start by pressing the DISPLAY HOLD button so you can follow along, reading the steps before the
screen changes on you
2. Press the SONG SELECT button. It will light up
3. The split button will most likely be lit by default. If you’d like a split, touch the SPLIT button
twice, which will bring you to the “Split” screen. If you’d like a layer, you need only press the
LAYER button once to come to the “Layer” screen.
4. Using the Touch-screen, select the upper/1st sound, located in the box on the right side of the screen
5. Press the EXIT button
6. Using the Touch-screen once again, select the lower/2nd sound located in the box on the left side of
the screen
7. Press the EXIT button once again
At this stage you should play a little bit. From here you can further customize the setup, i.e. volume
of each part and split point by key, should it be a split. Once you’re satisfied with the setup:
8. Press the RECORD button until it is lit.
9. Press the PLAY/STOP button. It will light up.
Give it a few seconds to start up the sequencer. The metronome will then count off for two measures,
and then the sequencer will start recording. Simply let it record one blank measure and then:
10. Press the PLAY/STOP button once again. The screen will read “Now Writing”. Once that’s done,
the setup is retained as part of the “song”!
To name your setup/“song”:
11. Press the PAGE UP button until the display shows the Recorder page “3/3”
12. Touch “Song Name”. This will bring you to a screen where you can name your song (See Page 59
of the manual for additional details)
13. When finished, touch “Return”. The display will read “Now Writing”, and you’re set!
