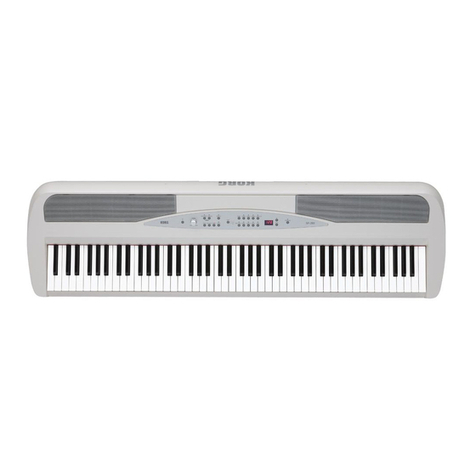
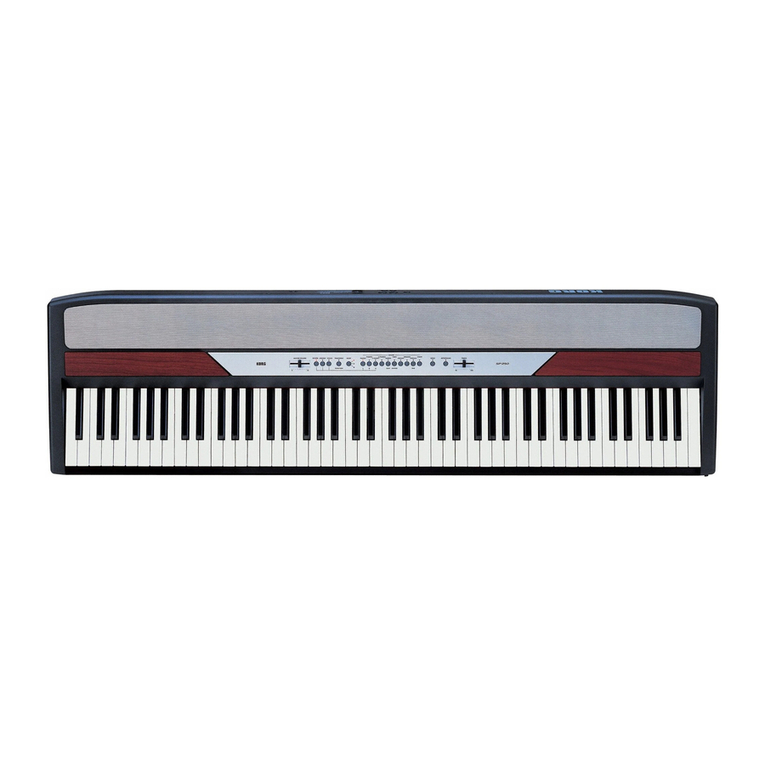
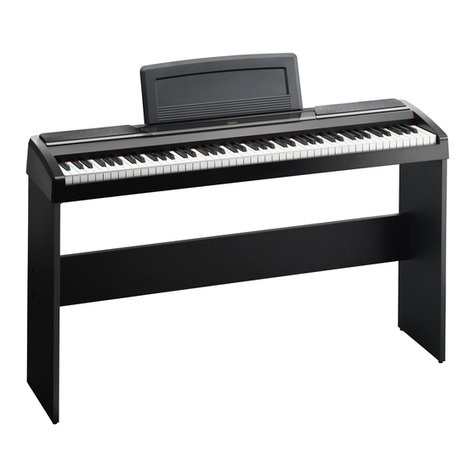
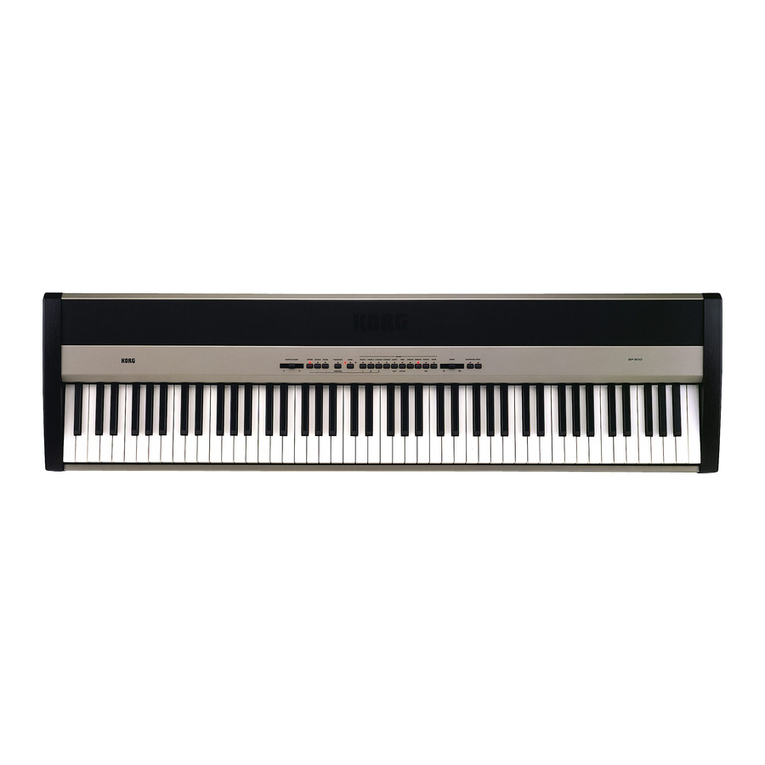
Korg SP-200 User manual

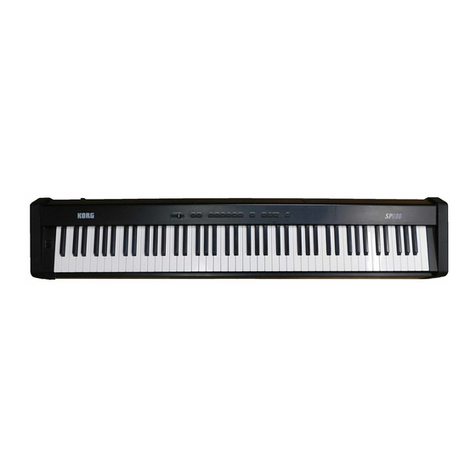
SP-200
Digital Piano
Black
Rose Silver
Service Manual

SP-200 Specifications
Keyboard 88 notes, velocity sensitive, with hammer-action simulation.
Touch selection Light, normal, heavy.
Tuning Transpose, fine tuning, temperament (equal, kirnberger, werckmeister).
Sound generation Stereo PCM system.
Polyphony 60 notes (max). The use of 2-oscillator sounds, the layer mode and/or the reverb or
chorus reduces the maximum number of simultaneous notes.
Sounds 30 sounds in ROM.
Effects Reverb, chorus (3 levels each).
Demo 30 incorporated demos.
Metronome Tempo, time signature, accent and volume controls.
Pedal Damper (included). Half-pedalling supported with korg DS1H (optional).
Connections Audio output (OUTPUT L/MONO, R), headphones, midi (IN, OUT), damper.
Controls Power switch, master volume, reverb, chorus, touch, transpose/function, bank,
sound selectors, tempo, metronome, demo.
Power supply DC12V, 500mA, center negative barrel, AC adapter (included).
Power consumption 5 Watt.
Dimensions (W x D x H) 52.3 x 11.2 x 4.8 inch (1328 x 285 x 122 mm).
Weight 40.7 lbs (18,5 kg).
Accessories DC12V, 500mA, center negative barrel, AC adapter; damper pedal; music stand (all
included).
Options DS 1H - damper pedal with half-pedal control.
Sounds processed with INFINITY™.
Korg reserves the right to change the specifications without notice.



SAM9753
SR=31.25KHz
64M (4Mx16) MASK ROM
2*74HC238
MK0-10
BR0-10
ROW0-2
KBIO
BR0-4
MK0-4
T0-7
S0-7
BR0-4
MK0-4
BR5-10
MK5-10
T0-7
CS0WR RD
X1
8MHz
24Bit DAC
PCM1716
LP
FILTER
8 CH. MUX
ADCIN
L
R
KEYBOARD
PANEL
MEDIA SELECT
32Kx16 STATIC
RAM
3V3
RESET
A0-A16
24Bit ADC
AK5353
MAIN SW
+5VA
3V3 +3.3V
REG.
+5VA
REG.
MUTE
GPIO3-4
GPIO0-1
MODEL
SELECT
MAIN BOARD
KIP2051
Level
traslator
T.C.
SELECT
TEMPO SLIDER
WHEEL
MIC. VOL.
PART1 VOL.
PART2 VOL
GPIO2
74VHC139
4-32M FLASH
A22-A23
CS0
CS1
CS
CS
Level
traslator
Fin/2
CLBD
DABDO
WSBD
DACLK
DAAD
PC CLK 1MHz
MIDI/PC
PANEL
BOARD
17 SW
19 LEDs
S03-07
BR01-4
MK01-4
TEMPO
= NOT USED
88 KEYS FATAR KEYBOARD
TP30
I
N
RS
422
I/F
GND
MIDI
PC
PEDALS
O
U
T
MIDI/PC
PC910K
Level
traslator
WA0-23
WD0-15
MASTER VOLUME
ASSEMBLED ON
PANEL BOARD
OUT
L/M
R
+5V
REG
+9V
REG
OUTPUT BOARD
DC
IN
HP
OUT
2MHz
CS1
KIP-2052
KIP-2050
CON8
CON6CON7
CON5 CON1 CON2 CON3CON9
SW1
CN5 CN6 CN2
CN3
VR5
VR1
CN1
SW1
IC1
IC2
CN4 CN2 CN3
IC4
IC18
IC14
IC6,7
IC12
IC10
IC13
IC3
IC3
IC4
SP200 BLOCK DIAGRAM


MAIN BOARD KIP-2051

MAINBOARDKIP-2051TOPSIDE MAINBOARDKIP-2051BOTTOMSIDE


Final inspection after repairing
Connect MIDI IN and MIDI OUT by a MIDI cable.
Connect L/MONO OUT to Left channel of an external amplifier.
Connect R OUT to Right channel of the external amplifier.
Connect the Damper pedal to SP-200.
Connect the Headphone OUT to a stereo input
To start the internal self test and check all switches with relative LEDs, press simultaneously REVERB and
TRANSPOSE with POWER ON.
The self test starts to check
Mask ROM Test
LED Transpose ON
LED Piano1 ON
At the end of test, if OK it goes to next STEP; if fail LED PIANO1 blinks and the test is stopped.
MIDI In/Out Test
LED Transpose ON
LED E.Piano2 ON
At the end of test, if OK it goes to next STEP; if FAIL LED E.PIANO2 blinks and the test is stopped.
The DEMO LED blinks waiting for the operator to press and go to next step of test
Out Level Test ( 6 Steps )
a sound can listen through the extenal amplifier and with an oscilloscope watch the wave and the level:
Out LEFT Signal Level Test (Step 1)
LED Piano2 ON
The DEMO LED BLINKS waiting for the operator to press and go to next step of test
Out RIGHT Signal Level Test (Step 2)
LED Piano2 ON
The DEMO LED BLINKS waiting for the operator to press and go to next step of test
Out LEFT Phone 1 Signal Level Test (Step 3)
LED Piano2 ON
The DEMO LED BLINKS waiting for the operator to press and go to next step of test
Out RIGHT Phone 1 Signal Level Test (Step 4)
LED Piano2 ON
The DEMO LED BLINKS waiting for the operator to press and go to next step of test
Out LEFT Phone 2 Signal Level Test (Step 5)
LED Piano2 ON
The DEMO LED BLINKS waiting for the operator to press and go to next step of test
Out RIGHT Phone 2 Signal Level Test (Step 6)
LED Piano2 ON
In order to repeat this test press the button PIANO 2.
The DEMO LED BLINKS waiting for the operator to press and go to next step of test

Output noise level ( 6 Steps )
misure to do with a Audio Analyzer, connect the single OUT to the input of the Audio Analyzer.
Out LEFT Noise Level Test (Step 1)
LED E. Piano1 ON
The DEMO LED BLINKS waiting for the operator to press and go to next step of test
Out RIGHT Noise Level Test (Step 2)
LED E. Piano1 ON
The DEMO LED BLINKS waiting for the operator to press and go to next step of test
Out LEFT Phone 1 Noise Level Test (Step 3)
LED E. Piano1 ON
The DEMO LED BLINKS waiting for the operator to press and go to next step of test
Out RIGHT Phone 1 Noise Level Test (Step 4)
LED E. Piano1 ON
The DEMO LED BLINKS waiting for the operator to press and go to next step of test
Out LEFT Phone 2 Noise Level Test (Step 5)
LED E. Piano1 ON
The DEMO LED BLINKS waiting for the operator to press and go to next step of test
Out RIGHT Phone 2 Noise Level Test (Step 6)
LED E. Piano1 ON
In order to repeat this test press the button E.PIANO 1.
The DEMO LED BLINKS waiting for the operator to press and go to next step of test
LED E. Piano2 ON
The DEMO LED BLINKS waiting for the operator to press and go to next step of test
LED E. Piano2 ON
The DEMO LED BLINKS waiting for the operator to press and go to next step of test
OUT Test ( 4 Steps )
Left OUT 120Hz wave sound
LED Harpsi ON
The DEMO LED BLINKS waiting for the operator to press and go to next step of test
Right OUT 120Hz wave sound
LED Harpsi ON
The DEMO LED BLINKS waiting for the operator to press and go to next step of test
Left OUT 3000Hz wave sound
LED Harpsi ON
The DEMO LED BLINKS waiting for the operator to press and go to next step of test
Right OUT 3000Hz wave sound
LED Harpsi ON
The DEMO LED BLINKS waiting for the operator to press and go to next step of test
Dynamic Keyboard Test
LED Vibes ON
The operator acts on keyboard, from right to left, with a dynamic range between levels 40/90; in the case the pressing
sequence is correct AND the detected value is in the specified dynamic level, the sound related to preceding key is
switched off and a note related to present key pressed is activated.
If the sequence is wrong OR the dynamic is not correct WAIT UNTIL CORRECT SEQUENCE AND DYNAMIC.
In order to repeat this test press the button VIBES.
When the first on the left side is reached the DEMO LED starts blinking waiting for the operator to press it and go to
next step.

Switch & leds
The first LED on the LEFT (relative to REVERB) BLINKING waiting for REVERB button to be pressed.
When the button related to the current BLINKING LED is pressed, the LED is switched OFF and next LED (from left
to right direction) is switched ON
In the case of VARIATION when pressing the button for first time it will switch ON the VARIATION LED on left.
Pressing the button for second time will light the VARIATON LED in the center. Pressing the button the 3 rd time it will
light ON the variation LED on the right.
In order to repeat this test press the button ORGAN 1.
When the DEMO button is reached, pressing it will switch to next step.
Tempo ADC Converter Test
LED Organ2 ON
Acting on TEMPO potentiometer, moving it in the left position will light ON the VARIATION LED in the LEFT,
moving it in right position it will light ON the VARIATION LED on the RIGHT, while the center position will light
ON the VARIATION LED in the center.
ONLY the VARIATION LED relative to potentiometer position will be light ON
The check on complete sequence (the LED ON in sequence) will make the DEMO LED blinking waiting for the next
step to be activated by operator.
In order to repeat this test press the button ORGAN 2
Damper Pedal Test
LED String ON
Operating on Damper Pedal, the position high will light ON the VARIATION LED on the LEFT, the intermediate
position will light ON the VARIATION LED in the center, and low position of pedal will activate VARIATION LED
on the right
ONLY the VARIATION LED relative to position will be light
After press the Damper some times, if pedal is not recognised, the STRING LED starts blinking
The check on complete sequence for pedal will make the DEMO LED blinking waiting for operator to press it and go
to next step.
When the DEMO button is pressed, (with only one pedal) the test is concluded and the system will be reinitialised, in
order to repeat this test press the button STRING.

FV = FULL VIEW D1 = DISASSEMBLY 1 D2 = DISASSEMBLY 2 D3 = DISASSEMBLY 3
SW = SWITCH BUTTONS SETTINGS MOD = MAIN BOARD/OUTPUT BOARD DISASSEMBLY
SP-200 PART LIST
PART LIST ELECTRIC COMPONENTS
CODE PART-TYPE DESCRIPTION QTY
GRA0002050 PCB ASSEMBLY KIP-2050 PANEL BOARD 1
GRA0002051 PCB ASSEMBLY KIP-2051 MAIN BOARD 1
GRA0002052 PCB ASSEMBLY KIP-2052 OUTPUT BOARD 1
PART LIST PANEL BOARD KIP-2050
CODE PART-TYPE REFERENCE QTY
DIX0005300 1N4148 DIODE D1-4 D6 D9-12 D15 D17-21
D23 D29 17
INT0001008 TACT SWITCH SKHVBE SW1-4 SW6 SW9-12 SW15
SW17-21 SW23 SW28 17
LED0001002 2MM DISTANZIAL RED LED LED1-7 LED9-12 LED15
LED17-18 LED20 LED22-24
LED28
19
POT0001001 LINEAR POTENTIOMETER 10K VR5 1
POT0001003 STEREO POTENTIOMETER 10KBX2 VR1 1
PART LIST MAIN BOARD KIP-2051
CODE PART-TYPE REFERENCE QTY
CIN0001012 OPTO COUPLER PC910-K IC1 1
CIN0002006 24 BIT D/A CONVERTER PCM1716E IC10 1
CIN0002040 NJM4580M DUAL LOW NOISE OP. AMP.
SMD IC11 1
CIN0002047 HEX INV 74AHC04D SMD IC17 1
CIN0002048 8-CHANNEL-ANALOG-MUX/DEMUX-
SMD 74HC4051 IC14 1
CIN0002049 3 TO 8 DEC.DEMUX 74HC238 IC6-7 2
CIN0003032 MASK ROM 64M (8Mx8/4Mx16) IC18 1
CIN0003033 64 VOICE INTEGRATED MUSIC INSTR.
SAM 9753 IC4 1
CIN0004005 RESET GEN. 3.3V WITH INPUT
MAX811SEUS/ETC811SUC IC12 1
DIX0006000 Two Diode SMD DA204KT146 D4 1
DIX0006003 1N4148 SMD DIODE D1 1
QUA0006009 QUARTZ 8MHz SMD-M XT1 1
TRS0001009 +5V REG. 100mA TO92 78L05 IC13 1
TRS0002001 NPN BIASED RES. TRANSISTOR
DTC114EKA Q1 1
TRS0002007 +3.3V REG. 1A BA033FP IC3 1
Other manuals for SP-200
1
Table of contents
Other Korg Musical Instrument manuals

Korg
Korg Stage Vintage SV-1 User manual

Korg
Korg SP-200 User manual

Korg
Korg N264 User manual

Korg
Korg SP-300 User manual

Korg
Korg OASYS musical instruments User manual

Korg
Korg SP-280 User manual

Korg
Korg Grandstage 88 User manual

Korg
Korg HAVIAN 30 User manual

Korg
Korg EC350 User manual

Korg
Korg PA Series Guide

Korg
Korg BeatLab BTL-1 User manual

Korg
Korg microPIANO-BK User manual

Korg
Korg G1 Use and care manual

Korg
Korg Pa50 User manual

Korg
Korg M1 User manual

Korg
Korg TR Product information sheet

Korg
Korg KDM-2 User manual

Korg
Korg SV-2 User manual

Korg
Korg Stage Vintage SV2-73 User manual

Korg
Korg TR music workstation Operation User manual