Koukaam KNR-5016 User manual

IPCorder KNR-5016/20/32/40
Q ick Installation G ide
Thank you for purchasing this KOUKAAM pro uct. Before you start using it, please rea this installation gui e which
will quickly gui e you through the setup process. For more information please refer to the User manua available
on the enclose CD or ownloa it from
Important safety instr ctions
The purchase evice works un er voltage. If wrongly han le the evice coul be amage or cause injury to the
person han ling the evice.
• The manufacturer is not liable for potential amage cause by incorrect usage or placing the evice in an unsuitable
environment.
• The evice is not esigne for out oor use.
• Do not use the evice in an environment with strong vibrations.
• Unauthorize mo ification of this evice can amage it or cause a fire.
• Prevent from contact with flui s; o not expose the evice to high temperatures.
• Protect the evice from falling.
• It is permitte to use accessories only inten e for the evice (har isks, cables, etc.).
• In case of the malfunction of the evice, contact your ealer.
This gui e is inten e for IPCor er KNR-5016/5024/5032/5040. In ivi ual mo els iffer by the maximum possible
number of simultaneously connecte cameras or vi eoservers:
•KNR-5016: up to 16 cameras or vi eoservers
•KNR-5024: up to 24 cameras or vi eoservers
•KNR-5032: up to 32 cameras or vi eoservers
•KNR-5040: up to 40 cameras or vi eoservers
1

2
1. Package contents
In the package you will fin your IPCor er, power cable, power a apter 48 V / 3.125 A, network cable, five hol ers for the
removal of the isk, an installation CD, two screws for securing the back panel, the installation gui e an licence agreement.
2. How to install IPCorder in several min tes
• Up to five 3.5 inch SATA I, SATA II or SATA III isks (in various combination) can be inserte in the IPCor er
KNR-5016/5020/5032/5040, the in ivi ual positions are numbere as follows:

3
• Use the following proce ure for the installation of har isks:
1) Press own both top locks an remove the back panel. If you have secure it in the past with two screws, unscrew
them. The evice is supplie by the manufacturer with a clippe in back cover. Screws for securing the back
cover are part of the package.
2) Attach the hol er for the removal of the isk to the har isk.
3) Sli e the isk into the free isk position. The or er of the occupie positions oes not matter.
4) Attach the back panel an clip in both top locks. The back panel can be secure by the two supplie screws
to ensure greater safety.
• Attach one or both network a apters to the computer network (see. Re un ant Network Connection).
• Firstly connect the original power a apter to IPCor er an then plug it into an electric outlet.
• On start-up IPCor er will attempt to obtain the IP a ress automatically via DHCP. If unsuccessful it is set up to the
efault value of 192.168.1.78. If the IPCor er is in the same subnet as the PC use to access it, it shoul appear
in the Network P aces fol er un er Microsoft Win ows.
•IPCorder Discover – the utility for iscovering the IPCor er evice in your network - can be use to fin the IP a ress
of your IPCor er. You will fin this application on the enclose CD or on the manufacturer’s website
Users of the Win ows operating system can use the IPCorderDiscover.exe file, other users the IPCorderDiscover.jar file.
You nee to install Java SE version 6 or newer ( ) for the correction function of the
Discover program.

4
• After starting the utility click on the Discover button an after a moment the application will fin the available evice
(Discover in progress). If the utility oes not fin your IPCor er, try to switch off the firewall, or antivirus. If the IPCor er
is in Service mo e (formerly known as Rescue mo e), you can help it by using the button Device setup to change
the network parameters. In the event that the current IPCor er IP a ress is not in the same range of the network as
the IP a ress of your computer, or the routing is not setup among those networks, the IPCor er a ress must be
setup in the range of the network of your computer.
• For easier physical localisation of IPCor er you can click on the button Locate – a re io e with an exclamation
mark symbol will begin to blink on IPCor er.
• Click twice on the require evice. The interface of the IPCor er Service mo e will be isplaye in the efault internet
browser, this will be in icate by a lit re io e with an exclamation mark symbol.
• You will be aske to configure the RAID
array on the Storage Configuration screen.
After its successful creation, restart to the
Normal mo e.
• The Normal mo e is in icate when the
blue io es light up. You will fin more
information about the configuration in the
relevant user manual on the enclose CD.
• The login win ow will shortly appear. The
efault user account is admin, the efault
passwor admin.
• After the first login the Configuration Wizard will appear which will help you with the basic IPCor er settings. Please
pay close attention to setting your passwor an the system time. You can also let IPCor er fin the cameras in your
network an set up their recor ing options. All these actions are accessible via the Settings menu. You will fin more
information about the settings in the relevant user manual on the enclose CD.
• Upgra e the firmware to the latest version for the optimal use of all the IPCor er functions. The on-line upgra e of
your IPCor er is available at , where you will also fin more
information about the latest versions of firmware.

5
Redundant Network Connection
IPCor er KNR-5016/5024/5032/5040 supports the Backup Network Interface function. This service prevents
isconnection from the network in case of failure of one of network routes (both network a apters of the IPCor er must
be connecte ). This can prevent unavailability of the IPCor er in case of unwante removal of a network cable or switch
failure. To set up this service:
1) Connect the secon network cable to your IPCor er (use network a apter number 2) an to the switch.
2) Go to the Nework tab in the web interface of the IPCor er:
• If Service mo e is active – continue to the Network page an if nee e set up the basic network settings.
• If Normal mo e is active - go to the Settings menu in the upper part of screen, then select Configuration – Network
an if nee e set up the basic network settings.
3) Check the Enab e second network interface as backup option in the Backup Network Interface section.
4) Choose metho of the Fai ure detection:
•Link (cab e connected) – this option etects isconnection of the network cable. If the cable from network a apter
no. 1 is remove , the connection through the network a apter no. 2 will be automatically activate an vice versa.
•Network (ping address from the ist) – this option checks if there is any traffic running through the active
network a apter of the IPCor er. If no network traffic is etecte , the connection through the backup network
a apter will be automatically activate . Type at least one IP a ress of the in epen ent server to the IP address
ist text fiel .
5) In the Check Interva text fiel , set the interval for checking availability of the connection, the efault value is set
to 100 ms, the type value is use for both types of failure etection.
6) Click the App y button to confirm the settings (use buttons App y Changes an Restart if Service mo e is active).
Note: The Backup Network Interface function is active only in Normal mo e. If you are using DHCP server to obtain an
IP a ress, it is possible that after the settings are confirme , your IPCor er will temporarily obtain another IP a ress.

6
3. LED signalization, b tton actions and aco stic signalization
The front panel of IPCor er KNR-5016/5020/5032/5040 contains 4 types of LED io e signals:
•The Network Dio e ( ) (2x) in icates the activity of the in ivi ual network a apters.
•The Storage Dio e ( ) (5x) blinks green if the har isk is active, it lights up re if the isk from the isk
array fails.
• The blue Power Dio e ( ) an re Info Dio e ( ) signals the following:
The green io e on the back panel of the evice signals the length of the presse Reset button. If presse for less than
5 secon s the io e is on, if presse for more than 5 secon s it blinks slowly an if presse for more than 15 secon s
it blinks quickly.
Button function de cription
Button ON/OFF ( ):
• If presse for less than 3 secon s it will switch off the acoustic signal in efine cases (see below).
• If presse for more than 5 secon s (accompanie by a short beep) it will switch the evice on or off, a running
application will en safely.
Statu Power LED Info LED
Service mo e is active - on
Normal mo e is active on -
Foun by Discover on blinking
IPCor er is starting blinking -
IPCor er is switching off blinking -

7
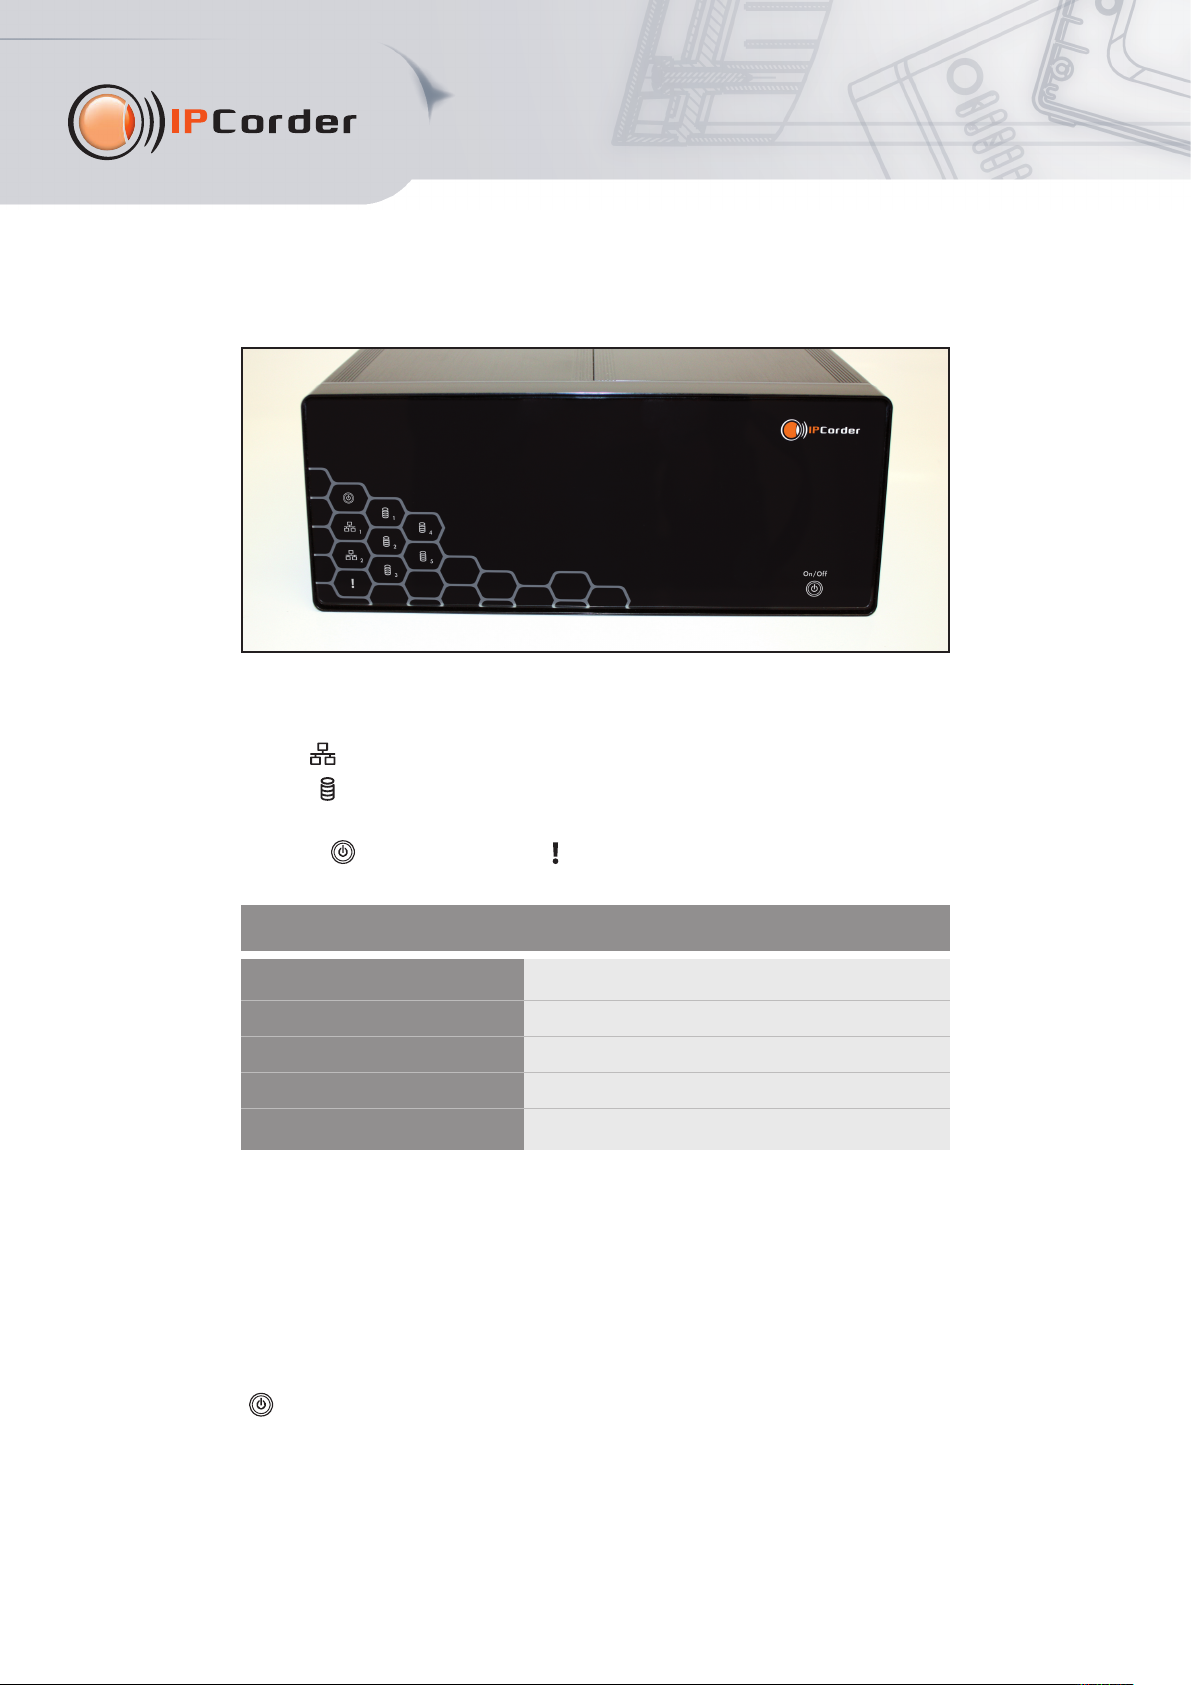
The Reset Button ( ) on the back of IPCor er:
• Presse for less than 3 secon s it will restart the evice from the Normal to the Service mo e, if in Service mo e
it will return to the Normal mo e if the Reset Button is presse again.
• If presse for more than 5 secon s an the power cable is connecte simultaneously the factory settings will restore.
We raw attention that in this case all the settings will be irretrievably lost inclu ing the save recor ings.
• If presse for more than 15 secon s the evice will be imme iately switche off. We wish to point out that in such
a case the save recor ings may be amage .
The acoustic signals are activate in the following situations:
• By a brief soun when the evice is switche on or off by pressing the ON/OFF button.
• By a continuous soun if there is a problem with the RAID isk array (can be switche off by briefly pressing
the front ON/OFF button).
• By a continuous soun of the temperature of the evice excee s 42 °C an if the back panel of the evice is remove
or incorrectly attache (the signal cannot be switche off, it en s on its own once the temperature falls below 38 °C
or the back panel is attache ).
• By a continuous soun if the temperature of the evice excee s 60 °C (it can be switche off by briefly pressing
the front ON/OFF button). IPCor er will also e-mail information (if the SMTP is setup) an will make an entry
in the log.
• By a continuous soun if the temperature of the evice excee s 70 °C. The evice in this case will make an entry
in the log, sen an information e-mail (if the SMTP is set up) an will be automatically switche off.
• If the temperature limits are excee e the acoustic signal is accompanie by the blinking of a re light on the lightstrip.
4. System Req irements
The system requirements are partly epen ent on the version of the installe firmware. The client computer shoul meet
the following minimum requirements for the installe firmware:
•Operating y tem: Microsoft Win ows 2003, 2008, XP, Vista, 7 (32 an 64 bit version); Mac OS X 10.5
(only Intel x86), 10.6 an 10.7; Linux 2.6 or newer (recommen e JAVA ORACLE co.)
•Internet brow er: Mozilla Firefox 10 ESR, 14 an newer (recommen e ); Internet Explorer 8 an 9 (only 32-bit
version); Chrome 21 an newer; Safari 5 (only on Mac OS X).
• Enable JavaScript an Cookies (check the settings of your internet browser).
• Version Java Oracle 6 or newer (always only 32bit version), we recommen Oracle JAVA 7 – freely available
for ownloa ing on the website
•Hardware configuration: epen s on the type an number of monitore cameras, the minimum recommen e
is a 2 GHz processor an 1 GB RAM.
IPCor er allows the user to ownloa entire vi eos an pictures from vi eos save on a har isk. The pictures are in
stan ar JPEG format an can be isplaye in every stan ar picture browser. You nee an installe FFDShow co ec
or other similar filter to play a vi eo. The simplest way is to play vi eos in a VLC player which alrea y contains all the

8
necessary co ecs. The FFDShow co ec can be ownloa e for example from a ress
5. S pport
If the problems continue, contact your ven or, or irectly contact the manufacturer's technical support epartment
of KOUKAAM a.s. company at the a ress . Before you o so, please check that your IPCor er
is equippe with the latest version of firmware (your problem is probably resolve in the new version). We also
recommen visiting FAQ at in the support section where the FAQs are fully answere .
We believe that you will be satisfie with our pro uct. In case of queries or remin ers concerning the functionality
of IPCor er, please contact us.
The KOUKAAM Team
The manufacturer bears no responsibility for any technical or printing errors an reserves the right to make any changes
in the pro uct an in this User Manual without prior notice. Any such changes shall be announce via the pro uct's
website
The manufacturer oes not provi e warranties of any kin whatsoever with regar to any information given in this user
manual or any erive warranties regar ing pro uct saleability or its fitness for a specific use.
In particular, the manufacturer oes not provi e any warranties for efects cause by incorrect use of the pro uct,
failure to abi e by the instructions an recommen ations given in the user manual an for any efects cause by
unprofessional activities of thir parties outsi e the manufacturer's authorize service shop.
November 2012
© 2012 KOUKAAM a.s. All rights reserve .
This manual suits for next models
3
Table of contents
Other Koukaam Network Hardware manuals
Popular Network Hardware manuals by other brands

Bull
Bull Escala Power7 Series manual

D-Link
D-Link ShareCenter Pulse DNS-320 Technical specifications

MikroTik
MikroTik Chateau LTE18 ax quick guide

Moxa Technologies
Moxa Technologies MiiNePort E3 Series Quick installation guide

Elk
Elk IP232 Installation and configuration manual

Huawei
Huawei HG8145V5 quick start