3 Overview
TheKramerTOOLSVP-200NK,VP-300NKand VP-400NKare1:2, 1:3and1:4
(respectively) distribution amplifiers for XGA and higher resolution signals with a
unique new feature. They include the Kramer innovative integrated sync processing;
KR - ISP™ technology, which lets you achieve a sharp, stable image when the sync
level is too low, by restoring the sync signal waveform.
The VP-200NK,VP-300NK and VP-400NK accept one input, provide correct
buffering and isolation, and then distribute the signal to two, three or four
(respectively) identical outputs on high-density 15 pin HD connectors.
In particular, the High Resolution XGA DA:
Has a high video bandwidth exceeding 430MHz, ensuring that it remains
transparent even at high-resolution graphics modes such as UXGA
(1600x1200)
Includes ID Bit control
Is 12VDC fed
Achieving the best performance means:
Connecting only good quality connection cables, thus avoiding
interference, deterioration in signal quality due to poor matching, and
elevated noise levels (often associated with low quality cables)
Avoiding interference from neighboring electrical appliances and
positioning your VP-200NK,VP-300NK and VP-400NK away from
moisture, excessive sunlight and dust
Caution – No operator-serviceable parts inside unit.
Warning – Use only the Kramer Electronics input power
wall adapter that is provided with this unit
1
.
Warning – Disconnect power and unplug unit from wall
before installing or removing device or servicing unit.
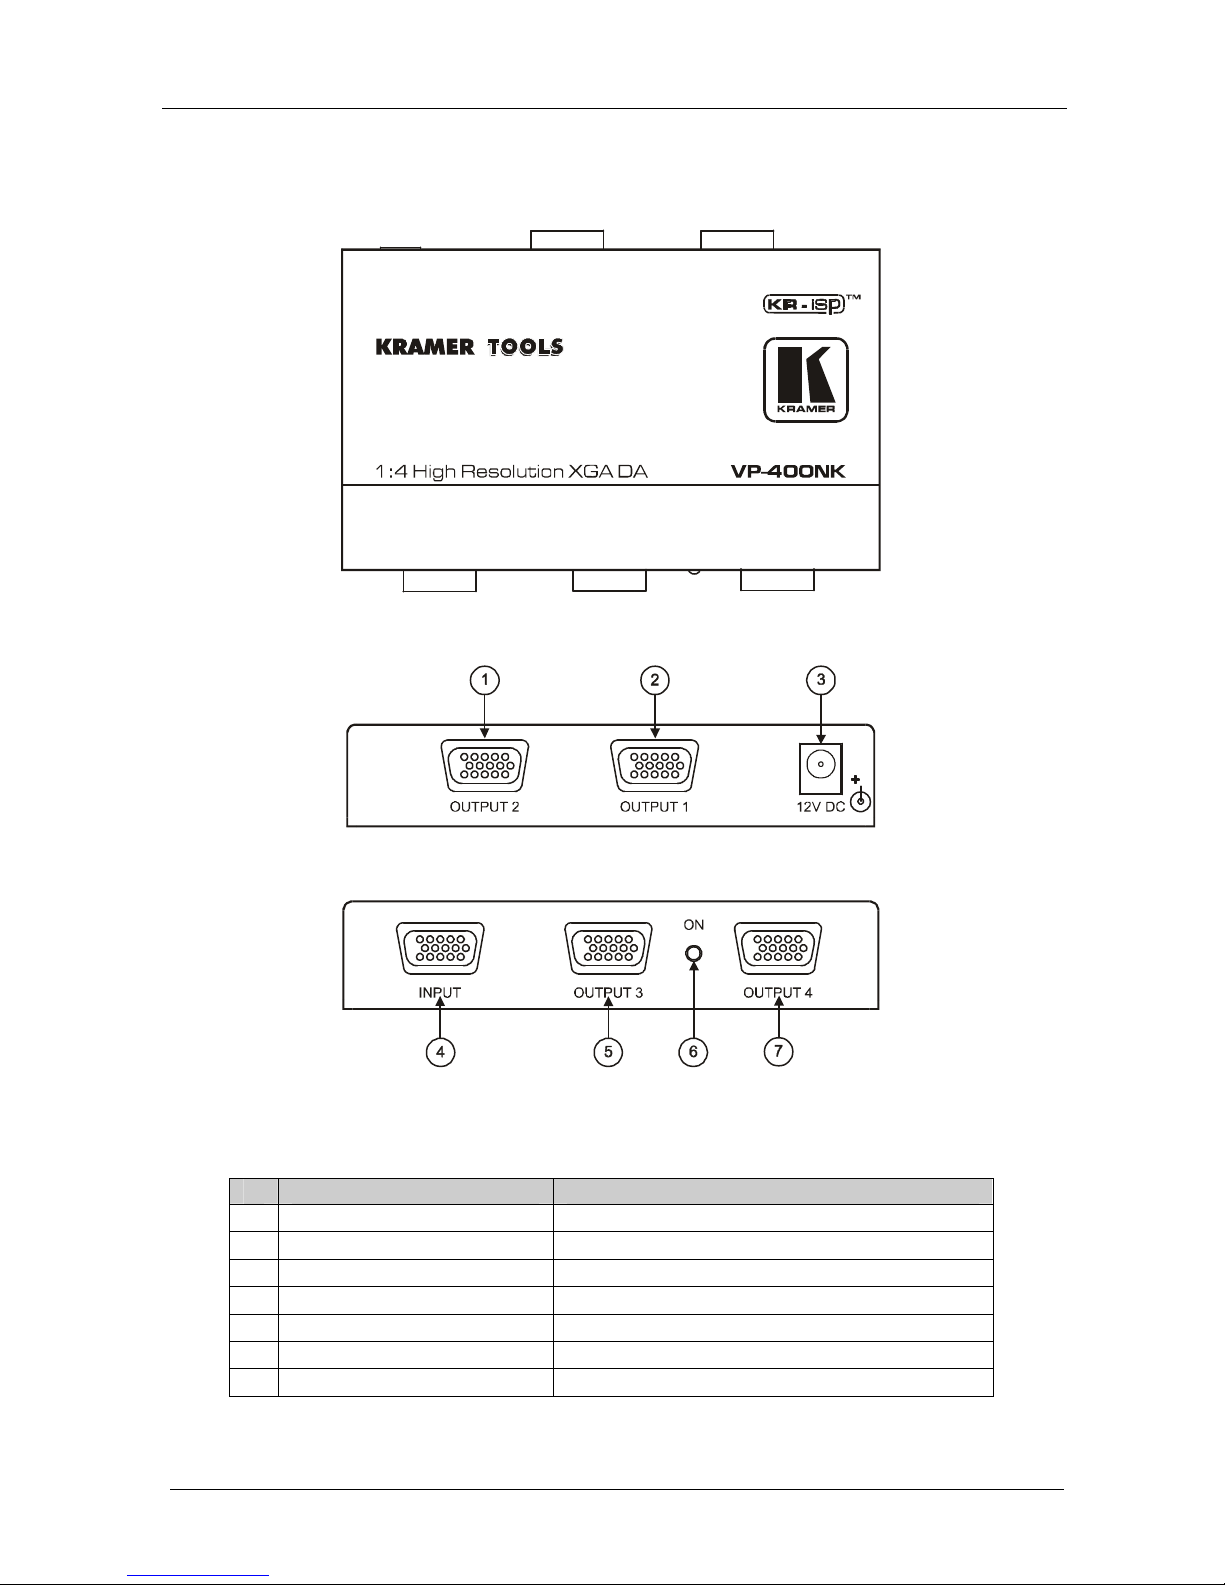
4 Your High Resolution XGA DA
This section defines the:
VP-200NK 1:2 High Resolution XGA DA (see section 4.1)
VP-300NK 1:3 High Resolution XGA DA (see section 4.2)
VP-200NK 1:4 High Resolution XGA DA (see section 4.3)
Underside of the VP-200NK, VP-300NK and VP-400NK (see section 4.4)
1 For example: model number AD2512C, part number 2535-000251