Summary of how to Operate a Single Machine
KRAMER: SIMPLE CREATIVE TECHNOLOGY
2
independently from video)
15 preset memory locations for quick access to common configurations
A “TAKE” button for precise switch control, letting you place multiple
switches in a queue, and then activate them, with one touch of this button
or a single serial command
A delayed switching mode (ranging from 0 to 3.5sec
1
), for clean
transitions when switching between non-genlocked sources
Control the VP-1608 using the front panel buttons, or remotely via:
RS-485 or RS-232 serial commands—that also support audio gain
adjustments for each input and output—transmitted by a touch screen
system, PC, or other serial controller
The Kramer RC-IR1
2
Infra-Red Remote Control Transmitter
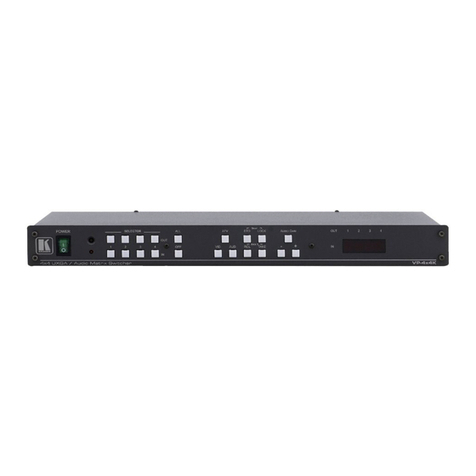
The VP-1608 is dependable, rugged and fits into three vertical spaces (3U) of
a standard 19" rack. To achieve the best performance:
Connect only good quality connection cables, thus avoiding interference,
deterioration in signal quality due to poor matching, and elevated noise
levels (often associated with low quality cables)
Avoid interference from neighboring electrical appliances and position
your Kramer VP-1608 away from moisture, excessive sunlight and dust
4 Summary of how to Operate a Single Machine
By default, the VP-1608 is setup for use as a single machine. This means that
it is a 16x8 RGBHV / Balanced Audio Matrix (in audio-follow-video mode),
with all setups empty and each input connected to its corresponding output
(for example, input 1 to output 1). The dipswitches are set up for a typical
application using a single machine (see Figure 1):
Figure 1: Dipswitch Setup on a Single Machine
5 Your VP-1608 16x8 RGBHV / Balanced Audio Matrix
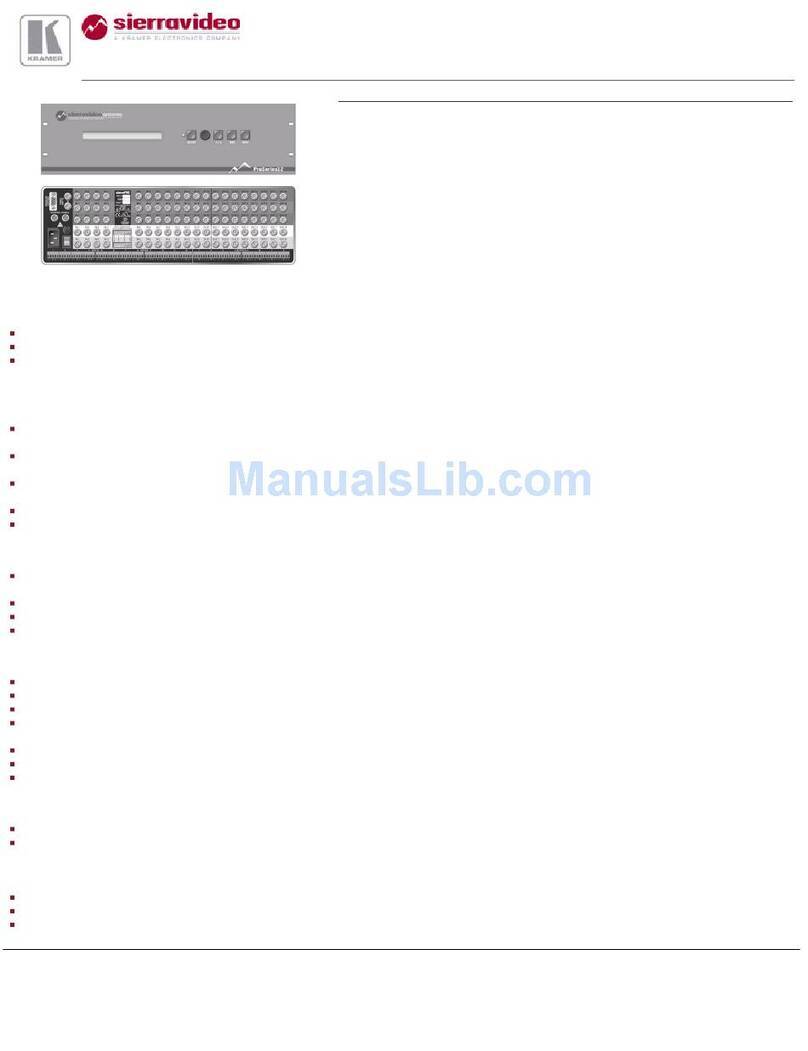
Figure 2 illustrates the front and rear panels of the VP-1608. Tables 1 and 2
define the front and rear panels of the VP-1608, respectively.
1 In increments of 0.5sec
2
Previously known as IR-1 / IR-1-01
