Kuno Engels ENGELAIR ELW 170 User manual

Manual ELW 170 / ELW 180
May 2020
page 1
ENGELAIR
®
AIR FLOW MONITORING
Monitors types ELW 170 and ELW 180
for electric air heaters
in air conditioning and ventilating systems
Notes relating to instructions
Please read these operating instructions carefully and note the relevant country-specific standards, safety
requirements and accident prevention specifications. The mounting instructions form part of the device and
must be retained for its entire life.
Dissemination and reproduction of this document, exploitation and communication of its content are
prohibited unless expressly permitted. We will claim compensation for damages in the event of infringements.
All rights reserved for patents, utility models or registered design.
The following warning notices are used in these instructions:
Immediate
danger from electrical voltage
and current
Failure to heed the information indicated by this symbol may lead to dangerous conditions,
possibly resulting in death or serious bodily injuries.
Possible danger
Failure to heed the information indicated by this symbol may lead to dangerous conditions,
possibly resulting in minor or light bodily injuries and/or substantial property damage.
1. Safety information
Mounting, electric installation, start-up and maintenance of the airflow monitor may only be
undertaken by a qualified electrician. The directions provided in these instructions must be
understood, noted and followed. The electrician is responsible for correctly connecting the
device in accordance with the electric wiring diagrams. The device requires no maintenance.

Manual ELW 170 / ELW 180
May 2020
page 2
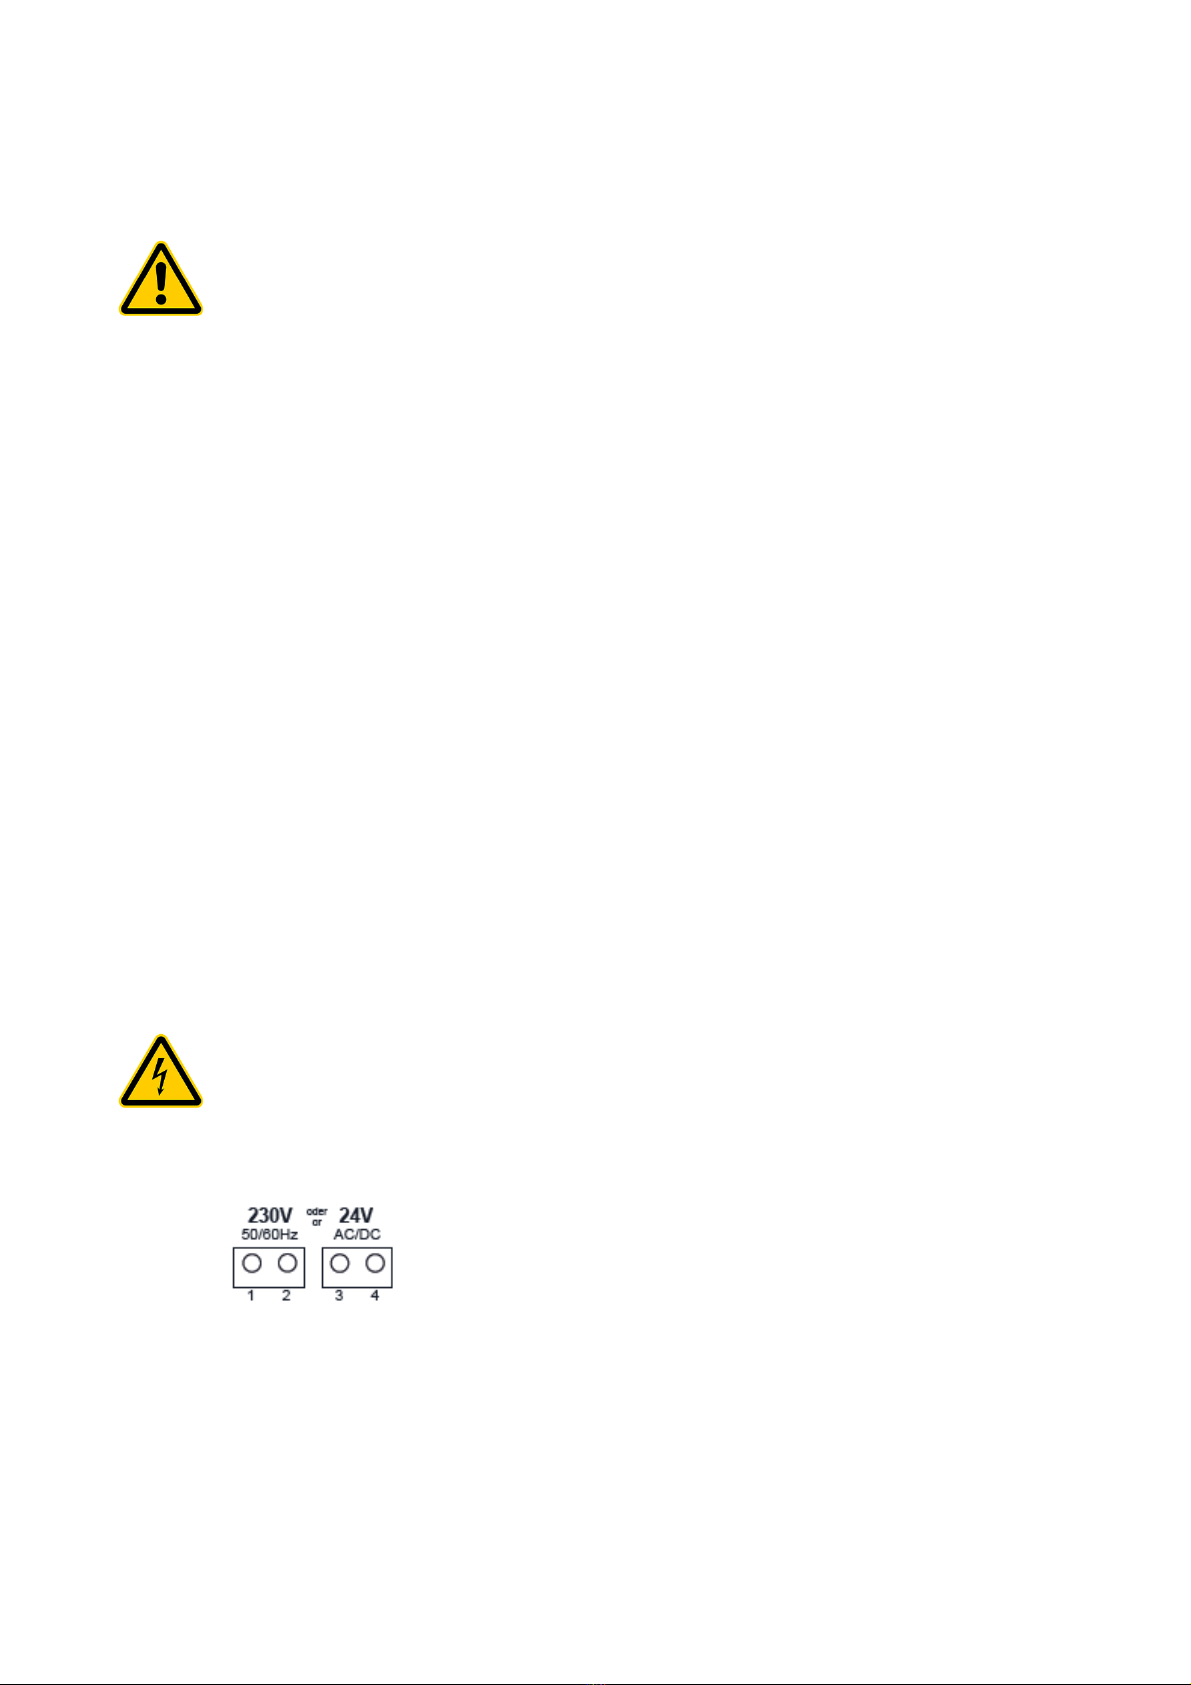
The housing may be opened to be connected to the electricity supply and to set parameters.
There are hazardous circuits inside the housing. The airflow monitor may only be operated
by staff who have been authorised and trained to do so by the system operator.
The applicable standards and directives should be observed.
The EMC directives must be ensured for the entire system.
2. Proper use
The airflow monitors ELW 170 and ELW 180 are only intended for commercial use.
The devices are used for the following purposes:
- To evaluate airflows and the resultant generation of switching statuses.
- For monitoring off ans or butterfly valves
- For use in conjunction with DDC systems
- For flow –dependent monitoring of humidifiers and electric heating coils in accordance with
DIN VDE 0100-420 (Oct. 2019). Please also observe our information S 20.
Proper use also includes the following points:
- The directions provided in these instructions must be noted and followed.
- The technical limit values (see Chapter 6 “Technical data”) must be observed.
- The sensor should only be used to measure air.
- The devices are not suitable for use in areas at risk of explosion or pressurised areas.
The manufacturer accepts no liability for damage resulting from the device not being used properly,
unauthorised modifications to the device, failure to observe these instructions and deployment of
staff who are not qualified. The manufacturer’s guarantee also ceases to apply in such instances.
3. Standards and directives
The device complies with the following requirements:
- 2014/30/EU EMC directive
- 2014/35/EU Low Voltage Directive
- EN 61326-1:2013 General EMC requirements
- EN 61326-2-3:2013 Immunity for residential, commercial and light-industrial environments
- DIN EN 60947-5-1 Low-voltage switchgear and controlgear
- EN 50581:2012 Restriction of hazardous substances
4. Structure of the measurement system
The measurement system comprises the sensor and control unit. The measurement system is available in
two different designs:
- ELW 170 for wall mounting (sensor is connected using a cable)
- ELW 180 for duct mounting (sensor is permanently connected to the control unit)
Sensor and control unit are calibrated independently and, in the version for wall mounting, can be replaced
with identical devices at any time. Sensors and control devices are not compatible with the foreign ELW line.
5. Principle of operation
The airflow monitor works in line with the calorimetric measuring principle where the amount of heat removed
by the airflow is measured and converted into the switching value. In order to do this, the sensor contains a
heating element and 2 temperature sensors. A microcontroller controls the heating and measures differences
in temperature. On the basis of stored calibration curves, it calculates the speed of airflow and transfers the
value to the control unit in a serial manner. Here another microcontroller determines the switching behaviour
of the two relays from the setpoint values for the controller.

Manual ELW 170 / ELW 180
May 2020
page 3
6. Mounting and installation
Before the device is mounted, ensure that it is not displaying signs of any physical damage
or damage caused by moisture, which may have come about due to improper transport or
storage.
The housing protection category is IP65. Ensure that the housing remains free of deposits
and moisture. The terminals and connection cables should be checked regularly to ensure
they are secure and must be free of vibrations.
The ambient temperature limits stated in the technical data should be observed.
6.1 Mounting
ELW 170: The device is mounted on a level base using suitable screws (not included in scope of delivery).
The device can be mounted in any position.
ELW 180: The device is mounted on the duct using the mounting flange included in scope.
6.2 Connecting to the electricity
The rated voltage (mains) and other key electrical data are stated on the device’s type plate and in chap-
ter 9 “Technical data”. The cable cross-section for auxiliary energy (mains) and the main fuse used must
be matched to one another according to the standards and specifications applicable locally.
The 2x2-pin terminal block for the rated voltage and the two 3-pin terminal blocks for the potential-free
relay contacts are designed for cable cross-sections up to 2.5 mm².
The 2x2-pin terminal block for the sensor contacting is sized in accordance with requirements for smaller
cable-cross-sections up to 1 mm².
.
6.2.1 Connecting to the auxiliary energy supply
Alternatively, the devices can be operated with a mains voltage of 100-240 VAC 50/60 Hz
or a low voltage of 24 V ±10 % AC/DC.
Two pairs of terminals 1/2 and 3/4 are provided for this purpose and must not be inter-
connected at the same time.
All work associated with connecting to the auxiliary energy supply may only be undertaken
when de-energised.
The mains voltage is connected to terminals 1 and 2.
The 24 V low voltage is connected to terminals 3 and 4.
Observe the limit values for the auxiliary energy feed-in (refer to technical data for details). The upstream
fusing element should be sized in accordance with generally applicable standards and directives.
Once the cables have been installed and while the system is de-energised,the cover for the terminals and
electronics should be fitted.

Manual ELW 170 / ELW 180
May 2020
page 4
6.2.2 Sensor connection
The sensor cable carries a DC voltage of 24 V and two serial
signals should therefore be routed using the shortest path possible.
In the version for duct mounting, the sensor is permanentlyintegrated
in the housing ex factory and connected to the control unit. There is
no need for the user to make any connections.
In the version for wall mounting, when routing the cable, try to avoid
proximity to larger electrical machines and switching elements which
cause stray fields, switching pulses and inductions. The maximum
permitted sensor cable length is 30 m.
Ensure that the four cables are connected correctly so that the
Sensor or control electronics are not damaged.
6.2.3 Connecting the switching
The ELW 170 / 180 is fitted with two petential-free relay outputs
which can be interconnected as make or break contacts depending
on use (two-way contact).
Refer to technical data for switching capacity. The consumer should
be fused in accordance with the specified standards and directives.
All work associated with the terminals may only be undertaken when
de-energised.
7. Operating functions and elements
Parameters for the device functions are set using controls in the control device.
A small screwdriver is needed to operate the speed controller.

Manual ELW 170 / ELW 180
May 2020
page 5
7.1 Operating mode auto restart
The relays have the following function:
REL1 (contacts 5, 6, 7): Alarm function without interlock
REL2 (contacts 8, 9, 10): Flow monitoring
Once the operating voltage has been applied and the desired flow speed has built up after the start delay
(constants see technical data ), relay 2 energises (contacts 8/9 close) and the downstream unit is released.
This therefore prevents harmful heating / humidification without air removal. If the necessary air speed isn't
reached after the start delay, relay 1 switches to alarm contact 6/7. A drop in flow below the set value during
operation occurs once the switch-off delay has passed.
Contacts 8/9 are opened (heating off) and contacts 6/7 are closed at the same time (alarm). Both relays are
not interlocked in this state. When the flow is detected again, the measuring cycle starts automatically with-
out the device having to be disconnected from the power supply (stand-by mode).
7.2 Function of the setting potentiometers
Four potentiometers can be used to influence the device’s switching behaviour. They are located on the
right-hand side of the PCB and have the functions described below, working from top to bottom.
7.2.1 “Switch-on delay” speed controller
Allows the switch-on delay to be set to between 15 and 120 seconds.
Factory setting 15 seconds.
7.2.2 “Switch-off delay” speed controller
Allows the switch-off delay to be set to between 2 and 20 seconds.
Factory setting 2 seconds.
7.2.3 “Hysteresis” speed controller
Allows the hysteresis to be set to between 1 and 10% of the measuring range. Hysteresis prevents the output
from being switched repeatedly if the measurement moves around the set switching point.
Factory setting 1%.
7.2.4 “Flow speed” speed controller
This speed controller is used to set the flow speed (0,2...10m/s). Should the speed fall below the flow speed,
a switching process is triggered. The “Flow” LED can be used to judge whether the current flow value is above
or below the set switching value.
Factory setting 1.5 m/s.
LED off = flow < set value
LED on = flow > set value
7.3 Display elements
Three LEDs are provided as display elements. Their functions are explained below.
7.3.1. “Relay 1” and “Relay 2” LEDs
These two LEDs indicate the switching state of the two associated relays.
LED on = relay energised
LED off = relay deactivated
The circuit diagram provided on the housing shows the relay when deactivated.
7.3.2. “Flow” LED
Used to set the flow speed and check function. During normal operation, this LED goes out as soon as the
flow speed falls below the set value. The LED’s behaviour depends on the set flow speed and hysteresis,
not however on the switch-on and switch-off delay, which only influence the switching state of the relays.
Flashing of the LEDs indicates that there is a faulty connection between the sensor and control unit.

Manual ELW 170 / ELW 180
May 2020
page 6
8. Start-up
The following points have to be noted when starting up:
8.1. Checks before switching on the auxiliary energy
Before starting up the device, check whether
- the wiring has been produced correctly as shown in the wiring diagram,
- the auxiliary energy corresponds to the details on the type plate,
- the ambient conditions match the details in the technical data.
8.2. Checks after switching on the auxiliary energy
After switching on the auxiliary energy, check whether
- the desired functions are set at jumpers and speed controllers.
9. Technical data
Rated voltage: 100-240V AC or 24V ±10% AC/DC
Rated consumption: < 3 VA
Contact: 2 two-way contacts, potential-free
Switching voltage: max. 250 V AC
Switching current: max. 8 A
Electric connection: 2.5 mm² (sensor 1.0 mm²), screw terminals, 3 x M16 (1 x M12)
Protection class: II
Type of protection: IP65 housing / IP54 sensor, EN 60529
Flow speed: 0.2 … 10 m/s (wearer appealing in the range of 0.2 – 1.0 m/s)
Start delay: 15 ... 120 seconds
Ambient temperature range: housing 0° … +50°C / sensor -20° ... +90°C
Transport and storage temperature: -10 … +75 °C
Relative air humidity: < 95 %
Condensation: permitted (outside only)
Overvoltage category (control unit): 4000 V
Degree of contamination: 2
Material: Housing cover polycarbonate, housing base ABS, sensor
cable PVC, cable screw connection PA6, sensor housing
aluminium with polyamide PA6
10. Dimensional drawing
ELW 170:
flange

Manual ELW 170 / ELW 180
May 2020
page 7
ELW 180:
flange
11. Maintenance and servicing
Before starting up and then at adequate intervals, check the measurement system is fully functional.
The intended effect should also be checked. If you want to clean the exterior of the device, ensure that the
cleaning agent used doesn’t attack the surface of the plastic housing and sensor aluminium. No liquid or
powdery substance may enter the housing because this may cause serious damage to the electronics and
result in life-threatening conditions.
12. Transporting / storing device
When transporting, be gentle on the housing packaging and do not distort it. The device should be stored in
line with the ambient conditions specified in the technical data.
13. Disposal
When disposing of device, be sure to separate the materials and recycle the device components.
The statutory specifications and directives applicable at the time should be observed.
14. Liability
We determined the technical data provided in an inspection and test environment suited to this task and this
data only presents the agreed properties on this basis. The purchaser / customer is responsible for checking
the suitability of the use or usage intended by the purchaser / customer under the specific conditions of use;
we do not accept any liability for this. We reserve the right to amendments.
KUNO ENGELS GmbH + Co. • Hauptstrasse 42 • D-42799 Leichlingen
Tel.:+49(0)2174/7900-0 • Fax:+49(0)2174/7900-10 • info@kunoengels.de • www.kunoengels.de
This manual suits for next models
1
Table of contents