KYBERLIGHT GALAXY 10 User manual

VERSION 10

Warranty 2
Parts List 4
Dismantling 6
V10 RGB Operation 8
V10 Kyber-Pixel Operation 10
Troubleshooting 16
Table of Contents Welcome to the Kyberlight Galaxy!
Welcome to Kyberlight, home of the greatest
customizable saber in the the Galaxy. We are excited you
have purcahsed a Kyberlight Customizable Saber and
joined Kyberlight Nation. This is just the start, with
dozens of accessories and endless possibilities, you can
begin today and never stop creating the perfect saber.
Don’t get stuck with one design. You can find custom
pommels, sleeves and emitters at https://kyberlight.com.
Change your look anytime, anywhere, for any occasion.
Our sabers are built to last. Don’t be afraid to have
fun! Duel, clash and have a blast!
Firmware Updates 14
Sound Font Updates 15

2 3
Kyberlight offers a full one (1) year limited warranty on
electronics from the date of receipt.
This warranty covers defects found in workmanship
and original components only, and does not extend to
modified products of any kind. Kyberlight will evaluate
each case individually to determine weather the issue is
covered under this warranty and we will repair or replace
prodcut at it’s sole descresion after that evaluation.
The warranty does not apply to software for
electronics; modifying software or firmware may alter the
operation of your saber. Issues caused by software
changes (such as product becoming unresponsive, lag,
sound issues, blown speakers from increased volume
beyond safe levels) are not covered by this warranty, but
will not void your warranty against other manufacturing
defects.
Kyber-Pixel blades are rated for medium to light
combat and come with a one year warranty on electron-
ics.
RGB Blades are covered by our lifetime blade
warranty.
For any warranty claims please email us at:
customer_servic[email protected]
Warranty
Full information available at Kyberlight.com/warranty
▪Please use caution when disassembling and assembling
the saber. Kyberlight is not responsible for damage
caused by over tightening screws or not tightening
enough.
▪When removing and inserting an SD card use caution.
You should not have to force the door or card.
▪The long set screws that are used to secure the chassis
to the hilt do NOT need to be tight. They should be
put in all the way so that sleeves will fit over them but
do not turn until they are tight as you risk breaking the
chassis.

4 5
V10 RGB Parts List
▪2 Piece Aluminum Hilt
▪Electronic Chassis (pre installed in the hilt)
▪Battery (pre installed in Chassis)
▪Thumb Screw
▪Covertech Wheel
▪USB to USB-C Charging Cable
▪Kepler Emitter
▪Adaptation Sleeve
▪Pommel Cap
▪Screw Kit
▪Hex Key
▪3mm Polycarbonate Blade
V10 Kyber-Pixel Parts List
▪2 Piece Aluminum Hilt
▪Electronic Chassis (pre installed in the hilt)
▪16gb SD Card (pre installed on board)
▪Battery (pre installed in Chassis)
▪Thumb Screw
▪Covertech Wheel
▪USB to USB-C Charging Cable
▪Kepler Emitter
▪Adaptation Sleeve
▪Pommel Cap
▪Screw Kit
▪Hex Key
▪Pixel Blade with 240+ LEDs
▪3mm Polycarbonate Blade
▪RGB <--> Pixel converter (select packs)
Thumb Screw
Kepler Emitter
Upper Hilt
Lower Hilt Covertech Wheel
Power Button
AUX Button
USB-C Charge Port
Pommel Cap

6 7
Disasembly Instructions
1. Remove the thumb screw, the screw securing the
covertech wheel, and sleeve screw. Carefully slide
off the Emitter and Sleeve pieces.
2. You can access the battery and micro SD card by
unscrewing the two hilt peices. The bottom hilt
will unscrew and slide off carefully.
3. Carefully remove the micro SD card by sliding the
small metal gate towards the buttons, it should pop
up releasing the micro SD card.
4. If you need to remove the whole chassis, you can
unscrew the two long set screws behind the buttons.
Carefully push the buttons into the chassis. Pull out
the chassis from the upper hilt.
Important: When inserting the two set screws into
the hilt be very careful not to over tighten. They do
NOT need to be tightened snug. Simply insert them
far enough to be able to put a sleeve on and that
the buttons are aligned. Over tightening these
screws can break the chassis and short out
electronics. This is NOT covered in your warranty.
5. Reassemble in reverse order.

98
V10 RGB Operation
Function Control Notes
Blaster Deflection Tap AUX -
Lock Up Hold AUX
and Clash Saber -
Twist Color
Change
Hold Power and
Twist Saber
(counterclockwise
then clockwise)
Twist Saber slowly.
Press Power to set.
Solid Color
Change
Hold AUX
and Twist Saber
(counterclockwise
then clockwise)
Saber will change
solid colors. Press
Power to set.
Infinate Color
Change
Hold AUX
and Twist Saber
(Clockwise then
counterclockwise)
Saber will slowly
change colors. Press
Power to set.
Power Off Hold Power 2 LED
Flashes (1 s)
Saber will slowly
change colors. Press
AUX to set.
- Hold AUX while in standby
- Hold Power for 2 LED flashes (1 s)
On - Tap Power while in Standby or motion.
When saber is in Standby:
When saber is On:
Saber Modes:
Function Control Notes
Change to previous
Sound Font
Hold AUX for
4 LED Flashes
(2 s)
You will hear new
sound font name
Change Blade
Effect
Point Saber Down Twist
Saber (counterclockwise
then clockwise)
Change Effect, See
Saber Effects
List
Flash on Clash
Hold AUX for
3 LED Flashes
(1.5 s)
Saber will announce
change
Check Battery
Level
Hold AUX for
2 LED Flashes
(1 s)
Battery level %
Announced
Volume Control
Hold AUX for
1 LED Flash
(0.5 s)
Volume changes
100%, 75%, 50%
25%, mute.
Turn Saber Off Hold AUX for
10 s
You will hear
‘Power Off’
Change to next
Sound Font Tap AUX You will hear new
sound font name
Ignite Saber Tap Power -

10 11
V10 Kyber-Pixel Operation
- Hold AUX while in standby
- Hold Power for 2 LED flashes (1 s)
On - Tap Power while in Standby or motion.
When saber is On:
Saber Status:
◦Saber Effects - Standard, Velocity, Torch, Blaster, Ghost,
Broken Ignition, Stack Ignition, Photon Ignition, Warp
Ignition, Phaser Ignition, Scavenger Ignition, Hunter Ignition
◦Blade Effects - Steady, Pulse, Rainbow, Candy, Unstable,
Cracked, Fire, and Galaxy
Function Control Notes
Blaster Deflection Tap AUX -
Lock Up Hold AUX
and Clash Saber -
Twist Color
Change
Hold Power and
Twist Saber
(counterclockwise
then clockwise)
Twist Saber slowly.
Press Power to set.
Solid Color
Change
Hold AUX
and Twist Saber
(counterclockwise
then clockwise)
Saber will change
solid colors. Press
AUX to set.
Infinate Color
Change
Hold AUX
and Twist Saber
(Clockwise then
counterclockwise)
Saber will slowly
change colors. Press
AUX to set.
Power Off
Hold Power 2 LED
Flashes (1 s), or
Twist Saber
Saber will slowly
change colors. Press
AUX to set.
Function Control Notes
Drag Hold Power
Clash the Saber -
Force
Angle Blade Up
Hold Power
& Twist Saber
~45 Degree Angle
Stab Stab the saber,
Move forwrd -
Melt
Hold AUX button
& Stab saber
Twist to color change.
Saber will change
solid colors. Press
AUX to set.
Multi Lock Mode
Hold AUX for
1 LED Flash
(0.5 s)
To exit repeat
Multi Block Mode
Hold AUX for
2 LED Flashes
(1 s)
To exit repeat
When saber is On Continued:

12 13
Function Control Notes
Change to previous
Sound Font
Hold AUX for
4 LED Flashes
(2 s)
You will hear new
sound font name
Change Blade
Effect
Point Saber Down Twist
Saber (counterclockwise
then clockwise)
Change Effect, See
Saber Effects
List
Flash on Clash
Hold AUX for
3 LED Flashes
(1.5 s)
Saber will announce
change.
Check Battery
Level
Hold AUX for
2 LED Flashes
(1 s)
Battery level %
Announced
Volume Control
Hold AUX for
1 LED Flash
(0.5 s)
Volume changes
100%, 75%, 50%
25%, mute.
Change Saber
Effect
Hold Power and
tap AUX
Saber will announce
new Effect
Change to next
Sound Font Tap AUX You will hear new
sound font name
Ignite Saber
Tap Power,
Twist Saber, or
Swing Saber Down
-
When saber is in Standby:
Turn Saber Off Hold AUX for
10 s
You will hear
‘Power Off’
RGB <--> Pixel Hold AUX for
13 s
You will hear
‘Power Off’, then
confrimation of change
V10 Motion Operation
1. Your saber can turn on while in
standby by twisting your saber.
Turn off by twisting again.
3. Change Blade Effect while in standby
by holding your saber down and
twisting counterclockwise then clockwise.
4. Stab saber forward to activate
Stab, hold AUX while stabbing
to Melt.
5. Activate Force by holding the saber up
hold Power and rotate saber.
2. Turn on your saber by swinging
down.
◦If you are having trouble with the twist motion, we suggest
practicing. Place the emitter section of your saber loosely in
the palm of your hand, then use your other hand to twist the
pommel section of your saber. This will give you an idea of
just how the twist works. With practice you can do it with
one hand.

14 15
Firmware Updates
1. Download the ‘update.bin’ file from
https://kyberlight.com/updates
2. Remove the micro SD card from your saber, please
make sure to turn off saber and remove battery first.
3. Insert the micro SD card into your PC or Mac and
look for the ‘setting’ folder.
4. Drop the ‘update.bin’ in the ‘setting’ folder. Once
copied safely eject the micro SD card and install it
back into the chassis.
5. Install the battery, but do not turn on the hilt. Wait
for the sound confirmation ‘Beginning Update’
indicating the update has begun. When finished
you will hear ‘Update Complete’
6. You may now use your saber as normal.
Sound Font Updates
▪If your saber came with a micro SD card you can add
custom sound fonts.
▪Converting sound fonts to work with your saber is not
a difficult process but it can take some time and must
be done manually.
▪Your saber is designed to work with the same file
structure as a XenoPixel saber. The font folders must
be numbered and font files must be formated with the
name (#) format.
▪Any sound font file will work if the names of the files
are changed and numbered correctly. This includes
Proffie, CFX and Xenopixel.
▪You can see the naming structrue by looking at an
existing font folder and naming your new font files in
the same manner.
Example file names:

16
Troubleshooting tips:
Remove the battery and reinsert to make sure it is
making good contact and inserted correctly.
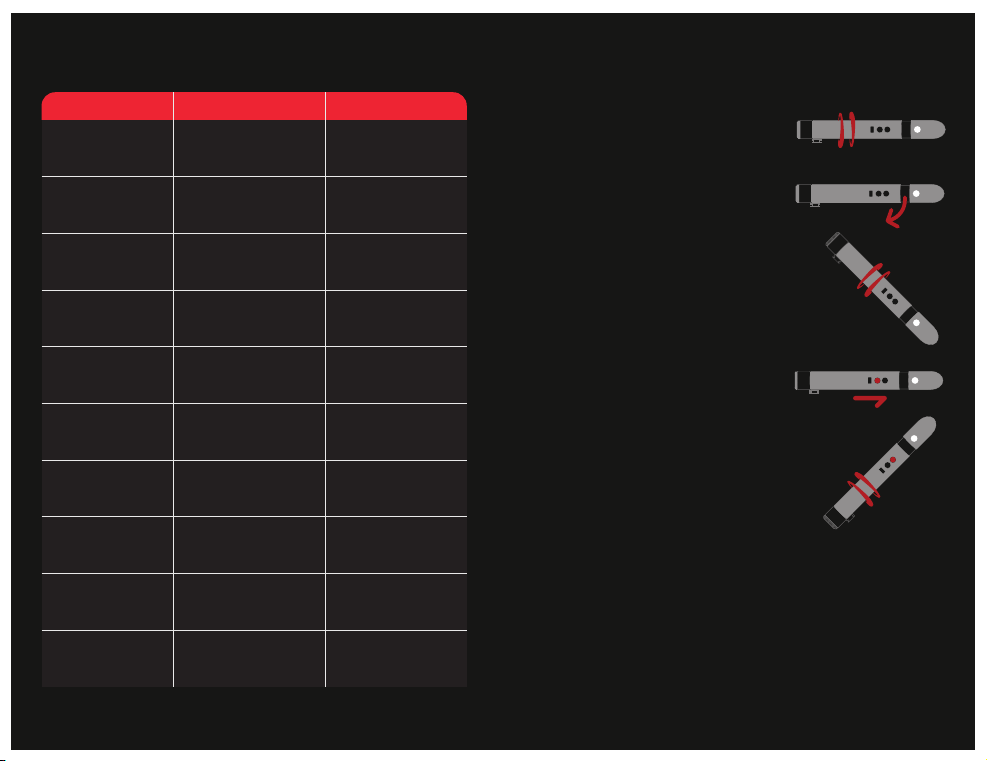
First, please verify the saber is not in “Mute” mode
by following the instructions above. If you still do
not have sound please verify the saber is fully
charged as low battery can cause the volume to
decrease or turn off. Lastly, ensure that the files
are setup on the micro SD card and it is inserted
properly.
First, check to make sure that your saber is not in
“Ghost Mode” or “Velocity Mode” These modes
require motion for the blade to ignite. Second,
verify your saber is fully charged. Lastly, if you
have a Kyber-Pixel saber please verify the blade is
making full contact with the pins in the emitter.
The RGB <--> Pixel converter needs to be seated
completely. Make sure it is inserted in the correct
orientation. Use the RGB blade to press on the
converter and then secure the blade with a set
screw. Lastly check to make sure the saber is in
“RGB” mode.
Safety Notice
▪We suggest fully charging your saber before operat-
ing. Use only the included cable with a 5V 1A USB or
5V wall charger.
▪Children should be supervised while using the saber.
We are not responsible for injuries or damage caused
while swinging or dueling with the saber.
▪Please use proper saftey gear when dueling including
gloves, armor, helmets and eye protection.
▪Always act respectful, be responsible and safe.
▪Most of all have fun!
Table of contents