Kymeta U8ACC-00003-0 User manual

Kymeta u8 Terminal Vehicle Mount
Kit Installation Guide
Product code: U8ACC-00003-0
Document number: 700-00141-000 revA
16 September 2020
Copyright © 2020 Kymeta Corporation. All rights reserved. Kymeta Proprietary and Confidential – Subject to confidentiality obligations.

Table of contents
1 Introduction 3
2 Safety recommendations 4
3 Kit contents 5
4 Required tools 6
5 Requirements and recommendations 7
6 Assemble the u8 vehicle mount accessory 8
6.1 Install the cross bar 8
6.2 Integrate the u8 8
6.3 Install the u8 terminal vehicle power kit 10
6.4 Mount the assembly on the roof 11
6.5 Install the clamps 11
6.6 Install the padlock 13
7 Replace the padlock 15
8 Contact support 16
9 Revision history 16
10 Copyright and trademark information 16
© 2020 Kymeta Corporation. All rights reserved. Kymeta Proprietary and Confidential – Subject to confidentiality obligations.

3 16 September 2020
700-00141-000 revA Kymeta u8 vehicle mounting kit installation guide
© 2020 Kymeta Corporation. All rights reserved. Kymeta Corporation Confidential –
Subject to confidentiality obligations.
1 Introduction
Kymeta™ u8 product vehicle mount kit (U8ACC-00003-0) includes rails for mounting the u8 terminal or u8 ODU to a
vehicle roof rack. It provides a mounting solution for communications-on-the-move, leveraging the Kymeta antenna’s
low-profile form factor. This document contains step-by-step details for the installation and setup of the Kymeta u8
product vehicle mount accessory.

4 16 September 2020
700-00141-000 revA Kymeta u8 vehicle mounting kit installation guide
© 2020 Kymeta Corporation. All rights reserved. Kymeta Corporation Confidential –
Subject to confidentiality obligations.
2 Safety recommendations
To prevent personal injury or damage to equipment, correctly follow the instructions in this manual for fitting and
use.
Ensure all fasteners are correctly tightened and checked regularly during travel.
Ensure the maximum load is no more than 40.8 kg (90 lb.). The u8 terminal vehicle mount is designed to carry only
the u8 antenna and approved accessories.
The handling characteristics of a vehicle (crosswind sensitivity, handling on bends, and braking) change when a
carrier system is fitted. Alter your driving techniques to allow for these changes, including reducing your speed,
especially on bends, and allowing for greater braking distances.

5 16 September 2020
700-00141-000 revA Kymeta u8 vehicle mounting kit installation guide
© 2020 Kymeta Corporation. All rights reserved. Kymeta Corporation Confidential –
Subject to confidentiality obligations.
3 Kit contents
The following parts are included with the vehicle mount kit.
Item Drawing Name Quantity
A Rail 2
B Clamp bottom 4
C Bolt cover 1
D M8 nylock nut 8
E M8 x 35 SHCS 8
F M10 x 70 SHCS 4
G Padlock 1
H Cardboard tear off slider pads 4

6 16 September 2020
700-00141-000 revA Kymeta u8 vehicle mounting kit installation guide
© 2020 Kymeta Corporation. All rights reserved. Kymeta Corporation Confidential –
Subject to confidentiality obligations.
4 Required tools
Before you start, ensure you have all installation tools required for the assembly. Installation tools are not provided with
the product. A list of required tools is provided below.
Item Drawing Name
1 6 mm hex key
2 8 mm hex key
3 Torque wrench to 40 n-m (29.5 ft. -lb.)
4 Blue Loctite

7 16 September 2020
700-00141-000 revA Kymeta u8 vehicle mounting kit installation guide
© 2020 Kymeta Corporation. All rights reserved. Kymeta Corporation Confidential –
Subject to confidentiality obligations.
5 Requirements and recommendations
The roof load carrier may reduce fuel efficiency. Remove the roof load carrier after use to reduce fuel consumption.
The minimum roof clearance is 6 mm (0.236 in.).
This mount requires that the roof rack crossbars are less than 7.7 cm wide and the closest points on the forward/aft
crossbars are 92.8 cm apart.

8 16 September 2020
700-00141-000 revA Kymeta u8 vehicle mounting kit installation guide
© 2020 Kymeta Corporation. All rights reserved. Kymeta Corporation Confidential –
Subject to confidentiality obligations.
6 Assemble the u8 vehicle mount accessory
6.1 Install the cross bar
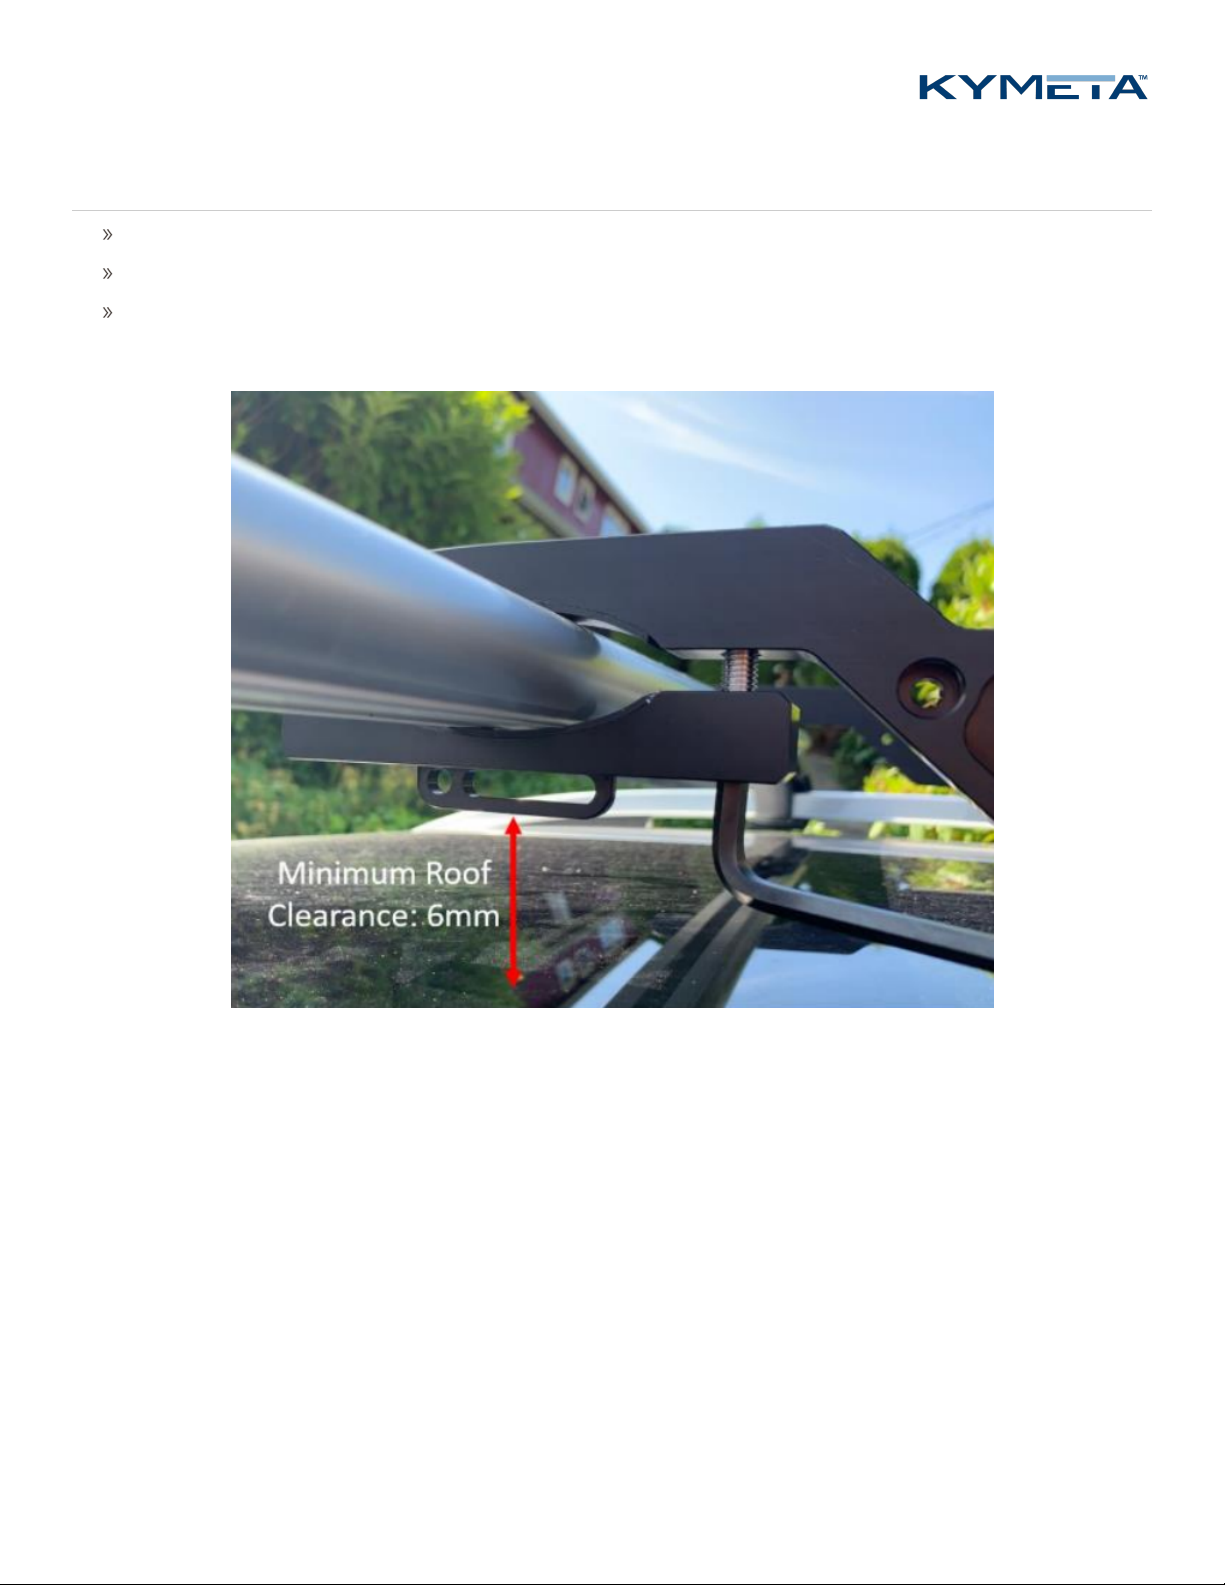
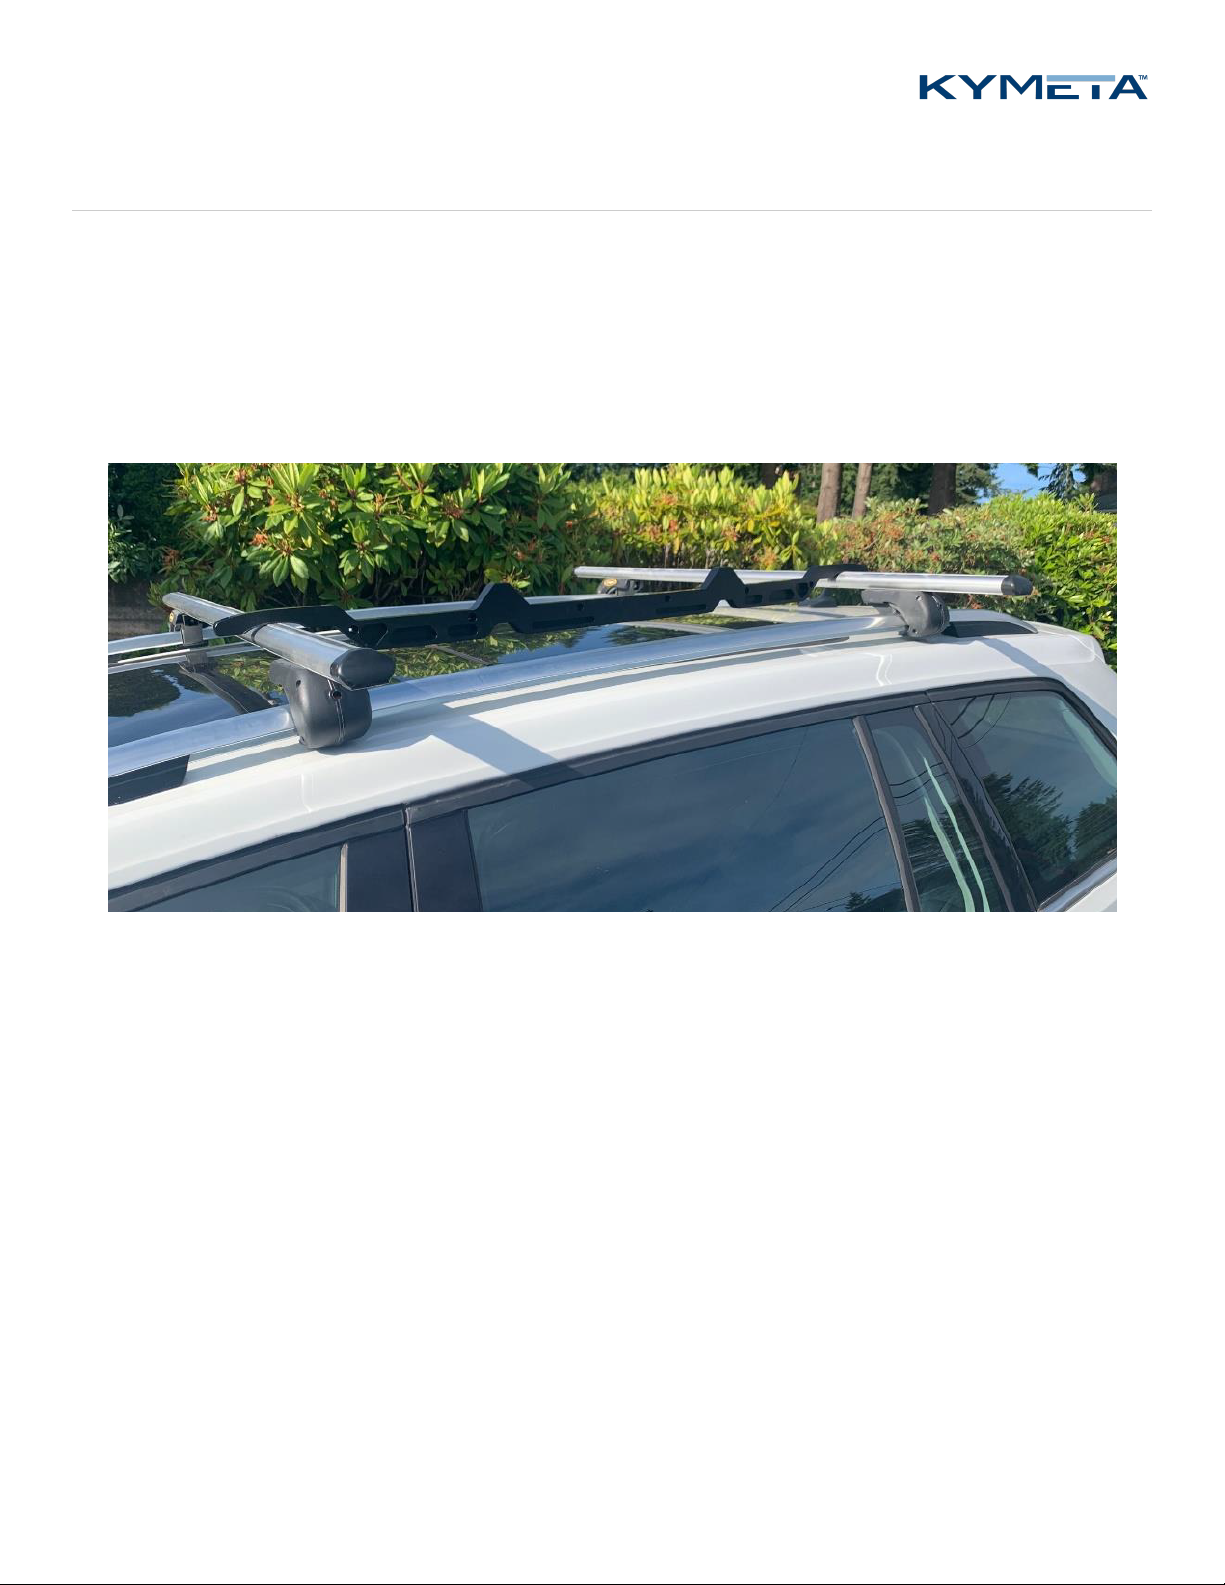
1. Install roof rack cross bars at desired longitudinal location per manufacturer’s instructions. Ensure the cross bar
spacing is approximately 1010 mm (39.76 in.) as measured from the center of the crossbars.
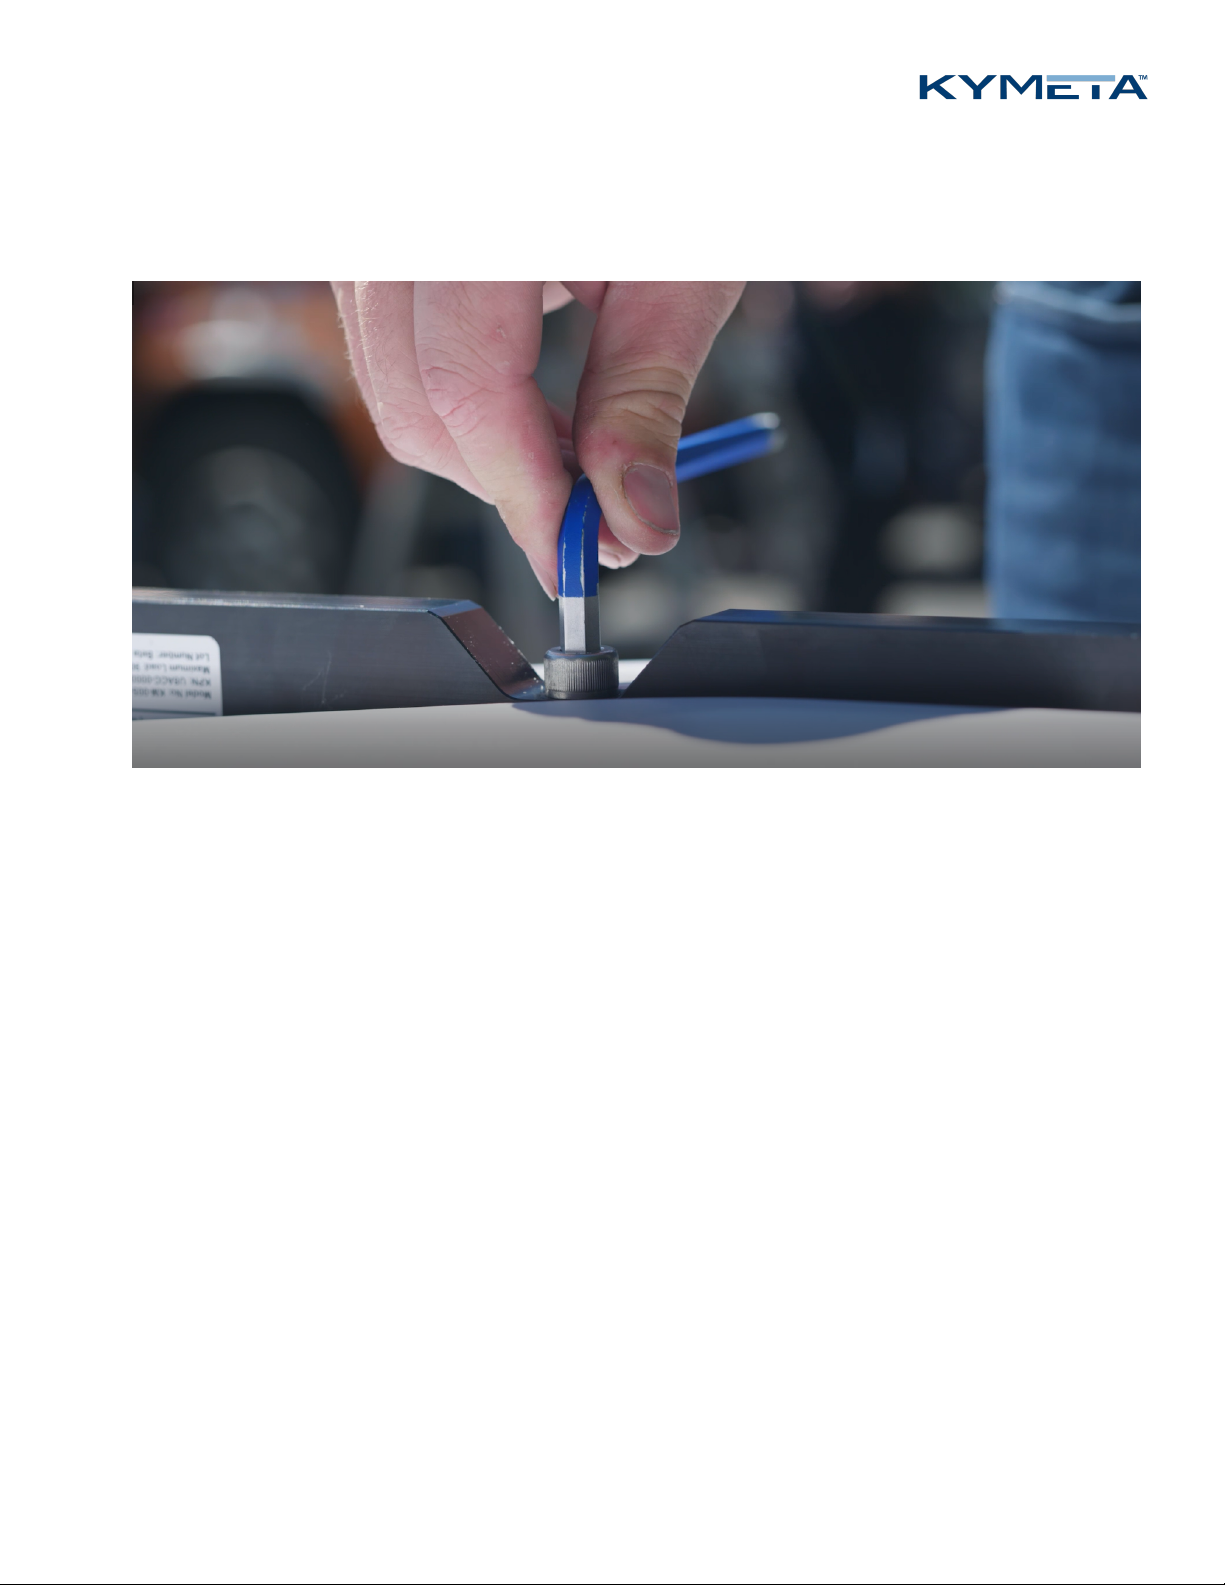
2. Verify the spacing by dry fitting rail component (Item A) to confirm crossbar is centered on rubber mounting pads.
6.2 Integrate the u8
1. Clear a flat surface: ensure it is clean with no objects or debris that may damage the u8.
2. Unpack the u8. To open the case, lay it flat on an open area where it's easy for one person to stand on each side
near the clean assembly surface.
3. With two people (one person on each side), lift the u8 out of the case, keeping the u8 parallel to the floor, and lay
it face down on the clean flat surface. Place a piece of foam, fabric, or non-abrasive material on the clean flat
surface to prevent marks or damage to the face of the antenna.
4. Place the rails so that mounting bolt locations align with antenna fastener points and that the Kymeta branding is
visible from the outside.

9 16 September 2020
700-00141-000 revA Kymeta u8 vehicle mounting kit installation guide
© 2020 Kymeta Corporation. All rights reserved. Kymeta Corporation Confidential –
Subject to confidentiality obligations.

10 16 September 2020
700-00141-000 revA Kymeta u8 vehicle mounting kit installation guide
© 2020 Kymeta Corporation. All rights reserved. Kymeta Corporation Confidential –
Subject to confidentiality obligations.
5. Install the fasteners. Use the included four M10 × 70 socket head cap screws (item F), an 8 mm hex key, and blue
Loctite to attach the rails. Torque fasteners to 40 N-m (29.5 ft. -lb.).
6.3 Install the u8 terminal vehicle power kit
Install the Kymeta™ u8 terminal vehicle power kit (U8ACC-00001-0) as described in 700-00111-000 Kymeta u8
terminal vehicle power kit installation instructions. The kit includes wiring to cleanly and efficiently tie antenna power-
on to vehicle power-on.

11 16 September 2020
700-00141-000 revA Kymeta u8 vehicle mounting kit installation guide
© 2020 Kymeta Corporation. All rights reserved. Kymeta Corporation Confidential –
Subject to confidentiality obligations.
6.4 Mount the assembly on the roof
1. Place the rail/antenna assembly on roof rack crossbars. Make sure the Kymeta logo is front-facing and the fans
are facing towards the rear of the car. To avoid injury, use two people to mount the rail/antenna assembly.
2. Make required adjustments by lifting up individual corners and placing tearoff cardboard slider pads (item H)
between the rails and the crossbars to minimize friction.
3. Ensure the rail/antenna assembly is roughly centered on laterally on the cross bars. Once roof rack is in desired
lateral location, remove the tear off cardboard pads individually.
6.5 Install the clamps
1. Place eight M8 nylock nuts (item D) into the corresponding pockets on rails, ensuring the nylon patch is facing up.

12 16 September 2020
700-00141-000 revA Kymeta u8 vehicle mounting kit installation guide
© 2020 Kymeta Corporation. All rights reserved. Kymeta Corporation Confidential –
Subject to confidentiality obligations.
2. Using a 6 mm hex key, fasten four clamp bottoms (item B) to the rails using two M8 x 35 socket head cap screws
(item E) per clamp. Tighten each screw a few turns at a time to ensure clamp bottom remains relatively level and
the spacing between the clamp bottoms and rails is even front to back. Torque to 26 N-m (19.2 ft.-lb.).

13 16 September 2020
700-00141-000 revA Kymeta u8 vehicle mounting kit installation guide
© 2020 Kymeta Corporation. All rights reserved. Kymeta Corporation Confidential –
Subject to confidentiality obligations.
6.6 Install the padlock
1. Remove the padlock (item G) from the package and unlock the shackle using included key. Remove the key prior
to installing the lock.
2. Put EPDM foam strip onto the clamp bottom.
3. Place bolt cover (item C) over the locking lug on the clamp bottom that includes the lock foam.
4. Insert the padlock shackles through the wide slot.

14 16 September 2020
700-00141-000 revA Kymeta u8 vehicle mounting kit installation guide
© 2020 Kymeta Corporation. All rights reserved. Kymeta Corporation Confidential –
Subject to confidentiality obligations.
5. Tilt the padlock to slide to the left side of shackle into the hole as shown.
6. Lock the shackle and plug the keyhole with the included cover.

15 16 September 2020
700-00141-000 revA Kymeta u8 vehicle mounting kit installation guide
© 2020 Kymeta Corporation. All rights reserved. Kymeta Corporation Confidential –
Subject to confidentiality obligations.
7 Replace the padlock
Kymeta is not responsible for a lost key or a malfunctioning padlock replacement. In the event of a lost key or
malfunctioning padlock, it is your responsibility to remove and replace the padlock in a safe matter.
The included padlock is an Abus model 70/35. The locking system is designed to be compatible with the Abus model
70/35, Abus 751B/40, or other padlocks of the following dimensions below. The system has only been tested for
compatibility with the listed Abus padlocks. Other padlocks of the dimensions below may not be compatible due to
other geometry issues.
Dimension Value (mm) Value (in.)
Shackle diameter 6.35 0.25
Horizontal clearance 10.4 - 31.9 0.41 - 1.25

16 16 September 2020
700-00141-000 revA Kymeta u8 vehicle mounting kit installation guide
© 2020 Kymeta Corporation. All rights reserved. Kymeta Corporation Confidential –
Subject to confidentiality obligations.
8 Contact support
Contact Kymeta customer support at support@kymetacorp.com or 1-855-525-6638 (Monday to Friday, 07:00-
18:00 PT (UTC-8)).
9 Revision history
Revision Changes
01 Initial release.
A Initial Production version.
10 Copyright and trademark information
©2020 Kymeta Corporation. All Rights Reserved. KYMETA, KYMETA CONNECT, KĀLO, CONNECTED BY KYMETA, and
MTENNA are trademarks of Kymeta Corporation, with registrations or pending applications in the U.S. and/or other
countries. All other trademarks are the property of their respective owners.
Table of contents
Popular Automobile Accessories manuals by other brands

VDO
VDO CIX 3000 BLUE - datasheet

Gewiss
Gewiss JOINON WALLBOX I-CON DLM User and installation manual

Access
Access SLANTBACK Roll-Up Cover Installation instructions and owner's manual

Havis
Havis C-DMM-3006 installation instructions

Fiamma
Fiamma Carry-Bike Lift 77 Installation and use instructions

Metec
Metec 852701 Mounting instructions

Renkforce
Renkforce 2685015 operating instructions

Westfalia
Westfalia AH-048 instruction manual

Hella
Hella Rallye 3000 Compact Mounting instructions

MUGEN
MUGEN 75130-XNCD-K0S0 Installation and handling manual

Trane Technologies
Trane Technologies Thermo King TriPac Evolution Operator's manual

OTC
OTC 7448A Operating instructions and parts list