LaCie 2big Quadra USB 3.0 User manual

THUNDERBOLT SERIES USER MANUAL
CLICK HERE TO ACCESS AN UP-TO-DATE ONLINE VERSION
of this document for the most recent content as well as for features such as expandable
illustrations, easier navigation, and search capability.
LaCie 1

INTRODUCTION
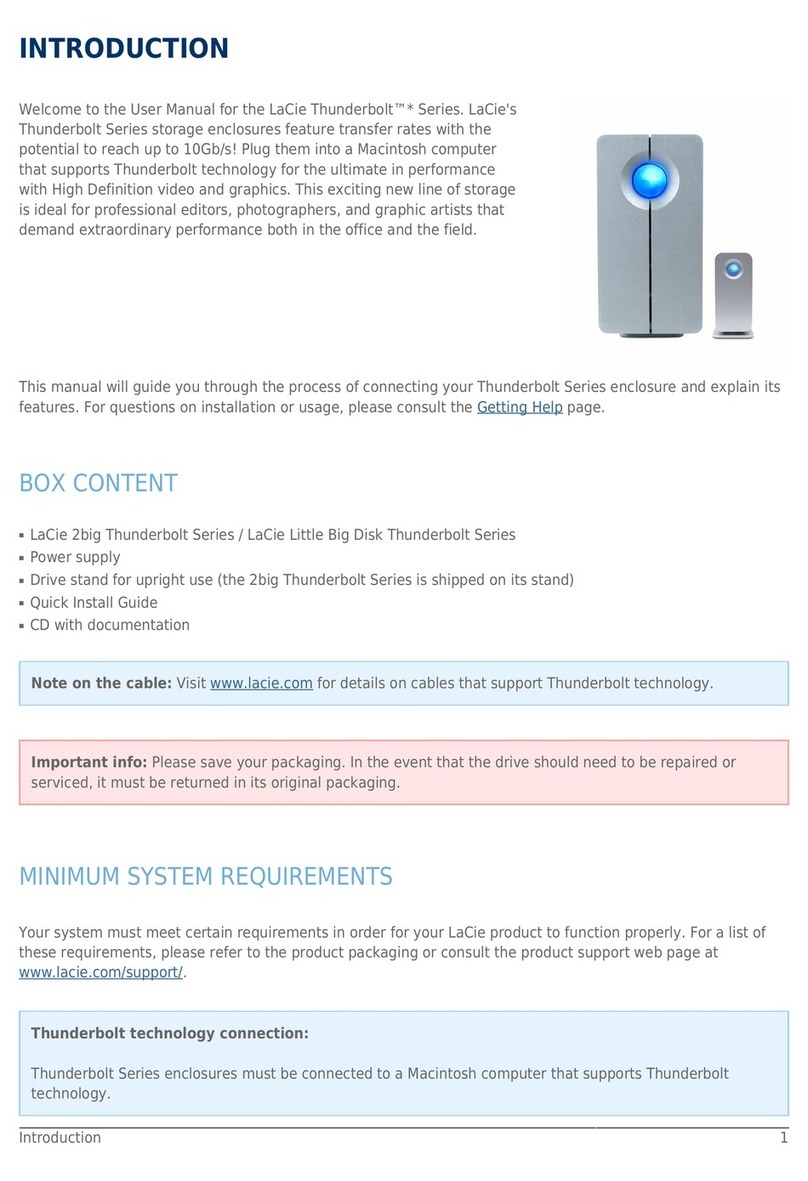
Welcome to the User Manual for the LaCie Thunderbolt™* Series. LaCie's Thunderbolt
Series storage enclosures feature transfer rates with the potential to reach up to 10Gb/s!
Plug them into a Macintosh computer that supports Thunderbolt technology for the
ultimate in performance with High Definition video and graphics. This exciting new line of
storage is ideal for professional editors, photographers, and graphic artists that demand
extraordinary performance both in the office and the field.
This manual will guide you through the process of connecting your Thunderbolt Series enclosure and explain its
features. For questions on installation or usage, please consult the Getting Help page.
BOX CONTENT
LaCie 2big Thunderbolt Series / LaCie Little Big Disk Thunderbolt Series
■
Power supply
■
Drive stand for upright use (the 2big Thunderbolt Series is shipped on its stand)
■
Quick Install Guide
■
CD with documentation
■
Note on the cable: Visit www.lacie.com for details on cables that support Thunderbolt technology.
Important info: Please save your packaging. In the event that the drive should need to be repaired or
serviced, it must be returned in its original packaging.
MINIMUM SYSTEM REQUIREMENTS
Your system must meet certain requirements in order for your LaCie product to function properly. For a list of
these requirements, please refer to the product packaging or consult the product support web page at
www.lacie.com/support/.
Thunderbolt technology connection:
Thunderbolt Series enclosures must be connected to a Macintosh computer that supports Thunderbolt
technology.
* Thunderbolt and the Thunderbolt logo are trademarks of Intel Corporation in the U.S. and/or other countries.
LaCie 2

VIEWS OF THE DRIVE
Front View
2big Thunderbolt Series
Activity LED and power button1.
LaCie 3

Little Big Disk Thunderbolt Series
Activity LED and power button1.
Removable stand2.
LaCie 4

Rear View
2big Thunderbolt Series
Disk tray1.
Disk lock2.
Power supply connection3.
Thunderbolt technology ports4.
LaCie 5

Little Big Disk Thunderbolt Series
Thunderbolt technology ports1.
Power supply connection2.
Chain lock option3.
LaCie 6

HARD DISK HEAT MANAGEMENT
Heat Dissipation Design
The Thunderbolt Series enclosures feature metal bodies that dissipate drive heat. The large surface area of the
heat sink casing absorbs all internal heat, keeping the drives safe and prolonging their life. Since LaCie's unique
design draws heat away from the internal drives, the external casing will be warm to the touch after extended
use. Please make sure that the vent on the back bezel is not obstructed and that there is a natural airflow
across the casing.
POSITION AND STACKING
2big Thunderbolt Series
In most instances, the 2big enclosure heat dissipation will be maximized when it rests on the stand in a vertical
position.
LaCie 7

Users interested in placing two 2big enclosures in a specially designed rack may visit LaCie for further
information. When placing the enclosures in a rack, LaCie recommends that you allow for adequate airflow so
that the units do not overheat.
LaCie 8

Important info: Do not stack more than two 2big enclosures. Doing so will void the warranty.
Little Big Disk Thunderbolt Series
Heat dissipation is maximized when the Little Big Disk enclosure rests on its stand in a vertical position. Please
make certain that it has ample space on all sides of the casing for proper airflow.
Do not stack the unit with other Little Big Disks or similar items. Stacking your Little Big Disk(s) will void the
warranty.
LaCie 9

RECEIVING POWER/LED POWER BUTTON
RECEIVING POWER
To receive power, Thunderbolt Series enclosures must be:
Connected directly to a Macintosh computer that is compatible with Thunderbolt technology1.
Connected to a power source via the included power supply2.
MULTI-FUNCTIONAL LED/POWER BUTTON
Led States - 2Big Thunderbolt Series
LED Behavior State
The product is in active mode.
Off
The product is: turned off; not receiving power; not connected to a Macintosh computer that
supports Thunderbolt technology; experiencing system failure; or, experiencing electronic
board failure. See below for information on powering down the drives within the enclosure. If
the device is connected to a power supply and turned on but the LED remains off, contact
LaCie Customer Support.
Led States - Little Big Disk Thunderbolt Series
LED Behavior State
The product is in active mode, working properly and waiting for data access.
The product is starting up. The LED will become solid blue once it has initialized.
Disk access
Off
The product is: turned off; not receiving power; not connected to a Macintosh computer that
supports Thunderbolt technology; experiencing system failure; or, experiencing electronic
board failure. See below for information on powering down the drives within the enclosure. If
the device is connected to a power supply and turned on but the LED remains off, contact
LaCie Customer Support.
LaCie 10

Power Button
The LED button may be used to conserve energy if you do not expect to use the disks for an extended period of
time. To reduce power consumption:
Unmount the partition(s) (see Unmounting Your Drive)1.
Press the LED button2.
The enclosure will stop sending power to the disks. Please note that the enclosure will maintain the daisy chain
with other Thunderbolt devices even when the drives have been powered down.
To power on the drives, press the LED button. The partition(s) will appear on the desktop.
LaCie 11

THUNDERBOLT TECHNOLOGY AND DAISY CHAIN
THUNDERBOLT TECHNOLOGY
Thunderbolt technology is an active cable technology with extraordinary promise. A single Thunderbolt
technology connection includes two bi-directional streams, each with a potential bandwidth of up to 10Gb/s. As
the illustration demonstrates, the streams run in opposite directions to support simultaneous operations: one
bi-directional stream for data operations and another bi-directional stream for video operations. For example,
files can be copied to the Thunderbolt Series volume (upstream) while playing back an HD film on your
computer (downstream). Certainly, it is possible to perform both actions with existing interface technologies but
not at the speeds offered by a Thunderbolt technology connection. See the performance comparison in the
illustration.
While maximum theoretical transfer rates are rarely sustained, it is no less impressive to imagine the amount of
high-end data that can be passed to and from your LaCie Thunderbolt Series storage. To take advantage of the
throughput offered by Thunderbolt technology, the two internal drives in your LaCie enclosure have been
preconfigured as a Striped RAID Set (RAID 0).
LaCie 12

DAISY CHAIN
The back of your Thunderbolt Series enclosure features two Thunderbolt technology ports for:
Direct connection to a Thunderbolt technology compatible Macintosh computer
■
Daisy chaining Thunderbolt compatible devices and displays
■
Connect the cable to one of the interface ports on the back of your LaCie Thunderbolt Series enclosure and to
your Macintosh computer. The additional port may be used to daisy chain compatible computer peripherals,
such as hard drives, monitors, and much more. A single Thunderbolt technology line can have seven devices,
including the computer.
Important cable info: When connecting your Thunderbolt Series enclosure to a computer or compatible
devices, please use cables specifically constructed to support Thunderbolt technology. Go to www.lacie.com
for further information.
Important info: The Thunderbolt Series enclosure must be connected to a Macintosh computer that
supports Thunderbolt technology. While the ports on the back of the device can easily seat Mini DisplayPort
cable ends for daisy chaining displays, the Thunderbolt Series storage will only work when connected:
To a computer that supports Thunderbolt technology.
■
To a computer with a cable that supports Thunderbolt technology.
■
LaCie 13

GETTING CONNECTED
Please follow the setup steps in the order they are given to ensure that the Thunderbolt Series volume mounts
correctly on your computer.
CONNECT THE INTERFACE CABLE
Connect a cable that supports Thunderbolt technology to one of the enclosure's Thunderbolt ports. Plug the1.
other end of the cable to a compatible Thunderbolt technology port on your Macintosh computer. The
additional interface port on the Thunderbolt Series enclosure may be used to daisy chain compatible devices
and displays.
2big
Little Big Disk
Connect the included external power supply to an outlet and to the enclosure power port.2.
LaCie 14

2big
Little Big Disk
The device will turn on automatically when it receives power and the volume will mount on the desktop.3.
2big
LaCie 15

Little Big Disk
Technical note: A single Thunderbolt technology daisy chain can have seven devices, including the
computer.
LaCie 16

UNMOUNTING THE THUNDERBOLT SERIES VOLUME
In order to avoid file system corruption, it is important to unmount the volume(s) before turning off the
enclosure or disconnecting the interface cable. See Unmounting Your Drive for details.
LaCie 17

UNMOUNTING YOUR DRIVE
Thunderbolt technology devices are plug and play, allowing you to connect and disconnect them while the
computer is running. To prevent potential disk problems, it is important to properly eject the Thunderbolt
storage volume(s).
Drag the Thunderbolt storage volume(s) to the Trash. The Trash will turn into an Eject arrow. (The volume1.
icon pictured is a generic Mac device icon. Your drives may be represented by different icons.)
When the volume icon disappears from the desktop, the Thunderbolt Series enclosure can be disconnected2.
from the computer or you can press the LED to conserve energy.
LED button: The Thunderbolt enclosure will power down the disks when the front LED button is pushed. Please
note that Thunderbolt devices daisy-chained to the enclosure will continue to work. See Receiving Power/LED
Power Button.
LaCie 18

REPLACING A DISK (2BIG)
Important info: While all Thunderbolt Series users should contact LaCie Customer Support if disk failure is
suspected, this section pertains to the 2big only due to the type of enclosure.
In the event that an individual hard disk fails in the LaCie 2big Thunderbolt Series, please contact your LaCie
reseller or LaCie Customer Support. Failed hard drives within the 2big Thunderbolt Series enclosure should only
be replaced by a compatible LaCie disk with equal capacity.
Once you have received your replacement disk, follow the steps below for proper installation.
Caution: After continuous use of the LaCie 2big Thunderbolt Series, drives may be hot. Please use caution
when removing the disks.
TO REMOVE A DISK
Confirm that the 2big Thunderbolt Series enclosure is off.1.
Please make certain that you are properly grounded to avoid electrostatic discharge.2.
The drive tray may be locked. To unlock it, insert the round end of the included 2-in-1 tool into the slot on the3.
drive lock. Turn the lock until the slot is vertical.
2-in-1 Tool
Draw out the drive tray by inserting your finger into the space behind the drive tray handle and pulling to4.
disengage the drive.
LaCie 19

Grasp the drive tray handle and carefully extract the drive.5.
Important info: LaCie highly recommends replacing the disk that has been removed as soon as possible.
To Insert A Disk
Confirm that the 2big Thunderbolt Series enclosure is off.1.
Remove the failed disk according to the instructions above. Please make certain that you are properly2.
grounded to avoid electrostatic discharge.
Remove the screws from the drive tray to replace the failed drive with the disk that you received from LaCie.3.
Fasten the screws back on the drive tray.4.
Carefully insert the drive tray into the empty disk bay. When the drive tray is almost flush, you will feel a bit5.
of resistance. Press the drive tray handle firmly until the drive snaps into place and it is in line with the back
pane of the 2big Thunderbolt Series.
Use the 2-in-1 tool to fasten the drive lock. The drive is locked when the line is in a horizontal position.6.
LaCie 20
Other manuals for 2big Quadra USB 3.0
9
This manual suits for next models
4
Table of contents
Other LaCie Enclosure manuals

LaCie
LaCie 9000509U User manual

LaCie
LaCie Box User manual

LaCie
LaCie THUNDERBOLT SERIES User manual

LaCie
LaCie THUNDERBOLT SERIES User manual

LaCie
LaCie 12big Rack Serial 2 User manual

LaCie
LaCie 9000330U User manual

LaCie
LaCie d2 Thunderbolt 2 User manual

LaCie
LaCie 12big Rack Fibre 8 User manual

LaCie
LaCie Box User manual
Popular Enclosure manuals by other brands

Tripp Lite
Tripp Lite SmartRack SRW10US Features & specifications

d & b audiotechnik
d & b audiotechnik Z5576.050 user manual

Itec
Itec MYSAFE user guide

Rocket Fish
Rocket Fish RF-PHD35 Guide de l'utilisateur

Itec
Itec MySafe USB-C M.2 SSD External Case user guide

Black Box
Black Box Elite EWM12U242418-R3 user manual