2.2 Requested by the set-up process
•PC running Windows O.S. and IE8/9 which being supported by Adobe Flash
Player 9.0 or above
•An activated micro SIM card with the requested GSM/GPRS service plan
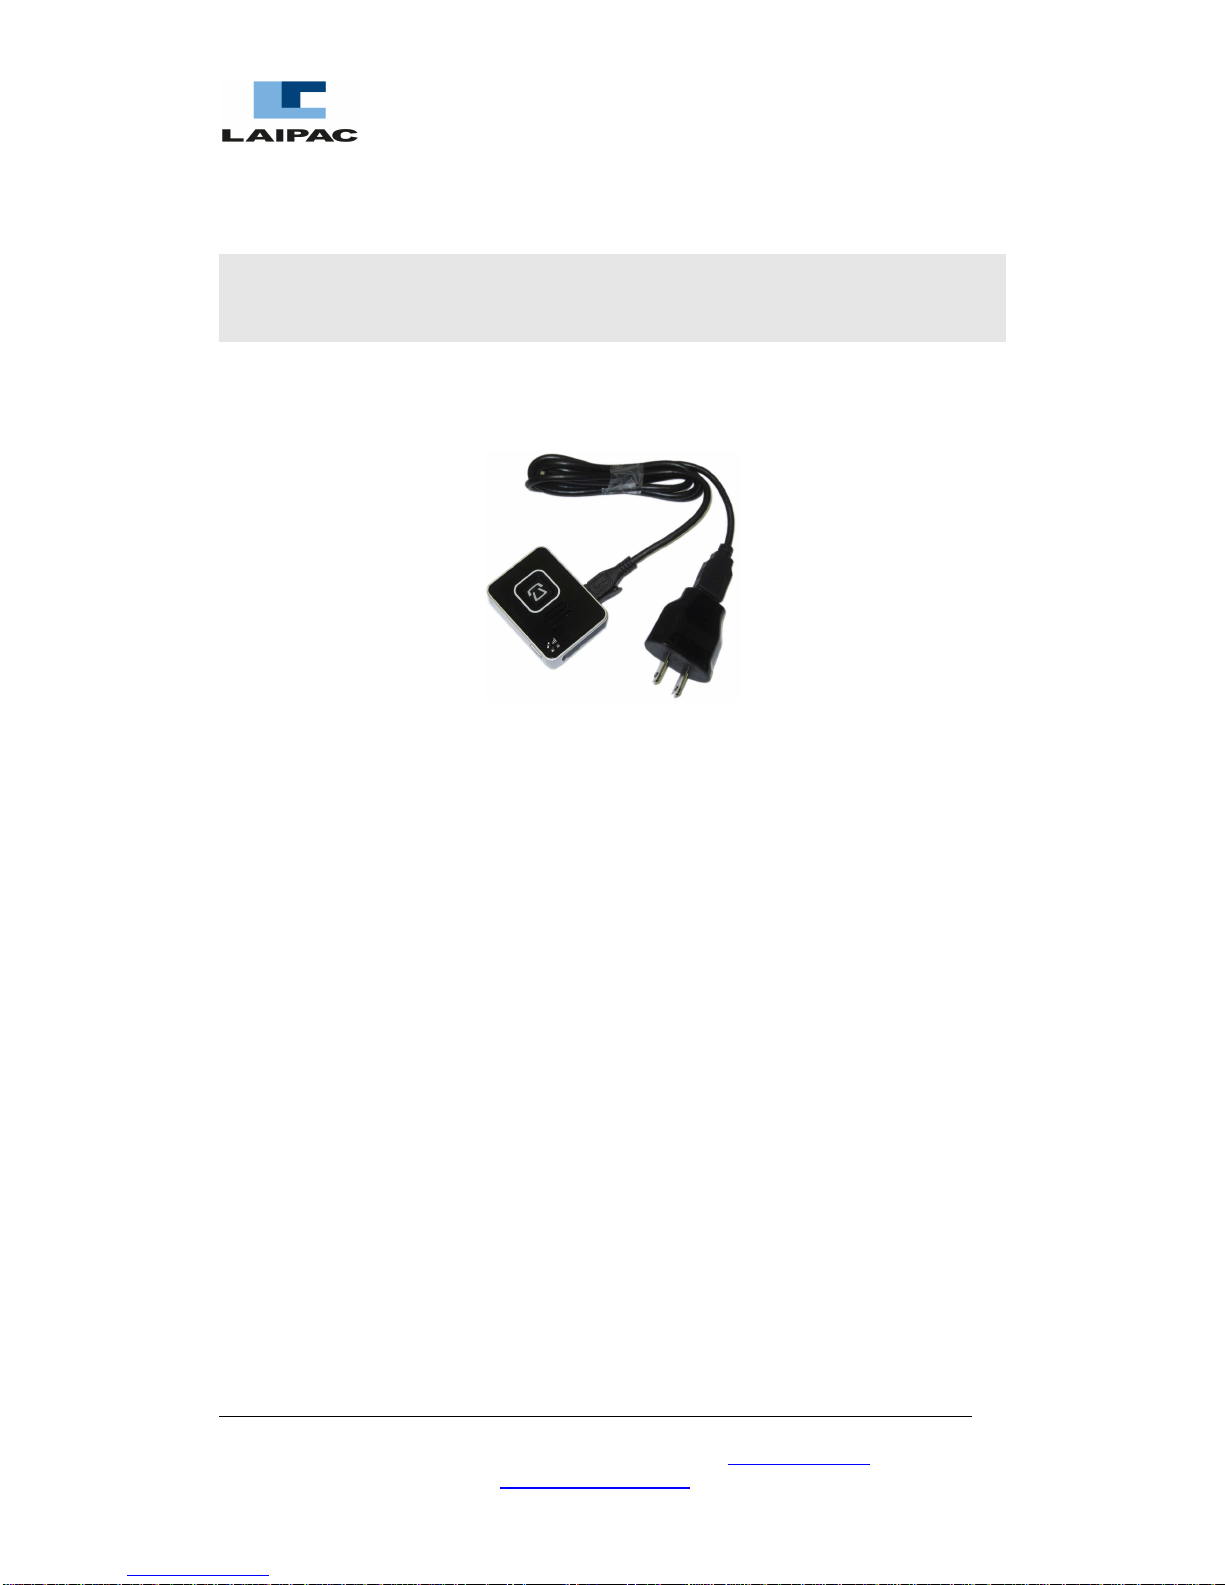
•Micro USB charging/programming Cable
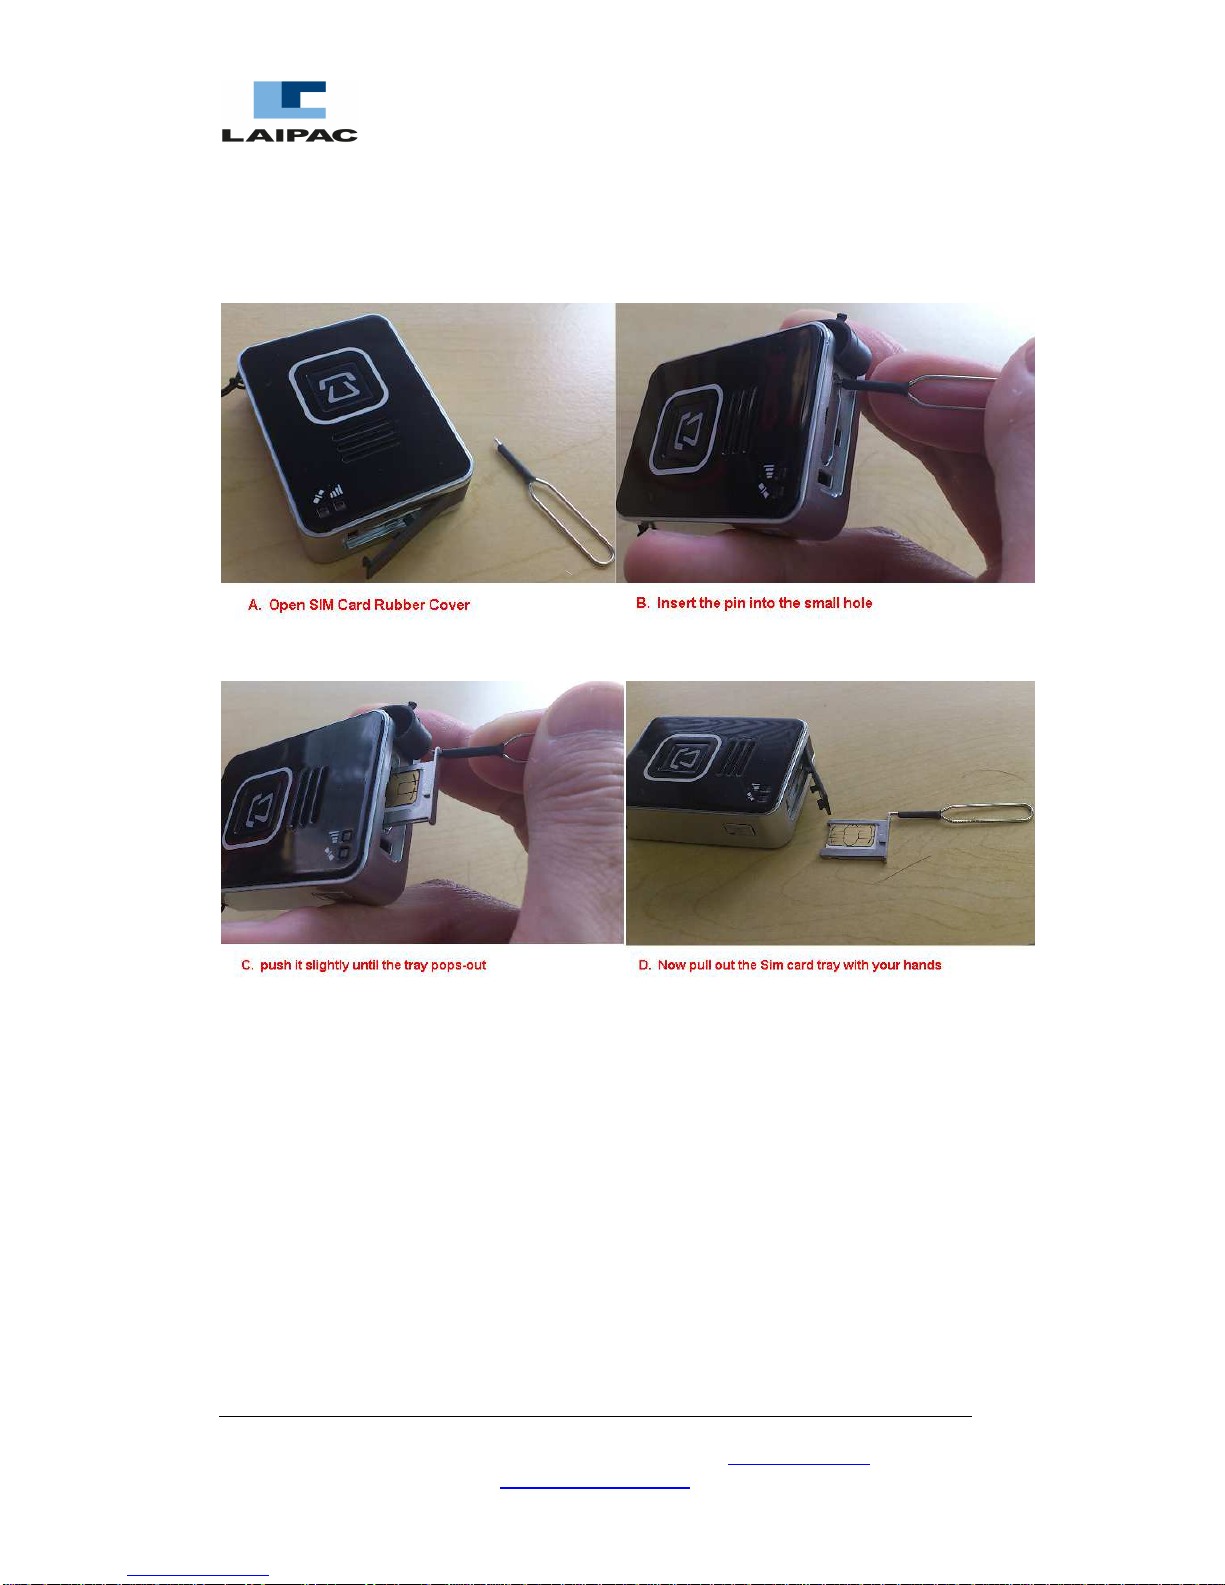
2.3 SIM Card and its installation
To use LOLA, user should have a valid Micro SIM (Subscriber Identity Module) card
(3V) which could be got from GSM Mobile phone carrier or his Location Based
Service provider.
2.3.1 What is a valid Micro SIM card?
(1) First of all, this SIM card should be with Data Plan. Also it should already be
successfully activated by the relative GSM Mobile phone carrier. To communicate
with remote location based service platform through GSM/GPRS network, the
following setting parameters should be coming with the SIM card
GPRS APN: The Access Point Name is used by your SIM card to connect to the
GPRS network. The Access Point is the carrier’s server through
which the traffic becomes converted from GSM to GPRS Internet
traffic.
GPRS APN User Name: The user name authorizes your SIM card to access your carrier’s
Access Point. It could be blank in most of case.
GPRS APN Password: The password authenticates your SIM card to access your carrier’s
Access Point. It could be blank in most of case.
(2) If user wants to use LOLA to send SMS alert message or make SOS phone call,
this SIM card should be with correspondent Voice and SMS service plan and have
been activated.
(3) Some users may try the SIM card being used on his Smart Phone, which being
with DATA plan, on his LOLA. In certain case, this SIM card has been bounding
to his Smart Phone so that it could not be used on LOLA.
(4) For user is using LocationNow.com service platform and in Canada or USA, he
can select to use Laipac’s SIM card.