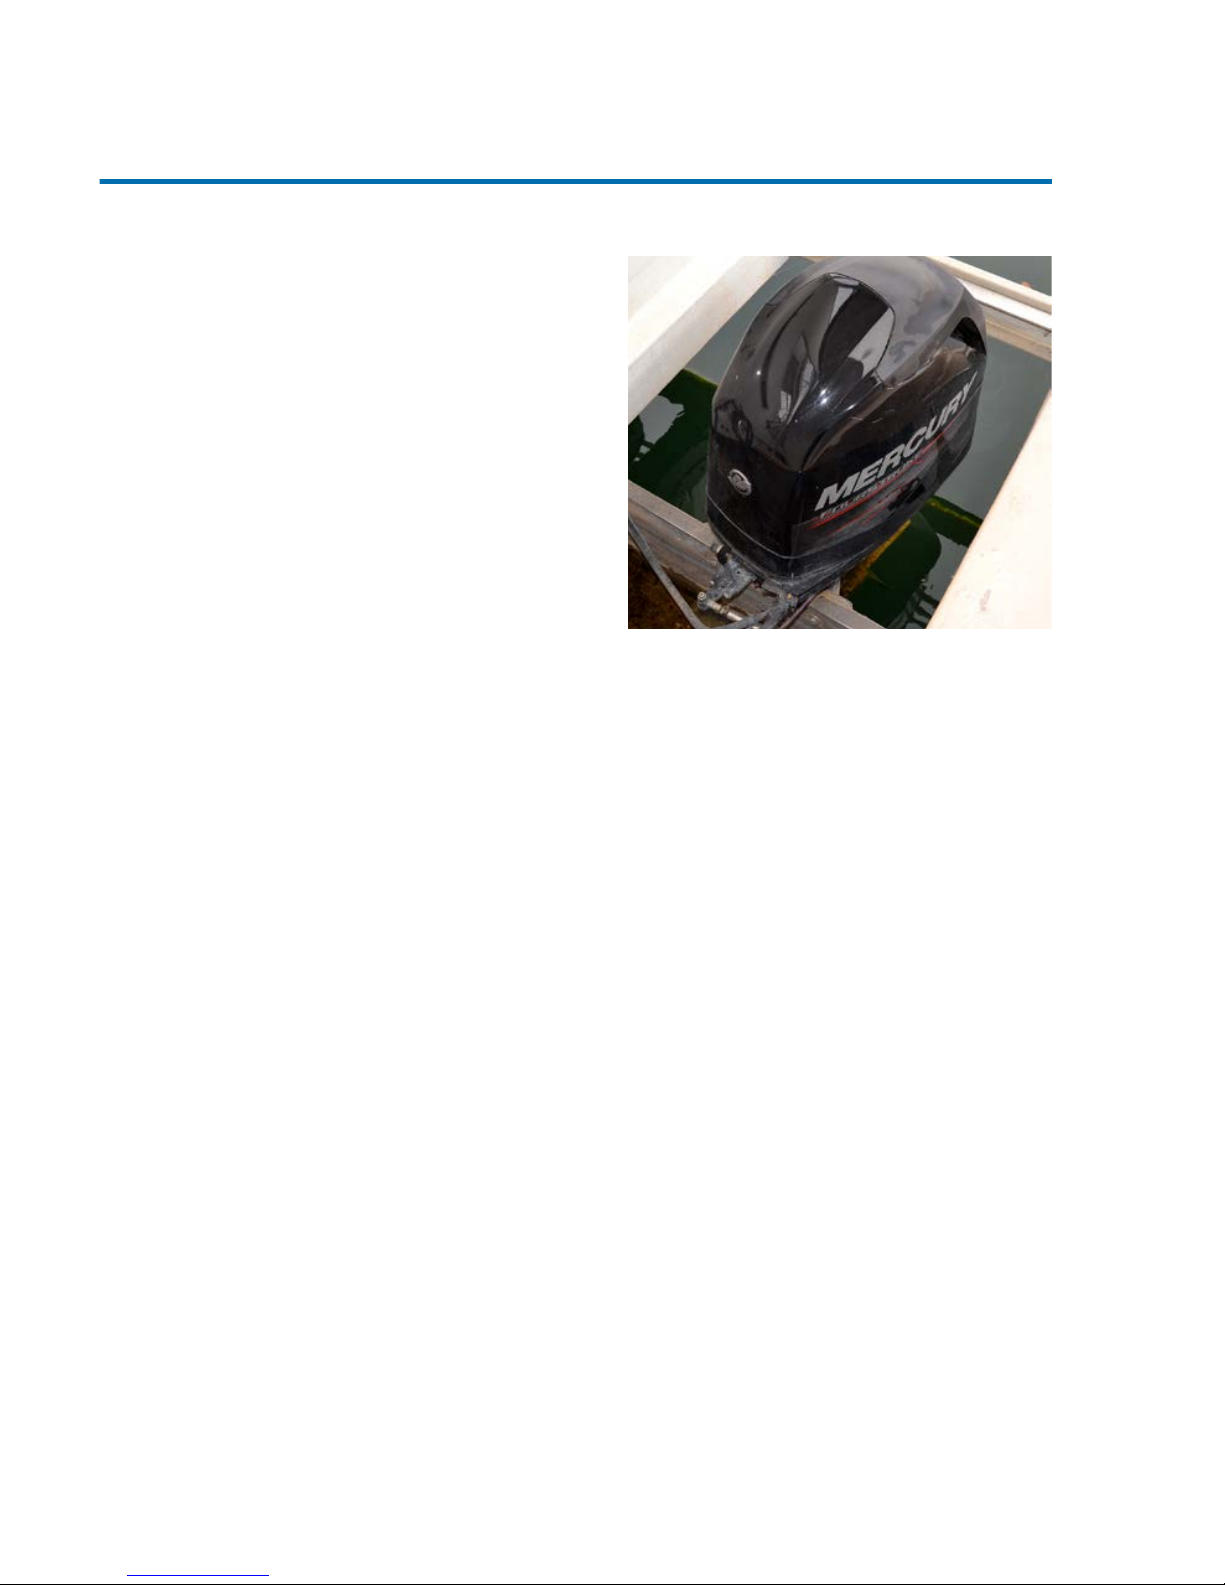
YOUR ESCAPE HAS TWO
ENGINES…
• For greater maneuverability
and power.
• To provide you with a spare in case
of engine failure.
Your engines are well maintained, but
occasional breakdowns can occur. The
spare is to ensure your safety and save
you inconvenience. Don’t let the loss of
one engine delay your vacation. Proceed
on your planned itinerary with the good
engine and we will catch up to you as
soon as possible and make necessary
repairs.
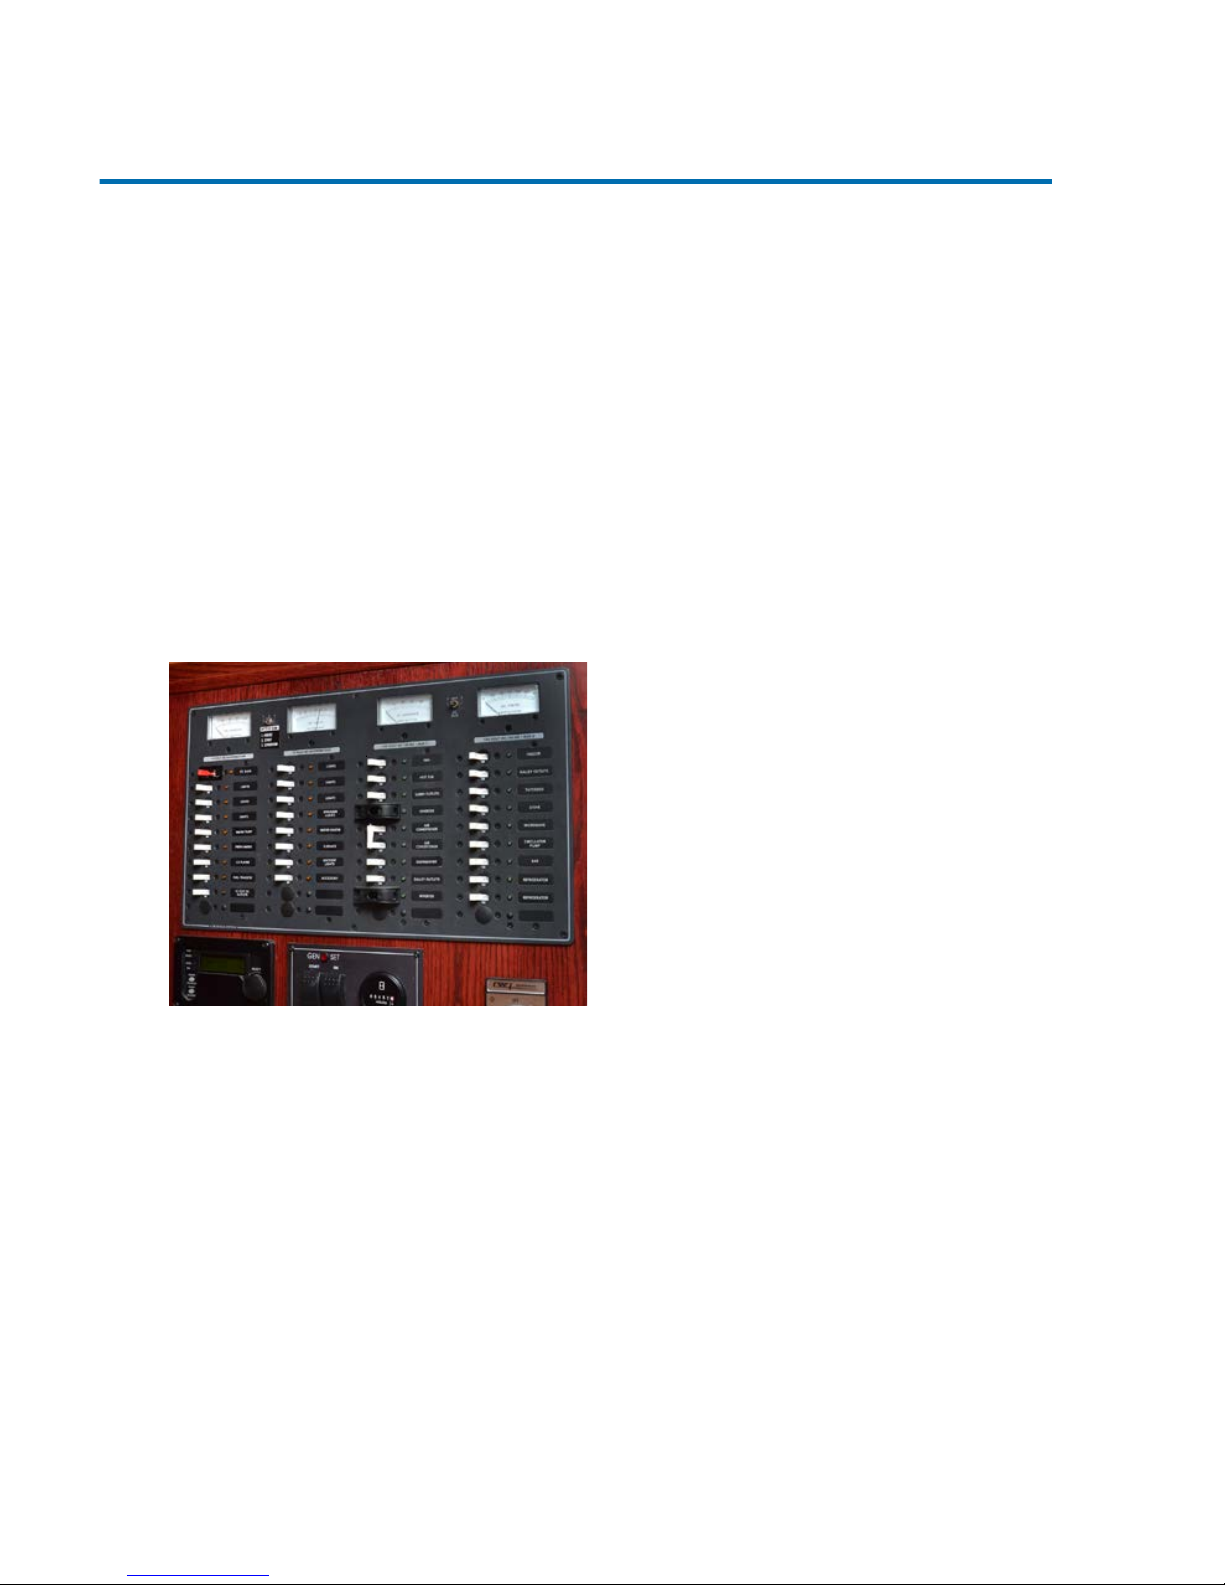
GAUGES
Tachometer
• Monitors the engine revolutions.
• Wide-Open Throttle (WOT)
should be 4800-5200 RPM’s.
• The most ecient cruising RPM
will be 3800-4200 RPM
Fuel Gauge
• Key must be on for fuel level
to register.
• Right gauge is for the Toy Tank
• Left gauge is for both engines and
the Generator
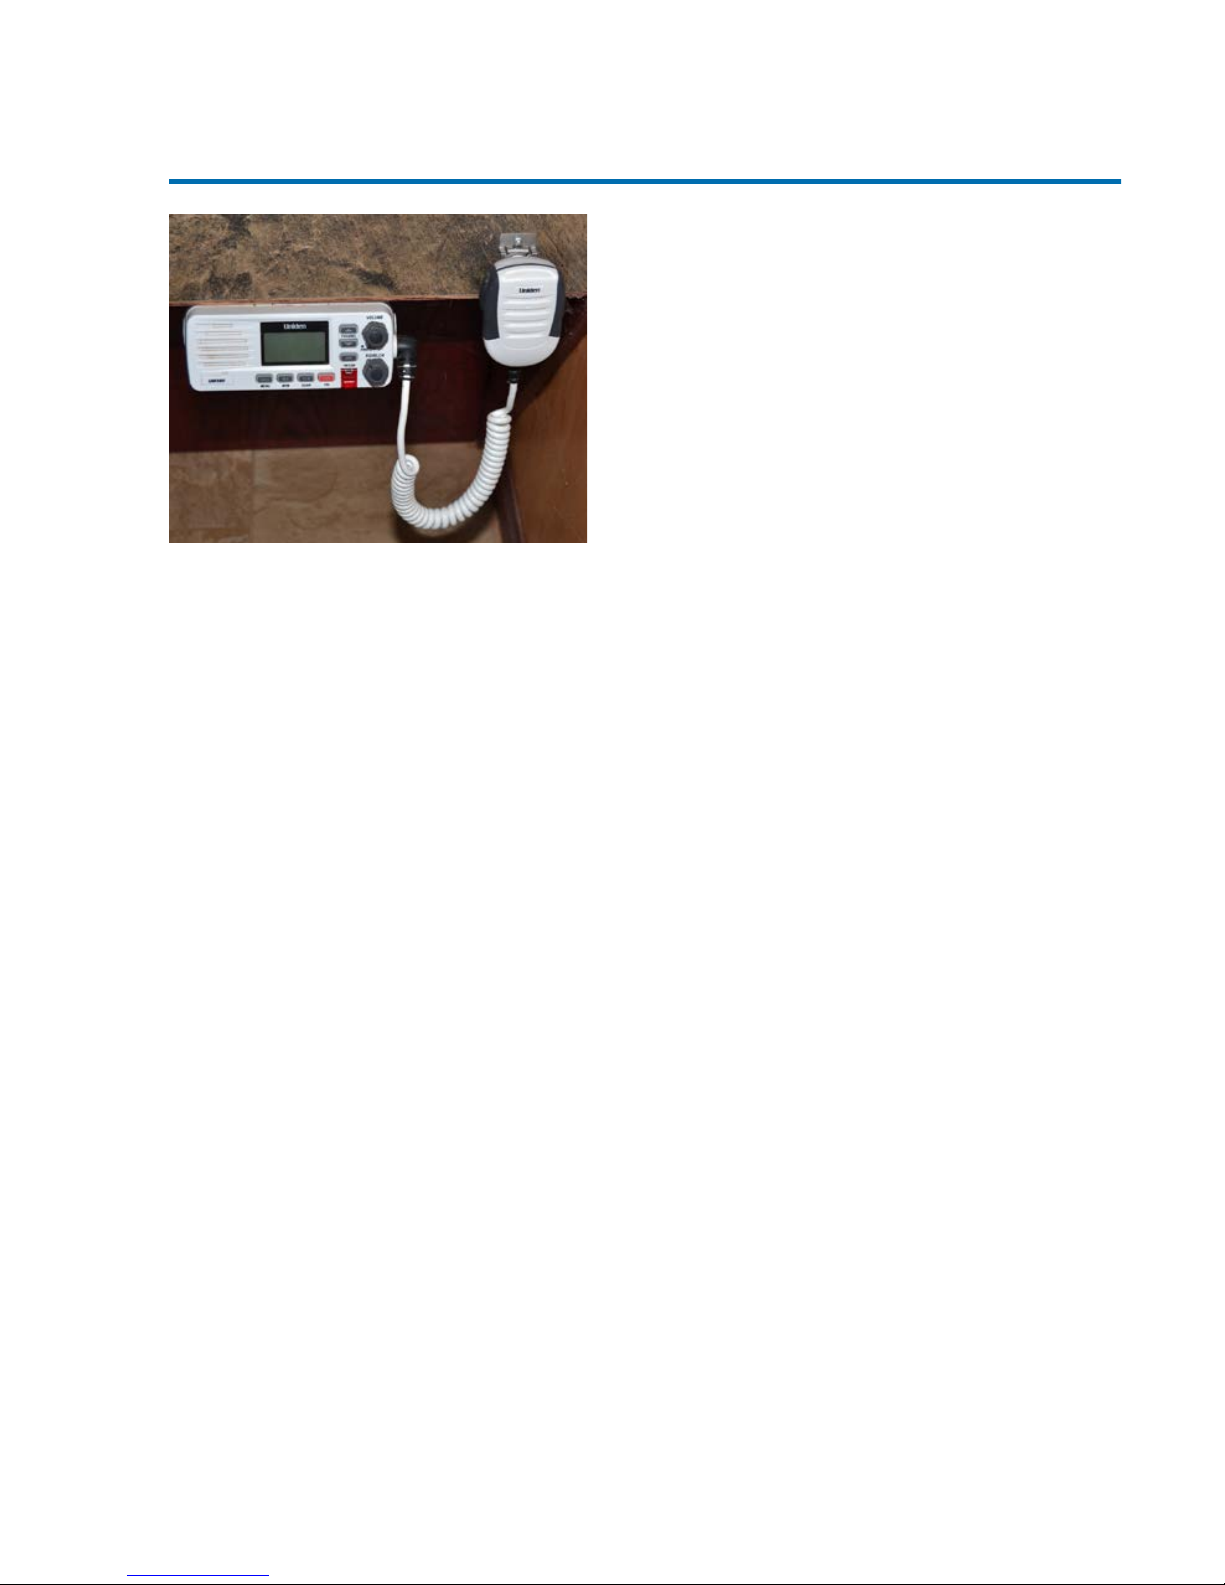
Horn
• Push in the HORN button
at the helm.
NAUTICAL NOTE: When leaving a dock,
signal with 1 long blast (4 seconds) and
3 short blasts (1 second each).
THROTTLE
Setting Neutral Throttle for Starting
• Confirm that the throttle is in
neutral position.
• Turn the key to first click – Beeper
will sound.
• Push and hold “black” command
button the red light will go solid and
the beeping will stop.
• Turn key to engage starter. If the
engine fails to start in 10 seconds,
return key to ON position, wait 30
seconds and try again.
• If the engine fails to start push and
hold the command button while
pushing the throttles forward one
detent. This will alloy you to
increase the RPM’s for starting only.
• Return throttle lever to center
position after warm-up.
• Red light will be solid to indicate that
the shift control is activated, and
lever movement will engage prop.
If engine is still dicult to start, squeeze
primer bulb, located on the fuel line near
the engine, until firm.
Cold Start
• Same as regular start, but warm up
time needs to be extended.
GETTING UNDER WAY
From Neutral Throttle
• Return throttle to neutral position.
• Red light on controls will be solid.
• Push throttle lever forward to go
forward or pull back for reverse.
• Advance throttle to increase speed.
• Always pause in neutral before
changing gears.
ENGINES/HELM
3