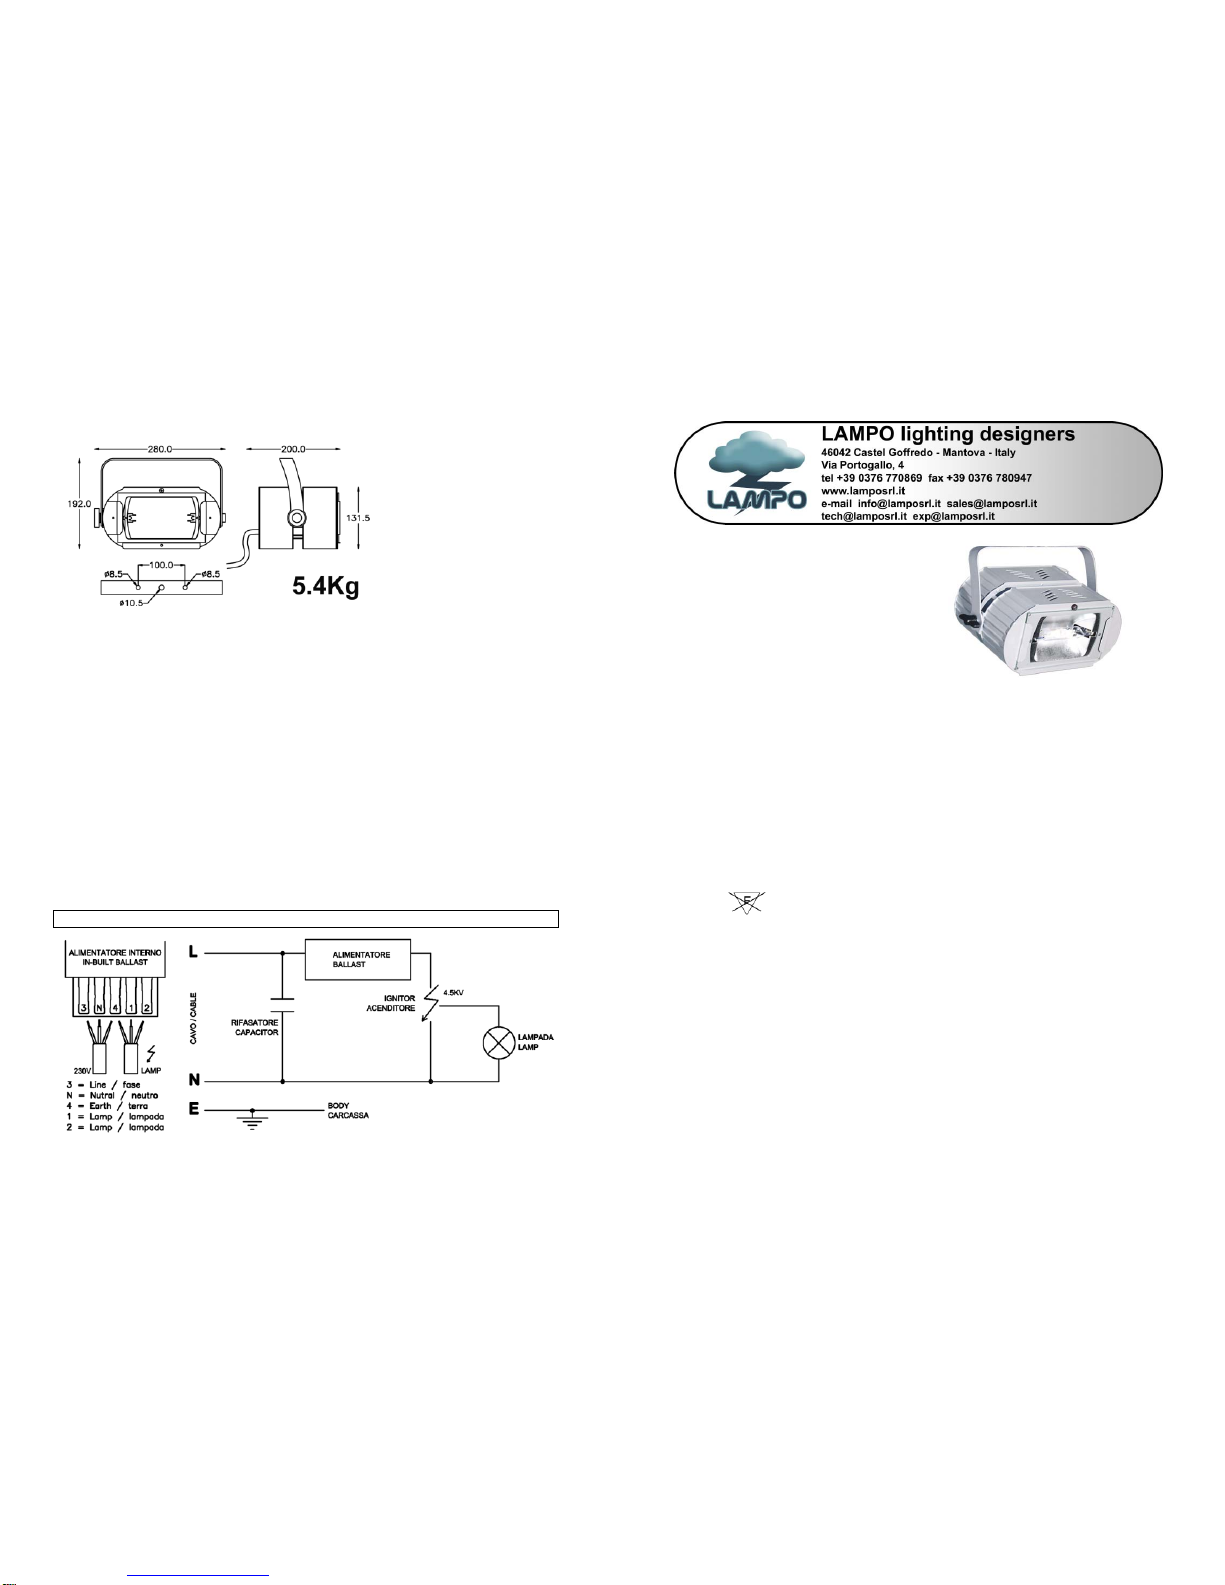
DIMENSIONI E PESO
INSTALLAZIONE DEL PROIETTORE
Fissare il proiettore per mezzo degli appositi fori posti sulla staffa. Si deve agganciare il
proiettore anche tramite la catena o fune di sicurezza fissandola nell’apposito occhiello. E’
possibile ruotare la forcella anche verso la parte inferiore del proiettore. Il cavo è predisposto
per sopportare la temperatura del proiettore, si consiglia di sistemare in modo idoneo il cavo,
in modo che non sia a contatto con l’esterno del proiettore e non venga sollecitato sollecitato.
MONTAGGIO LAMPADA
Svitare la vite frontale, togliere il vetro temperato e inserire la lampada.
Utilizzare lampade adeguate, doppio attacco, lunghezza da 132 a 137mm 150W a scarica.
Esempi di lampade con durata di 6000 ore: CDM-TD 150 / HCI-TS 150 / HQI-TS 150
Maneggiare la lampada con cura senza forzare eccessivamente, utilizzare un panno per
evitare di toccare il bulbo in vetro. Rimettere il vetro e rimettere la vite.
ALIMENTAZIONE ELETTRICA
Il proiettore è fornito di cavo sezione 1.5mmq. E’ necessario terminare il cavo con una spina
idonea ed eseguire il collegamento di terra (classe I). Corrente assorbita 1.2A
Non alimentare il proiettori da circuiti dimmer.
Attenzione, circuito di accensione della lampada al alta tensione, 4500V
Verificare il sistema elettrico prima di una istallazione. V=230V F=50Hz
Filo marrone = FASE (L) Filo blu = NEUTRO (N) Giallo – verde = MESSA A TERRA (E)
EXPO 150
USER’S MANUAL
Please note that as part of Lampo’s ongoing commitment to continuous product development,
specifications are subject to change without notice. Whilst every care is taken in the
preparation of this manual Lampo reserves the right to change specifications in the course of
product improvement. The publishers cannot be held responsible for the accuracy of the
information herein, or any consequence arising from them.
ATTENTION
This instruction manual contains important information about the installation and use of the
projector. Please read and follow these instruction carefully.
Disconnected power before opening the projector or commencing any maintenance work.
SAFE USAGE OF THE PROJECTOR
• Do not attempt to dismantle and modify the projector.
• Do not allow contact with water or any other fluids, or metallic objects (IP20).
• Do not install the projector in areas of high humidity.
• The projector is not designed or intended to be mounted directly on to
inflammable surfaces.
• Keep at least 0.5m distance between the projector and adjacent inflammable
surfaces.
• The projector must only be used complete with its protective grill and/or front lens.
• The protective grill, lenses or ultraviolet filter must be changed if they are visibly
damaged to the point at which their effectiveness is diminished, for example by
becoming cracked or deeply scratched.
• The lamp must be changed if it becomes damaged or deformed by heat.
• Keep at least 2m between the projector and the illuminated surfaces.
• Avoid to look directly at the lamp light. The light is harmful to the eye.
• Note: the lamp reaches very high temperatures, allow at least 30 minutes for the
lamp to cool completely before attempting to handle it. Ensure the lamp is cool
before attempting to handle it
• To ensure the reliability of the projector it should be kept clean. The lens and filters
should also be regularly cleaned to maintain an optimum light output. In locations
such as discotheques the objective lens should be cleaned every week as smoke
fluid can condense on it and very quickly reduce the light output, do NOT use any
type of solvent on filters and lenses.