7
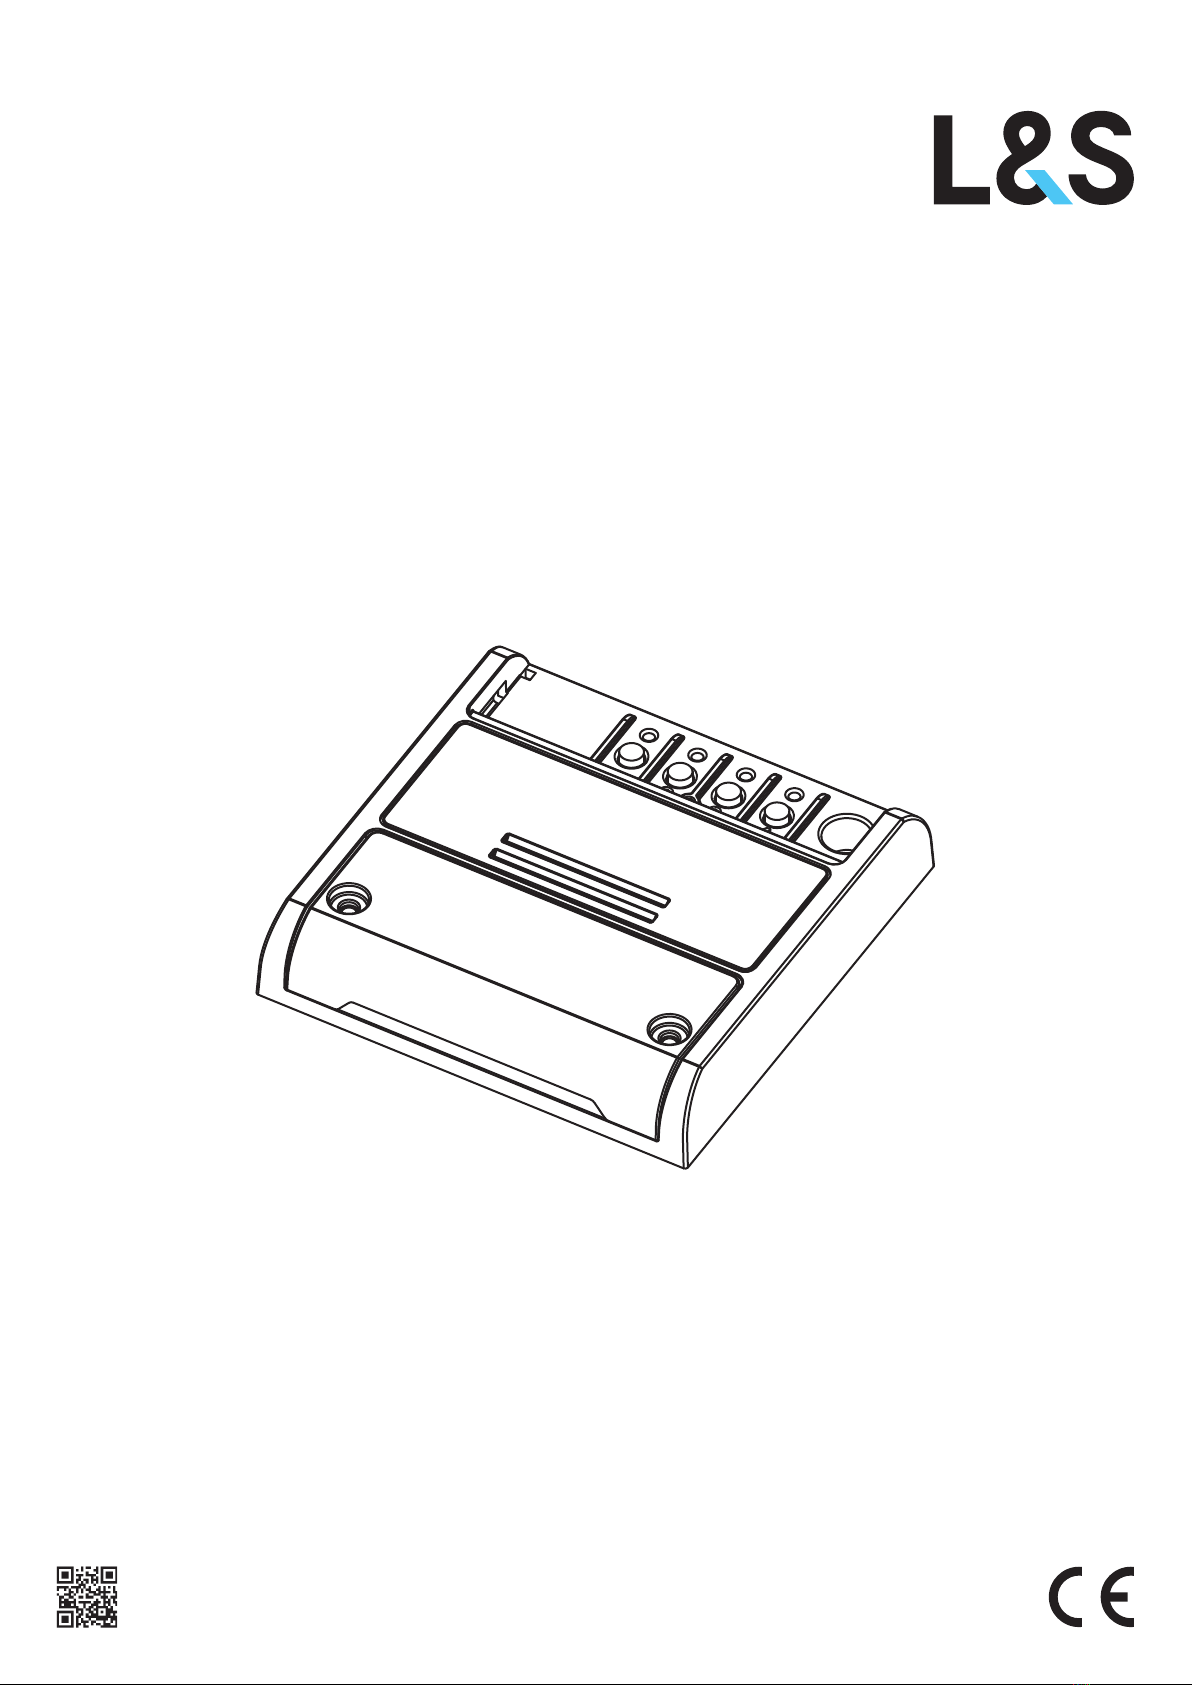
003-FIS18A_Receiver_1_RGB
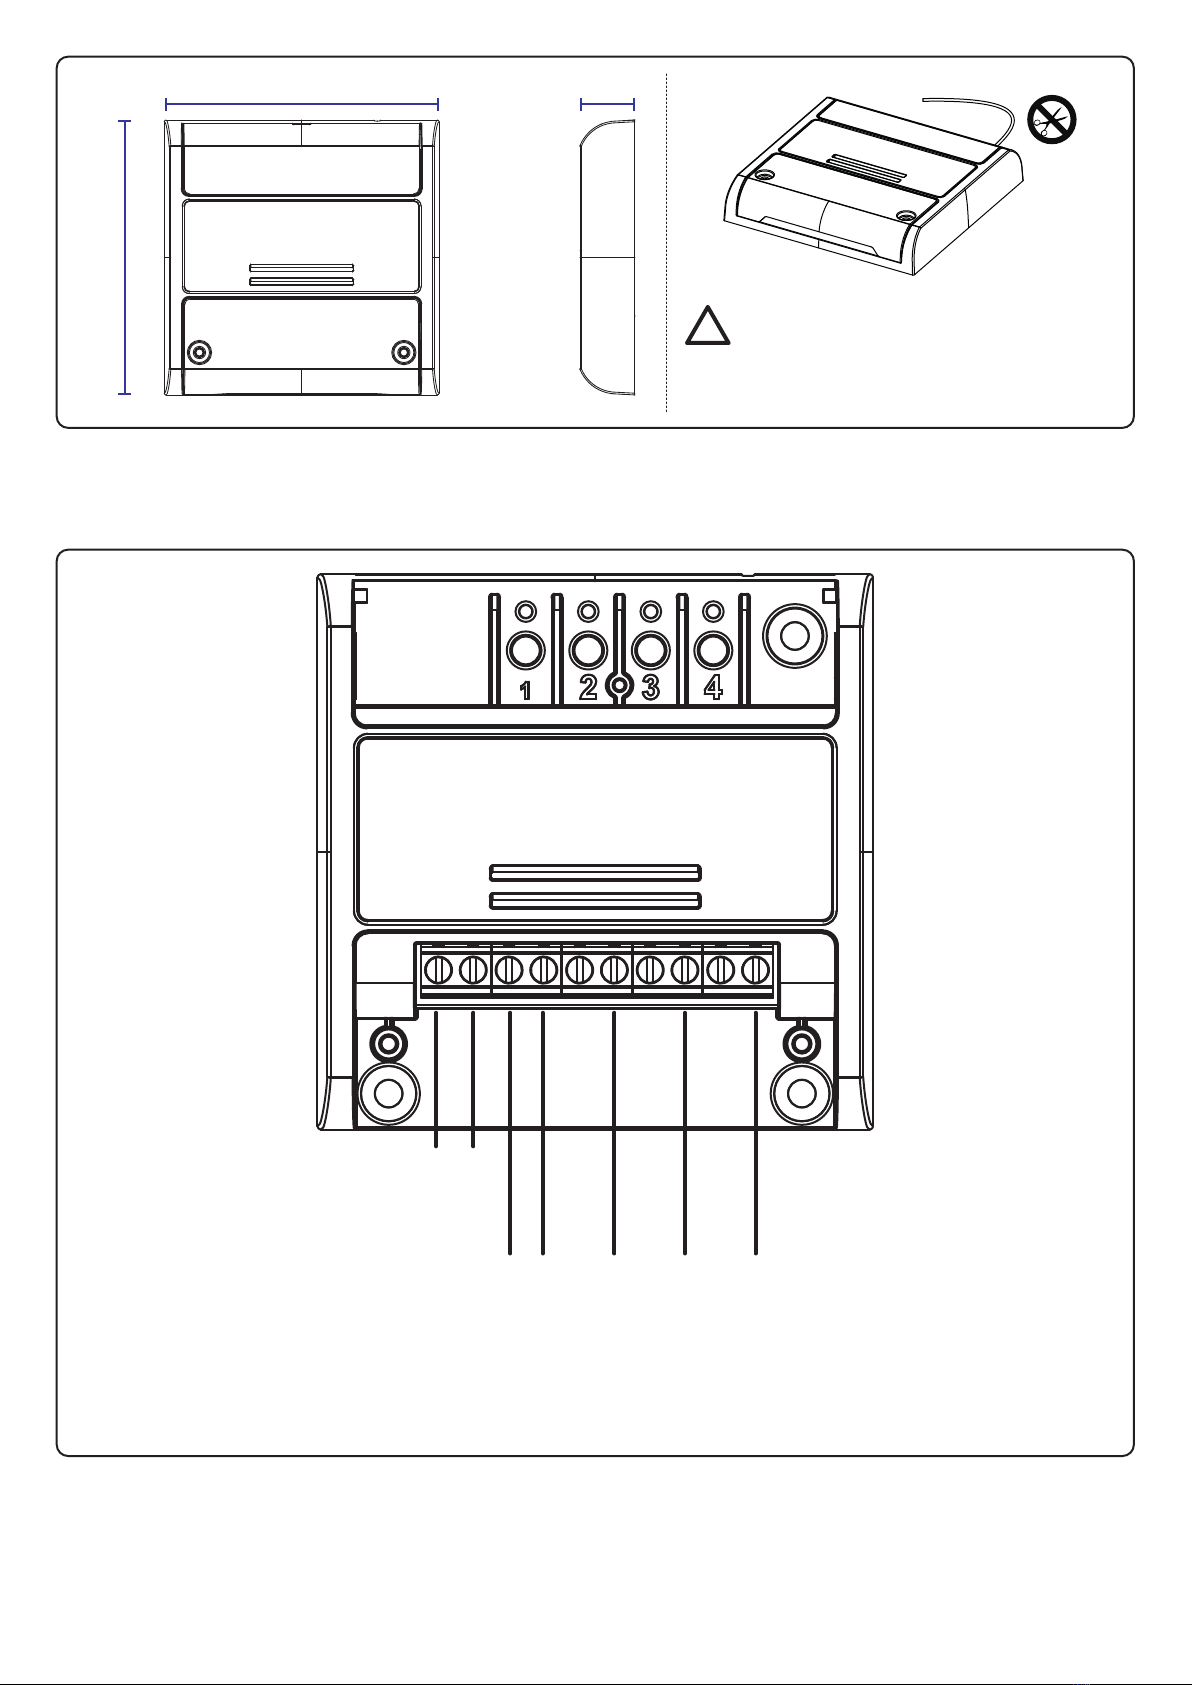
PASSO 1 / STEP 1
Con l’aiuto di una graffetta fare una
pressione breve del tasto “nascosto”.
Il led si accende.
With a paper clip makes a short press
of the “hidden” button.
The led turns on.
PASSO 2 / STEP 2
Entro 10 secondi fare una pressione breve del tasto 1.
Il led 1 comincia a lampeggiare.
Ad ogni lampeggio corrisponde una temporizzazione.
Within 10 seconds makes a short press of button 1.
The led start to flashes.
Each flash corresponds to a different timing.
PASSO 3 / STEP 3
Fare una pressione breve del tasto 1 durante il lampeggio corrispondente alla temporizzazione desiderata.
Il led si spegne.
Makes a short press of button 1 while it is flashing to end the count. The led turns off
PROGRAMMAZIONE DELLA TEMPORIZZAZIONE
SETTING THE TIMED ON
PROGRAMMAZIONI AVANZATE
ADVANCED SETTING
Default: nessuna temporizzazione
Con questa procedura si può impostare uno spegnimento automatico delle luci.
NOTA: non usare questa procedura con SMART SENSOR, il controller dispone già di una procedura per la temporizzazione dello spegnimento delle luci
Default: no timed on
This process is used to set the time for which the Leds stays on before an automatic switch off.
NOTE: don’t use this process with SMART SENSOR, the controller already has a procedure to setting the automatic switch off of the light
PROCEDURA / PROCEDURE:
FARE UNA PRESSIONE BREVE
MAKE A SHORT PRESS
FARE UNA PRESSIONE BREVE
MAKE A SHORT PRESS
IL LED SI ACCENDE
THE LED TURNS ON
1 1 minuto / 1 minute
2 3 minuti / 3 minutes
3 5 minuti / 5 minutes
4 15 minuti / 15 minutes
5 30 minuti / 30 minutes
6 1 ora / 1 hour
7 18 ore / 18 hours
8 Nessuna temporizzazione
No timed on
DISPLAY TEMPO DI SPEGNIMENTO
TIMED ON
IL LED COMINCIA
A LAMPEGGIARE
LED START TO
FLASHES
FARE UNA
PRESSIONE BREVE
DURANTE IL LAMPEGGIO
MAKES A SHORT PRESS
DURING THE FLASHES
IL LED SI SPEGNE
THE LED TURNS OFF
IMPOSTAZIONE DEL TIPO DI CARICO
SELECTION OF TYPE OF LOAD CONNECTED
Default: carico impostato di tipo “RGB”
Con questa procedura si configura la tipologia di controllo del carico collegato.
I tre tipi previsti sono:
1 - RGB: in questo caso per ottenere la luce bianca, la centrale utilizzerà i tre canali in uscita “R”, “G” e “B”
2 - RGBW modo 1: in questo caso per ottenere la luce bianca, la centrale utilizzerà il canale in uscita “W”
3 - RGBW modo 2: in questo caso per ottenere la luce bianca, la centrale utilizzerà sia il canale in uscita “W” che i tre
canali in uscita “R”, “G” e “B”. Questo per ottenere la massima luce disponibile.
Default: RGB mode
This procedure is used to set up the type of control of load.
The three types are:
1 - RGB: in this case to create white light the control unit will use the three output channels "R", “G” and “B”
2 - RGBW modo 1: in this case to create white light the control unit will use the output channel "W"
3 - RGBW modo 2: in this case to create white light the control unit will use the output channel "W" and the three output
channels "R", “G” and “B”. This is to obtain the maximum available light.
PROCEDURA / PROCEDURE:
PASSO 1 / STEP 1
Con l’aiuto di una graffetta fare una
pressione breve del tasto “nascosto”.
Il led si accende.
With a paper clip makes a short press
of the “hidden” button.
The led turns on.
PASSO 2 / STEP 2
Entro 10 secondi fare una pressione breve del tasto 2.
Il led 2 comincia a lampeggiare.
Ad ogni lampeggio corrisponde un impostazione.
Within 10 seconds makes a short press of button 2.
The led 2 start to flashes.
Each flash corresponds to a different setting.
PASSO 3 / STEP 3
Fare una pressione breve del tasto 2 durante il lampeggio
corrispondente alla funzione desiderata. Il led si spegne.
Makes a short press of button 2 while it is flashing to end the count.
The led turns off
FARE UNA PRESSIONE BREVE
MAKE A SHORT PRESS
FARE UNA PRESSIONE BREVE
MAKE A SHORT PRESS
IL LED SI ACCENDE
THE LED TURNS ON
1 RGB
2 RGBW mode 1
3 RGBW mode 2
DISPLAY TEMPO DI SPEGNIMENTO
TIMED ON
IL LED COMINCIA
A LAMPEGGIARE
LED START TO
FLASHES
FARE UNA
PRESSIONE BREVE
DURANTE IL LAMPEGGIO
MAKES A SHORT PRESS
DURING THE FLASHES
IL LED SI SPEGNE
THE LED TURNS OFF
Default: carico impostato di tipo “RGB”
Con questa procedura si configura la tipologia di controllo del carico collegato.
I tre tipi previsti sono:
1 - RGB: in questo caso per ottenere la luce bianca, la centrale utilizzerà i tre canali in uscita “R”, “G” e “B”
2 - RGBW modo 1: in questo caso per ottenere la luce bianca, la centrale utilizzerà il canale in uscita “W”
3 - RGBW modo 2: in questo caso per ottenere la luce bianca, la centrale utilizzerà sia il canale in uscita “W” che i tre
canali in uscita “R”, “G” e “B”. Questo per ottenere la massima luce disponibile.
Default: RGB mode
This procedure is used to set up the type of control of load.
The three types are:
1 - RGB: in this case to create white light the control unit will use the three output channels "R", “G” and “B”
2 - RGBW modo 1: in this case to create white light the control unit will use the output channel "W"
3 - RGBW modo 2: in this case to create white light the control unit will use the output channel "W" and the three output
channels "R", “G” and “B”. This is to obtain the maximum available light.
PROCEDURA / PROCEDURE