Instruction Manual
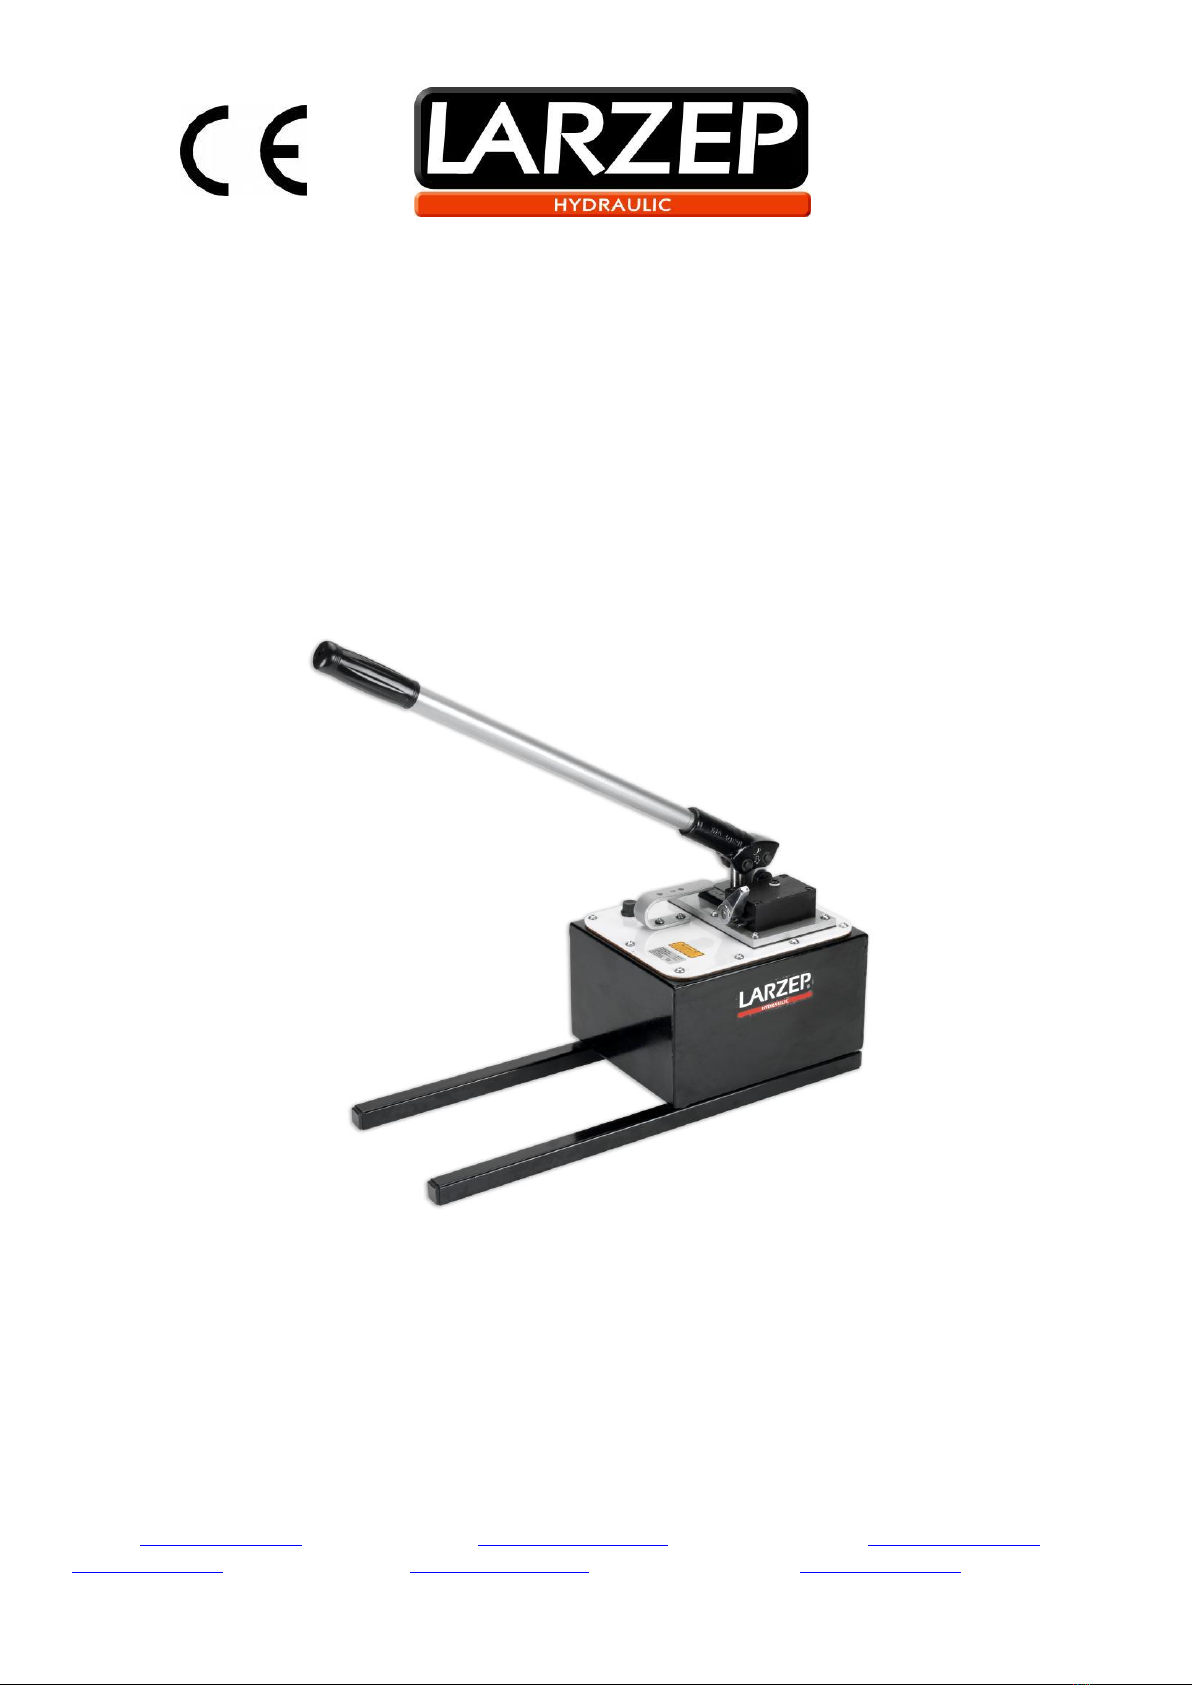
Hydraulic Hand Pump “W07807”, “X07807”
Unpack and visually check all the components, making sure that there are no oil leaks, loose or damaged plugs, damaged threads, etc. Never
use components that are damaged or appear to be in poor condition.
Assemble the device in accordance with the instructions given in the diagram, first checking that you have all the necessary material.
Check the correct installation and perfect functioning of the device with a load, in accordance with the procedure outlined below:
SINGLE ACTING INSTALLATION
1. Place the distributor valve in central position.
2. Pump manually; with the oil filling plug opened, several times to allow the entry of air in the pump and make easier the suction
3. Close the plug by turning clockwise manually. You do not need to close too tightly.
4. Place the distributor valve in advance position and pump using the drive lever. First, fill the hose with oil. The number of strokes required will
depend on the length of the hose and the flow supplied by the pump piston. With two-speed pumps, the large piston will be activated during
the load-free feed movement, and when the device comes into contact with the load, an internal large piston relief value will be
automatically triggered and only the oil supplied by the small piston will be available up to 700 kg/cm2, which is the maximum pressure for
the device.
5. Once the hose is full of oil, the cylinder piston will start to advance.
6. If the cylinder has a mechanical limit switch capable of withstanding the maximum device pressure, continue pumping until the limit switch is
reached.
7. If any control elements (pressure gauges) are available, you will be able to see how the pressure increases along with the effort required
moving the lever.
8. Keep pumping until you obtain the maximum pressure (700 kg/cm2). In this way you will be able to check the correct functioning of the
internal safety valve and the absence of oil leaks in the installation.
9. Maintain pressure in the installation for a short period of time (1 minute) without pumping (central position), in order to check the correct
functioning of the pump’s check valve.
10. To retract the cylinder, place the distributor valve in return movement. If the cylinder has a return spring (SM, SMP, SMX, SH, TE, T, SAM,
SAH, SATM, CY, KC) the piston will move back automatically. The return speed may be slow in some applications. In this case, we
recommend the use of double effect cylinders. In the case of load return cylinders (SP, SPR, SX,SL, SSR, ST, STR,STX, SAT), you will
need to push the piston back using more or less force, depending on the size and position of the cylinder.
11. In cylinders without a mechanical limit switch (SSR, ST, STR, STX) this type of test cannot be carried out. If you do not have a test bench,
you will have to test the installation using the actual load in the application. This operation should be carried out with extreme care by
experienced personnel and maximum safety measures should be applied.
12. Repeat the process as many times as necessary until you is comfortable handling the device.
13. If using close or check valves, or working with various cylinders via flow distributors, remember to take into consideration the effect these
accessories may have on the functioning of the device, and establish an operating procedure in order to avoid unwanted effects.
DOUBLE ACTING INSTALLATION
1. The connection of the couplers is, if possible, even more important here, since a bad connection will not only prevent the device from
functioning, it may also generate excessive pressure build-up that may cause the break of the cylinder. Take note of which hose connects to
the advance chamber and which to the return chamber.
2. All double action LARZEP cylinders are equipped with a mechanical end of stroke capable of withstanding the nominal pressure. You can
therefore carry out the test described in the previous section. If you are working with another type of cylinder and are not 100% sure, do not
carry out this test.
3. Turn the control of the distributing valve to the central position and pump and few times to fill the internal channels with oil.
4. Turn the lever to one side and pump. Oil will flow through the hose connected to the side to which the valve lever is rotated. If this hose is
connected to the cylinder’s thrust chamber, the piston will move forward. The oil in the return chamber will flow freely through the other hose
to the pump tank. Flow is supplied by both the large and small pistons until the cylinder reaches the load.
5. Continue pumping until you reach the mechanical end of stroke. At this moment an internal large piston relief value will be triggered, and
only the oil supplied by the small piston will be available. Subject the installation to pressure to check for leaks.
6. Stop pumping and check (preferably using a pressure gauge) that the installation maintains the pressure level.
7. Turn the valve lever to the other side and pump. Oil will flow to the return chamber and the piston will move back. The oil in the advance
chamber will flow freely back to the tank.
8. Repeat the processes as many times as necessary until you are comfortable handling the device.
9. If using close or check valves, or working with various cylinders via flow distributors, remember to take into consideration the effect these
accessories may have on the functioning of the device, and establish an operating procedure in order to avoid unwanted effects.
5. MAINTENANCE
Checking the oil level.
With the pump in vertical position, unscrew or pry off the plug. Check the level on the dip stick.
This check must be carried out with the cylinder fully retracted. Excessive amount of oil in the tank will lead to internal pressures which will
hamper the function of the pump.
Filter the oil before filling up the pump.
Once the equipment is being used the areas exposed to wear and oxidation must be cleaned and greased.