Laser NRGVAULT PV500 User manual

PWR-PV500-PS
User Manual

INTRODUCTION
This product is a portable energy storage power generator. It
can be used as a power source for emergency relief, outdoor
camping, oce equipment, entertainment and much more.
It is compact enough for portability but capable enough to
power small to medium appliances.
MAINTENANCE
• Clean with a soft dry cloth only. DO NOT use any water
or liquids as this could lead to damage of internal
components and electric shock.
• When not using the unit for extended periods, disconnect
from the power outlet and any connected devices, then
power o the unit.
• Charge the unit to approx. 80% battery every 3 – 6
months during extended periods of storage.
• Indoor storage only.
• Recommended storage temperature: 0 - 25°C.

GENERAL SAFETY
The NRGVault range of portable power stations has been made to the
highest standards for safety and reliability. Please retain the user manual for
important safety information about your device. This manual will help you
learn the features and specications of the device to assist with operability
and satisfaction during use. Failure to follow these guidelines for proper
use and care of your device may result in damage to the unit, or injury to
yourself and others.
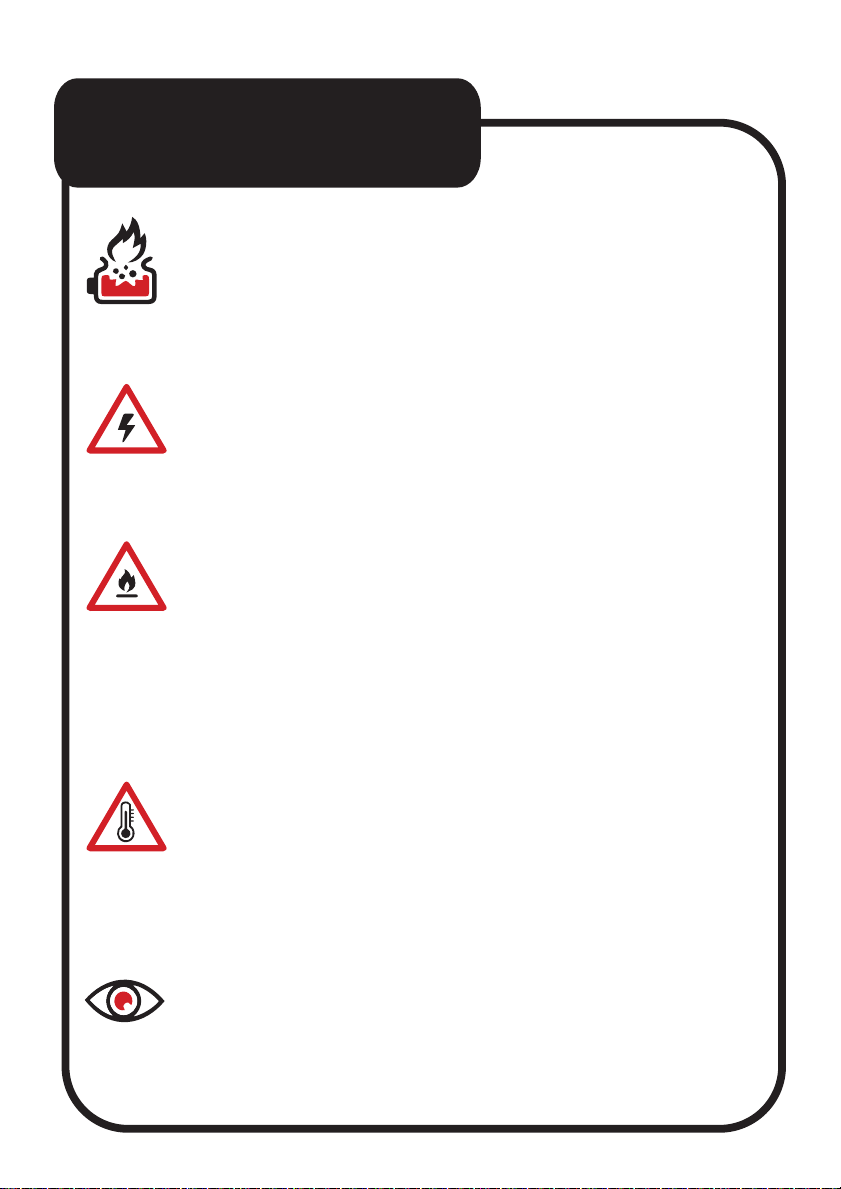
• NEVER use a damaged
device or a device with a
damaged battery with this
unit. This may lead to re, uid
leaks, overheating, or
explosion.
• Use approved accessories
only. Improper use or
incompatible accessories
may result in re, explosion,
or other safety hazards.
• DO NOT place other objects
on top of the unit during use
or storage.
• DO NOT attempt to modify,
repair, or replace any internal
components of the unit. If
necessary, please contact the
manufacturer.
• Turn o immediately in case
of malfunction or smoke.
• Use dry powder re
extinguisher in case of re.
• Keep children and pets away
from the device.
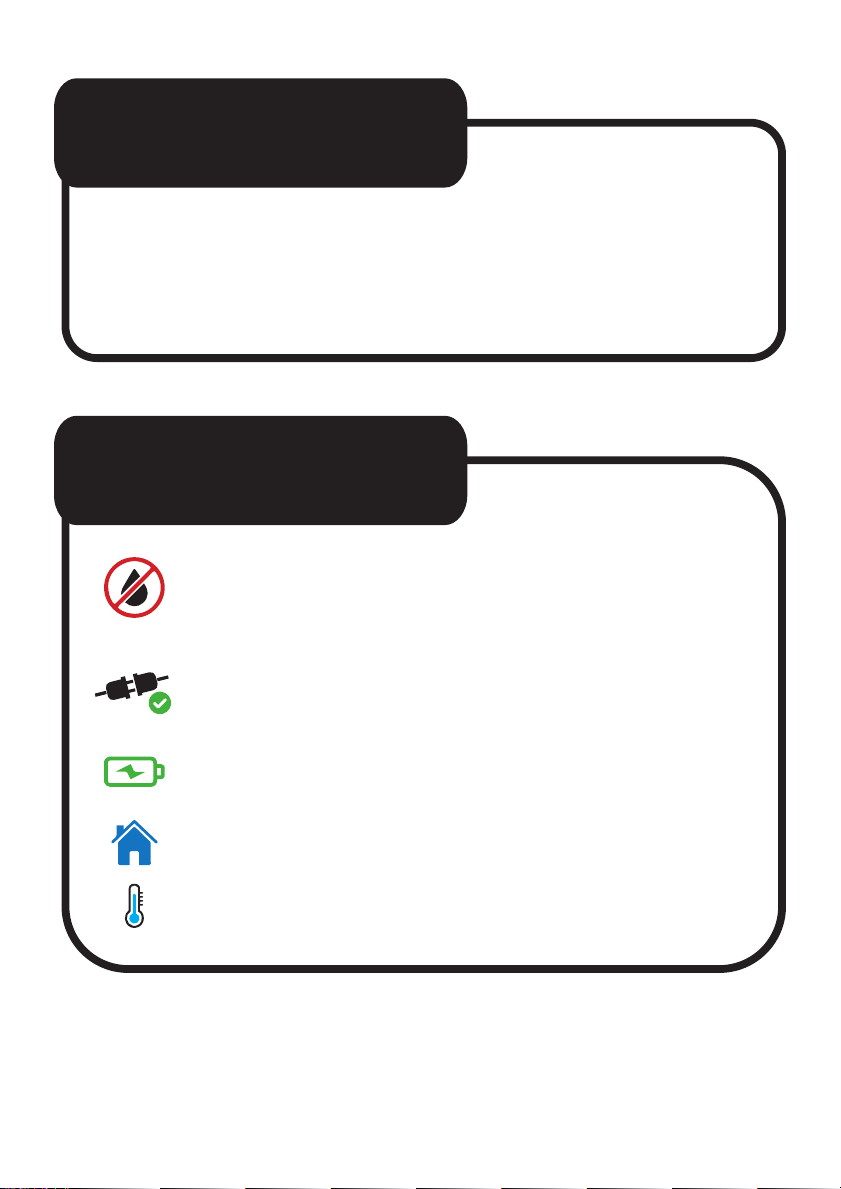
• DO NOT expose the unit to
re, liquids, dirt, or other
contaminants as this could
lead to re or electric shock.
• DO NOT place the unit on an
unstable, uneven, or slippery
surface.
• Always use the unit in a well
ventilated and spacious area.
• DO NOT dismantle, crush,
puncture, or squeeze the unit.
• DO NOT insert any foreign
objects into the vents, ports,
or other openings.
• Always operate or store the
device in accordance with
the specied temperature
range.
• DO NOT ignore warnings
from other manufacturers
when using this device.

TIPS FOR SAFE
CHARGING
1. AVOID OVERCHARGING.
Disconnect power stations and devices after the battery
reaches a full charge. Leaving devices on a power station
too long may cause them to overheat and can reduce
battery life.
2. PICK THE RIGHT POWER OUTPUT.
Take special care to match the correct voltage and amp
values your device requires when using a power station.
Some power stations have multiple output ports so check
which one might be the most suitable for your device.
3. CHARGE ONLY ON NON-FLAMMABLE SURFACES.
Devices and power stations can get warm or sometimes
even hot during charging. Make sure to always place the
device and power station on a non-ammable surface when
charging. Do not place on beds, pillows, paper, or near any
fabric such as curtains or clothing under any circumstances.
4. AVOID EXTREME ENVIRONMENTS.
Do not recharge your devices or leave a power station in
environments where extreme temperatures can occur.
On particularly hot days do not charge or leave your power
station in places such as the inside of a car, or an
unairconditioned room. If it’s possible, try and wait till
the evening when temperatures are a bit cooler.
5. MONITOR CHARGING.
Recharge your devices while you are nearby, preferably in
the same room or another room close by. This way when
there is a defective battery or power station, you are able to
disconnect it immediately.

WHAT’S IN THE BOX
• PWR-PV500-PS Portable
Power Station
• AC Charging Cable
• User Manual

PRODUCT SPECIFICATIONS
No. Item Description
1 Battery Cell Battery Cell Type: LiFePO4
Model: 32700 3.2V/6000mAh x 16
2 Rated Capacity 288Wh (16V/18Ah)
3 Lifecycle 2000 cycles to 80%
4
Battery
Management
System
Under/Over Voltage Protection, Over Current Protection,
Short Circuit Protection, Overcharging Voltage Protection,
Over Temperature Protection, Overload Protection.
5 MPPT Supports Solar Power MPPT charging
6 Housing ABS+PC
7 Input Options
Wall charge 220-240V/50Hz Max 300w
Vehicle charge DC port:
2-28V, 5A 90W
Solar charge XT60 port:
12-28V, 5A 90W
8Output
Options
Type-C PD 100W [1] PD
Type-C PD 30W [2] PD
USB-A (QC3.0) [3] QC3.0 [3] Max 18W QC3.0 [3]
DC5521 13.6V/8A Max
108.8 W Total share 8A
12V Car Socket 13.6V/8A Max
108.8 W
2 x AC
AC: 220-240V~ 50Hz
Rated Power: 500W
Overload Protection: 550W 30s
Inverter Peak Power: 600W 1s
9 LED Light Modes LED Light Modes
1-Light
2-SOS
3-Emergency
Power: 3W
10 Dimensions 245 x 160 x 209mm
11 Weight 5.15kg
1. PD 100W = USB-C Power Delivery can deliver up to 100W of power.
2. PD 30W = USB-C Power Delivery can deliver up to 30W of power.
3. QC3.0 = Quick Charge 3.0 can charge devices up to 4 times faster than
conventional charging.

GENERAL SPECIFICATIONS
No. Item Parameter
1Battery Cell Standard
Voltage 3.2V
2Cells Conguration 5S3P
3 Battery Pack Voltage 16V
4 Output Waveform Pure Sine Wave
5 Operating Environment 0~40°C
6 Working Humidity 20%~90%
No condensation at 20-90% of humidity
7 Storage Temperature
Normal indoor storage temperature.
Recommended storage temperature:
0 ~ 25°C (Range)
8 Standby Time Recommend: Recharge every 3 months.
Required: Must be recharged every 6 months.

USE CASE
(approximations only)
Table Lamp
50 hours
iPhone 12
20+ Charges
Tablet
8+ Charges
Laptop
3 - 4 Charges
Camera
15+ Charges
Drone
5+ Charges
Mini Fridge
4 – 5 hours
Cordless Drill
8+ Charges
Fan
6 hours
CPAP Device
5 – 6 hours
TV
3 hours
Bluetooth Speaker
30+ Charges

PRODUCT DIAGRAM
1 - Handle
2 - AC Output Port
3 - Dust Cover
4 - 12V Car Socket
5 - DC Output Port
6 - LCD Display
7 - LED Torch
8 - LED Torch ON/OFF Switch
9 - Cooling Hole
10 - Cooling Hole
11 - Ground Connection
12 - DC Input Port
13 - Solar Panel Input Port
14 - DC ON/OFF Switch
15 - AC ON/OFF Switch
16 - Main Power Button
17 - QC3.0 USB-A Output Port
18 - PD30W USB-C Output Port
19 - PD100W USB-C Output Port
20 - USB ON/OFF Switch
21 - Dust Cover
22 - AC Input Port

LCD DISPLAY
Battery Information
Indicator
Battery Power Level % Battery failure/low
voltage indicator
Battery Lock Protection
USB Output Indicators Output power
Hours
Solar Input Input Power
Over Temperature
Indicator
Over Temperature
Protection Indicator
System Failure Indicator Overload Protection
Indicator
Battery Power Level Battery high/low
temperature indicator
AC Input DC Input
Remaining discharge/
charge time
AC Output Indicators DC/Car Outlet Output
Minutes
Low Temperature
Indicator
Input Indicator
Remaining time
Indicator
Output Indicator
Protection Indicator
1
2
3
4
5
6
7
8
9
10
11
12
13
14
15
16
17
18
19
20
21

CHARGING
AC CHARGING
• Please charge the PWR-PV500-PS before using.
• Charge the battery to 80% before extended storage. Check
the PWR-PV500-PS remaining power level every 3-6 months
and charge again.
• There are 3 input ports on the PWR-PV500-PS:
1 x AC input port.
1 x Solar input port.
1 x DC5521 port.
• AC Charging: AC power supply (such as a wall socket)
can be used to charge the PWR-PV500-PS with a maximum
power of 300W through the AC charging port (gure 22
in Product Diagram).
• A full charge via AC charging takes approx. 80 minutes.
AC

• The PWR-PV500-PS supports Solar Panel charging rated
at 90W.
• Solar power can be used to charge the PWR-PV500-PS
with a maximum power of 90W through the XT60 port (gure
13 in Product Diagram)
• A full charge from a 90W Solar Panel will take between 4-7
hours (dependant on sunlight intensity).
SOLAR CHARGING
Solar Panel and XT60 cable not
included
CAUTION:
• The maximum voltage of solar panels that the PWR-PV500-PS
can support is 28V, and the maximum current is 5A.
• The PWR-PV500-PS must be charged by solar panels with a
voltage lower than 28V.
• If the input voltage exceeds 28V it has a risk of damaging the
product.

• PWR-PV500-PS supports car charging rated at 90W.
• The 12V socket in a car can be used to charge the
PWR-PV500-PS with a maximum power of 90W through
the DC port (gure 12 in Product Diagram).
• A full charge via a 12V car charger will take approx. 3-4 hours.
Note: A 12V DC5521 cable (sold seperately) is required.
CAR CHARGING
CAUTION:
• The maximum voltage of car charging the PWR-PV500-PS
can support is 28V, and the maximum current is 5A.
• The PWR-PV500-PS must be charged by car with a voltage
lower than 28V.
• If the input voltage exceeds 28V it has a risk of damaging
the product.

HOW TO USE AC
OUTPUT
Under the condition that the total power does not exceed
500W, all AC outlets can work together at the same time.
1. Long press the main power button 3 seconds to turn on.
The main power indicator and the screen lights up, then enters
the standby state.
2. Plug in AC appliances.
3. Tap the AC on/o switch to turn on the AC output function.
The product starts to supply power to external AC appliances.
4. Long press the AC power on/o switch to turn o the AC
output.
5. When not using the product for a long time, please long
press the main power switch for 3 seconds to turn o to save
power.
NOTE:
When the AC out function is turned on, the AC icon on the
LCD display will light up, then perform a system power check
for approx 8-10 seconds. After the checks are complete, AC
power output will be available.
AC
ON/OFF
POWE
R
ON/OFF

HOW TO USE DC
OUTPUT
1. Long press the main power button to turn on. The main
power indicator and the screen light up, then enters the
standby state.
2. Plug in the DC device.
3. Tap the DC on/o switch to turn on the DC function.
4. After use, tap the DC on/o switch to turn o the DC
output.
5. When not using the product for a long time, please long
press the main power switch for 3 seconds to turn o to save
power.
CAUTION:
When using the PWR-PV500-PS, please do not plug the DC
input cable into the DC output connector. This could damage
the product.

HOW TO USE
USB OUTPUT
1. Long press the main power button to turn on. The main
power indicator and the screen light up, then enters the
standby state.
2.Tap the USB on/off switch to turn on the USB function.
3.Plug in the USB device.
CAUTION:
When using the PWR-PV500-PS, please do not plug the DC
input cable into the DC output connector. This could damage
the product.

HOW TO USE THE
LED LIGHT
1. Press and hold the main power button for 3 seconds to
power on.
2. Press and hold the LED light button for 3 seconds to turn
on the half-bright mode of the LED light.
3. After the half-bright mode is turned on, tap the LED light
button to cycle through the following modes:
Full-Brightness, SOS and Strobe.
4. After the strobe mode , tap the LED light button again to
turn o the LED light.
5. In any mode of the LED light, as long as you press and
hold the LED light button for 3 seconds, the LED light can be
turned o.
1
2

TROUBLESHOOTING
DEVICE NOT CHARGING:
• Power o/on your device and try charging again.
• Try using another charging cable from your device to the
PWR-PV500-PS.
• If using AC or DC output, make sure their respective switches are
set to ON.
• Check the device you are trying to charge does not exceed the
power rating for the output port being used.
• Check battery levels on the PWR-PV500-PS
DEVICE OR POWER STATION GETS HOT DURING CHARGING:
• It is normal for a device and the power station to generate heat
during charging. If you feel that either are too hot, then unplug the
device from the power station and wait till it has cooled down.
THE POWER STATION IS NOISY:
• The power station uses an air-cooled system with built-in fans
working to help dissipate heat. The fans may spin faster or slower
depending on workload.
CAN I TAKE THE PWR-PV500-PS ON A PLANE?
- No, the battery in the unit exceeds the 160Wh regulation.

TROUBLESHOOTING
continued...
HOW DO I CHARGE THE PWR-PV500-PS?
- The PWR-PV500-PS has 3 charging inputs. AC (Wall Socket), XT60
(Solar Panel) and DC (Car). An AC cable is included for charging via a
wall socket. The XT60 and DC cables are not
included.
HOW DO I KNOW IF THE PWR-PV500-PS IS FULLY CHARGED?
- Check the LCD display. The power level is indicated as a
battery icon and a % number.
HOW DO I KNOW HOW MUCH POWER THE PWR-PV500-PS IS
SUPPLYING TO A CONNECTED DEVICE?
- Check the LCD display. The estimated time a connected
device can run for will be indicated on the display.
CAN THE PWR-PV500-PS OUTPUT POWER TO ANOTHER DEVICE
WHILE IT IS BEING CHARGED?
- Yes, the PWR-PV500-PS can output power while being charged.
CAN THE PWR-PV500-PS SIMULTANEOUSLY CHARGE MULTIPLE
DEVICES?
- Yes, all the output ports on the PWR-PV500-PS can be used at the
same time as long as the total power output does not exceed 500W.

Thank you
for your purchase!
To get the most out of your product please read
the user manual carefully and keep for future use.
For specic information relating to your product
such as Spare Parts, FAQs, Warranty claims, and
more, please scan the following QR code:
This manual suits for next models
1
Table of contents
Other Laser Portable Generator manuals
Popular Portable Generator manuals by other brands

Scheppach
Scheppach SG1600i Translation of original instruction manual

Black Max
Black Max PM0496500.02 owner's manual

SPEED+GO
SPEED+GO MPS120 operating instructions

Technix
Technix SR10OKV-5KW Operator's manual

Powermate
Powermate PM0101207.01 Operator's manual

Mosa
Mosa HIGH POWER Use and maintenance manual