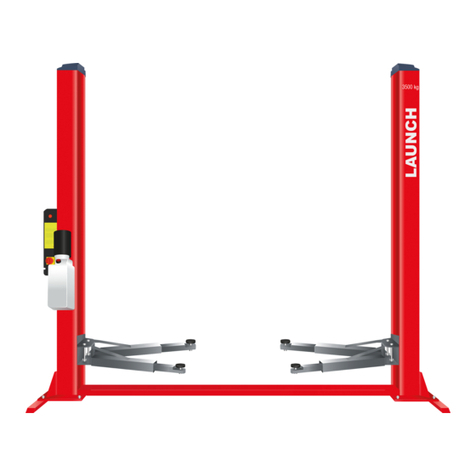
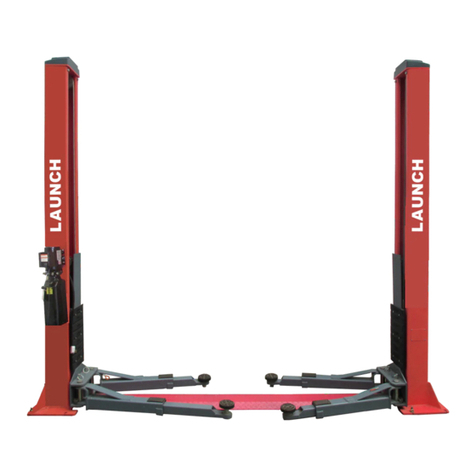
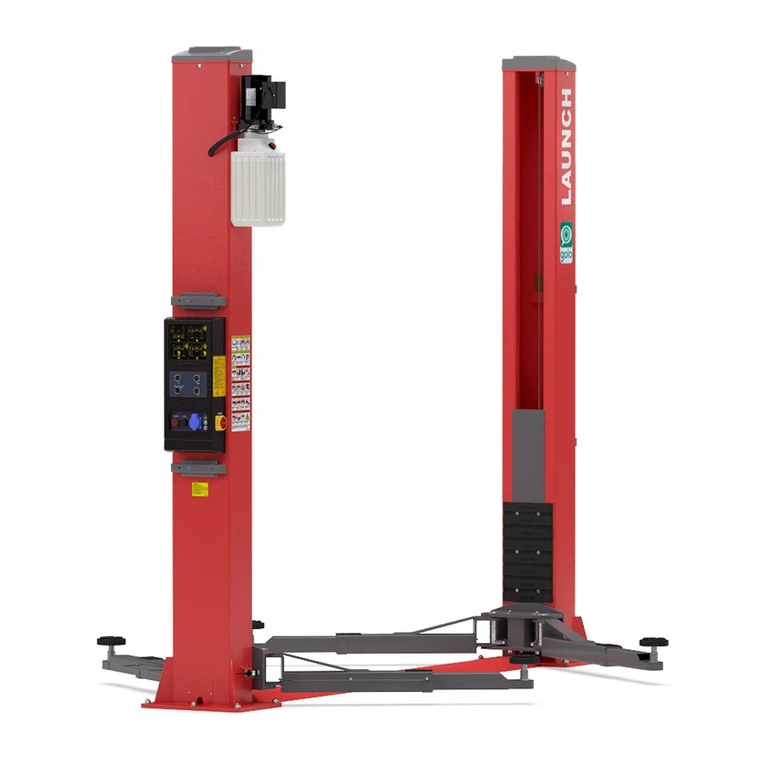
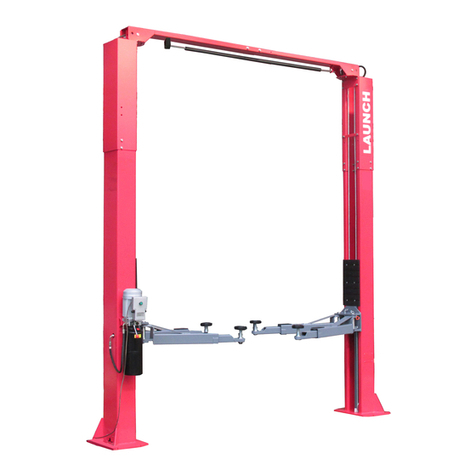
Launch TLT245AT / TLT250AT(C) Two-post lift user’s manual
ii
WARNING
zThis instruction manual is an essential integral part of
this product. Please read all instructions.
zProperly keep this manual for use during the
maintenance.
zThis equipment is only used for its clearly designed
purpose, and never use it for other purposes.
zThe manufacturer is not responsible for any damage
caused by improper use or other purposes of use.
PRECAUTION
zOnly the qualified personnel having undergone
special training can operate this machine. Without the
permission of the manufacturer or not following the
requirement of the manual, any changes in the
machine part and in the usage scope may cause
direct or indirect damage to the machine.
zDon’t keep the lift in the extreme temperature and
humidity environment. Avoid installation beside the
heating equipment, water tap, air humidifier or stove.
zPrevent the lift from contacting large amount of dust,
ammonia, alcohol, thinner or spray adhesive, and
prevent it from rain shower.
zDuring the machine operation, non-operators should
be kept away from the machine.
zInspect machine daily ,do not use lift with damaged
parts or being damaged .Use original components to
replace damaged parts
zThe lift can’t be overloaded. The rated load of the lift
is already marked on the nameplate.
zPlease don’t raise the lift when there are people in the
vehicle. During the operation, the customer and
spectators shouldn’t stand in the lifting area.
zKeep the lifting area free from obstacle, grease,
machine oil, garbage and other impurities.
zPosition the swing arm of the lift, making it contact the
lifting point as recommended by the manufacturer.
Raise the carriage and confirm the lifting pad and
vehicle are closely contacted. Raise the carriage to
the appropriate working height.
zFor some vehicles, the parts dismantling (or
installation) will cause severe deviation of the center
of gravity, leading to unstable vehicle. The support is
needed to keep the balance of the vehicle.
zBefore moving the vehicle away from the lifting area,
please position the swing arm and lifting pad back
away to avoid blockage during the movement.
zUse appropriate equipment and tools as well as
safety protection facilities, e.g. working uniform, safety
boot, etc.
zPay special attention to various safety marks attached
to the machine body.
zKeep hair, loose clothing, fingers, and all parts of
body away form moving parts
zPay special attention not to dismantling the safety unit
of the machine or making it not functioning.
zThe hydraulic oil used for this lift is N32 or N46.
Please refer the safety data of grease and oil shown
in the manual.
zLet components cool down before storage, loosen
component cables completely in storage
zDo not install lift in the open air or expose to
rain ,special requirements should be offered to
manufacturer if it can’t be avoided.
zCarefully check equipment list before
installation .Immediately connect distributor or Launch
for any question.
zLaunch Shanghai Machinery Co., Ltd. is dedicated
to continuously improving the product quality and
upgrading the technical spec. They are subject to
change without notice.
WARNING


